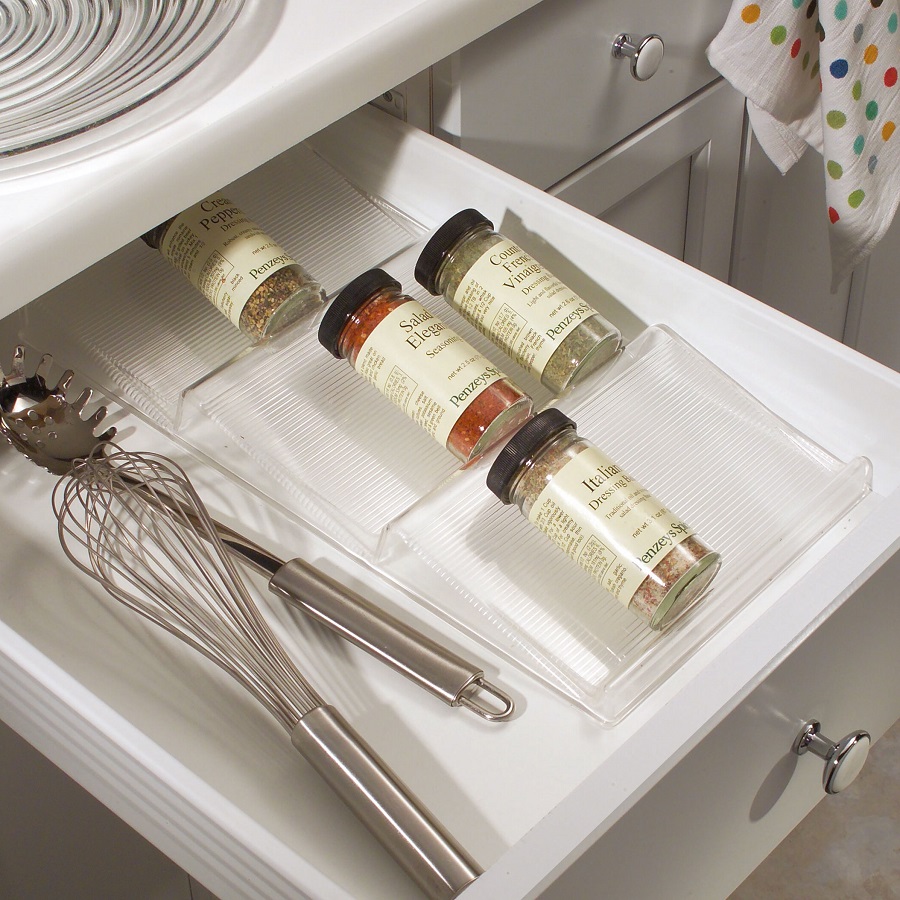
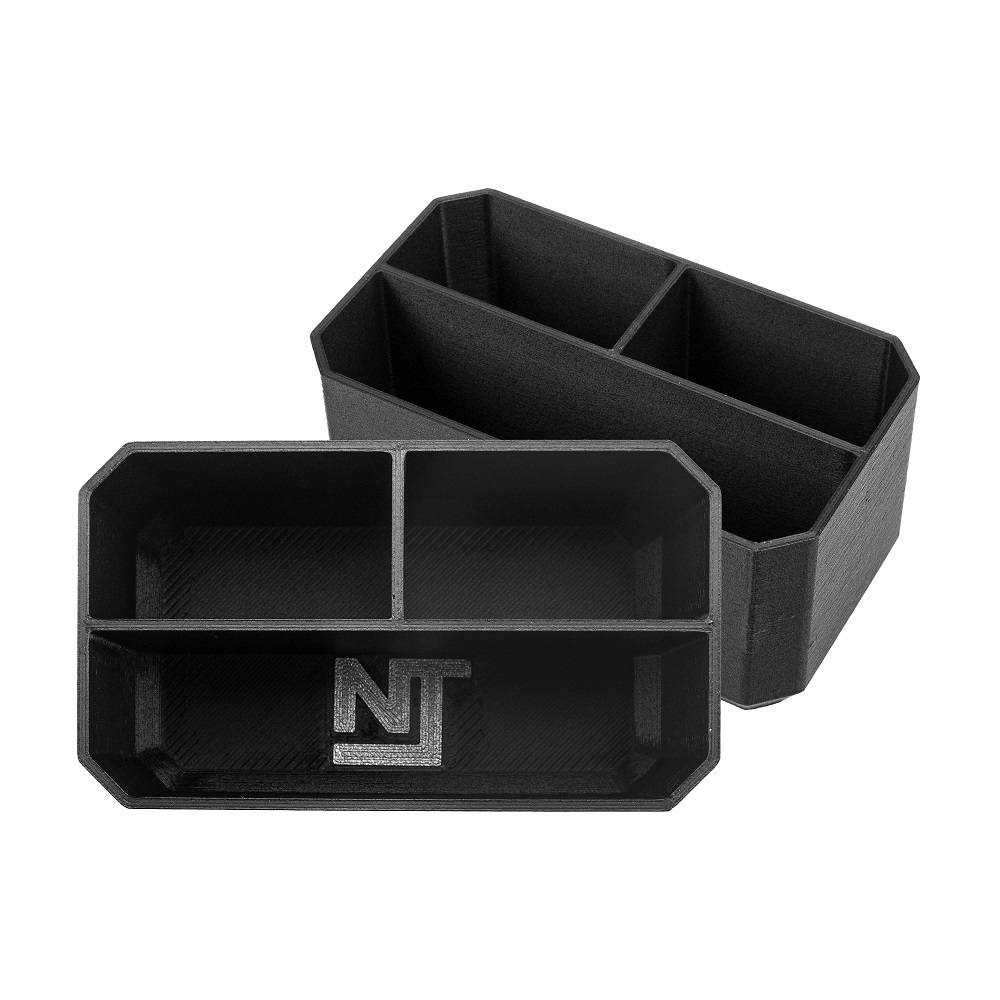
Introduction: Maximizing Kitchen Efficiency with DIY Drawer Organizers
An efficiently organized kitchen not only enhances cooking pleasure but also saves time and reduces frustration when preparing meals. One of the key areas to focus on is drawer organization, especially for utensils. DIY drawer organizers offer a cost-effective and customizable solution to neatly arrange utensils of various shapes and sizes. By utilizing simple materials and creative techniques, you can tailor drawer organizers to fit your kitchen layout and specific utensil collection, ensuring everything has its place for easy access and efficient use during cooking sessions.
Benefits of DIY Drawer Organizers
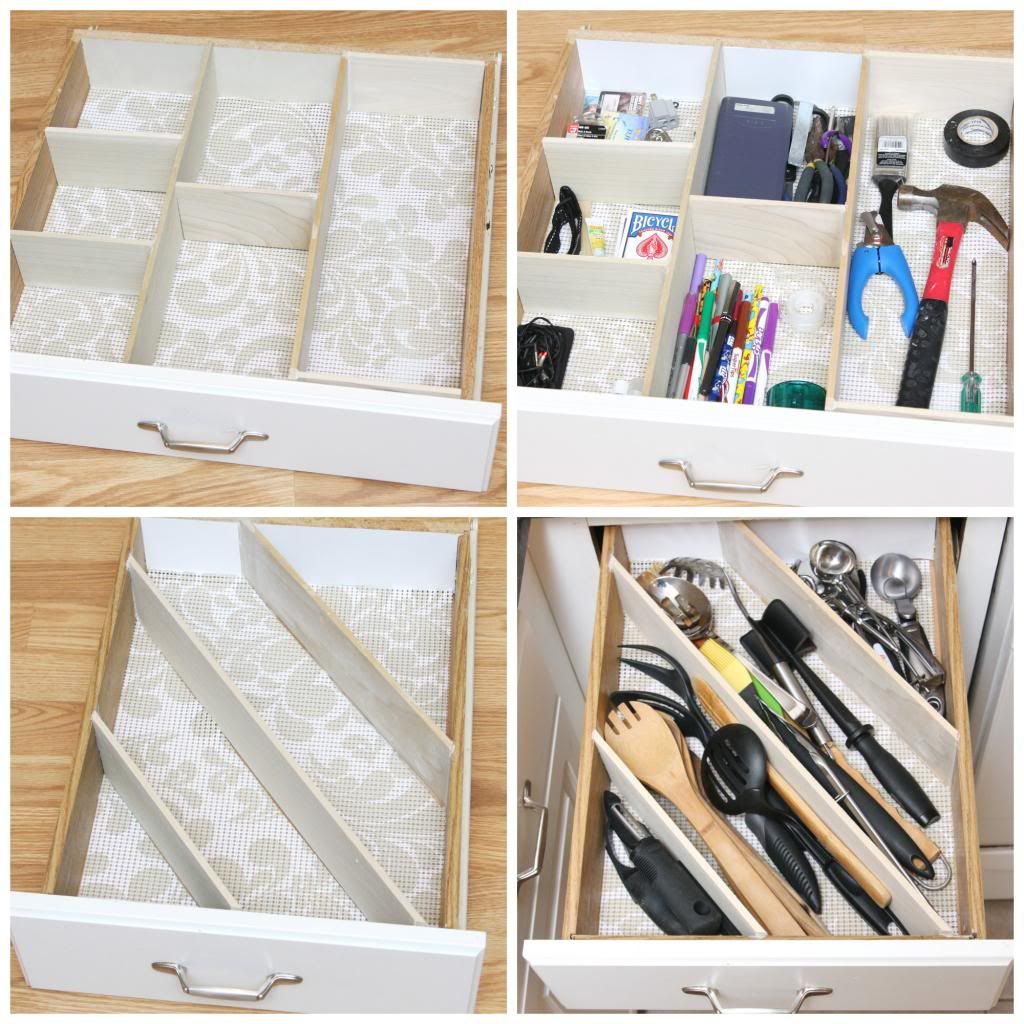
DIY drawer organizers provide numerous benefits beyond just tidying up your kitchen drawers. Firstly, they allow you to maximize the available space in your drawers by creating compartments that perfectly fit your utensils, minimizing wasted space and ensuring efficient use of storage. Secondly, customizing organizers allows you to cater to the specific needs of your utensil collection, whether it’s accommodating longer cooking spoons, bulkier spatulas, or delicate items like measuring spoons without them getting tangled or buried under other utensils. Lastly, DIY projects are often cost-effective, utilizing materials you may already have at home or can easily acquire, making them a budget-friendly organization solution.
Materials Needed for DIY Drawer Organizers
To embark on creating your DIY drawer organizers, gather essential materials beforehand. Basic supplies typically include sturdy cardboard or foam board as a base material, which provides structure and stability. You’ll also need a ruler or measuring tape for accurate dimensions, a pencil for marking, a utility knife or scissors for cutting materials to size, and adhesive or hot glue to assemble the organizer. Optional materials may include decorative paper or contact paper to cover the organizers, adding a personalized touch to match your kitchen decor. Ensure you have a well-lit workspace with ample room to spread out and work comfortably on your project.
Planning Your DIY Drawer Organizer Design
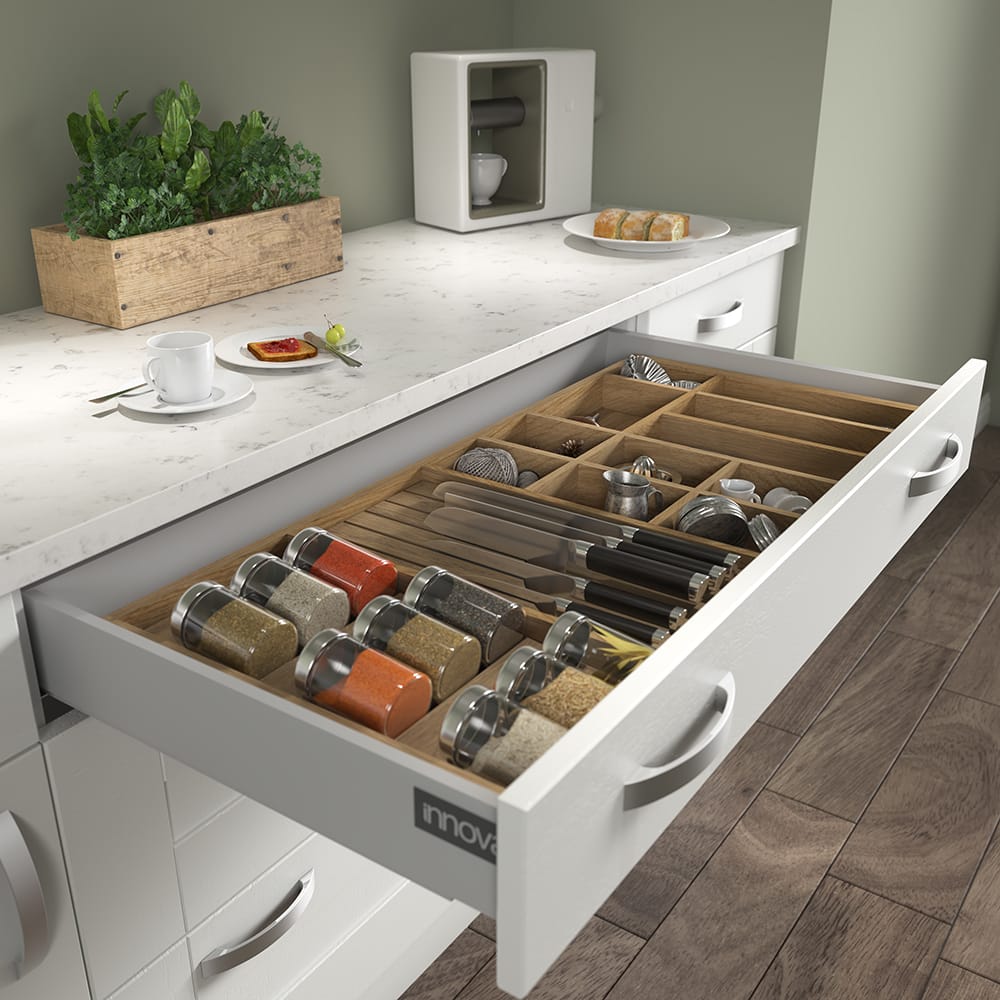
Before diving into construction, take time to plan your DIY drawer organizer design. Consider the layout and dimensions of your kitchen drawers to create organizers that fit snugly without wasting space. Assess the types of utensils you plan to store—long-handled items like ladles or whisks may require taller compartments, while shorter items like teaspoons or peelers can be grouped in smaller sections. Sketching out a rough design or creating a cardboard prototype can help visualize the final product and make adjustments before committing to cutting your base material.
Step-by-Step Guide to Making DIY Drawer Organizers
Begin by measuring the interior dimensions of your kitchen drawer where the organizer will be placed. Transfer these measurements to your base material, marking out sections for each compartment according to your design plan. Use a ruler and pencil to ensure straight lines and accurate dimensions, as precision is key to creating organizers that fit seamlessly into your drawer space. Once marked, carefully cut out each compartment using a utility knife or scissors, taking care to follow your measurements closely to achieve clean edges and uniform sections.
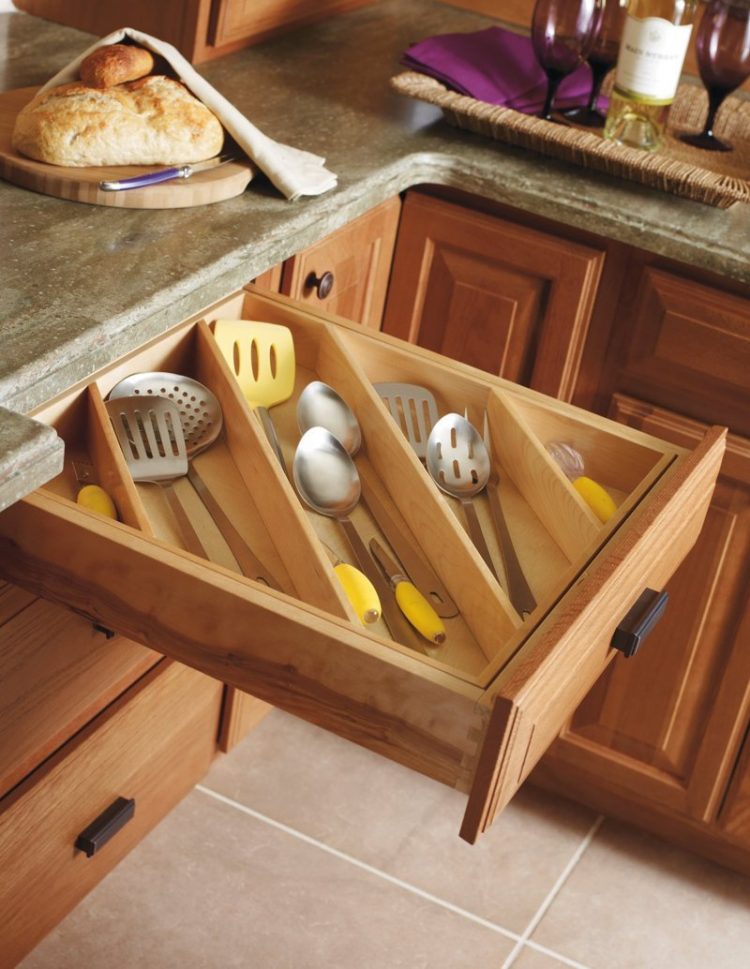
Assembly and Customization of DIY Drawer Organizers
With all compartments cut out, proceed to assemble your DIY drawer organizers. Fold along the marked lines if using cardboard or foam board to create the sides of each compartment, securing edges with adhesive or hot glue for stability. For added durability and aesthetic appeal, consider covering the exterior with decorative paper or contact paper, which also makes the organizers easier to clean and maintain over time. Customize each compartment by labeling or arranging them based on the types of utensils they will hold, ensuring a systematic and efficient organization that suits your cooking style.
Tips for Optimizing Drawer Space and Functionality
To optimize drawer space and functionality, consider arranging DIY organizers strategically within your kitchen drawers. Group similar utensils together within each compartment—such as all cooking spoons in one section and spatulas in another—to streamline access during meal preparation. Utilize vertical space by placing taller items like serving tongs or whisks upright in their compartments, maximizing drawer capacity while keeping items visible and easily retrievable. Regularly assess and adjust your organization system as your cooking utensil collection evolves, ensuring it continues to meet your needs efficiently.
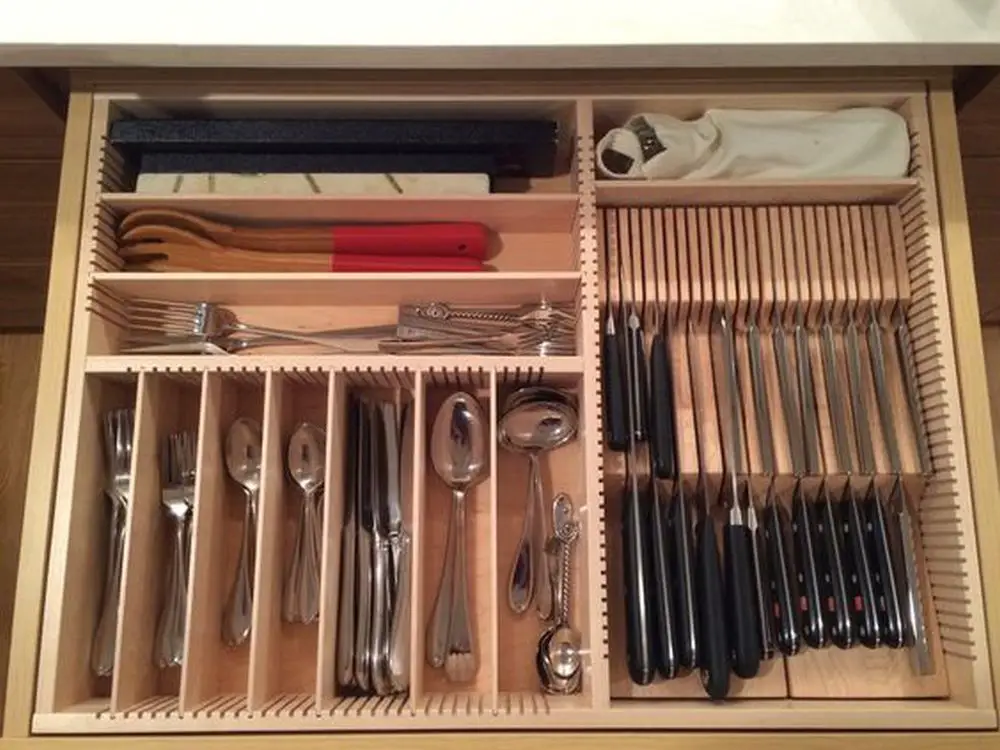
Maintenance and Longevity of DIY Drawer Organizers
Maintaining your DIY drawer organizers is essential to prolong their longevity and functionality. Periodically remove utensils for cleaning and wipe down the organizers with a damp cloth to remove dust or food residue. Avoid placing wet or damp utensils directly into compartments to prevent moisture damage to the base material. If using cardboard, consider applying a coat of clear varnish or sealant to reinforce durability and make cleaning easier. Regular upkeep ensures your organizers remain a reliable tool in your kitchen organization arsenal for years to come.
Advanced Techniques and Customization Options
For those looking to elevate their DIY drawer organizer game, consider incorporating advanced techniques and customization options to further tailor your organizers to your kitchen’s unique needs. One popular method is using acrylic sheets instead of cardboard or foam board for enhanced durability and a sleek, modern look. Acrylic allows for precision cutting and can be easily shaped to fit intricate drawer spaces or accommodate specialized utensils.
Adding Dividers and Inserts
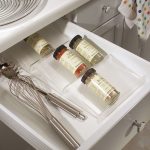
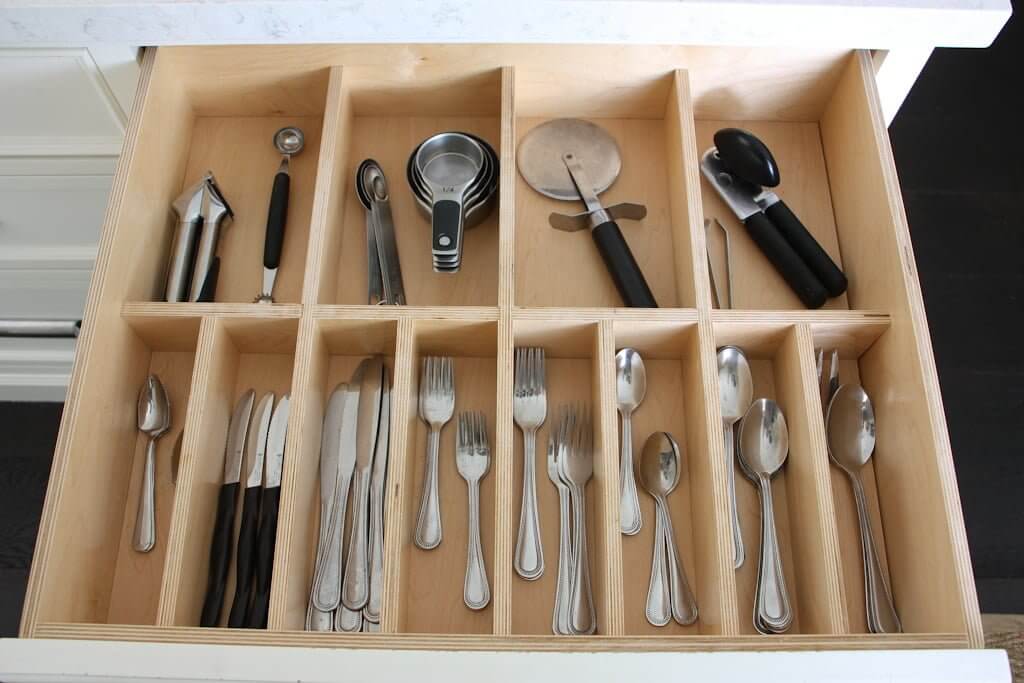
To maximize efficiency and organization within each compartment, consider adding dividers or inserts. These can be made from materials like wood, bamboo, or even recycled plastic cutlery trays. Dividers help keep utensils upright and prevent them from sliding around, especially during drawer movement. They also provide a designated spot for each item, making it easier to maintain order and quickly locate what you need while cooking.
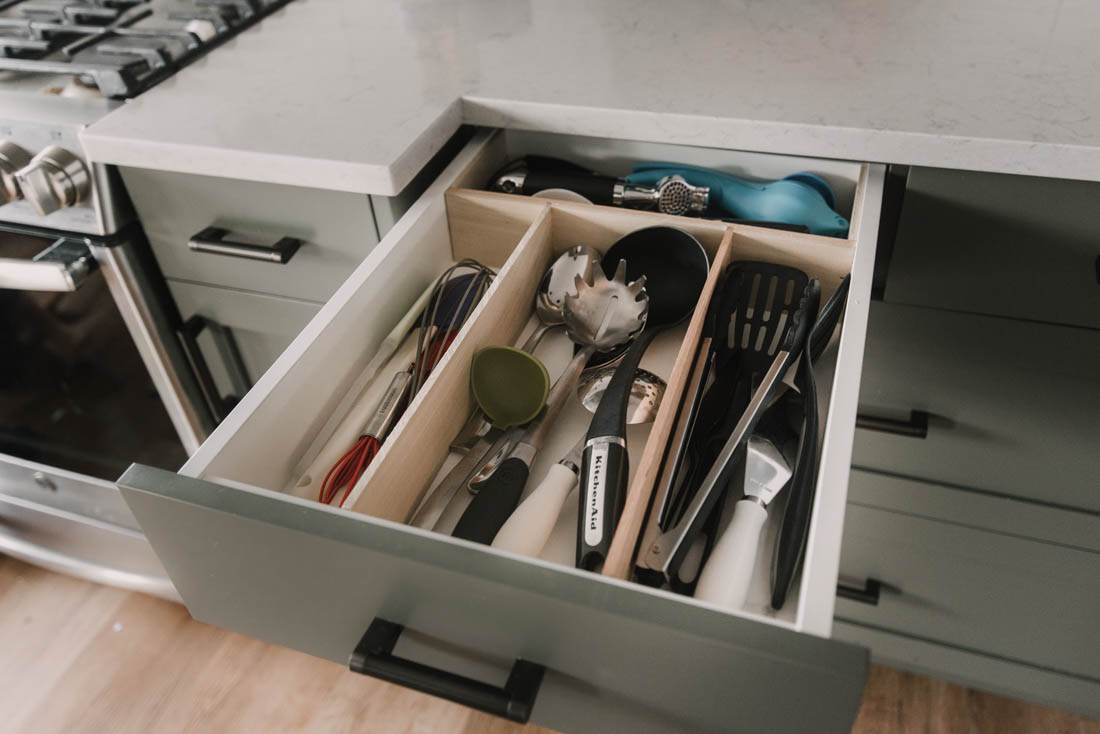
Custom Labels and Identification
To further streamline your cooking process, consider labeling each compartment with custom tags or identification markers. This can be as simple as labeling with a marker or creating stylish labels using a label maker or printable labels. Labeling ensures that everyone in your household knows where to find and return utensils, maintaining organizational consistency over time.
Modular and Stackable Designs
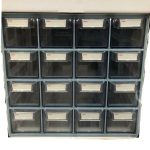
For kitchens with limited drawer space or those who frequently rearrange their kitchen layout, consider creating modular or stackable drawer organizers. Modular designs allow you to mix and match compartments based on your current utensil collection or adjust as needed over time. Stackable organizers utilize vertical space efficiently, enabling you to expand or contract your storage capacity as your needs change.
Conclusion: Enjoying the Fruits of Organized Cooking
In conclusion, DIY drawer organizers for utensils offer a practical and customizable solution to maintaining a well-organized kitchen space. By investing time and creativity into crafting organizers tailored to your specific needs, you can enhance efficiency, reduce clutter, and enjoy a more enjoyable cooking experience. From selecting materials and designing layouts to assembling and optimizing functionality, each step contributes to creating a cohesive and efficient storage system that reflects your personal cooking style and kitchen aesthetics. Embrace the process of DIY organization as a rewarding journey towards a more organized and functional kitchen, where every utensil has its designated place and cooking becomes a seamless pleasure.
