


Introduction: The Quest for Orderly Drawers
In the quest for a clutter-free haven, well-organized drawers play a pivotal role. Among the myriad of furniture solutions available, IKEA’s Malm series stands out as a popular choice for its sleek design and versatile functionality. However, the true magic lies not solely in the furniture itself but in how we customize and optimize it to fit our organizational needs. This guide delves into transforming your IKEA Malm drawers into a model of efficiency and style through DIY drawer organization projects, tailored specifically for this iconic furniture line.
Understanding the IKEA Malm Landscape
Before diving into the DIY realm, it’s essential to understand the anatomy of IKEA Malm drawers. These units are celebrated for their minimalist aesthetic and solid construction, typically featuring smooth-gliding drawers that can accommodate a range of storage solutions. Whether you’re working with the dresser, nightstand, or chest of drawers, the flat-pack furniture’s modular design invites customization, making it an ideal canvas for your organizational endeavors.
Assessing Your Organizational Needs
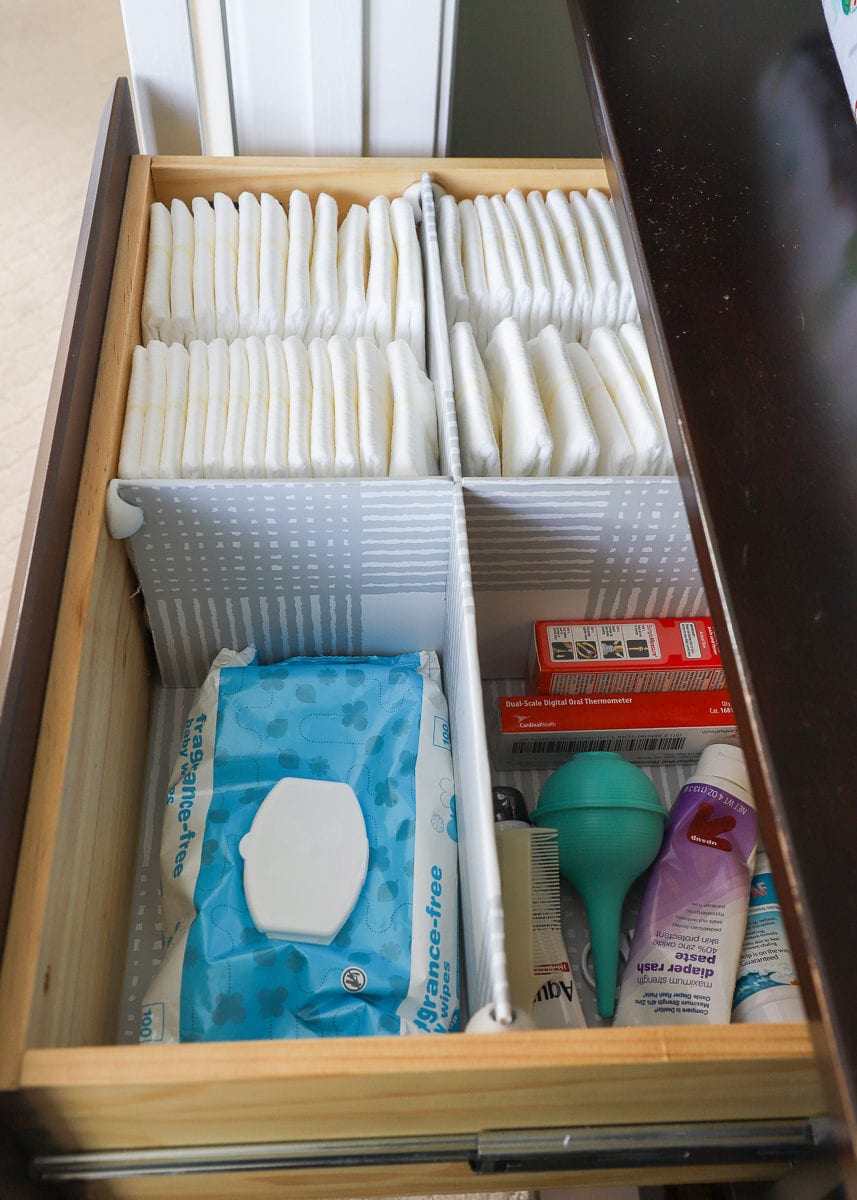
The first step in any DIY project is to assess your specific storage requirements. Consider the items you plan to store—be it clothing, accessories, office supplies, or a mix. Understanding your needs helps determine the size, number, and type of organizers needed. Will you require compartments for small items, or are larger sections more appropriate? A clear vision ensures a tailored solution that maximizes space utilization.
Materials and Tools Checklist
Embarking on a DIY drawer organizer journey necessitates gathering the right tools and materials. For IKEA Malm drawers, common supplies include:
- Measuring tape and ruler for precise dimensions
- Wood or acrylic sheets for custom dividers
- Adhesive Velcro strips or double-sided tape for non-permanent installations
- Wood glue or screws for a more permanent setup
- Sandpaper for smoothing edges
- Paint or wood stain for customization (optional)
- A handsaw or jigsaw for cutting materials
- A drill for creating holes or fixing screws
Designing Your Dividers
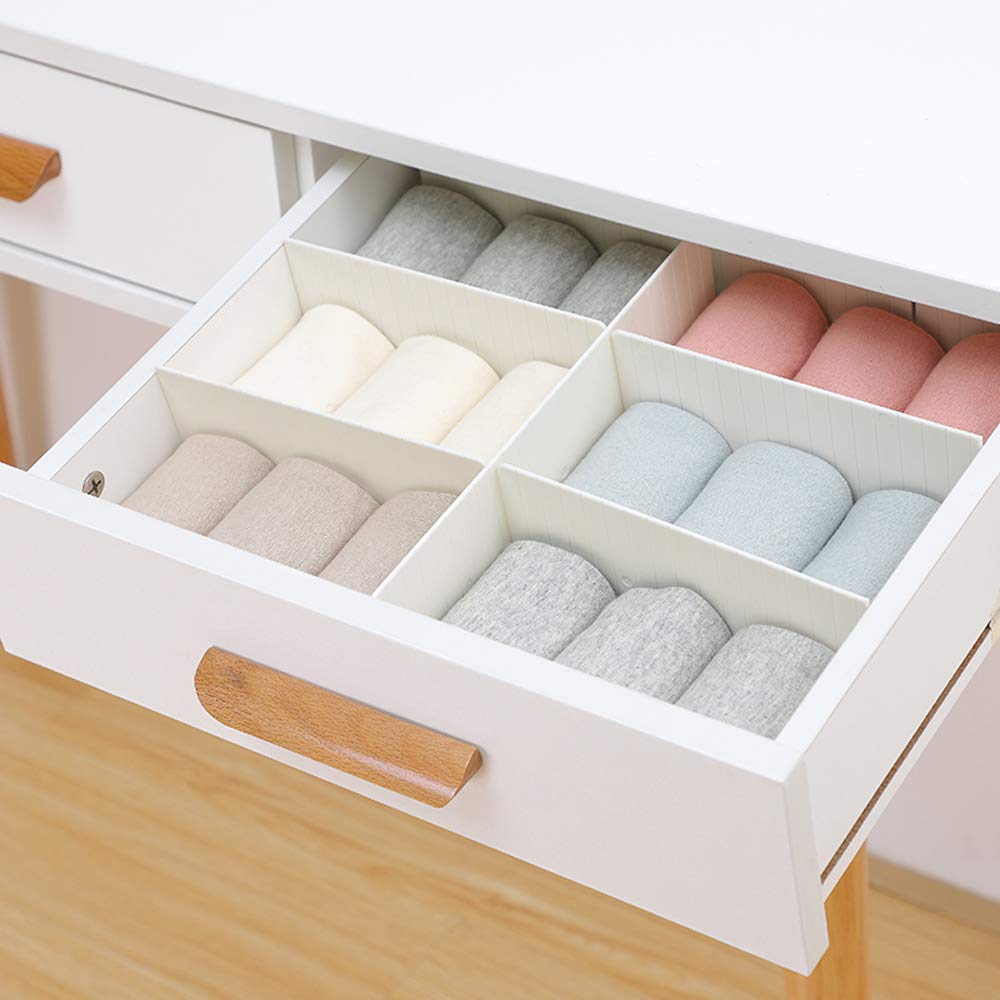
With measurements in hand, sketch out a layout for your dividers. Consider the height, width, and depth of each compartment based on what will be stored there. For instance, socks and underwear may require smaller, segmented spaces, while sweaters may need taller, broader divisions. Don’t forget to factor in a little extra space for easy access and to avoid overcrowding.
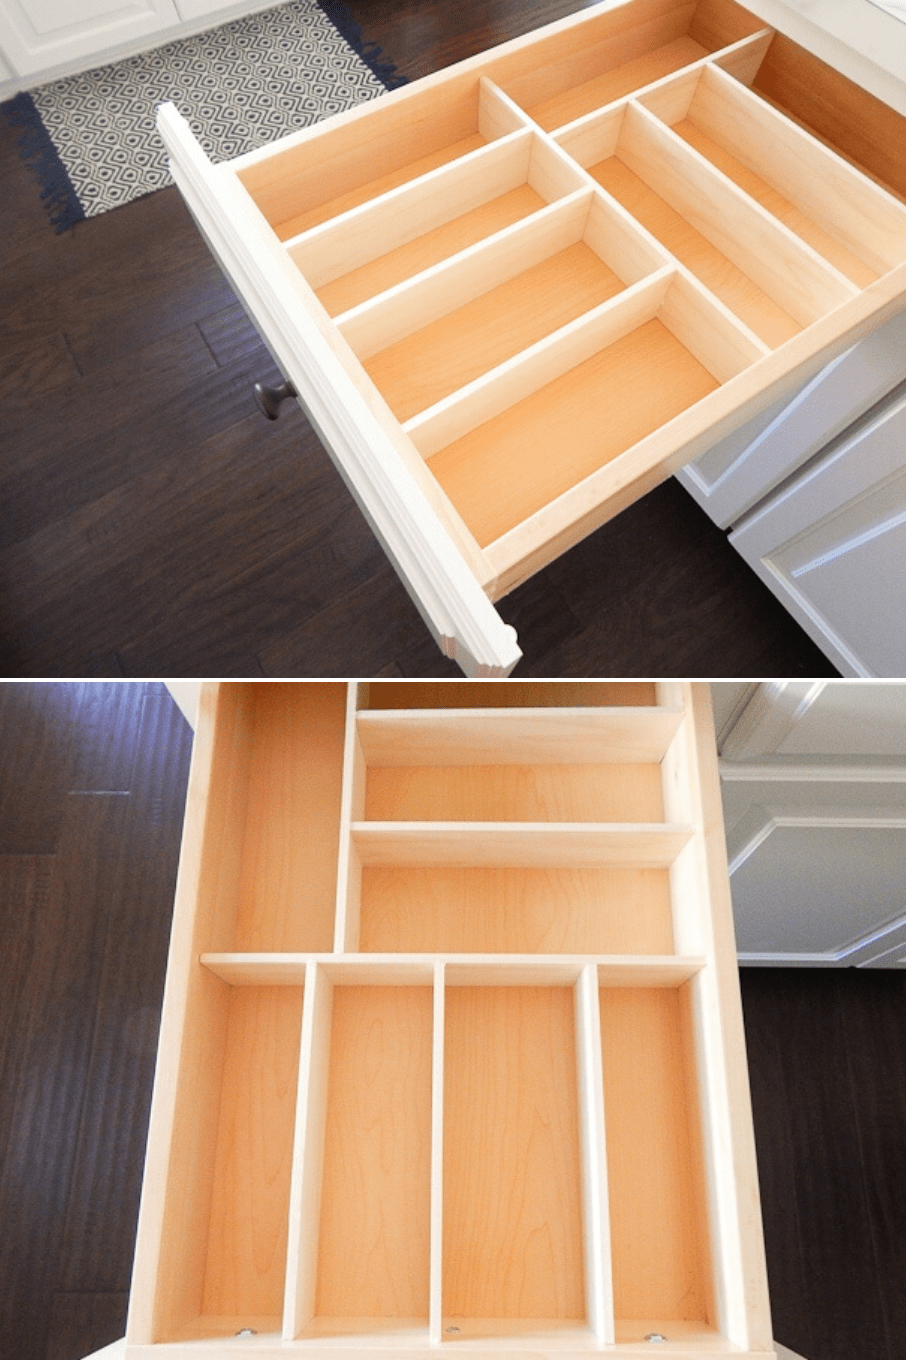
Crafting Custom Inserts
Using your chosen material, carefully cut out the dividers according to your design. If working with wood, sand the edges to prevent splinters and ensure a smooth finish. For a seamless look, staining or painting the dividers to match or complement your Malm drawer’s color adds a touch of sophistication.
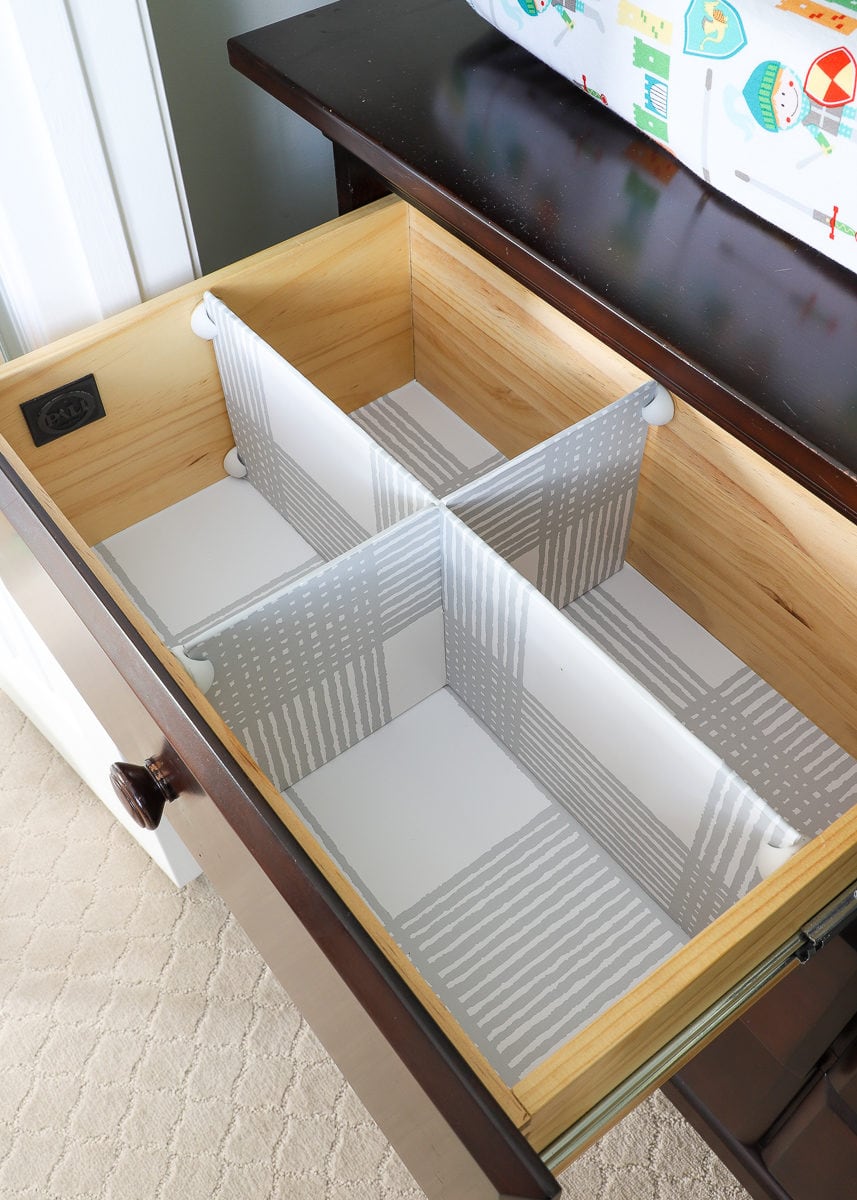
Installation Techniques for a Snug Fit
Installing your dividers can be done in a few different ways. For a non-destructive approach, adhesive Velcro or double-sided tape allows for easy reconfiguration later. Alternatively, for a more secure fit, wood glue or screws can be used. When screwing into place, pre-drill pilot holes to prevent splitting the drawer bottom. Remember to check the alignment and adjust as necessary before the adhesive sets or screws are tightened.
Maximizing Small Spaces with Clever Hacks
For the smaller Malm nightstand drawers, think vertically. Tiered organizers or stackable containers can exponentially increase storage capacity. Installing a false bottom with hidden storage beneath is another nifty trick for stashing away valuables discreetly.
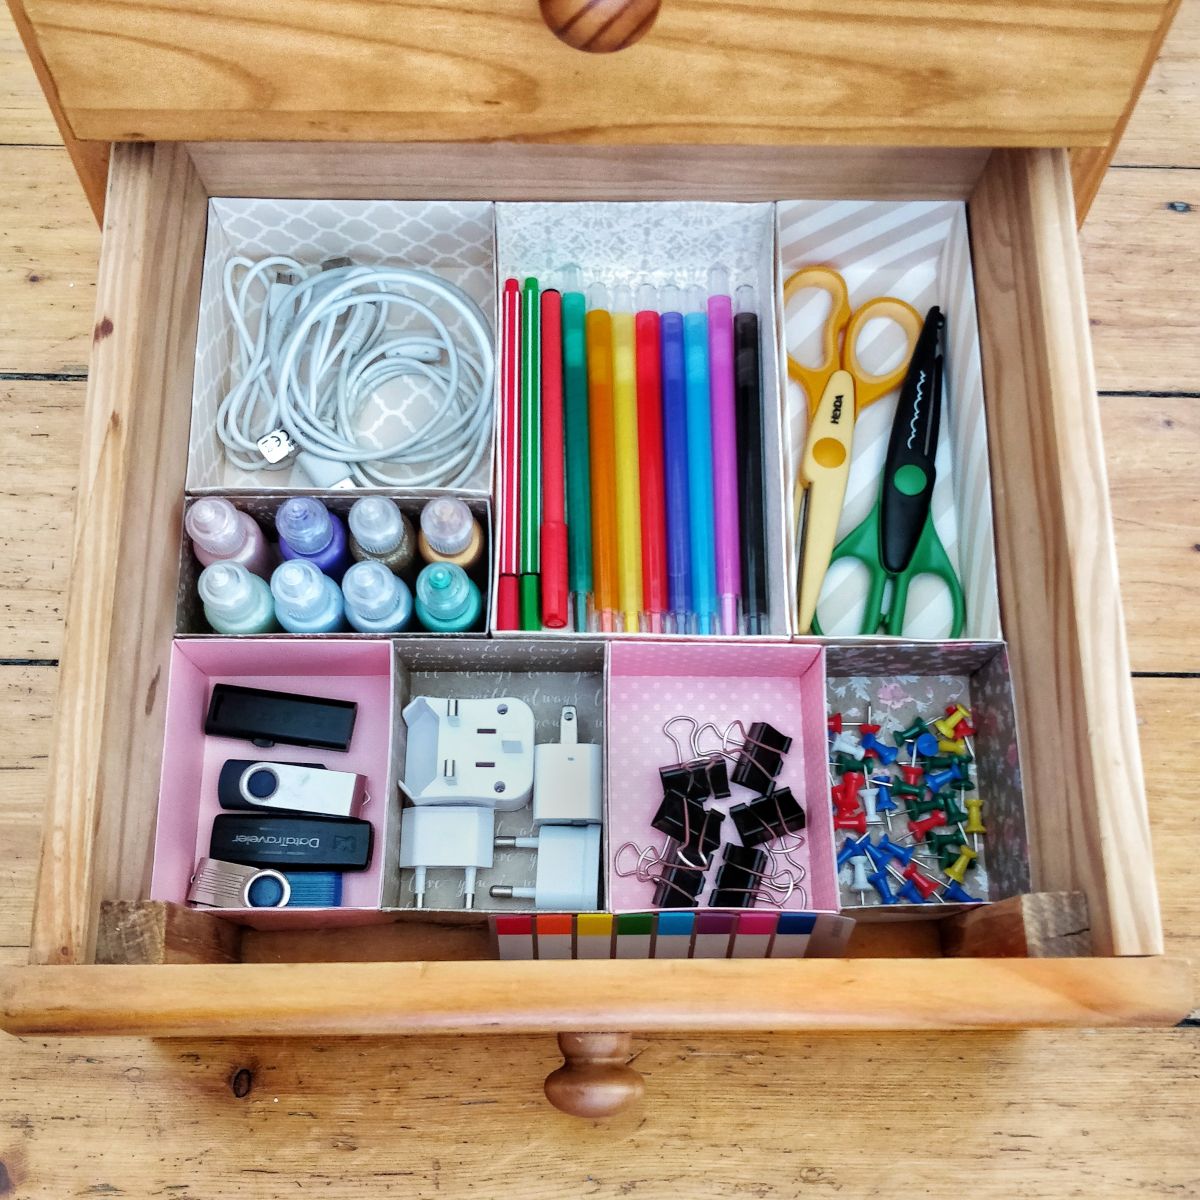
Going Beyond Standard Dividers
Don’t limit yourself to conventional dividers alone. Repurpose old shoeboxes covered in decorative paper for a budget-friendly touch. Utilize drawer inserts designed for utensils in the kitchen section for organizing jewelry or makeup. Magnetic strips adhered to the drawer sides can hold bobby pins or small metal tools, while tension rods can create vertical partitions for rolls of wrapping paper or T-shirt folding.
Maintaining Order: Tips for Longevity
Once your DIY drawer organizers are in place, establish a system for maintaining order. Regularly review and declutter items to prevent overflow. Consider labeling compartments to facilitate quick access and encourage family members to adhere to the new system.
Innovative Materials for Unique Solutions
When exploring materials for your custom drawer inserts, consider eco-friendly options such as bamboo, which is both sustainable and sturdy. Bamboo can be easily cut to size and provides a natural aesthetic that complements various décors. Another creative choice is upcycling acrylic sheets, which offer a modern, transparent look, allowing you to see contents at a glance. They can be cut precisely using a laser cutter or carefully with a fine-tooth saw, then polished for a smooth edge.
Smart Technology Integration
Incorporate smart storage solutions by adding charging stations or cable management systems within your drawer dividers. This is particularly useful for bedside tables where phones, smartwatches, and other devices need charging overnight. Hideaway cable clips, wireless chargers. Built into the design of the partition to keep the surface clean and clutter-free。
Versatility and Adaptability
Design your drawer inserts with versatility in mind. Create modular components that can be rearranged or added to as your storage needs evolve. Magnetic dividers, for instance, can be easily moved around without damaging the drawer surface, offering flexibility for seasonal item organization or changes in your lifestyle.
Optimizing with Lighting
Illuminate dark drawers with LED strip lights installed beneath the dividers or along the drawer edges. This not only adds a touch of luxury but also increases visibility, making it easier to find small items like earrings or cufflinks. Battery-powered options are convenient for retrofitting without requiring electrical modifications.
DIY with Style
Personalize your drawer organizers by incorporating unique design elements. Use stenciling or decoupage techniques to add patterns or images onto wooden or cardboard dividers. For a minimalist approach, keep the design clean and simple, emphasizing function over decoration.
Sharing and Inspiring Others
Document your DIY journey and share your creations online. Not only will this inspire others to tackle their own organization projects, but you can also gather feedback and ideas for future improvements. Joining DIY communities can provide valuable tips, support, and fresh inspiration for maximizing storage efficiency in every corner of your home.
Conclusion: Crafting a Personalized Haven
Transforming your IKEA Malm drawers into organized havens isn’t just about practicality; it’s an exercise in personal expression and creativity. By embracing DIY solutions, you not only enhance the functionality of your space but also imbue it with a unique touch that reflects your lifestyle and aesthetic preferences. With careful planning, the right tools, and a dash of innovation, your Malm drawers can become the epitome of organized elegance in your home.


