Introduction to the Project
Creating your own drawer organizer is a rewarding and practical project that can greatly improve the functionality and aesthetics of your living space. Whether you are tired of rummaging through cluttered drawers or simply want to add a personal touch to your home organization, a DIY drawer organizer offers a perfect solution. This project not only allows you to tailor the design to fit your specific needs but also provides an opportunity to explore your creativity and craftsmanship. By following detailed steps and utilizing readily available materials, you can transform chaotic drawers into organized havens, making daily tasks more efficient and enjoyable.
The Benefits of a Custom Organizer
One of the primary benefits of creating a custom drawer organizer is the ability to optimize space according to your unique requirements. Unlike generic store-bought organizers, a DIY version can be designed to accommodate the exact dimensions and specific contents of your drawers. This customization ensures that every item, from cutlery and kitchen tools to office supplies and personal accessories, has its designated place. Moreover, a well-organized drawer reduces the time spent searching for items, thereby enhancing productivity and minimizing stress. Additionally, the satisfaction derived from crafting something with your own hands adds sentimental value and a sense of accomplishment to the finished product.
Planning Your Design
Before diving into the construction process, it is essential to plan your design meticulously. Start by assessing the contents of the drawer you intend to organize. Take measurements to determine the drawer’s dimensions, ensuring accurate sizing for the compartments. Consider the types and sizes of items that will be stored in each section. Sketch a rough layout on paper, envisioning how different compartments will be arranged. This planning phase is crucial as it helps avoid mistakes and ensures that the final product meets your needs. Remember to allow some flexibility in your design to accommodate any future changes in the drawer’s contents.
Selecting Materials and Tools
Choosing the right materials and tools is vital to the success of your DIY drawer organizer project. Common materials include plywood, MDF (medium-density fiberboard), or even repurposed wood, depending on your preference and availability. Each material has its advantages: plywood is sturdy and durable, MDF is smooth and easy to work with, and repurposed wood adds a rustic charm. Additionally, you will need essential tools such as a measuring tape, saw, sandpaper, wood glue, clamps, and finishing options like paint or varnish. Investing in quality materials and tools not only ensures a polished final product but also makes the construction process smoother and more enjoyable.
Cutting and Assembling Components
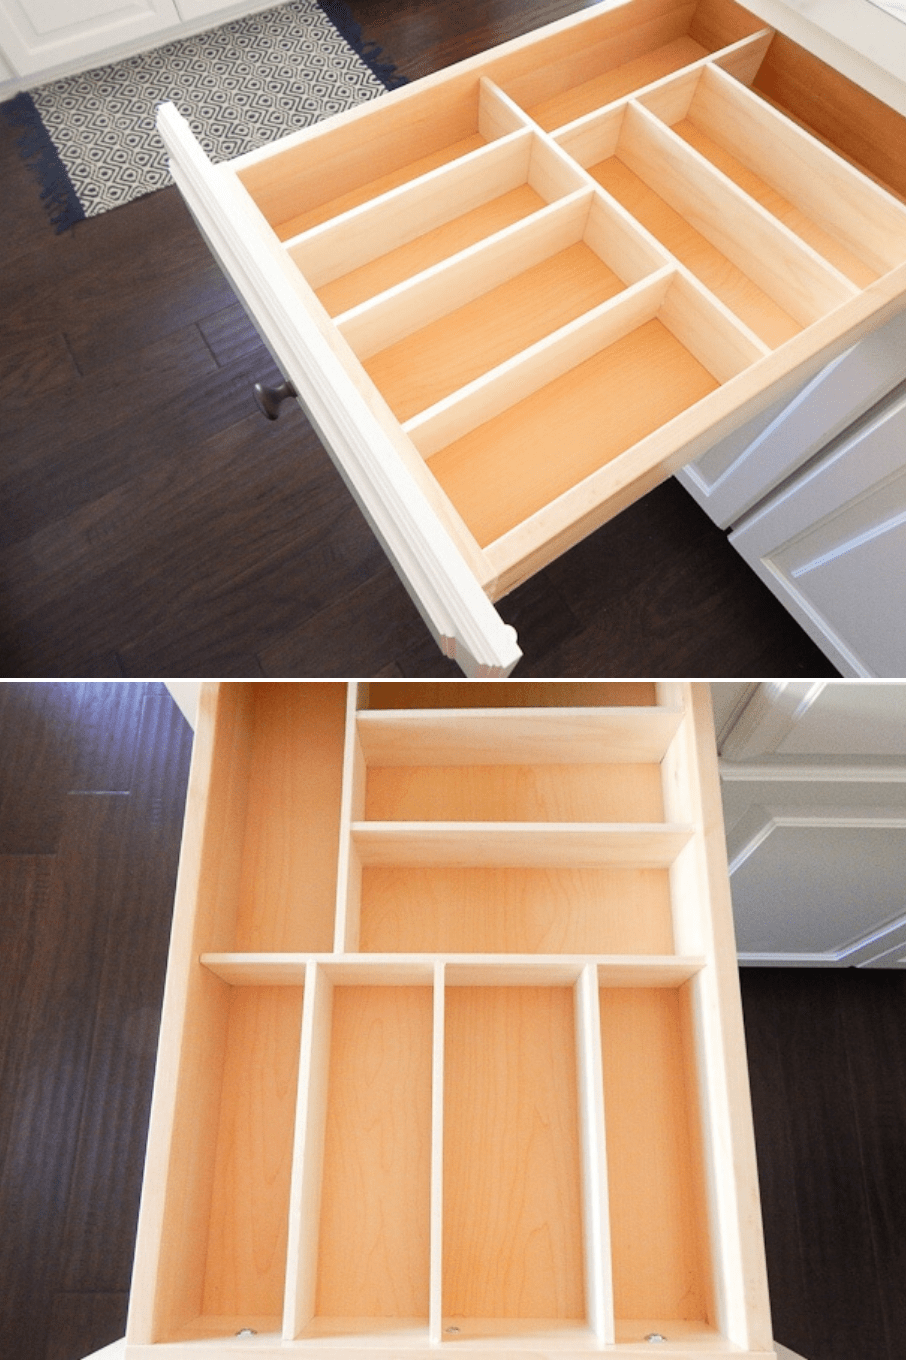
With your design, materials, and tools ready, it’s time to cut and assemble the components of your drawer organizer. Begin by measuring and marking the wood according to the dimensions specified in your plan. Use a saw to make precise cuts, ensuring all pieces are straight and even. Sand the edges to remove splinters and rough spots, creating a smooth surface for assembly. Apply wood glue along the edges of the pieces and join them together, using clamps to hold them in place until the glue dries. Pay close attention to alignment and ensure each joint is secure. Once assembled, allow sufficient time for the glue to cure before moving on to the next step.
Adding the Finishing Touches
After the assembly is complete, it’s time to add the finishing touches to your drawer organizer. Sand the entire piece again, focusing on any rough or uneven areas. Choose a finish that complements the overall aesthetic of your space. Paint offers a wide range of color options, allowing you to match the organizer with your existing decor. Varnish, on the other hand, enhances the natural beauty of wood while providing protection against moisture and wear. If you prefer a more personalized touch, consider adding decorative elements such as stenciling or decoupage. These finishing touches not only enhance the visual appeal of your organizer but also add a layer of durability.
Inserting Dividers and Compartments
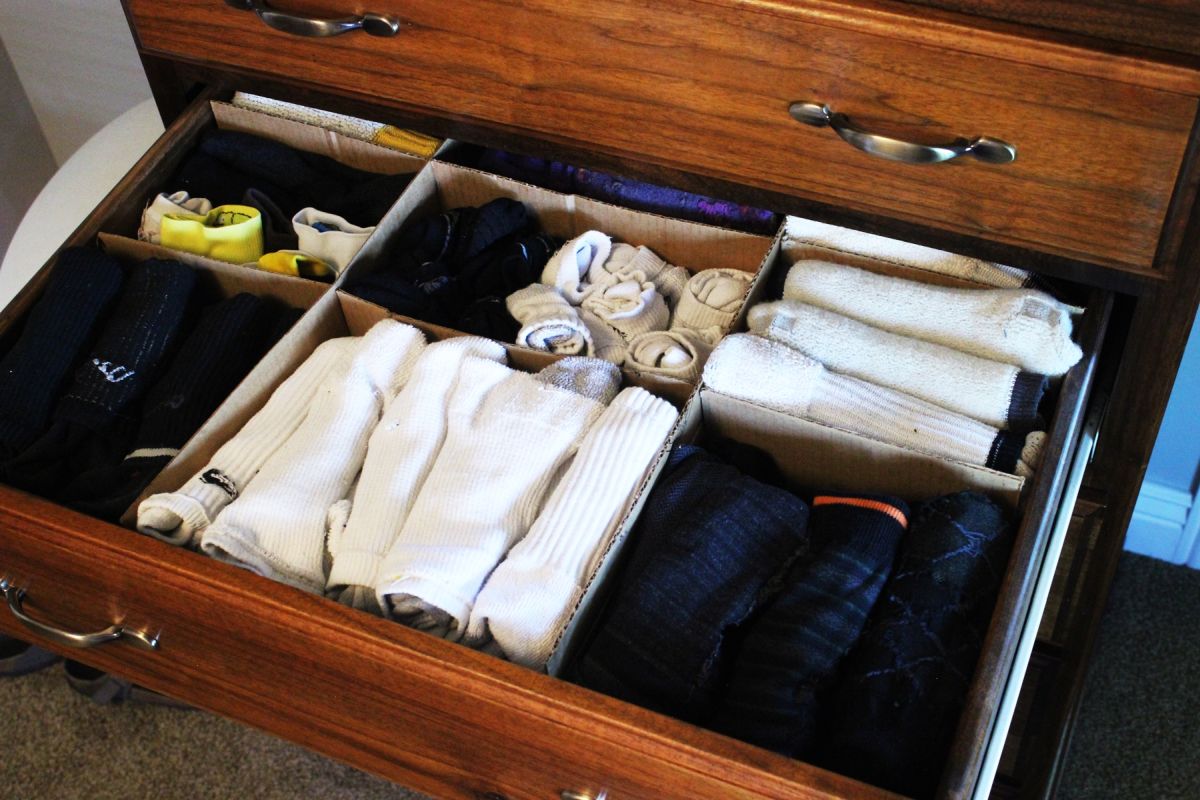
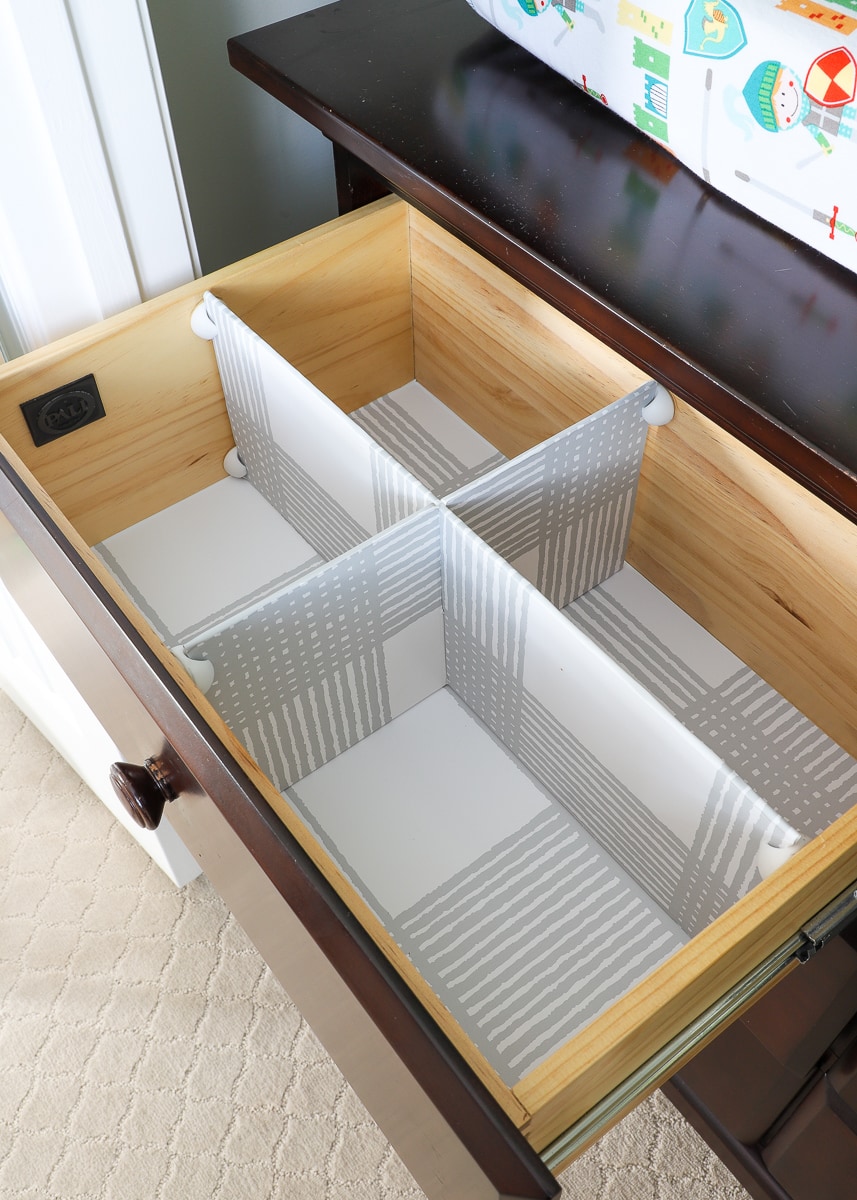
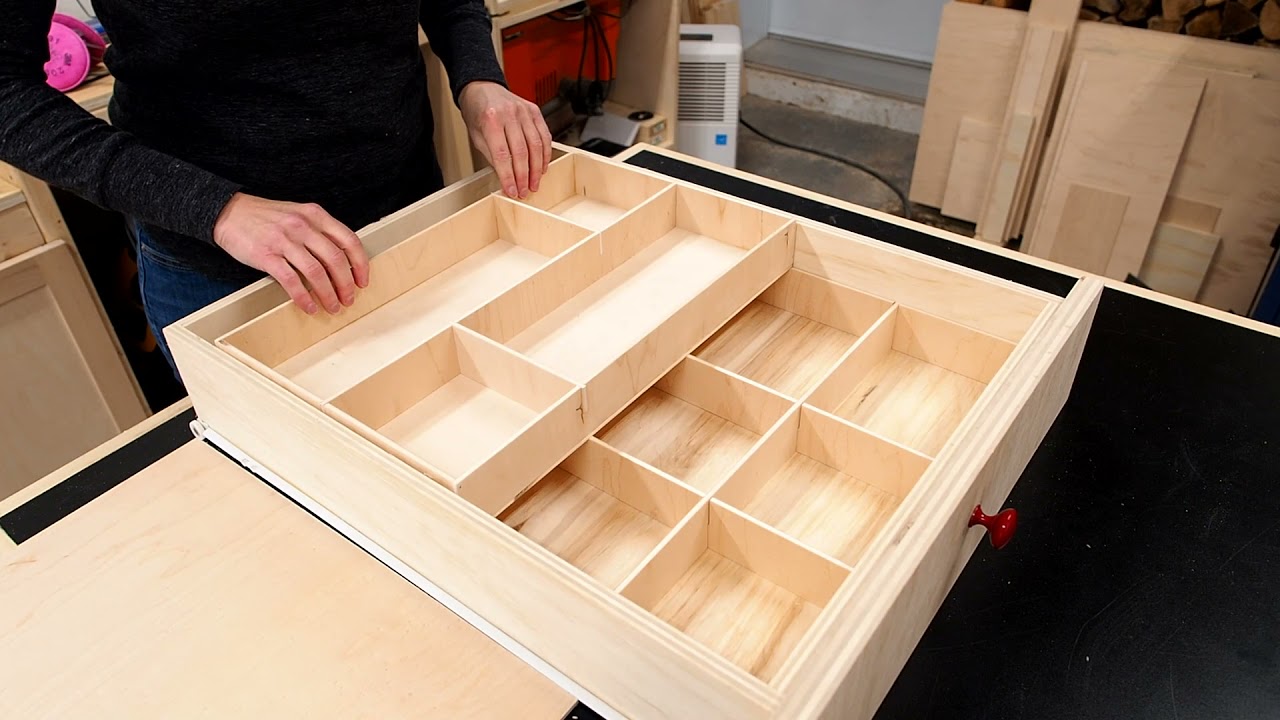
To maximize the functionality of your drawer organizer, consider inserting dividers and compartments tailored to your specific needs. Measure and cut additional pieces of wood to create partitions within the main structure. These dividers can be fixed or adjustable, depending on your preference. Fixed dividers provide a sturdy and permanent arrangement, while adjustable ones offer flexibility for reconfiguring the layout as needed. Secure the dividers in place using wood glue or small nails, ensuring they are aligned and evenly spaced. By segmenting the drawer into smaller sections, you can categorize and separate items more effectively, making it easier to find and access them when needed.
Tips for Optimal Organization
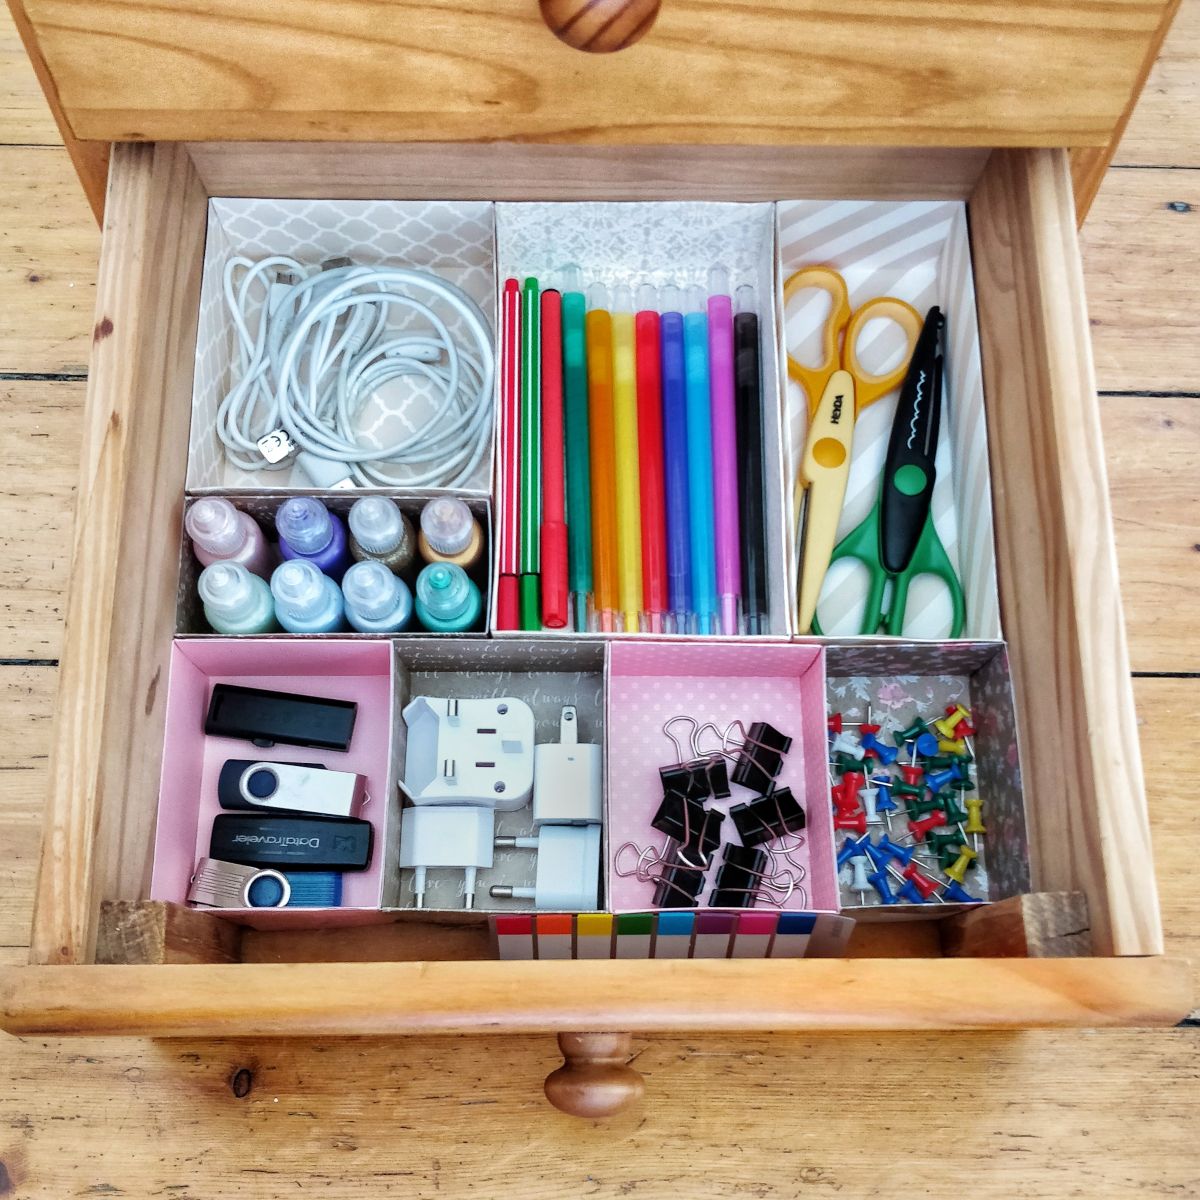
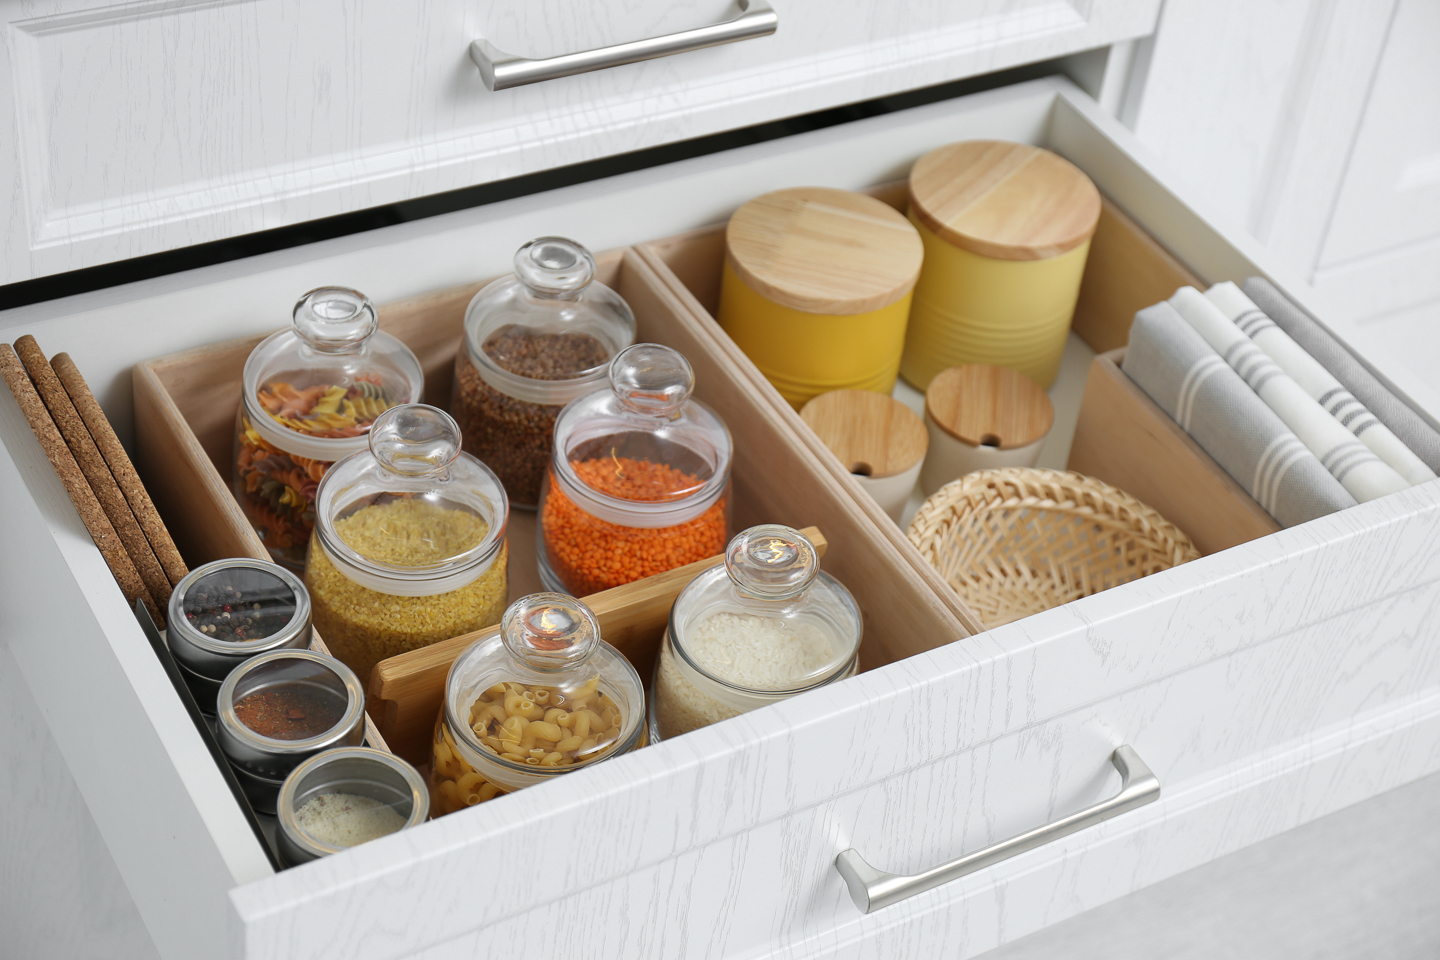
Organizing a drawer goes beyond simply creating compartments; it involves strategic placement of items to ensure maximum efficiency. Start by grouping similar items together, such as utensils, office supplies, or cosmetics. Place frequently used items in easily accessible sections, while less commonly used ones can be stored towards the back. Utilize smaller containers or trays within the compartments to further categorize and contain items. Labels can also be helpful, especially for drawers with numerous small items. Regularly reassess and reorganize the contents to maintain order and adapt to changing needs. By implementing these strategies, you can create a drawer organizer that not only looks neat but also functions seamlessly.
Maintaining Your Drawer Organizer
Once your DIY drawer organizer is in place, proper maintenance is key to ensuring its longevity. Regularly clean the organizer to prevent dust and debris buildup. Use a damp cloth to wipe down the surfaces and remove any dirt. Avoid using harsh chemicals that could damage the finish. Periodically check the stability of the dividers and compartments, reinforcing any loose joints with additional glue or nails if necessary. If you notice wear and tear, address it promptly to prevent further damage. By taking these simple maintenance steps, you can enjoy the benefits of your custom drawer organizer for years to come.
Expanding Your DIY Skills
Completing a drawer organizer project can be a gateway to expanding your DIY skills and tackling more complex projects. The techniques and principles learned during this process, such as measuring, cutting, assembling, and finishing, are foundational skills applicable to a wide range of woodworking and home improvement tasks. As you gain confidence and experience, consider exploring other organizational projects like shelves, cabinets, or even larger furniture pieces. Engaging in DIY activities not only enhances your home but also fosters creativity, problem-solving, and a deeper appreciation for craftsmanship. Embrace the journey of learning and creating, and let each project become a stepping stone to new adventures in the world of DIY.
Conclusion
In conclusion, creating your own drawer organizer is a fulfilling and practical endeavor that brings order to your living space while showcasing your creativity and craftsmanship. By carefully planning your design, selecting quality materials, and employing precise construction techniques, you can craft a custom organizer tailored to your specific needs. The benefits of a well-organized drawer extend beyond aesthetics, enhancing efficiency and reducing stress in daily tasks. With thoughtful placement of dividers and compartments, optimal organization strategies, and regular maintenance, your DIY drawer organizer will remain a functional and beautiful addition to your home. Embrace the joy of DIY projects and let this endeavor inspire you to explore new possibilities in home organization and woodworking.