Introduction: The Importance of Drawer Organization
Effective drawer organization is essential for maintaining a clutter-free and functional living space. Whether in the kitchen, bedroom, office, or bathroom, well-organized drawers make it easier to find items, maximize storage space, and streamline daily routines. Drawer dividers are practical tools that help compartmentalize and categorize belongings, keeping them neatly arranged and easily accessible. In this article, we’ll explore the benefits of drawer dividers and provide step-by-step instructions for creating your own DIY dividers to organize your space with style and functionality.
Benefits of Drawer Dividers: Streamlining Your Storage Solutions
Drawer dividers offer a range of benefits that contribute to a more organized and efficient living environment:
- Maximizing Space Utilization: By dividing drawers into smaller sections, dividers make it possible to utilize every inch of available space, preventing wasted storage potential.
- Enhancing Accessibility: Dividers keep items neatly separated and visible, making it easy to locate specific items without rummaging through cluttered drawers.
- Reducing Clutter: With designated compartments for different items, drawer dividers help reduce clutter and maintain a tidy appearance, promoting a sense of calm and order.
- Preventing Damage: Dividers prevent items from shifting and bumping into each other, minimizing the risk of damage and extending the lifespan of stored belongings.
- Facilitating Organization: By categorizing items into distinct sections, dividers facilitate organization and help establish a logical storage system, ensuring everything has its place.
Materials and Tools Needed for DIY Drawer Dividers
Before diving into the DIY process, gather the following materials and tools:
- Cardboard or Foam Board: Choose sturdy materials such as cardboard or foam board to create the dividers’ structure.
- Ruler and Pencil: These tools are essential for measuring and marking the dimensions of the dividers.
- Utility Knife or Scissors: Use a utility knife or scissors to cut the cardboard or foam board to the desired size.
- Adhesive or Tape: Opt for strong adhesive or double-sided tape to secure the dividers in place within the drawer.
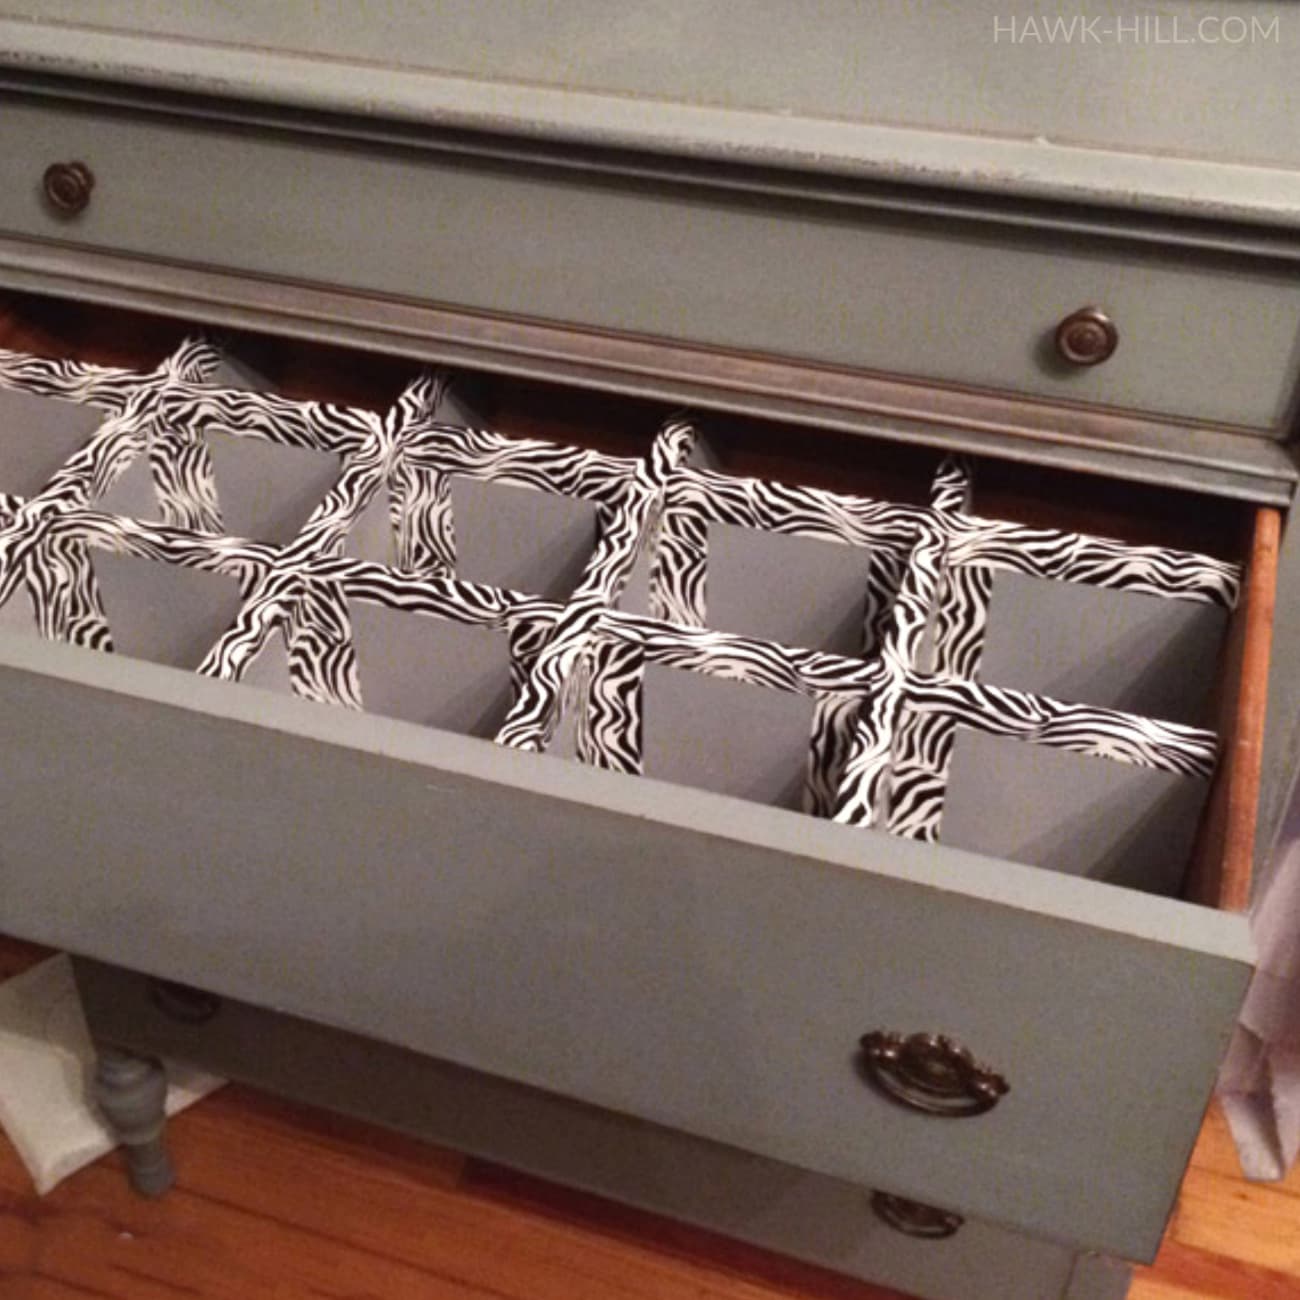
- Decorative Paper or Fabric (Optional): To add a touch of style, consider covering the dividers with decorative paper or fabric.
Step-by-Step Guide to Creating DIY Drawer Dividers
Follow these simple steps to create custom drawer dividers tailored to your specific needs:
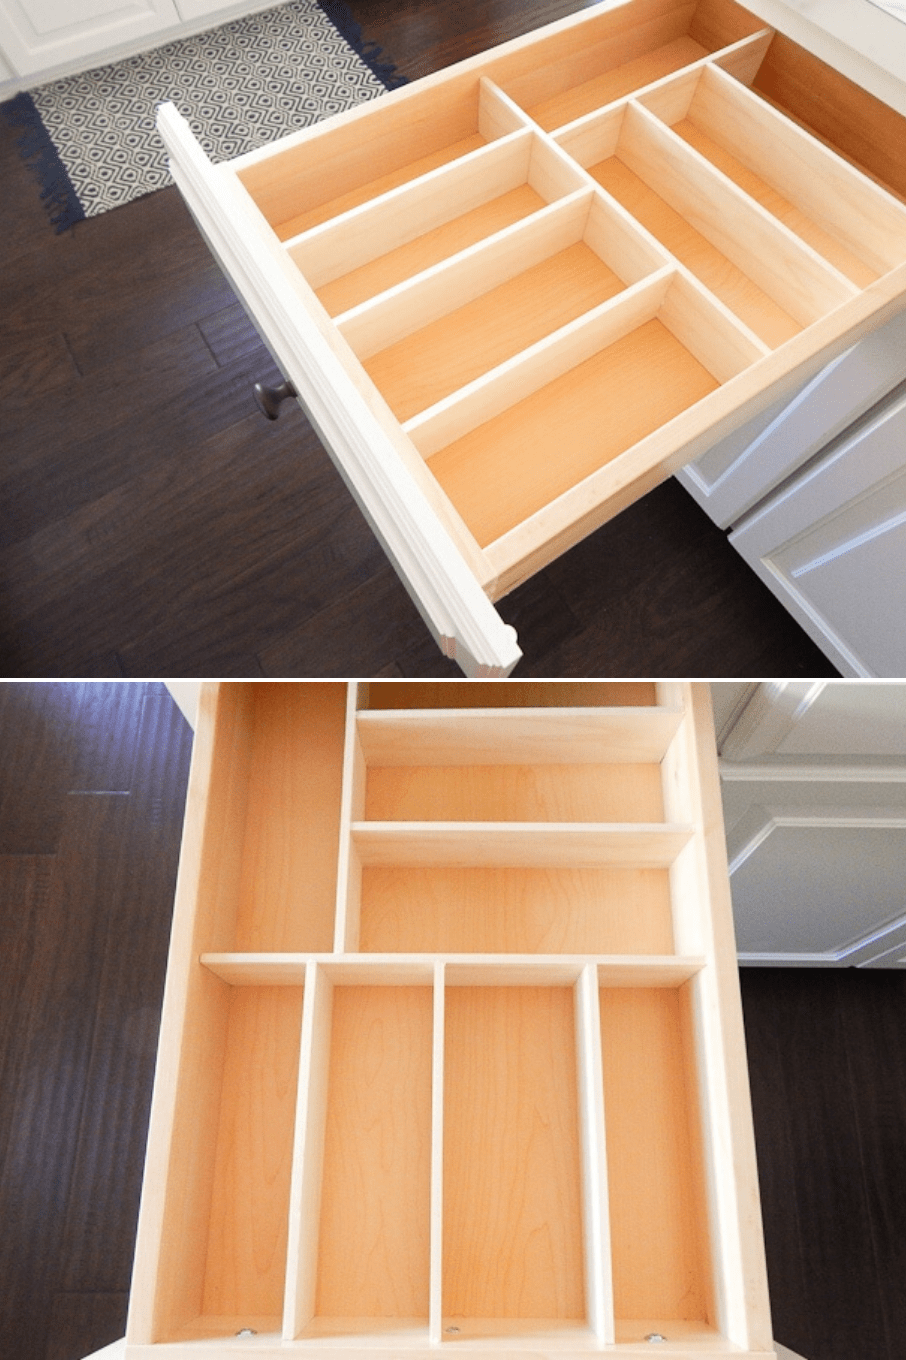
- Measure Your Drawer: Begin by measuring the width, length, and depth of your drawer to determine the dimensions of the dividers needed to fit snugly inside.
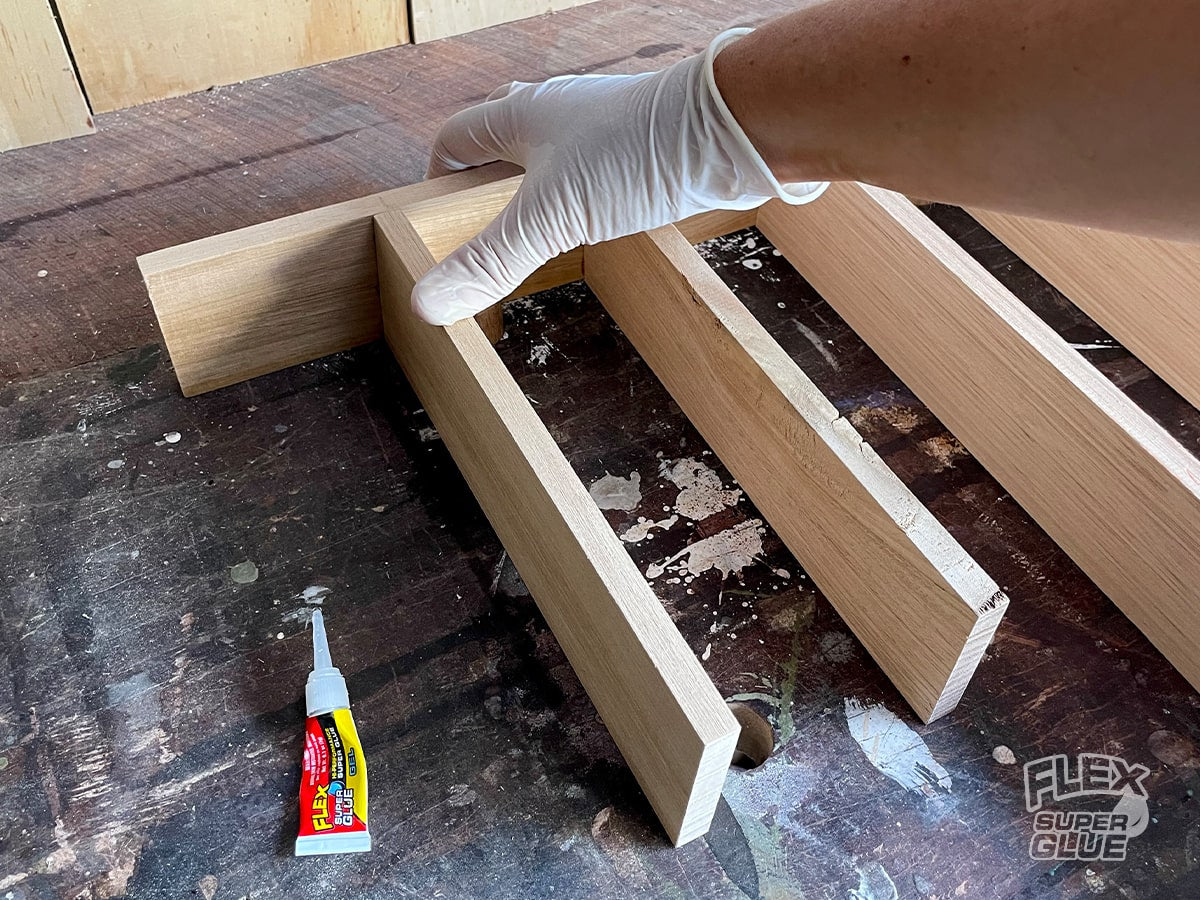
- Cut the Dividers: Using a ruler and pencil, mark the dimensions of each divider on the cardboard or foam board. Use a utility knife or scissors to carefully cut along the marked lines, creating individual divider pieces.
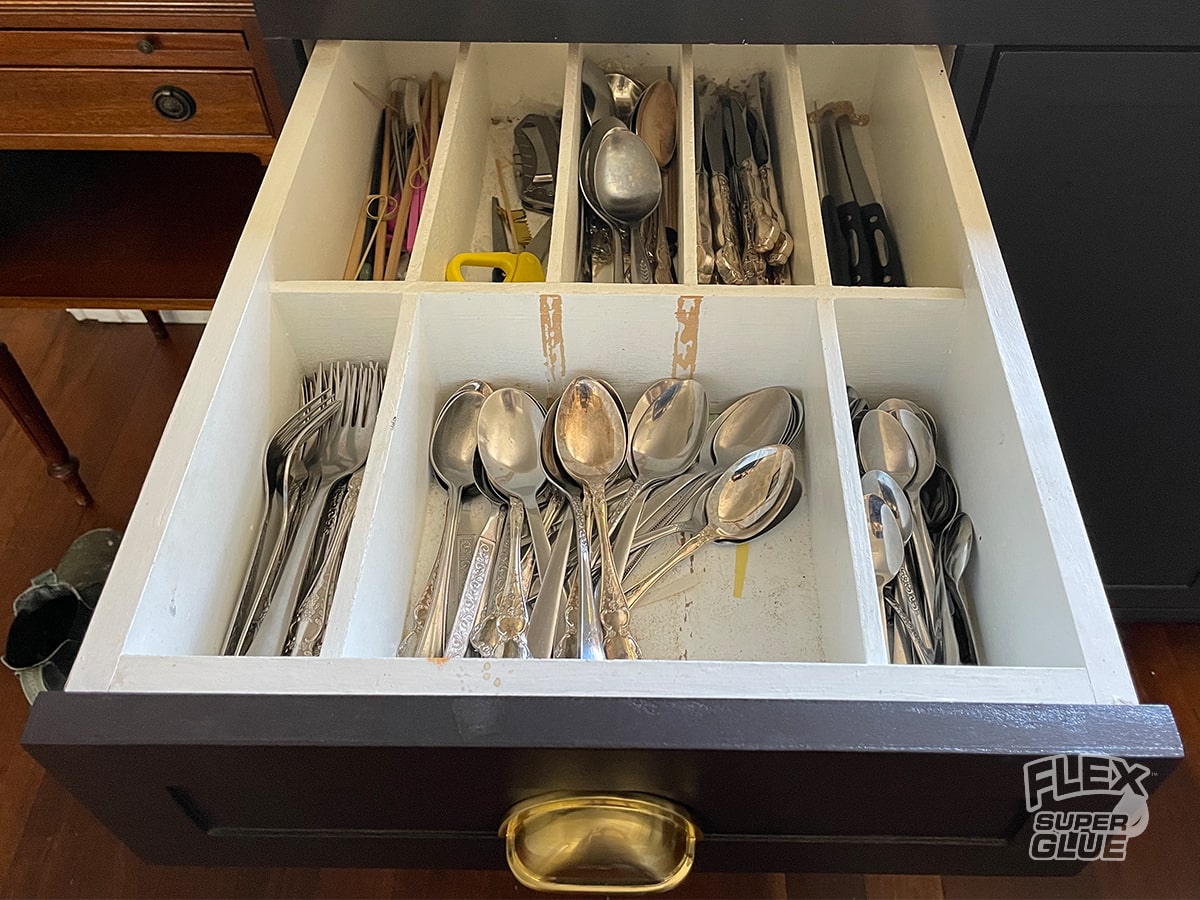
- Assemble the Dividers: Arrange the divider pieces inside the drawer according to your desired layout, ensuring they fit securely and leave enough space for items to be easily accessed. If necessary, trim the divider pieces to achieve the perfect fit.
- Secure the Dividers: Once you’re satisfied with the layout, use strong adhesive or double-sided tape to secure the divider pieces in place within the drawer. Press firmly to ensure they adhere securely.
- Optional: Cover with Decorative Paper or Fabric: If desired, enhance the appearance of your drawer dividers by covering them with decorative paper or fabric. Cut the paper or fabric to size and use adhesive to attach it to the divider pieces, creating a stylish and personalized look.
- Allow to Dry: If you’ve used adhesive or tape, allow the dividers to dry completely before placing items in the drawer to prevent them from shifting or coming loose.

Tips for Effective Drawer Organization
Once your DIY drawer dividers are in place, follow these tips to maximize their effectiveness:
- Declutter Regularly: Periodically go through your drawers to declutter and remove any items you no longer need or use. This will prevent drawers from becoming overcrowded and make it easier to maintain organization.
- Assign Specific Categories: Assign specific categories to each section of the drawer to create a logical and intuitive organization system. For example, designate one section for office supplies, another for kitchen utensils, and another for accessories.
- Adjust as Needed: Don’t be afraid to adjust the layout of your drawer dividers as your storage needs change. Flexibility is key to maintaining an organized and functional space.
- Label Sections (Optional): Consider labeling each section of the drawer with adhesive labels or marker pens to further enhance organization and make it easier to find items at a glance.
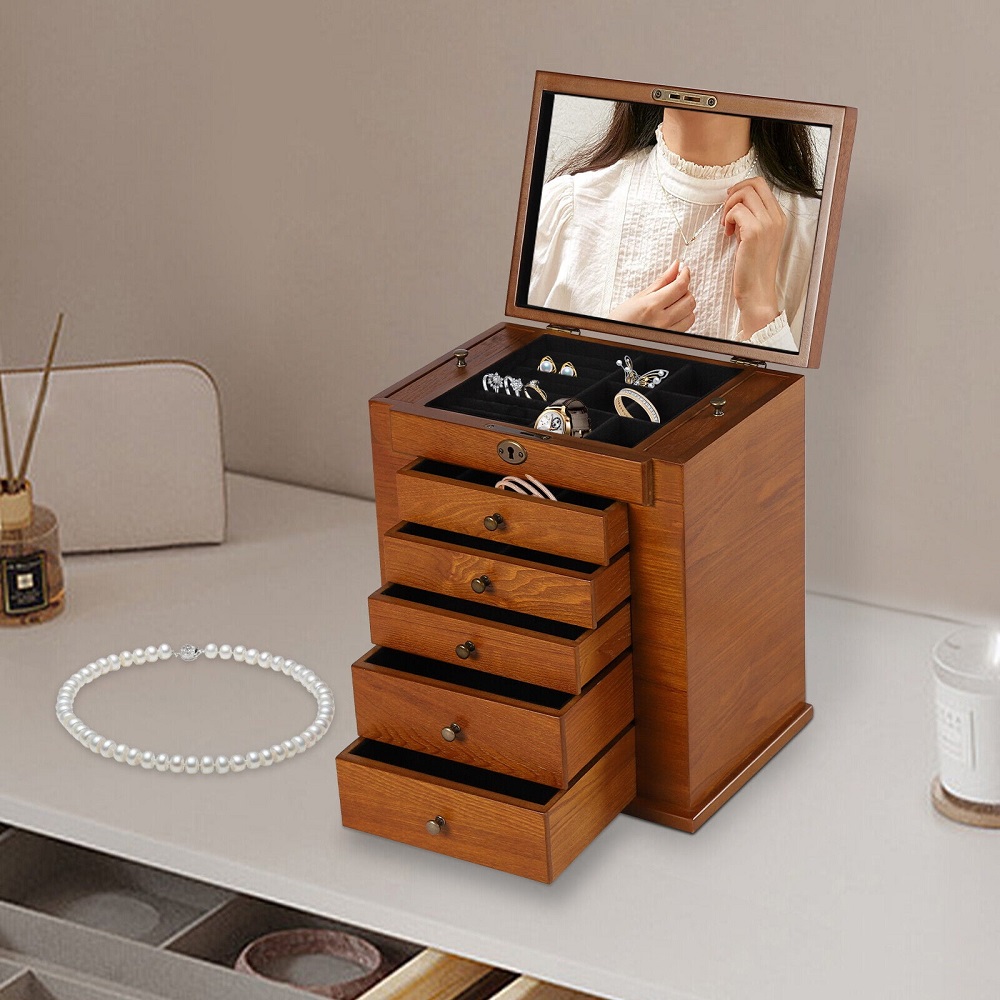
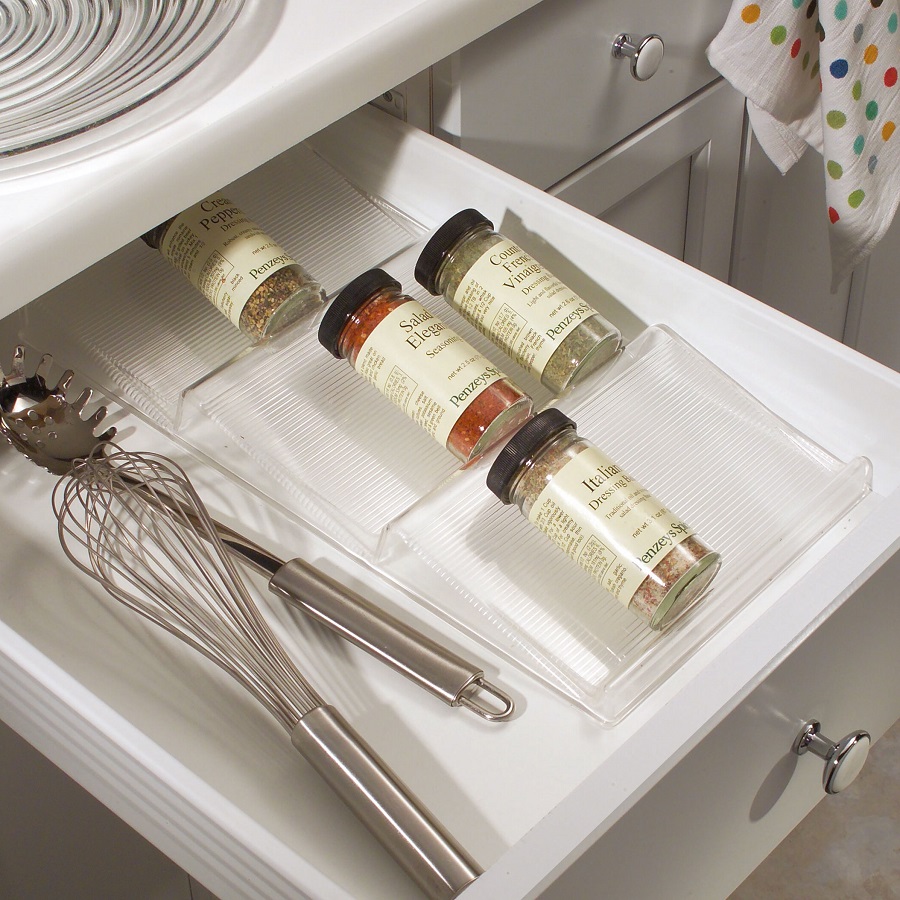
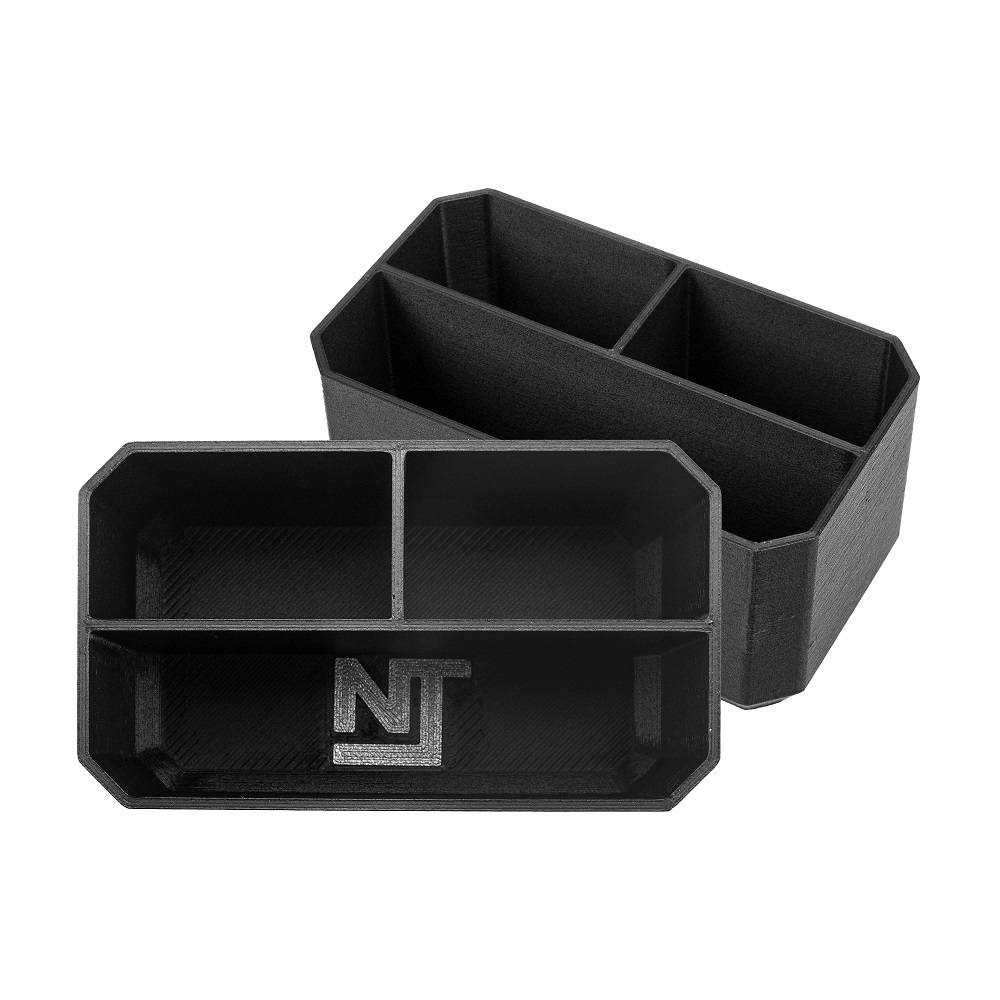
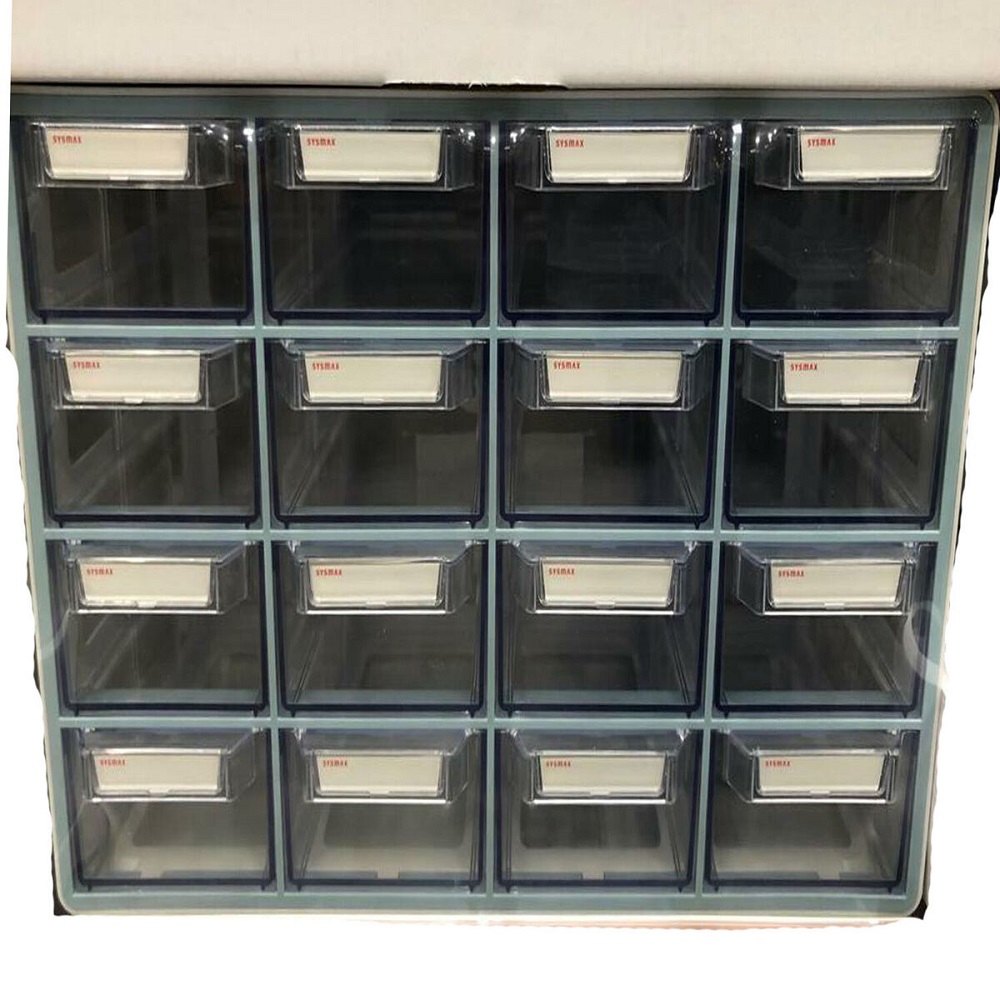
- Utilize Drawer Organizers: In addition to DIY dividers, explore other drawer organizer options such as trays, bins, and dividers specifically designed to fit various drawer sizes and configurations.
Additional Tips for Effective Drawer Organization
- Utilize Vertical Space: In addition to dividing drawers horizontally, consider utilizing vertical space by incorporating stackable organizers or drawer inserts. These can help maximize storage capacity and keep smaller items neatly arranged.
- Invest in Adjustable Dividers: For drawers with frequently changing contents, invest in adjustable dividers that can be easily reconfigured to accommodate different-sized items. This flexibility ensures that your organization system remains adaptable to your evolving needs.
- Consider Drawer Liners: To protect both your drawer surfaces and the items within them, consider lining the bottom of each drawer with a non-slip liner. This not only prevents shifting but also makes cleaning easier by catching any spills or debris.
- Group Similar Items Together: Arrange items within each section of the drawer according to their function or category. Grouping similar items together makes it easier to locate what you need and minimizes the time spent searching through clutter.
- Maintain Regular Maintenance: Schedule regular maintenance sessions to keep your drawers organized and clutter-free. Set aside time each month to declutter, reorganize, and reassess your storage needs to ensure optimal functionality.

Conclusion: Transforming Your Space with DIY Drawer Dividers
Drawer dividers are simple yet effective tools for organizing your space with style and functionality. By creating custom dividers tailored to your specific needs and preferences, you can maximize storage space, enhance accessibility, and streamline daily routines. With just a few materials and some creativity, you can transform cluttered drawers into orderly and efficient storage solutions that bring calm and order to your home. So roll up your sleeves, gather your materials, and start crafting your own DIY drawer dividers today!