Introduction: Crafting Your Own Nightstand
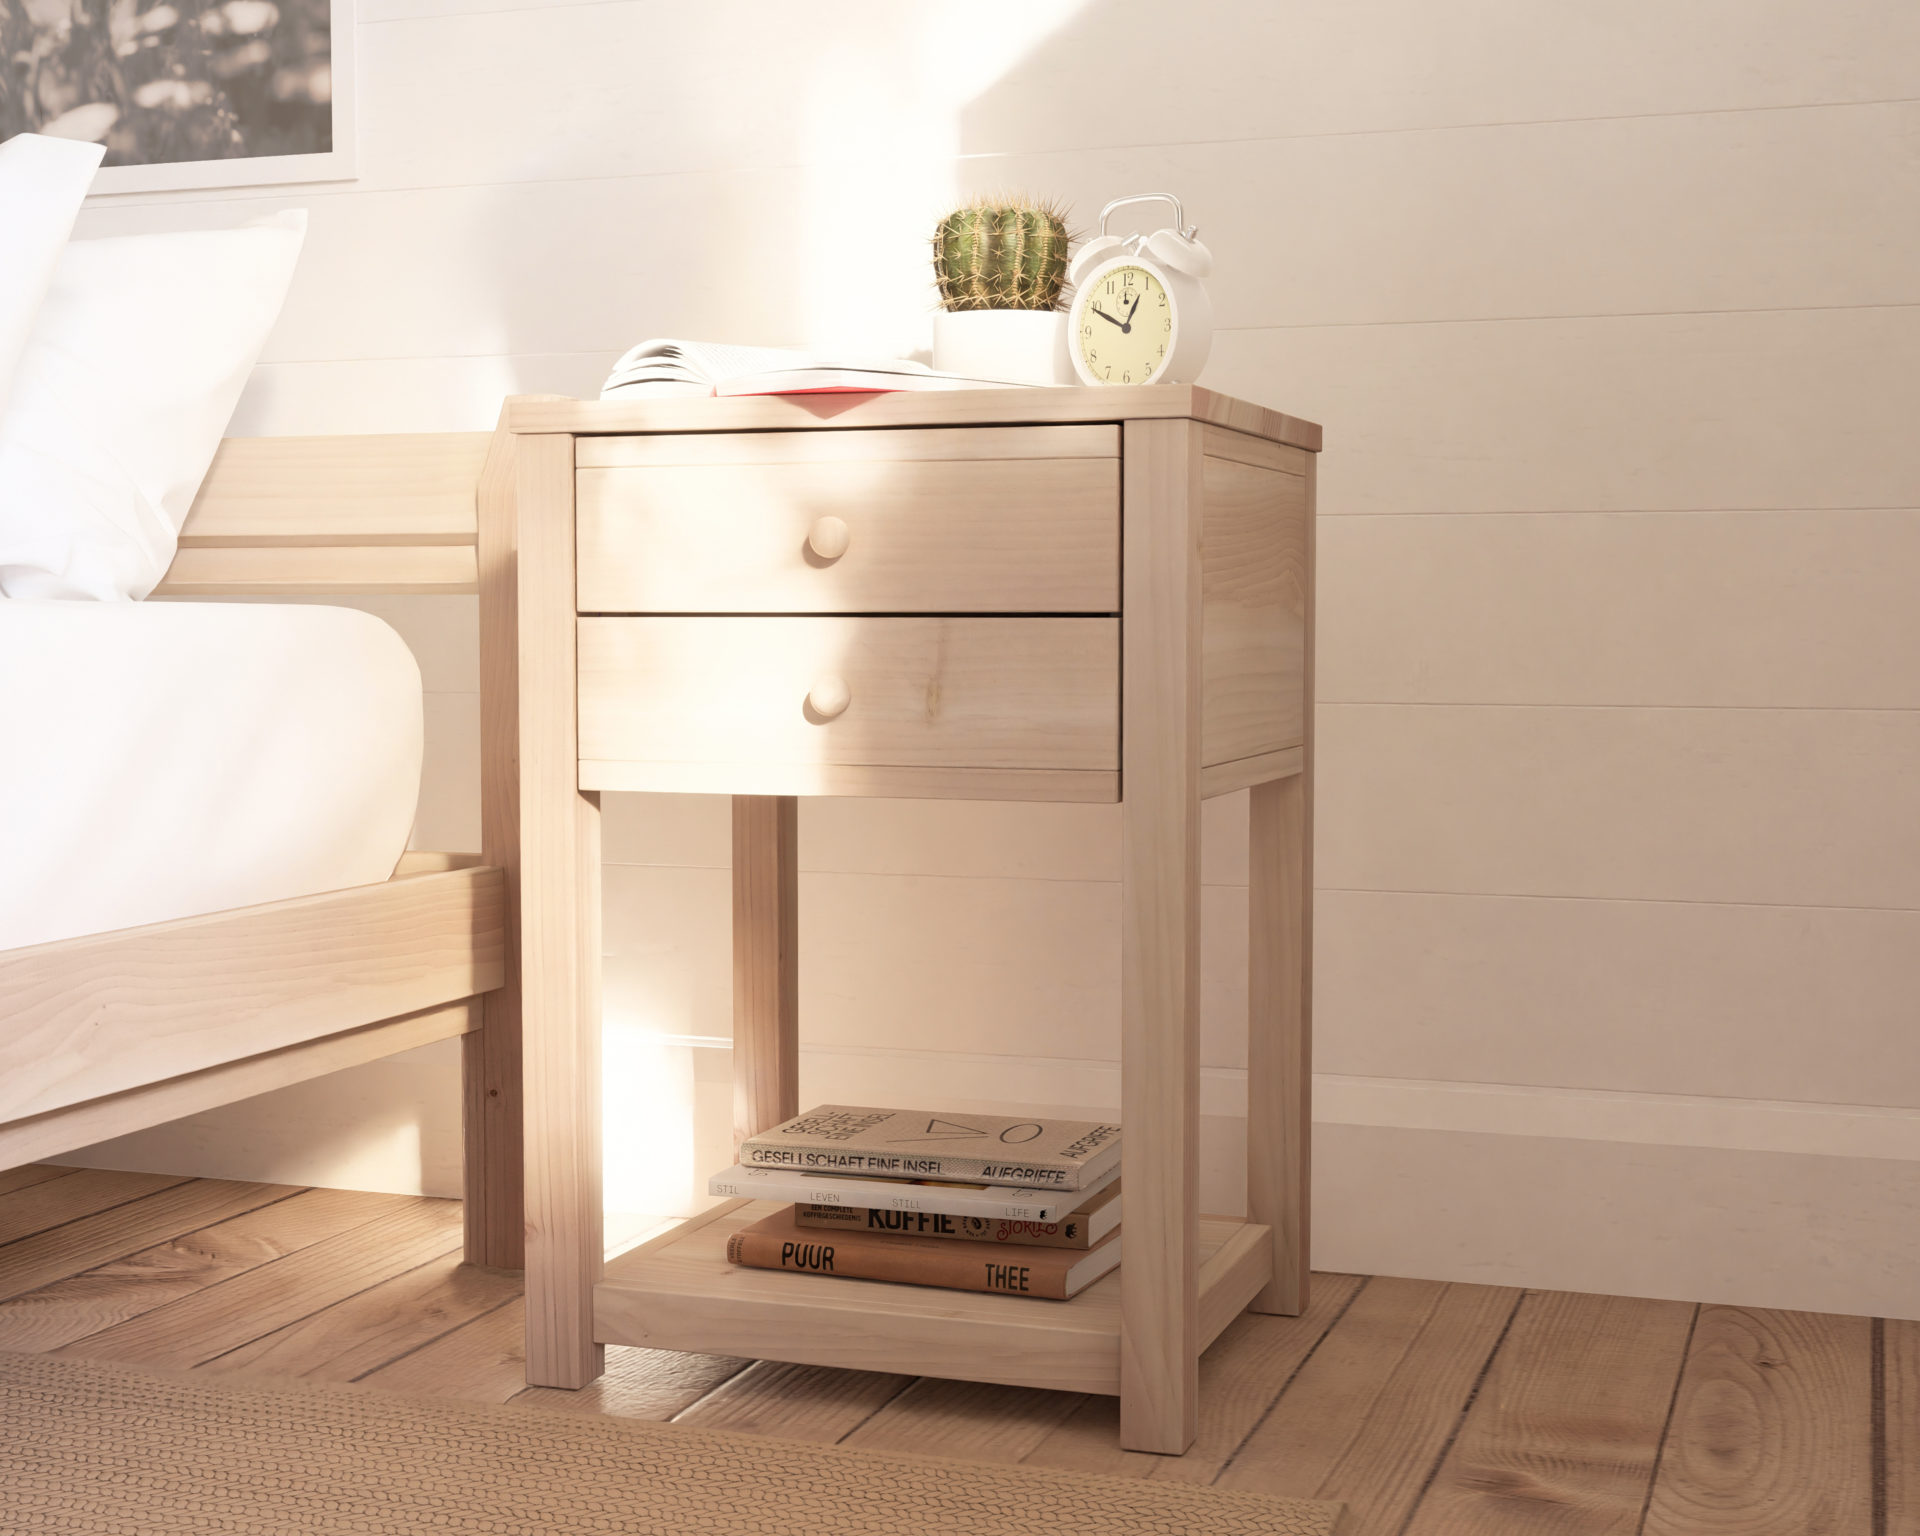
A nightstand is more than just a piece of furniture; it’s a functional and stylish addition to any bedroom. While store-bought options abound, there’s something special about creating your own DIY nightstand. In this guide, we’ll walk you through the process of building a nightstand with a drawer, providing stylish storage solutions that reflect your personal taste and creativity.
Planning Your Project: Design and Materials
Before diving into construction, it’s essential to plan your DIY nightstand project carefully. Consider the design, dimensions, and materials you’ll need to bring your vision to life.
Choosing a Design
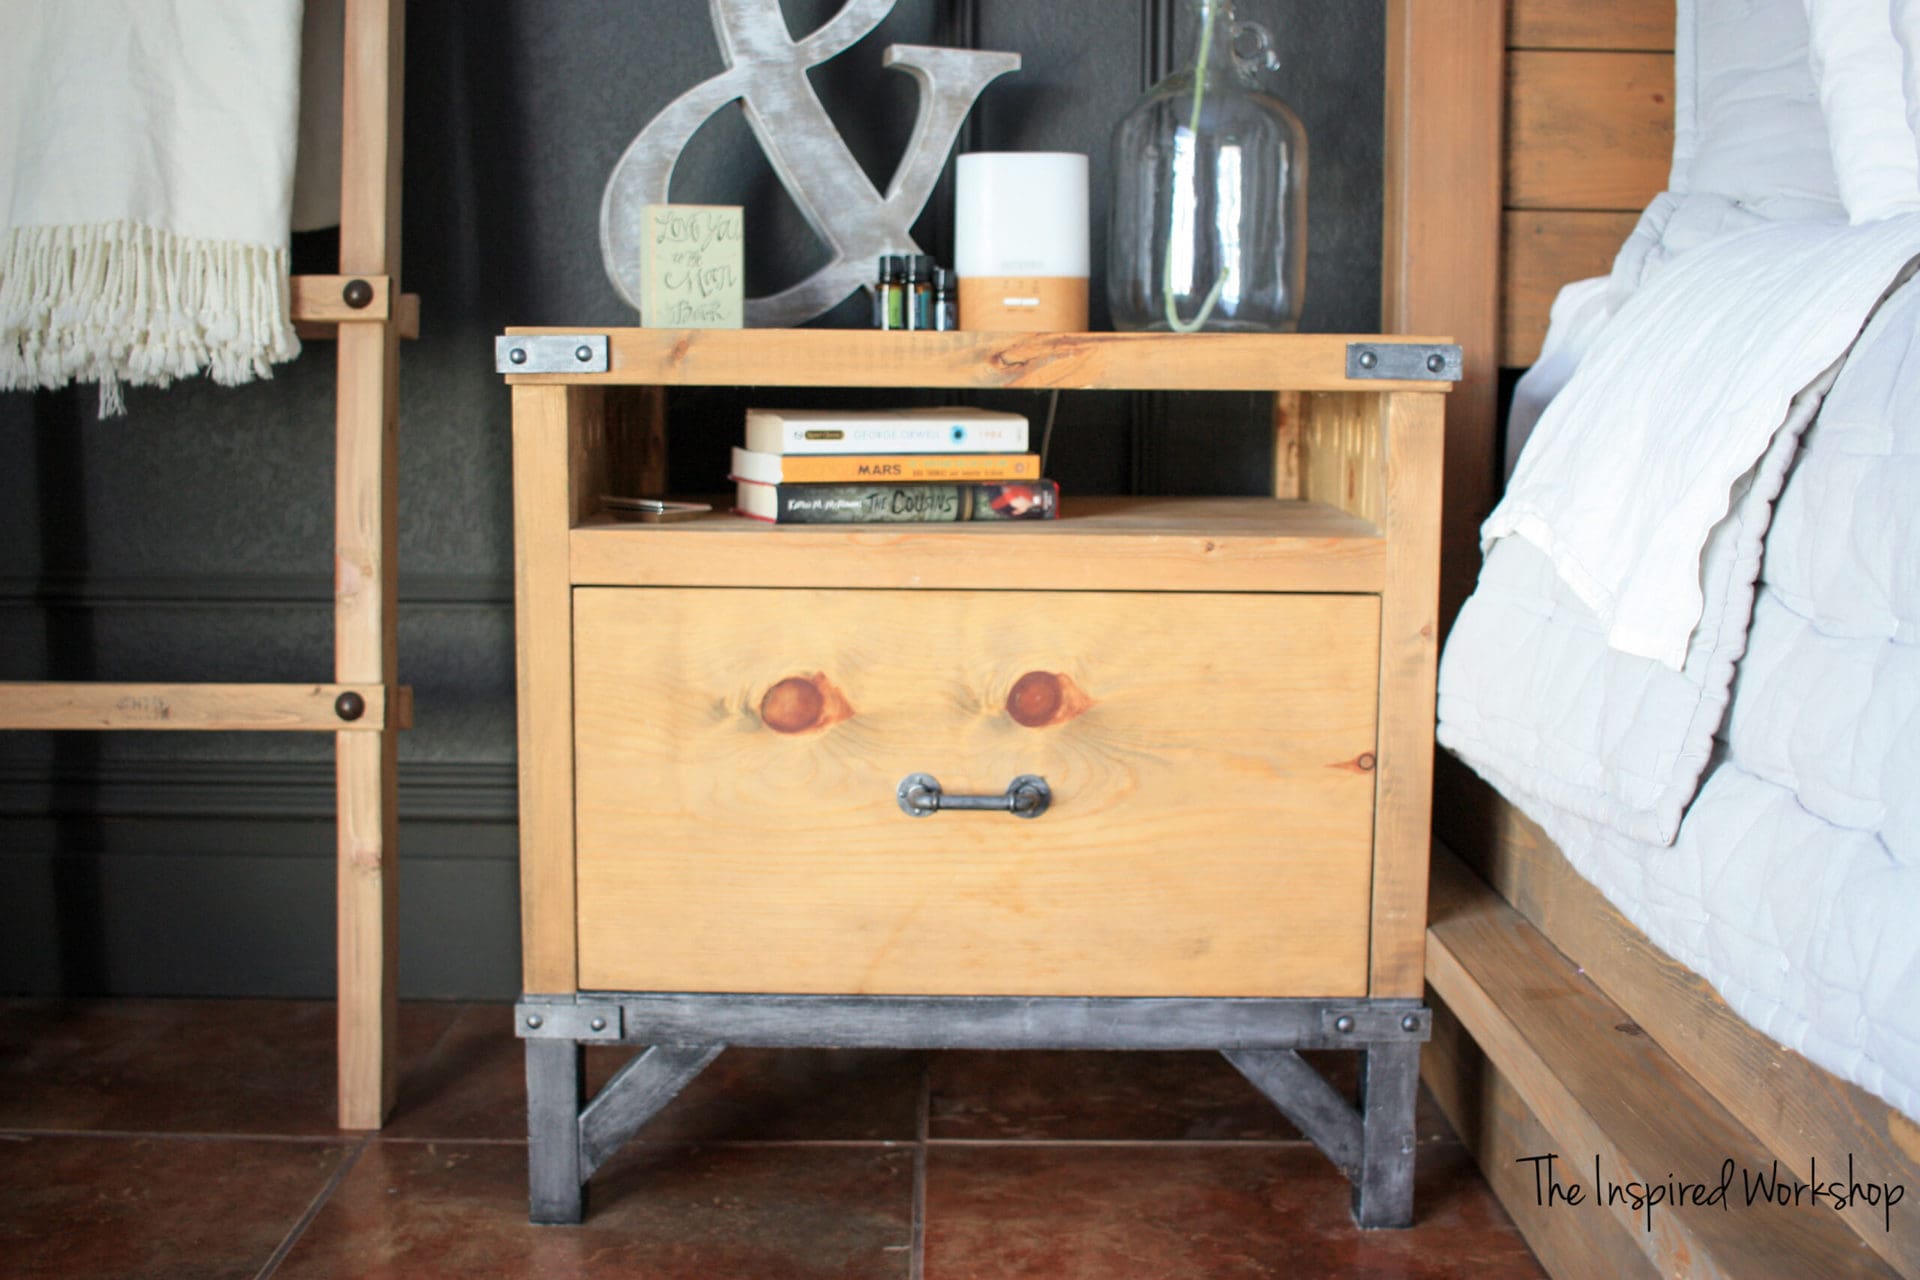
Browse design inspiration online or in home improvement magazines to find a nightstand style that suits your bedroom decor. Whether you prefer modern minimalism, rustic charm, or vintage elegance, there’s a design out there to match your taste.
Selecting Materials
Decide on the type of wood you’ll use for your nightstand. Popular options include pine, oak, and plywood, each offering its own unique look and durability. Additionally, gather hardware such as drawer slides, knobs, and screws to complete your project.
Measuring and Cutting: Precision is Key
With your design and materials in hand, it’s time to measure and cut the wood for your nightstand components. Accuracy is crucial at this stage to ensure a precise fit and professional-looking finish.

Preparing the Wood
Start by measuring and marking the dimensions of each nightstand component on the wood. Use a circular saw, jigsaw, or table saw to make clean, straight cuts according to your measurements.
Assembling the Nightstand Frame
Once you’ve cut all the pieces for your nightstand, it’s time to assemble the frame. Begin by attaching the sides, top, and bottom panels using wood glue and screws. Use a carpenter’s square to ensure the frame is square and level.
Constructing the Drawer: Functionality Meets Style
A drawer adds both functionality and visual interest to your DIY nightstand. Follow these steps to construct a sturdy and stylish drawer that glides smoothly in and out of the nightstand.
Cutting Drawer Components
Measure and cut the front, back, sides, and bottom of the drawer according to your desired dimensions. Ensure that the pieces are precisely sized to fit together snugly.
Assembling the Drawer Box
Use wood glue and brad nails to assemble the drawer box, attaching the sides to the front and back panels. Check for squareness as you go, adjusting as needed to maintain even corners.
Installing Drawer Slides
Attach drawer slides to both the drawer box and the inside of the nightstand frame according to the manufacturer’s instructions. This step is crucial for ensuring smooth operation and proper alignment of the drawer.
Adding Finishing Touches: Sanding, Staining, and Sealing
With the construction phase complete, it’s time to add the finishing touches to your DIY nightstand. Sanding, staining, and sealing will enhance the natural beauty of the wood while providing protection against wear and tear.
Sanding the Surfaces
Use fine-grit sandpaper to sand the surfaces of your nightstand, drawer, and any other components until smooth to the touch. Pay attention to detail, ensuring that all edges are rounded and corners are softened.
Applying Stain or Paint
Choose a stain or paint color that complements your bedroom decor and apply it evenly to the wood surfaces using a brush or cloth. Allow the stain or paint to dry completely before proceeding to the next step.
Sealing the Finish
To protect your nightstand from moisture, scratches, and stains, apply a clear polyurethane sealer or varnish coat. Use a brush or foam applicator to ensure even coverage, and allow the sealer to dry thoroughly between coats.

Installing Hardware and Accessories
The final step in completing your DIY nightstand is to install hardware such as drawer knobs, pulls, and any decorative accents. Choose hardware that enhances the overall look of your nightstand while providing practical functionality.
Enjoying Your Handcrafted Nightstand
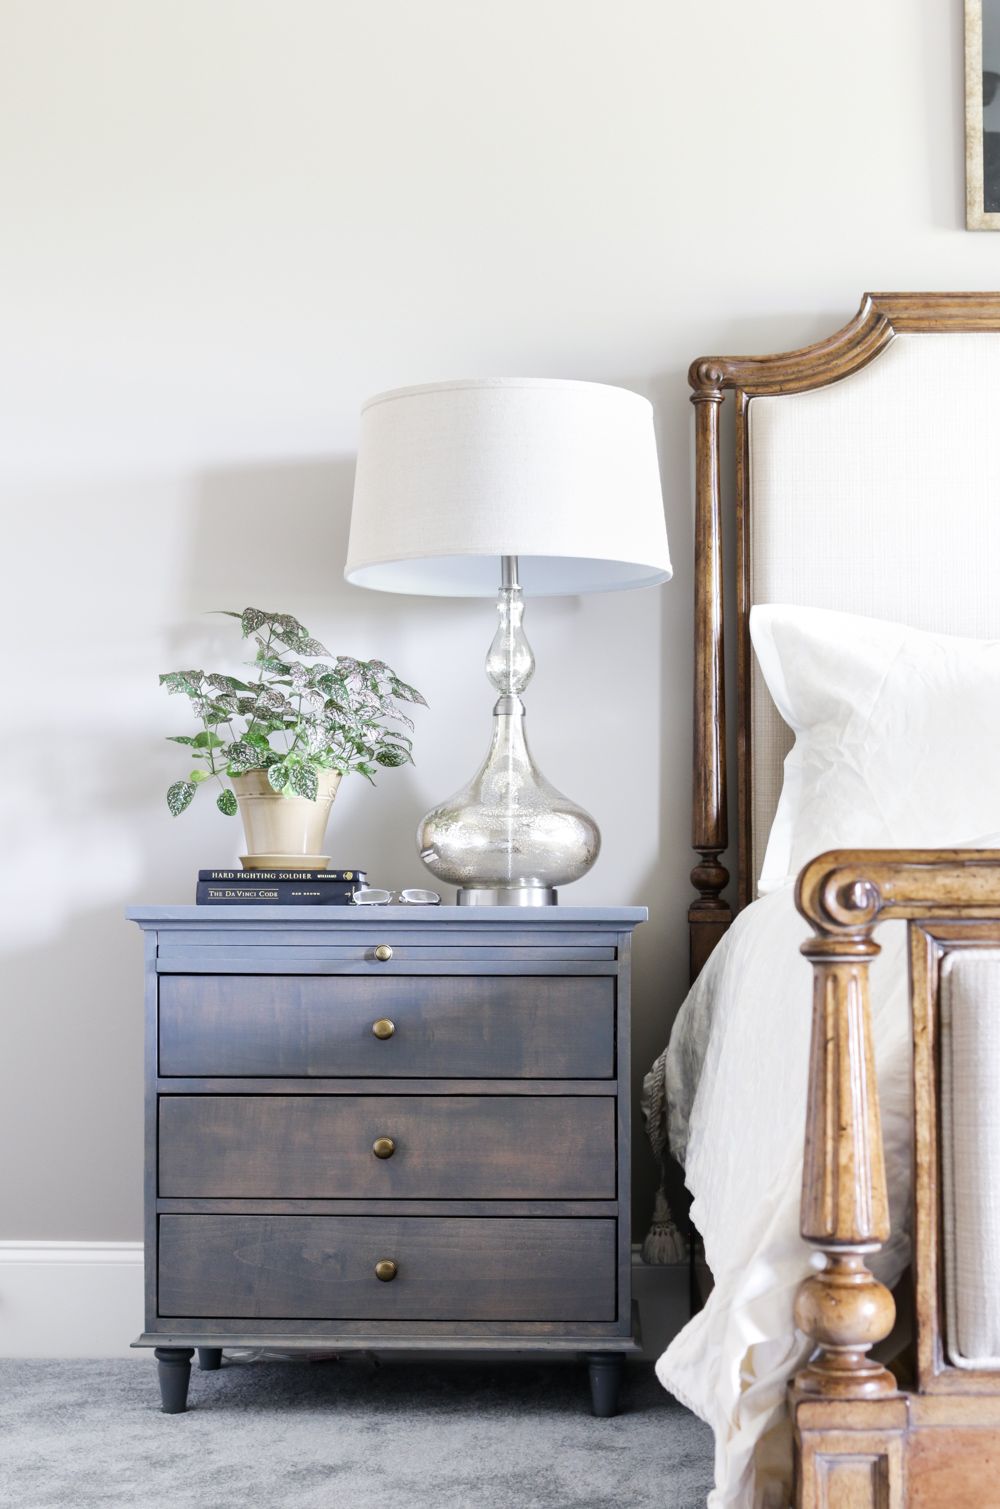
Once your DIY nightstand is complete, place it next to your bed and admire your handiwork. Not only does your custom creation provide stylish storage solutions, but it also serves as a testament to your creativity and craftsmanship. With a little time, effort, and attention to detail, you can craft a nightstand that adds charm and functionality to your bedroom for years to come.
Customizing Your Nightstand: Personalization Ideas
Now that you’ve built the basic structure of your DIY nightstand, it’s time to add personal touches to make it uniquely yours. From creative embellishments to practical modifications, here are some ideas to customize your nightstand:
1. Decorative Drawer Fronts: Instead of a plain drawer front, consider adding decorative details such as carved designs, routed patterns, or inset panels. You can use a router or chisel to create intricate designs that reflect your personal style.
2. Unique Hardware: Swap out standard drawer knobs for more unique hardware options like vintage-inspired pulls, colorful ceramic knobs, or custom-made handles. This small change can make a big impact on the overall look of your nightstand.
3. Integrated Charging Station: With the proliferation of electronic devices, a built-in charging station can add convenience to your nightstand. Install a USB outlet or power strip inside the drawer to keep your phone, tablet, and other gadgets charged and organized.
4. Hidden Compartment: Add a touch of mystery to your nightstand by incorporating a hidden compartment. This could be a secret drawer, a concealed compartment behind a sliding panel, or a lift-up top that reveals a storage space underneath.
5. Floating Design: For a modern and minimalist look, consider mounting your nightstand directly to the wall for a floating effect. This not only saves floor space but also creates a sleek and streamlined appearance.
Conclusion: Making It Your Own
By incorporating these customization ideas into your DIY nightstand project, you can transform a simple piece of furniture into a one-of-a-kind masterpiece that reflects your personality and enhances your bedroom decor. Whether you’re a novice woodworker or a seasoned DIY enthusiast, the joy of crafting something with your own hands is unparalleled. So roll up your sleeves, unleash your creativity, and make your nightstand truly your own.