Introduction
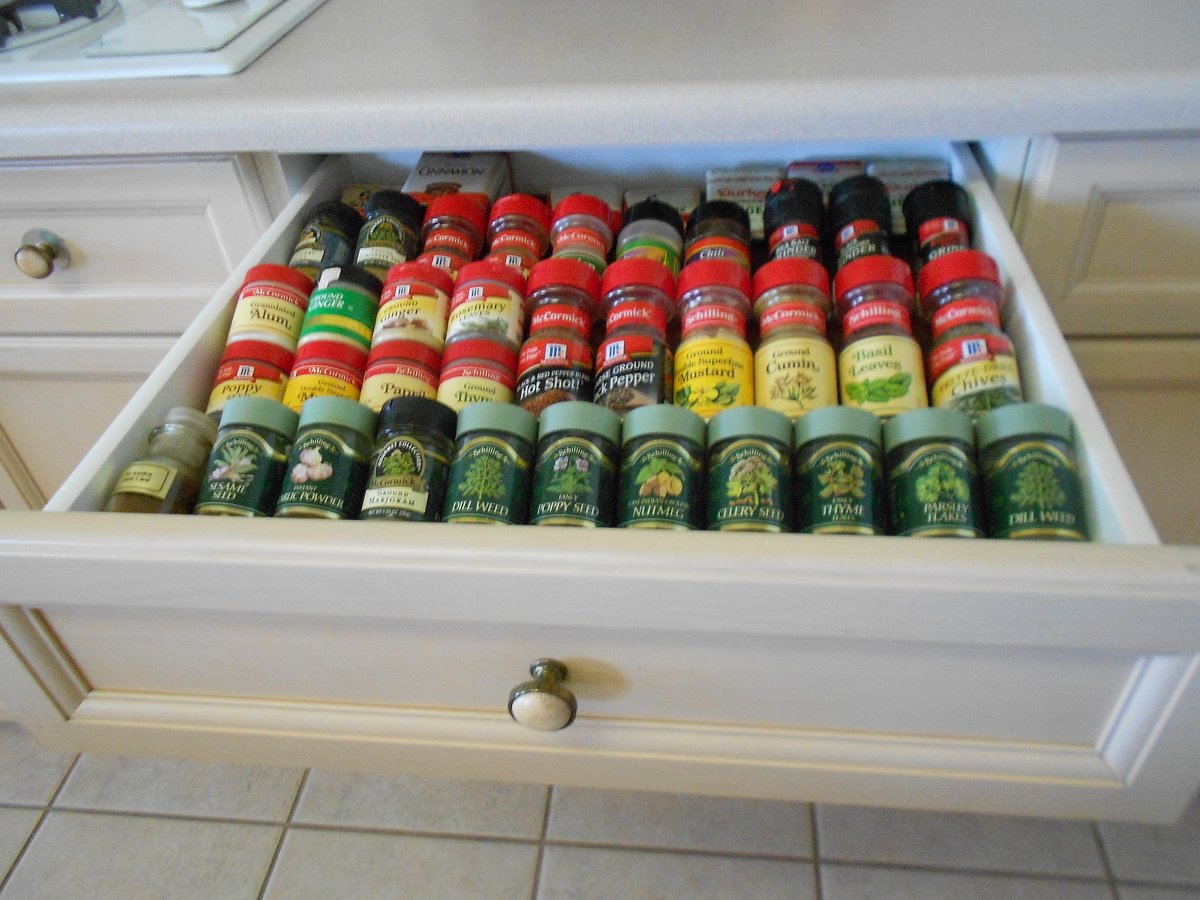
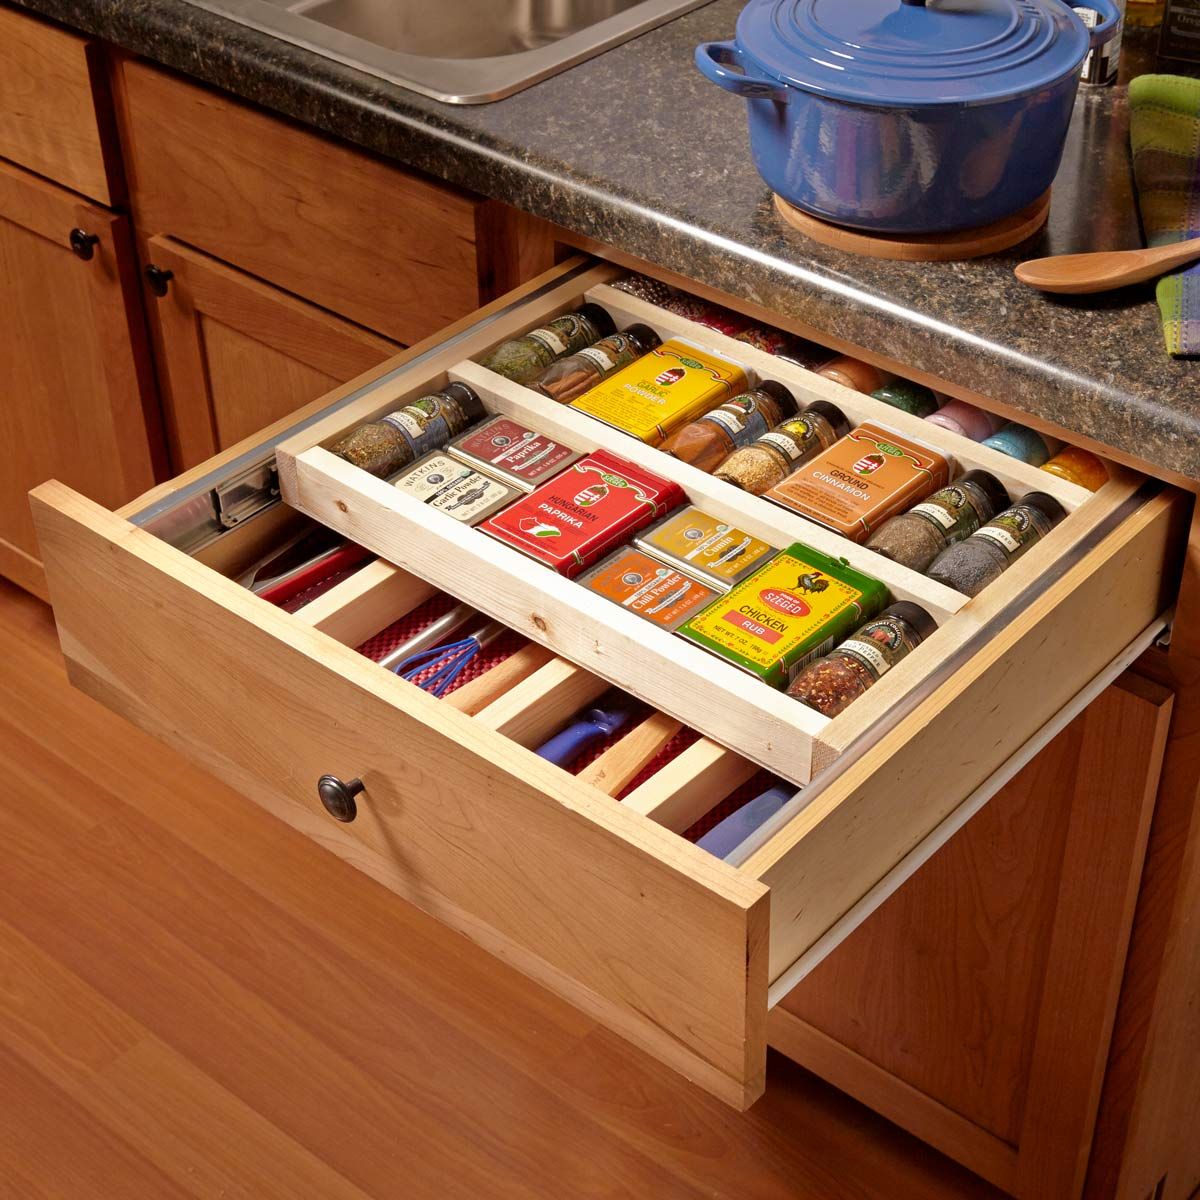
Creating a well-organized kitchen can be transformative, both for your cooking experience and the overall aesthetic of your space. One of the most cluttered areas in many kitchens is the spice storage. Spices are essential for adding flavor and depth to dishes, but their small containers often make them difficult to keep tidy. A DIY spice drawer organizer can provide an elegant and practical solution to this problem. It not only helps you keep track of your spices but also makes it easier to find what you need when you need it. This comprehensive guide will walk you through the process of creating your own spice drawer organizer, ensuring that it’s customized to fit your specific needs and space.
Planning and Measuring Your Drawer
The first step in creating your DIY spice drawer organizer is careful planning and measuring. Begin by selecting the drawer you plan to use for your spices. Empty the contents of the drawer and clean it thoroughly to get a clear view of the available space. Measure the width, depth, and height of the drawer interior. These measurements are crucial as they will determine the dimensions of your organizer and ensure that it fits perfectly within the drawer. Additionally, consider how many spice jars you need to store and their sizes, as this will influence the design of your organizer. Take note of any unique features of your drawer, such as dividers or notches, that might impact the construction of your organizer.
Choosing Materials
Selecting the right materials for your spice drawer organizer is essential for durability and aesthetics. Common materials include wood, acrylic, or even sturdy cardboard. Wood is a popular choice due to its strength and classic look. Plywood or hardwood can be used depending on your budget and preference. Acrylic is another excellent option, offering a sleek, modern appearance and easy cleaning. For those looking for an eco-friendly or cost-effective solution, reinforced cardboard can work, though it might not last as long as the other materials. When choosing materials, also consider the tools you have available and your level of comfort working with them. Ensure that whatever material you choose complements your kitchen’s decor and is capable of holding the weight of your spice jars without warping or breaking.
Designing the Organizer Layout
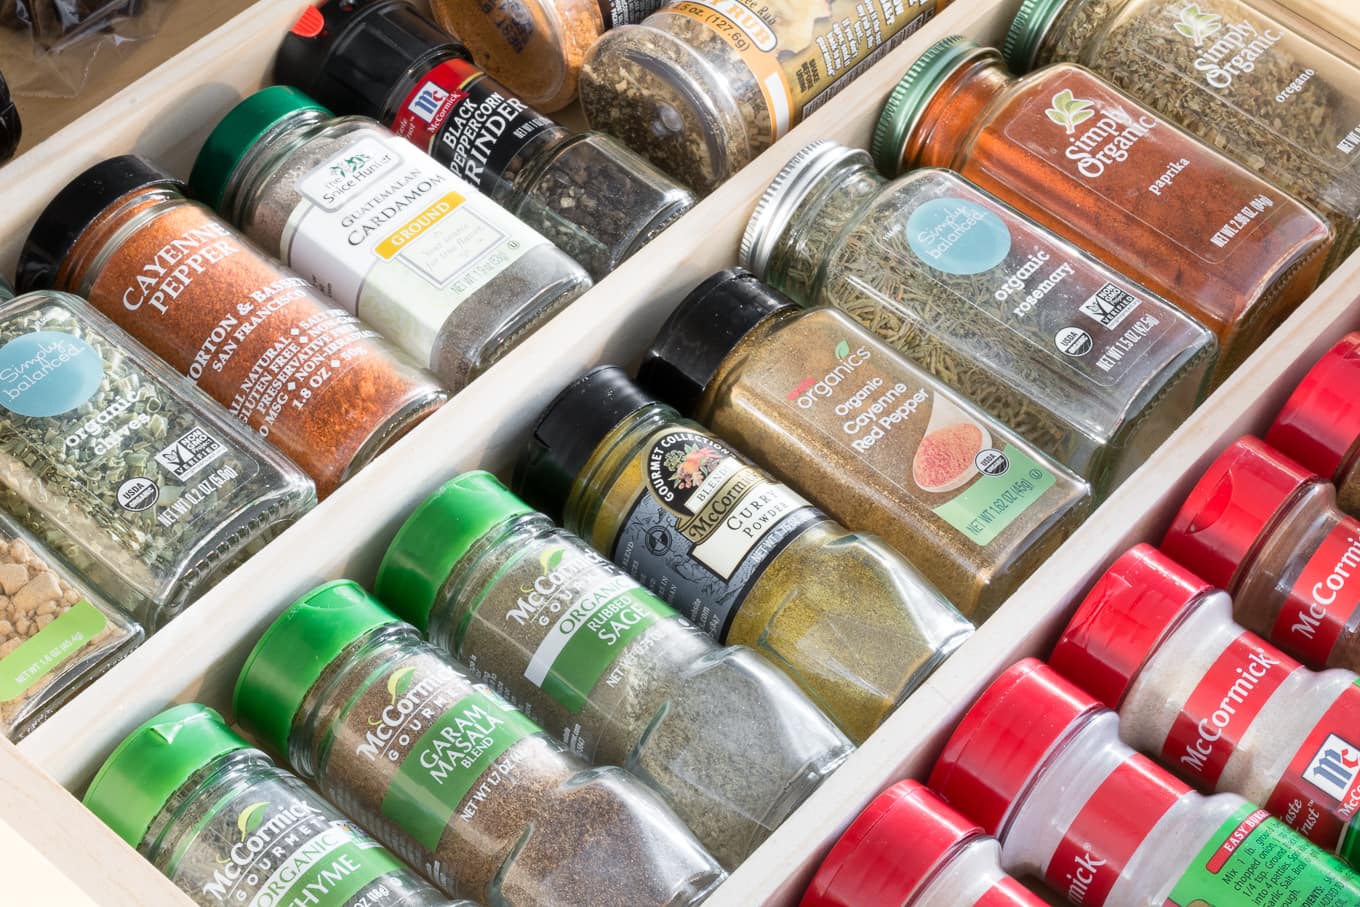
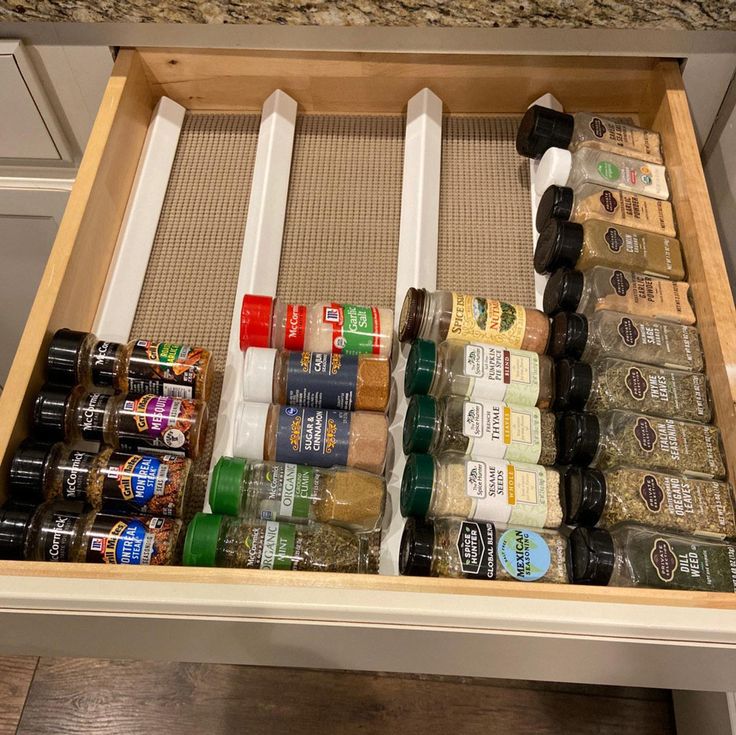
Once you have your measurements and materials, the next step is designing the layout of your spice drawer organizer. Consider how you want to arrange your spices – by size, frequency of use, or type. Sketch out a few different designs on paper, keeping in mind the dimensions of your drawer and the size of your spice jars. Popular layouts include tiered rows, which allow you to see all your spices at a glance, or slanted racks, which hold jars at an angle for better visibility. Decide whether you want individual slots for each jar or adjustable dividers that can accommodate different sizes. Take into account any future spice additions and make sure your design is flexible enough to adapt to changes. Once you have a final design, ensure it aligns with your measured dimensions before moving on to the construction phase.
Cutting and Preparing Materials
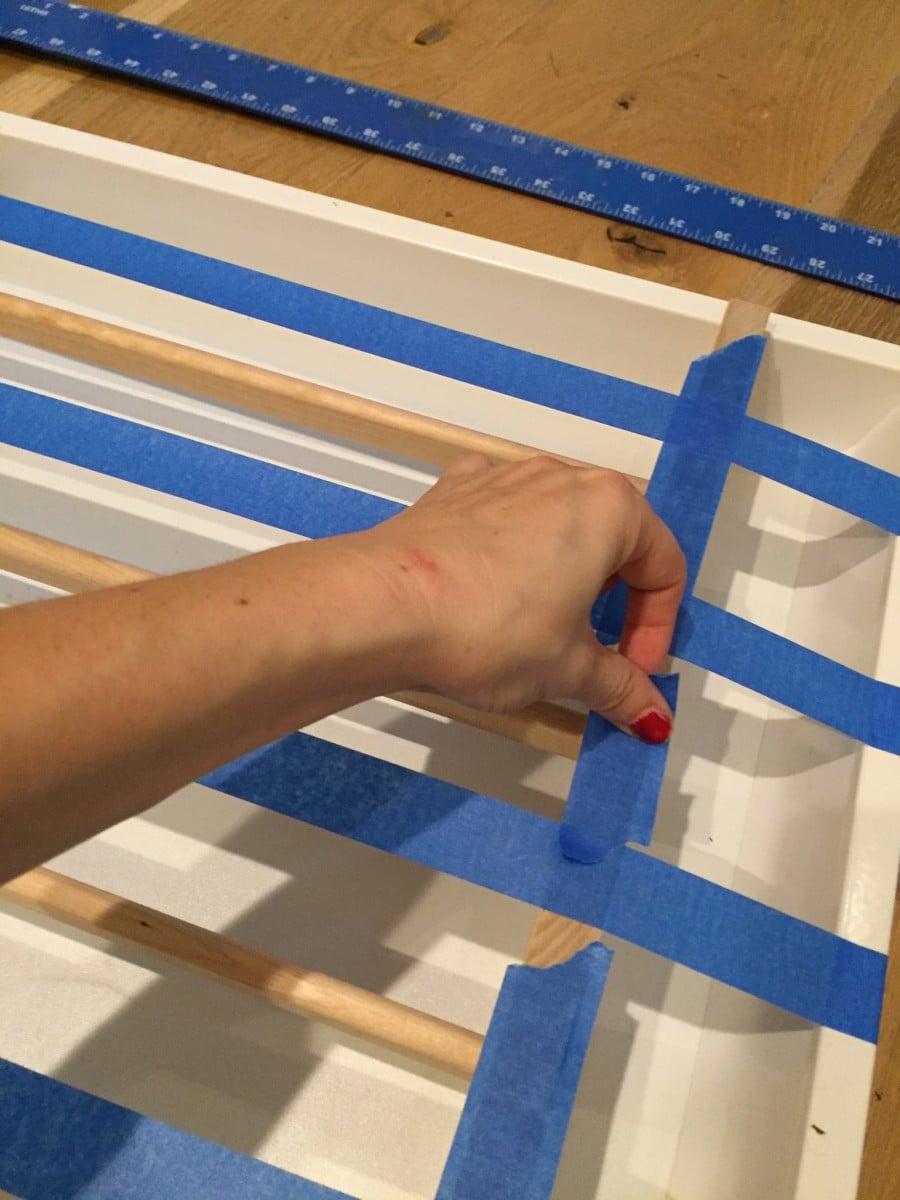
With your design finalized, it’s time to cut and prepare your materials. If you’re using wood, carefully measure and mark your cuts on the wood pieces. Use a saw to cut the wood according to your design specifications, making sure each piece is accurate and smooth. Sand the edges to remove any splinters and create a polished look. For acrylic, you may need a special saw blade designed to cut through plastic smoothly. If you’ve chosen cardboard, use a sharp utility knife to make precise cuts. Whichever material you’re using, double-check your measurements before cutting to avoid mistakes. After cutting all the pieces, lay them out according to your design to ensure everything fits together correctly. This step is crucial as it allows you to make any necessary adjustments before assembling the organizer.
Assembling the Organizer
Assembling your spice drawer organizer is where your vision starts to come to life. Begin by arranging the cut pieces according to your design. For wooden organizers, use wood glue and small nails or screws to secure the pieces together. Apply glue to the edges of the pieces that will be joined, then press them together and hold until the glue sets. Use clamps if necessary to keep the pieces in place while the glue dries. For added stability, reinforce the joints with nails or screws. If you’re using acrylic, special acrylic adhesive will provide a strong bond. Apply the adhesive to the edges, press the pieces together, and let them cure according to the manufacturer’s instructions. For cardboard organizers, strong craft glue or hot glue can be used. Ensure each joint is secure and allow the glue to dry completely before proceeding to the next step. Once assembled, check that the organizer fits snugly into your drawer and make any minor adjustments as needed.
Sanding and Finishing Touches
After assembling your organizer, it’s important to finish it properly to ensure it looks professional and lasts a long time. Start by sanding any rough edges or surfaces. If you’re working with wood, use fine-grit sandpaper to smooth the surfaces and edges. This step not only improves the appearance but also prevents splinters. For acrylic, use a plastic polish to remove any scratches and give it a clear, glossy finish. If you’ve used cardboard, ensure all edges are neatly trimmed and any visible glue is cleaned up. Once sanded, you might want to apply a finish to wooden organizers. Staining or painting the wood can enhance its appearance and protect it from moisture and wear. Apply the stain or paint evenly and let it dry completely. If desired, add a clear sealant for additional protection. These finishing touches will give your DIY project a polished, professional look.
Conclusion
Creating a DIY spice drawer organizer is a rewarding project that brings order and efficiency to one of the most-used areas in your kitchen. By carefully planning, selecting materials, designing, and constructing the organizer, you can customize it to fit your specific needs and style. Properly labeling and organizing your spices ensures that they are easily accessible, enhancing your cooking experience. Regular maintenance keeps your spice drawer neat and functional for years to come. This step-by-step guide provides all the information you need to tackle this project with confidence, transforming your spice storage and elevating your kitchen’s organization. Enjoy the satisfaction of a well-organized spice drawer and the ease it brings to your culinary adventures.