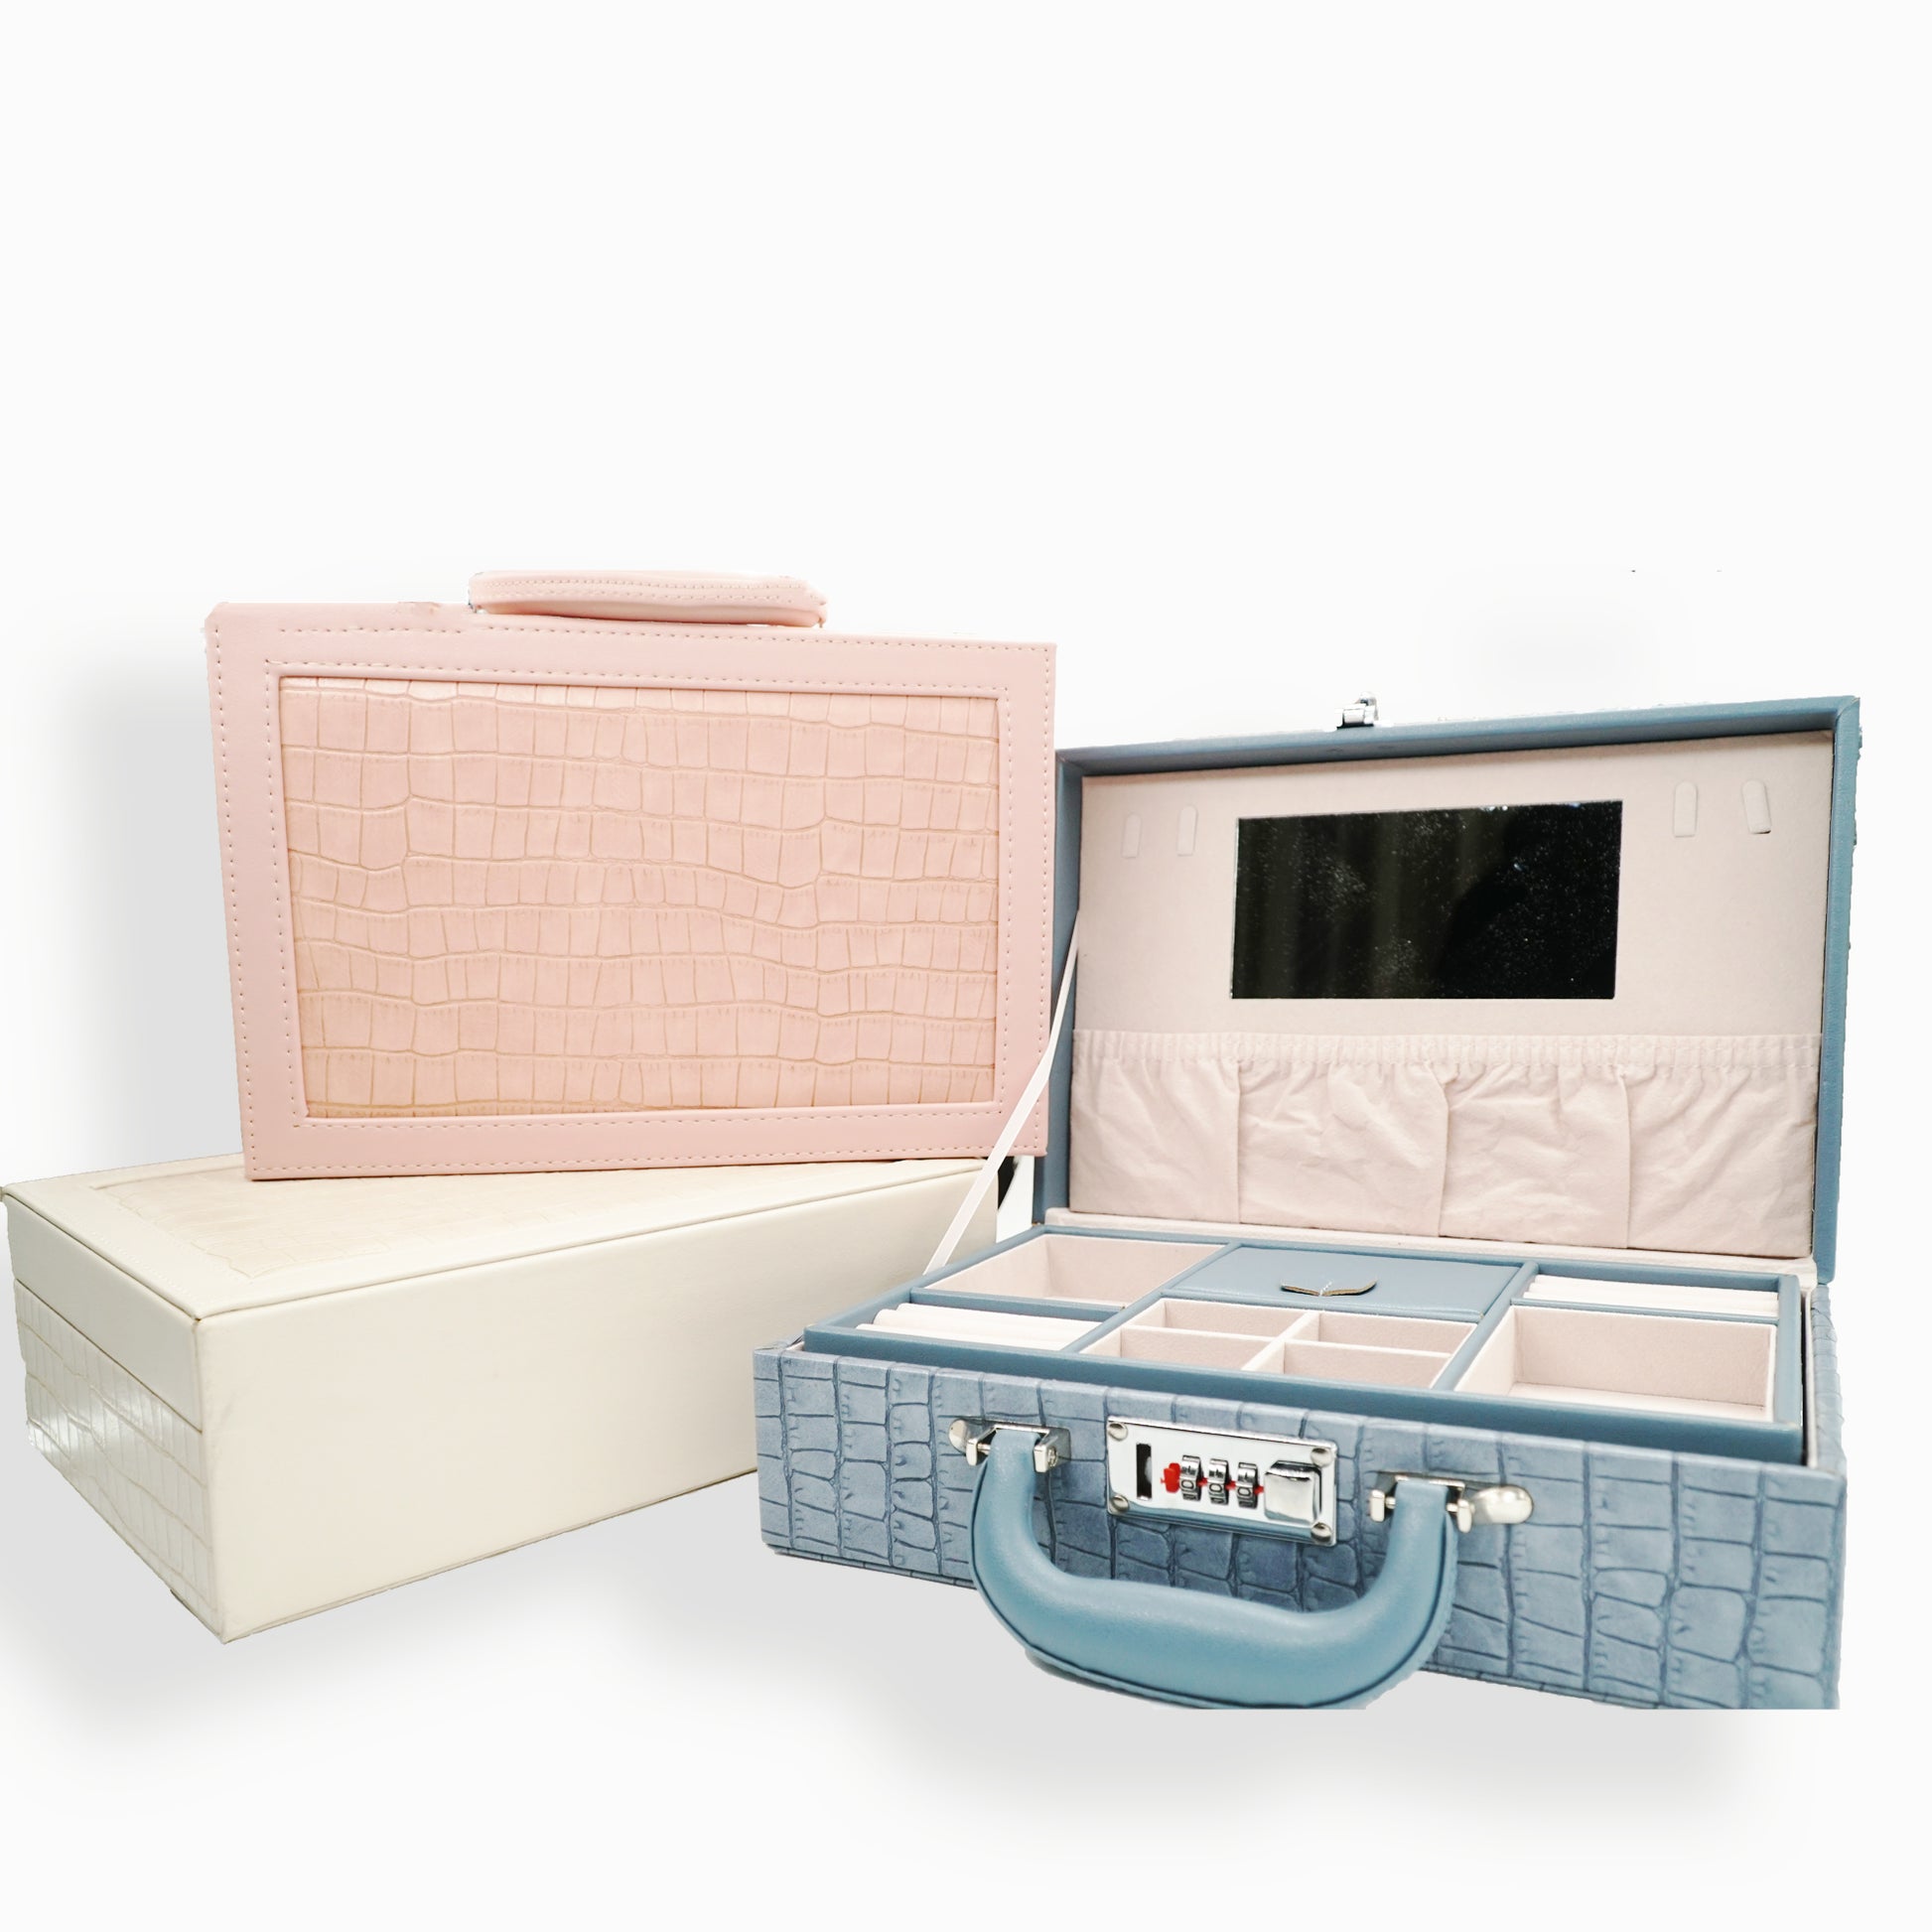
In an age where cherished possessions hold both sentimental and monetary value, ensuring their security becomes paramount. A DIY jewelry box with a lock not only safeguards your treasures but also adds a touch of personalization to your storage solutions. In this comprehensive guide, we’ll explore how to create a custom jewelry box with a secure locking mechanism, allowing you to protect your valuables in style.
Introduction to DIY Jewelry Box Crafting
Crafting your own jewelry box is a rewarding endeavor that allows you to tailor the design to your preferences while adding a personal touch to your storage solutions. With a few basic materials and tools, you can create a stylish and functional jewelry box that reflects your unique style and personality. Whether you’re a novice crafter or an experienced DIY enthusiast, this project is sure to delight and inspire.
Materials and Tools Required
Before you embark on your DIY journey, it’s essential to gather all the necessary materials and tools. Here’s a list of what you’ll need to create your own jewelry box with a lock:
Materials:
- Wood or sturdy cardboard for the box construction
- Decorative paper or fabric for covering the exterior
- Felt or velvet fabric for lining the interior
- Small hinges for attaching the lid
- Decorative knob or handle for the lid
- Small padlock and key for the locking mechanism
- Wood glue or craft glue
- Screws or nails for assembly
Tools:
- Saw or craft knife for cutting the wood or cardboard
- Sandpaper for smoothing rough edges
- Paintbrush for applying glue and paint
- Ruler and pencil for measuring and marking
- Screwdriver or hammer for attaching hinges and hardware
With these materials and tools at your disposal, you’re ready to embark on your DIY jewelry box project.
Constructing the Jewelry Box
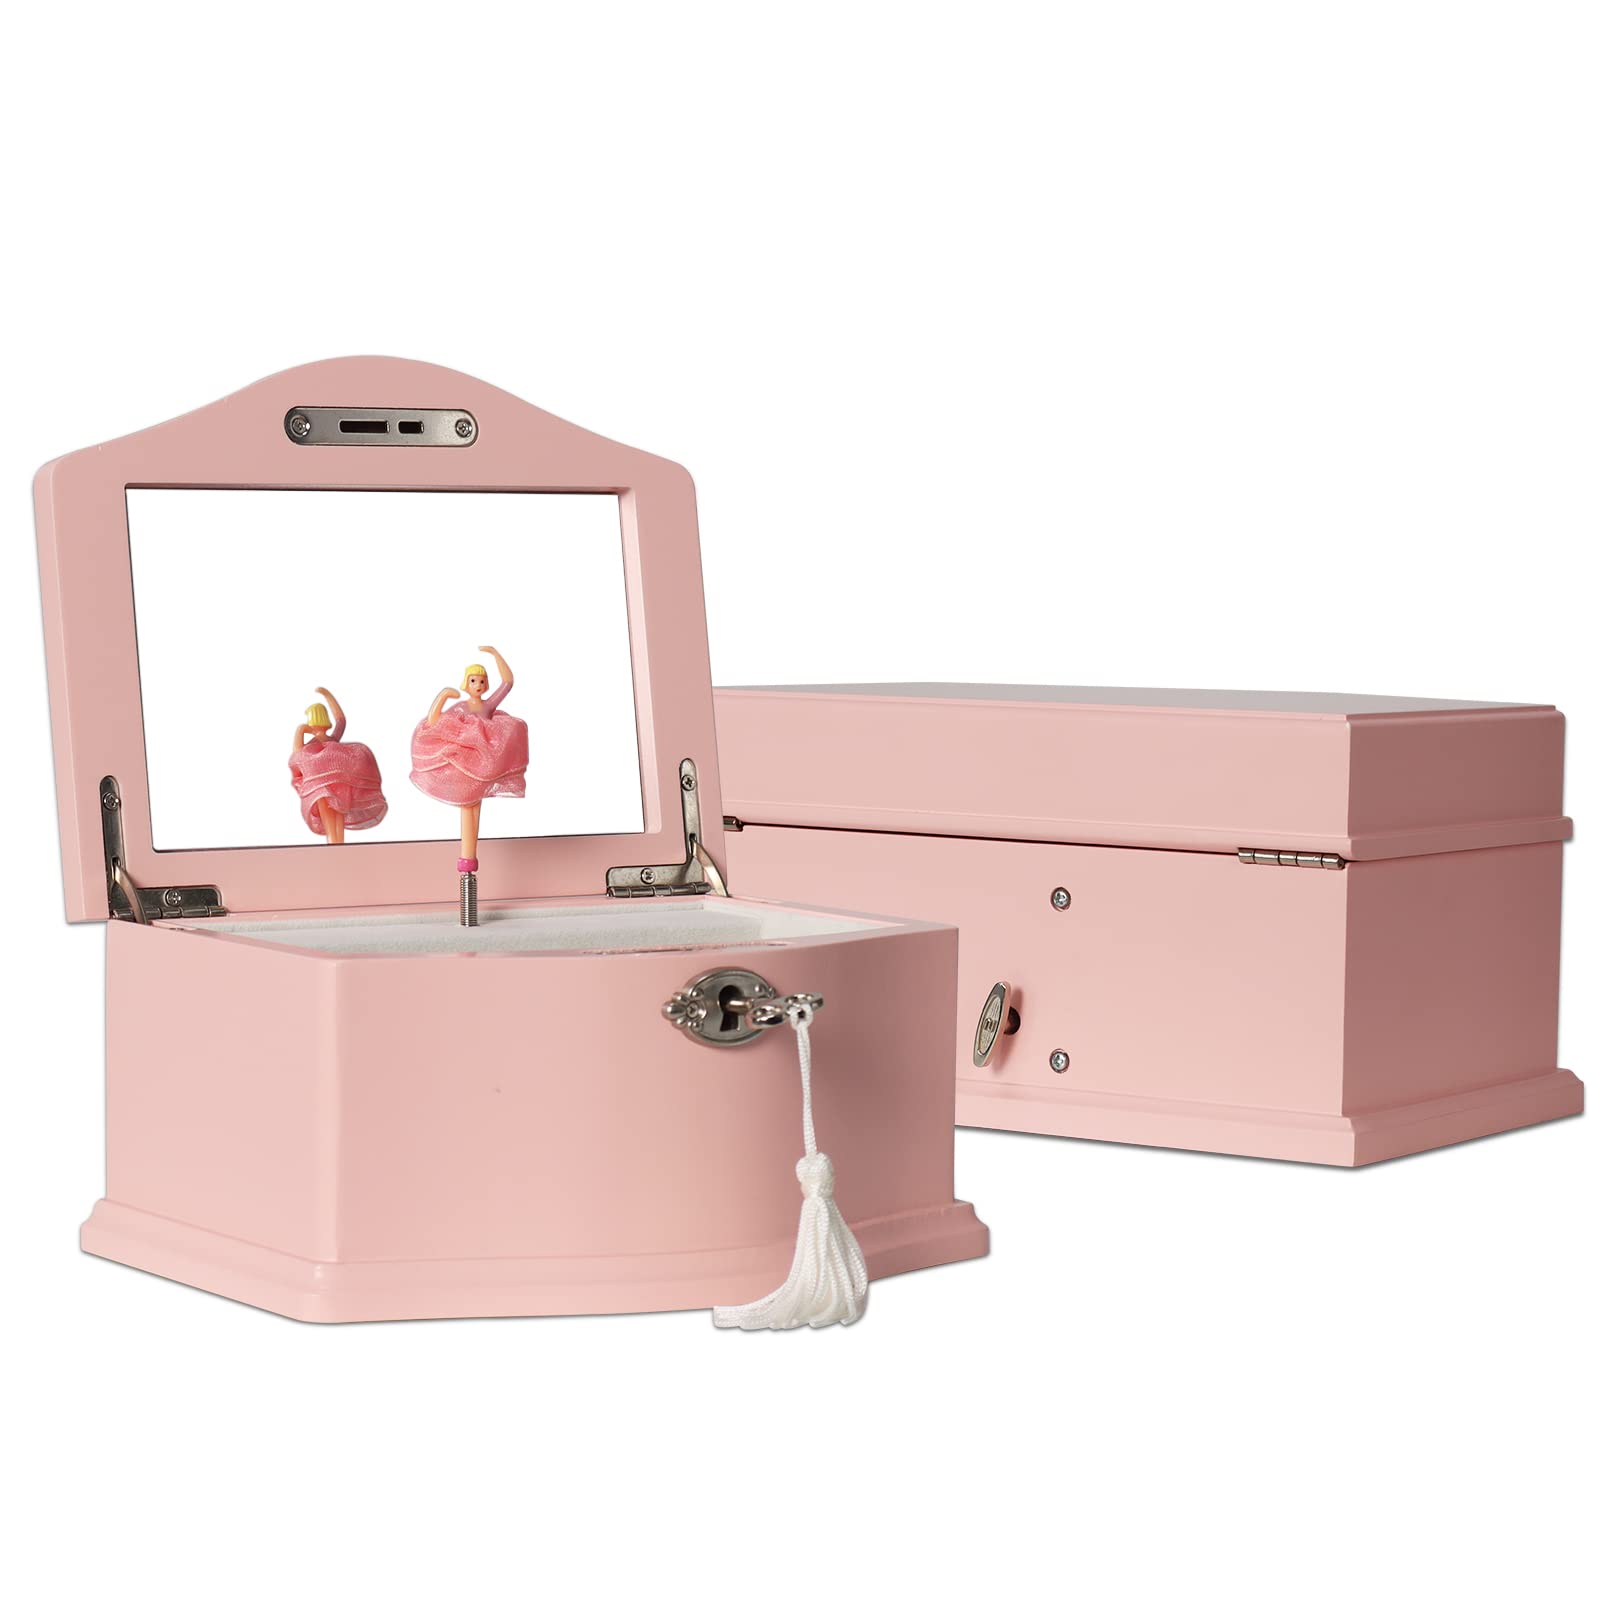
Begin by measuring and cutting the wood or cardboard to the desired dimensions for your jewelry box. You’ll need to create a bottom piece, four side pieces, and a lid. Ensure that the pieces fit together snugly and securely before proceeding.
Next, assemble the box by gluing or nailing the side pieces to the bottom piece, forming a rectangular shape. Use clamps or weights to hold the pieces together while the glue dries, ensuring a strong bond.
Once the box is assembled, sand any rough edges to create a smooth surface. This will prevent splinters and ensure a professional-looking finish.
Customizing the Exterior
With the basic structure of the jewelry box complete, it’s time to add a personal touch to the exterior. Cover the outside of the box with decorative paper or fabric, using glue to secure it in place. Trim any excess material and smooth out any wrinkles or air bubbles for a polished appearance.
Consider embellishing the exterior with additional decorative elements, such as ribbon, beads, or sequins, to further enhance its aesthetic appeal. Let your creativity shine as you customize the exterior to reflect your unique style and taste.
Lining the Interior
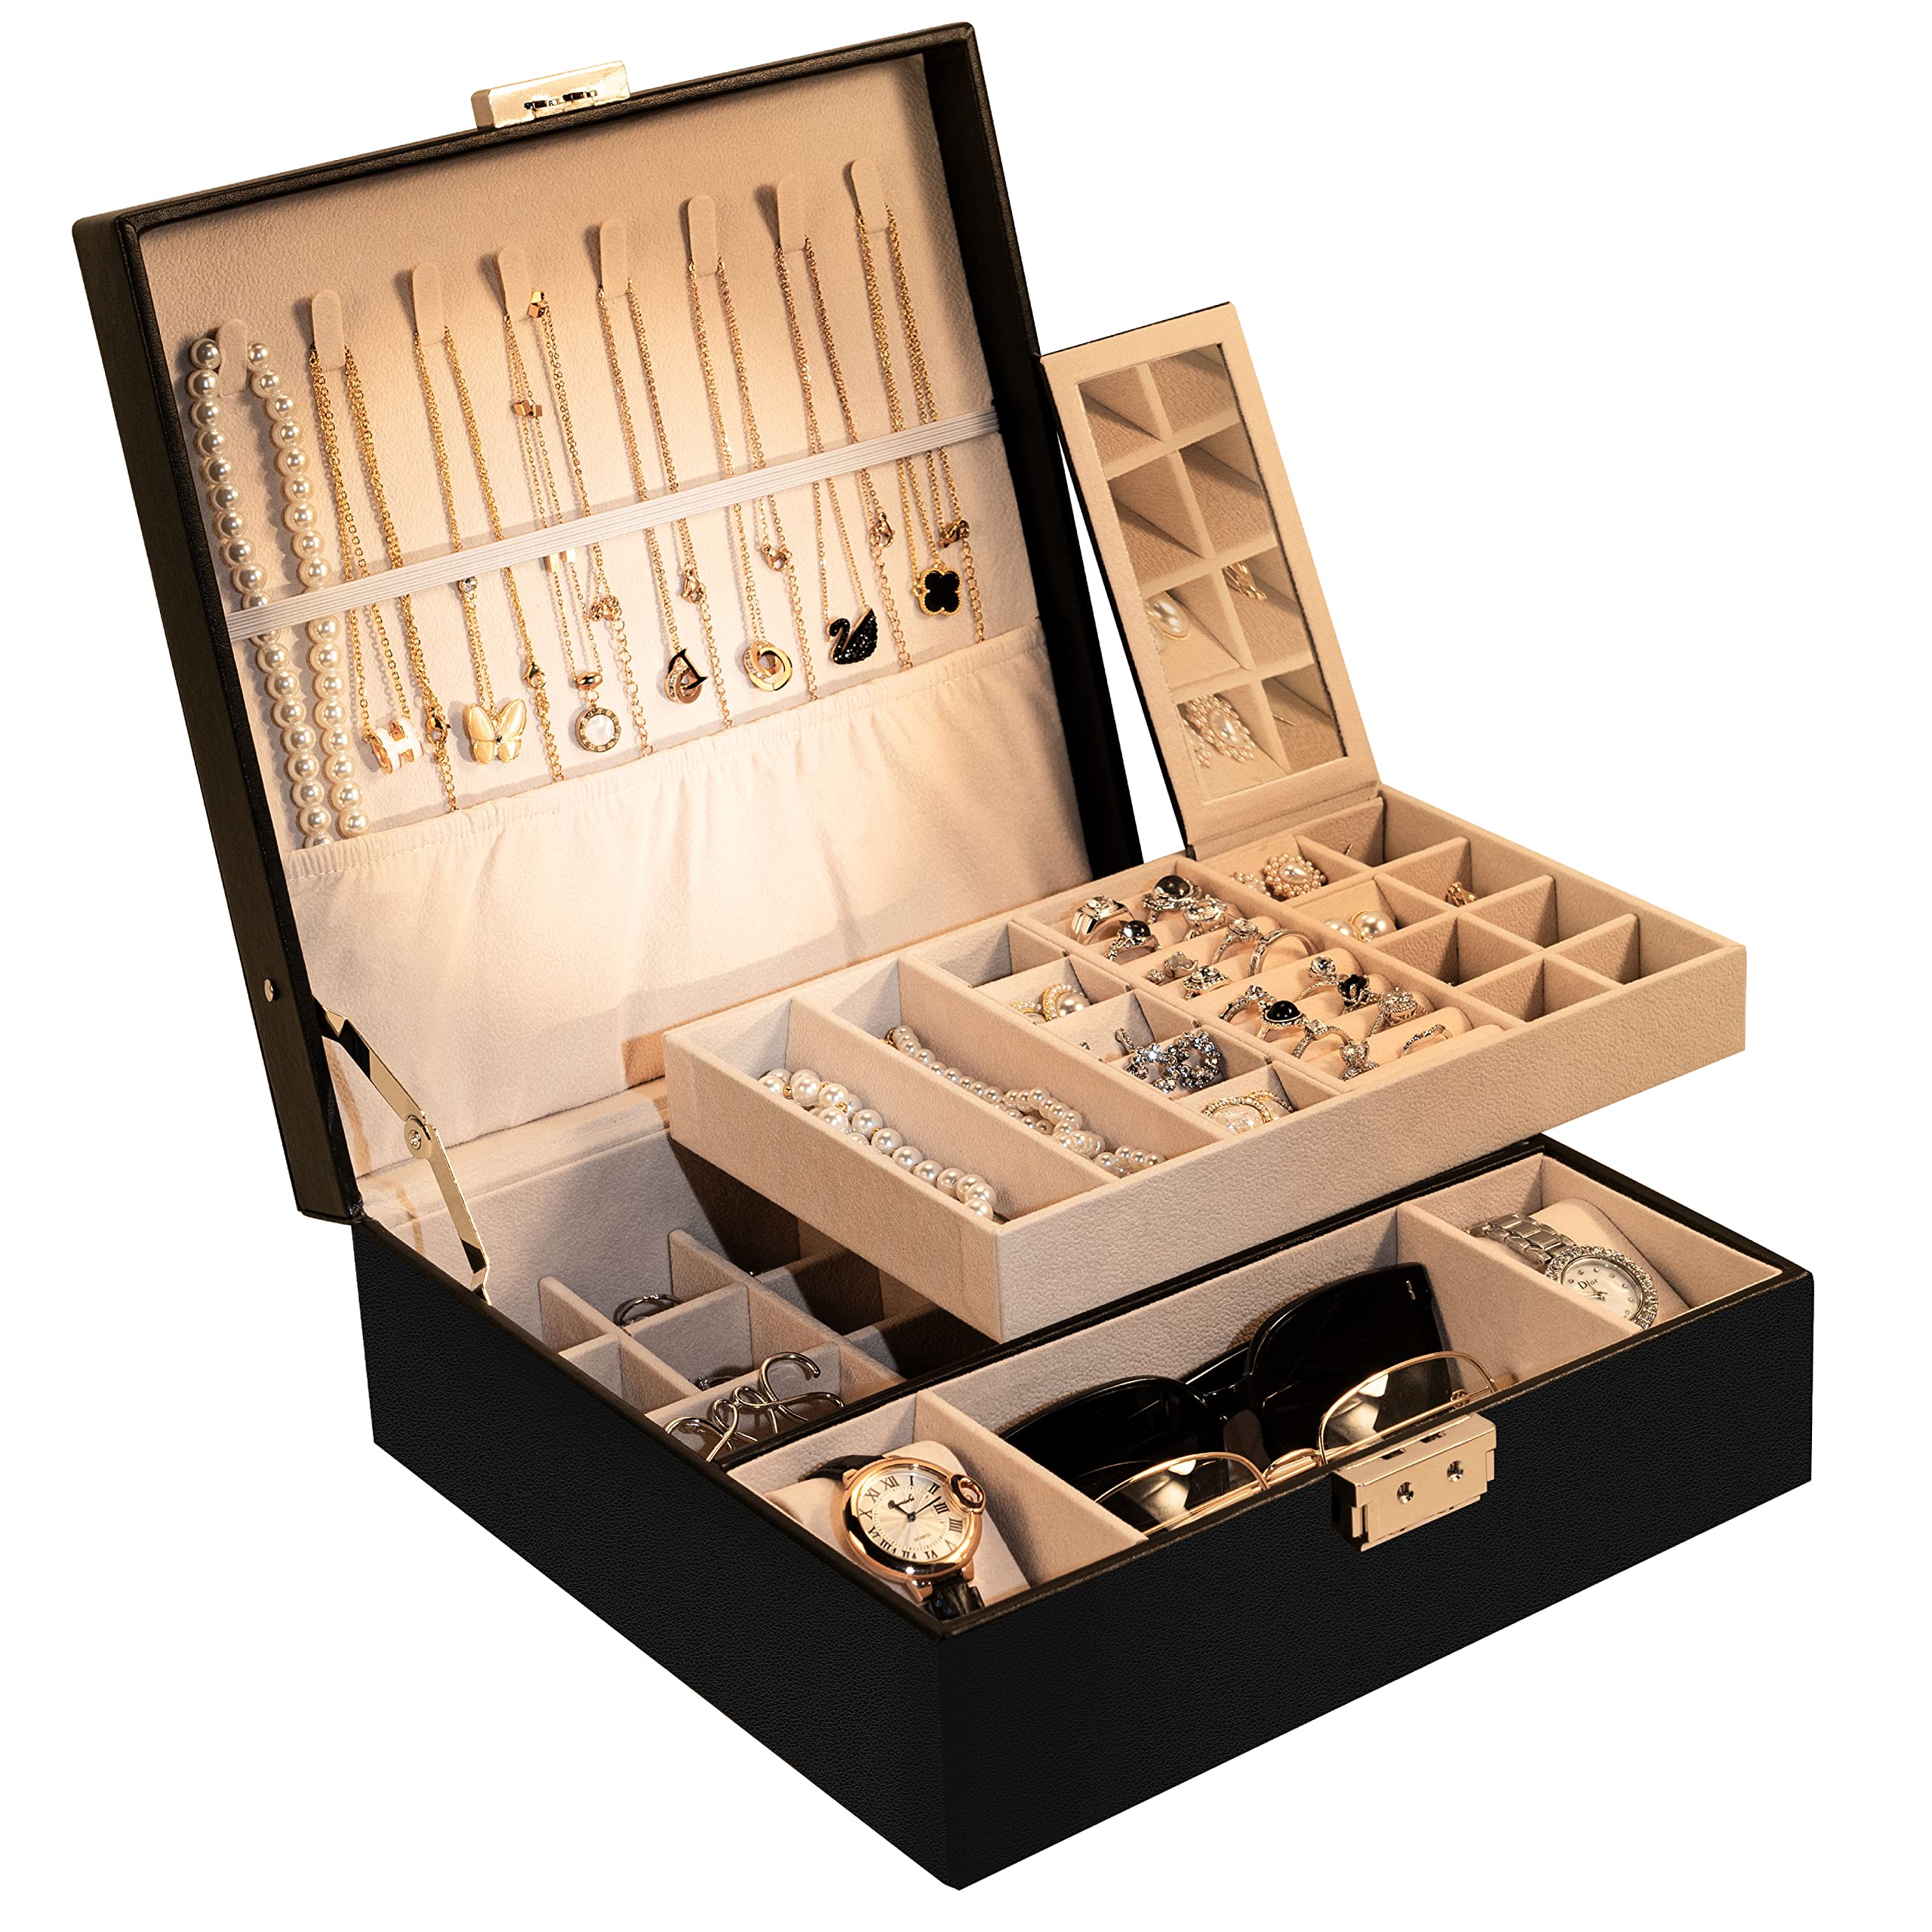
The interior of your jewelry box should be lined with soft fabric, such as felt or velvet, to protect your treasures from scratches and damage. Measure and cut the fabric to fit the inside of the box, ensuring a snug and secure fit.
Use glue to adhere the fabric to the interior walls and bottom of the box, taking care to smooth out any wrinkles or creases. Allow the glue to dry completely before proceeding to ensure a secure bond.
Installing the Locking Mechanism
Now comes the most crucial step: installing the locking mechanism to keep your treasures secure. Position the hinges on the back edge of the lid and attach them securely using screws or nails. Ensure that the hinges allow the lid to open and close smoothly without any resistance.
Next, affix the padlock to the front of the box, ensuring that it aligns with the latch on the lid. Use screws or adhesive to secure the padlock in place, ensuring that it is firmly attached and cannot be easily removed.
Test the locking mechanism to ensure that it functions properly, allowing you to open and close the lid with ease while providing a secure seal when locked. Make any necessary adjustments to ensure a snug fit and smooth operation.

Adding Finishing Touches
With the locking mechanism in place, add any finishing touches to complete your DIY jewelry box. Attach a decorative knob or handle to the lid for easy opening and closing, choosing a design that complements the overall aesthetic of the box.
Consider adding additional embellishments, such as decorative trim or personalized decals, to further enhance the box’s appearance. Let your creativity guide you as you put the final touches on your custom creation.
Maintaining Security: Ensuring Your DIY Jewelry Box is Safe
Once you’ve completed your DIY jewelry box with a lock, it’s essential to ensure that it provides the level of security you desire for your valuable possessions. Here are some additional tips to help you maintain the security of your newly crafted jewelry box:
Regular Maintenance:
Regularly inspect your jewelry box to ensure that the locking mechanism is functioning correctly. Check for any signs of wear or damage, such as loose screws or rust on the padlock. Address any issues promptly to prevent them from compromising the security of your box.
Safe Placement:
Choose a secure location to place your jewelry box, away from prying eyes and potential thieves. Consider storing it in a locked drawer or cabinet for added protection, especially if you’re away from home for an extended period.
Concealment:
Consider disguising your jewelry box to make it less conspicuous to potential thieves. You can cover it with a decorative cloth or place it inside a larger, nondescript container to conceal its true purpose.
Code of Secrecy:
Keep the existence of your jewelry box and its contents discreet. Avoid discussing it openly or displaying it prominently in your home, as this may attract unwanted attention from burglars or opportunistic visitors.
Conclusion
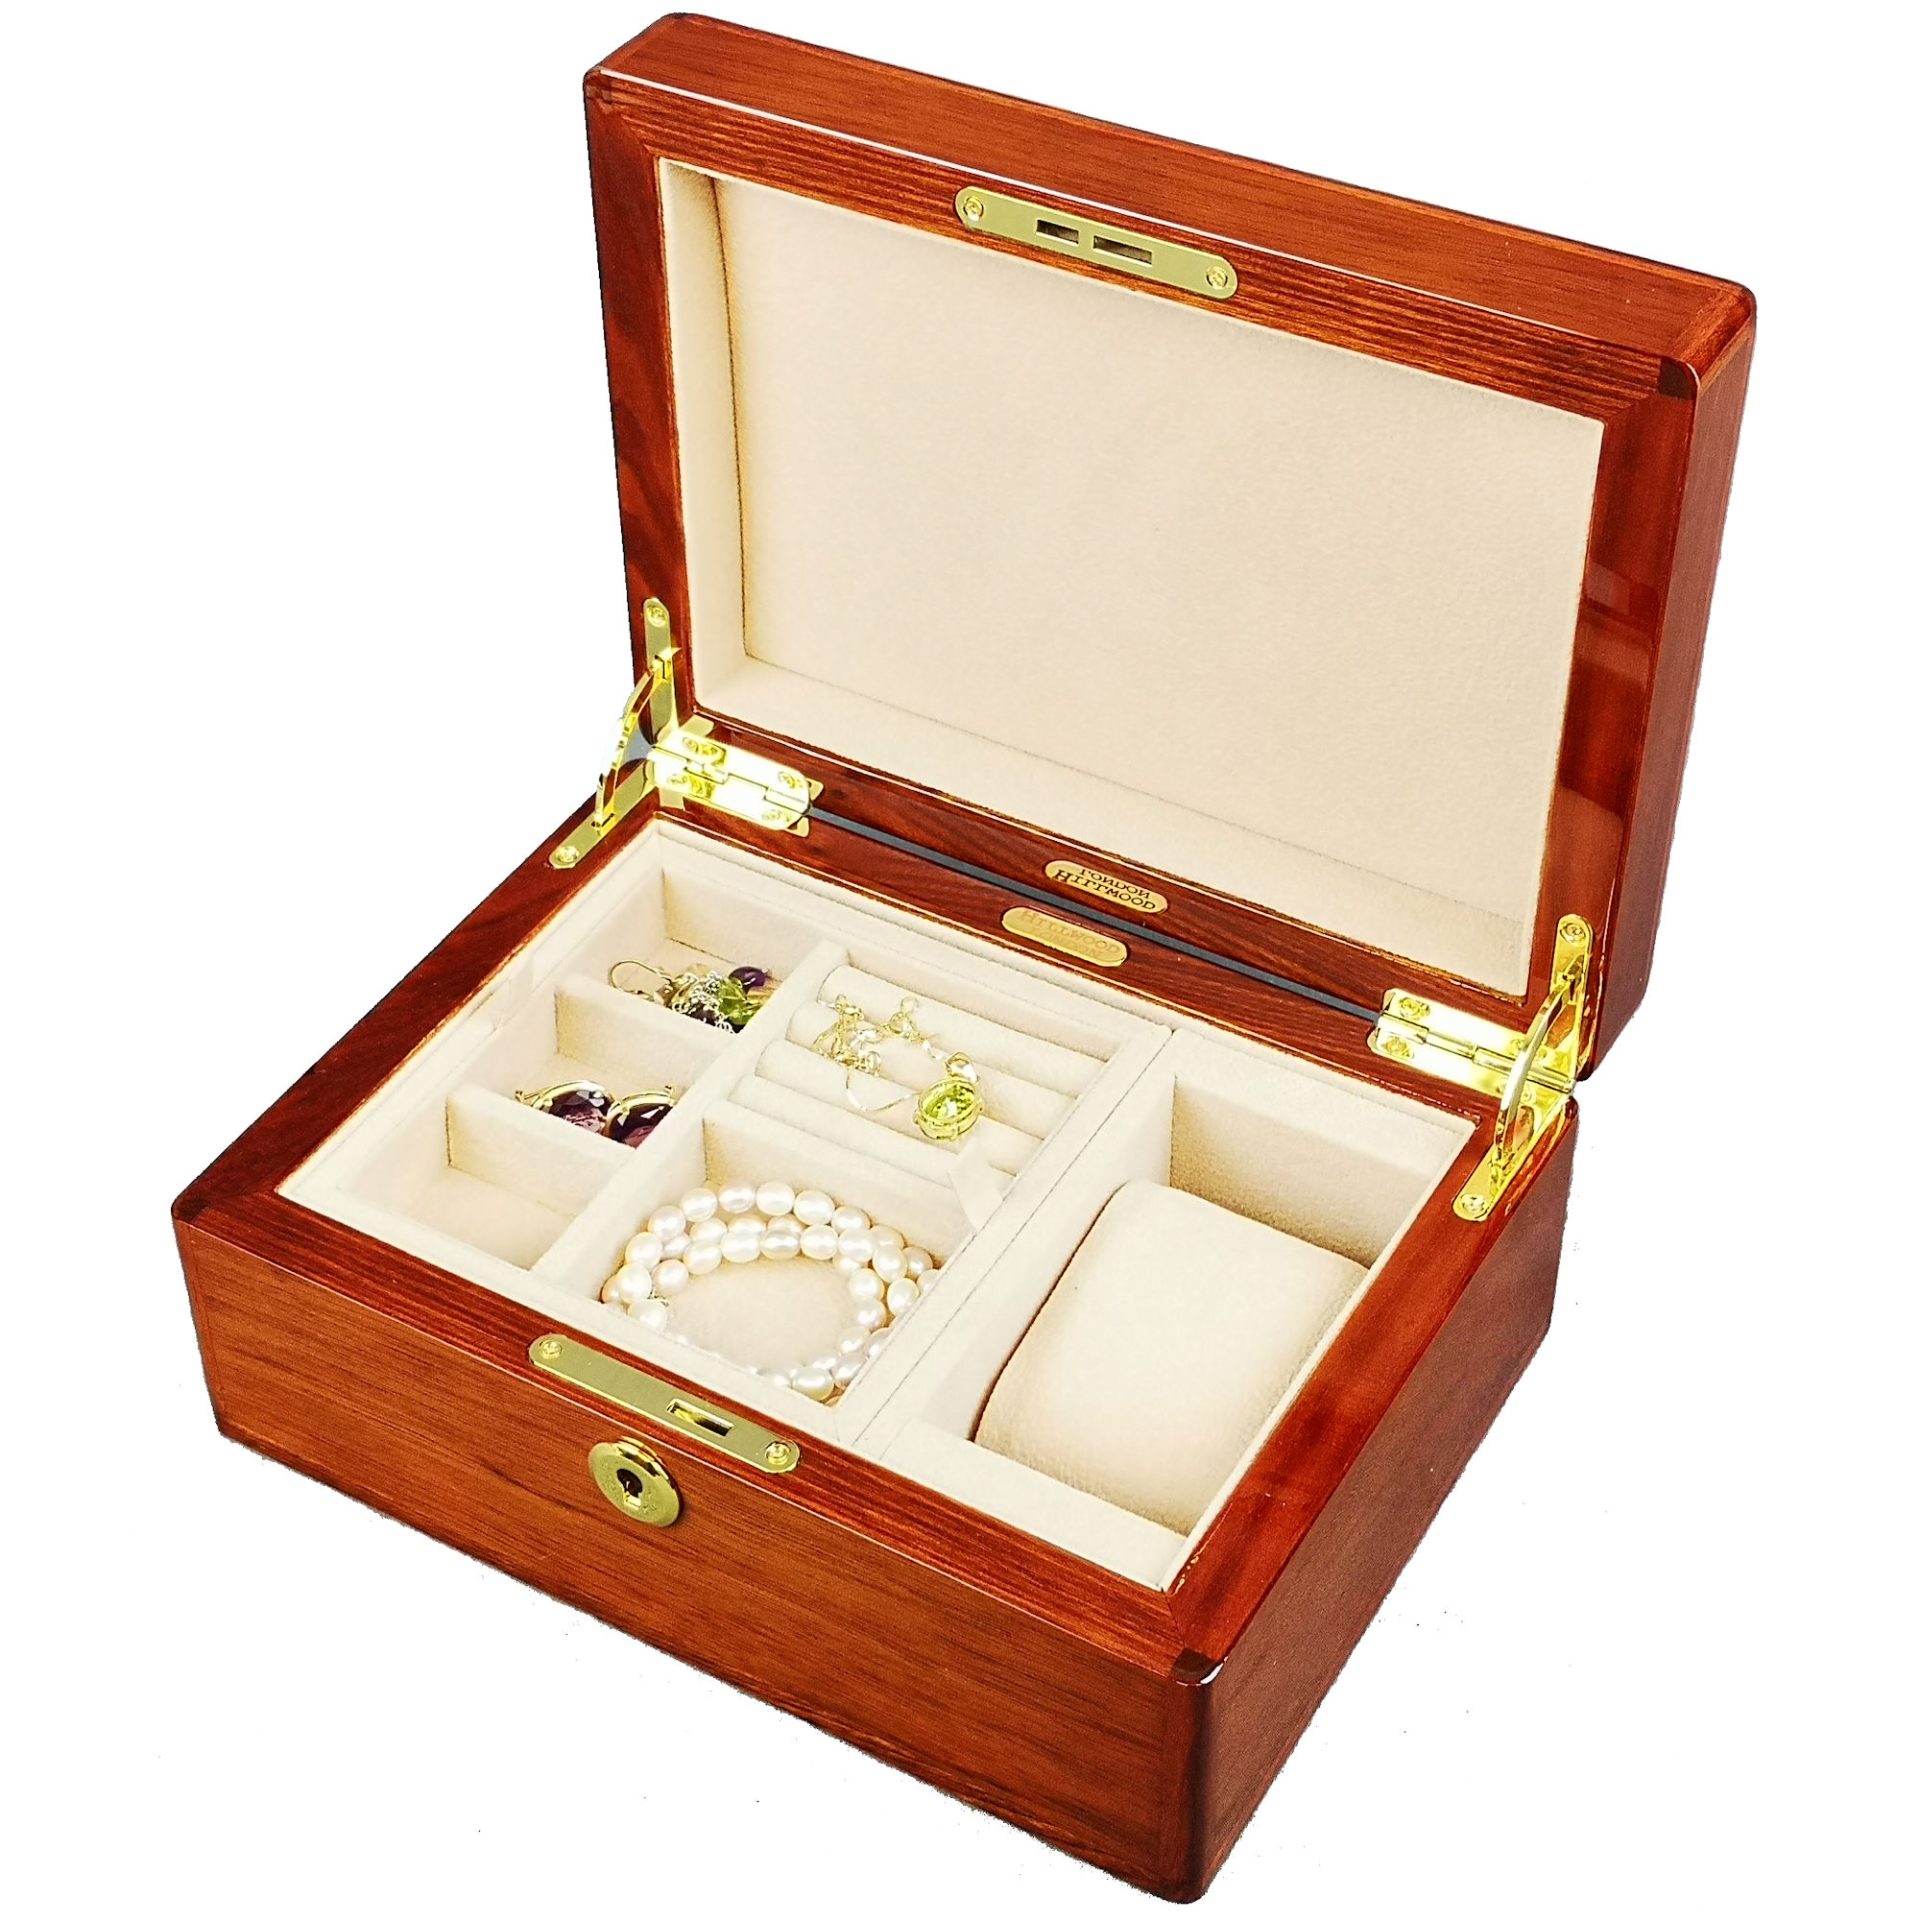
In conclusion, crafting your own DIY jewelry box with a lock is a fulfilling project that allows you to create a stylish and functional storage solution for your treasures. By following the steps outlined in this guide and exercising your creativity, you can design a custom jewelry box that reflects your unique style and personality while providing enhanced security for your valuables. Whether you’re gifting it to a loved one or keeping it for yourself, your DIY jewelry box is sure to be cherished for years to come. Unlock your creativity and embark on this rewarding crafting journey today!


