


Creating a personalized jewelry box not only keeps your precious pieces organized but also adds a touch of your unique style to your living space. With just a few materials and some creativity, you can craft a beautiful and functional jewelry box that reflects your personality. In this guide, we’ll explore simple yet stylish DIY designs that anyone can make at home.
Gathering Materials
Before diving into the crafting process, it’s essential to gather all the necessary materials. For most projects, you will need:
- Wood or cardboard for the base
- Sandpaper for smoothing surfaces
- Paint or wood stain for aesthetics
- Brushes or sponges for applying finishes
- Decorative paper, fabric, or decoupage materials
- Mod Podge or glue for adhering decorations
- Drawer pulls or knobs (optional)
- Measuring tape and a ruler
- A utility knife or scissors
- Basic woodworking tools (if working with wood)
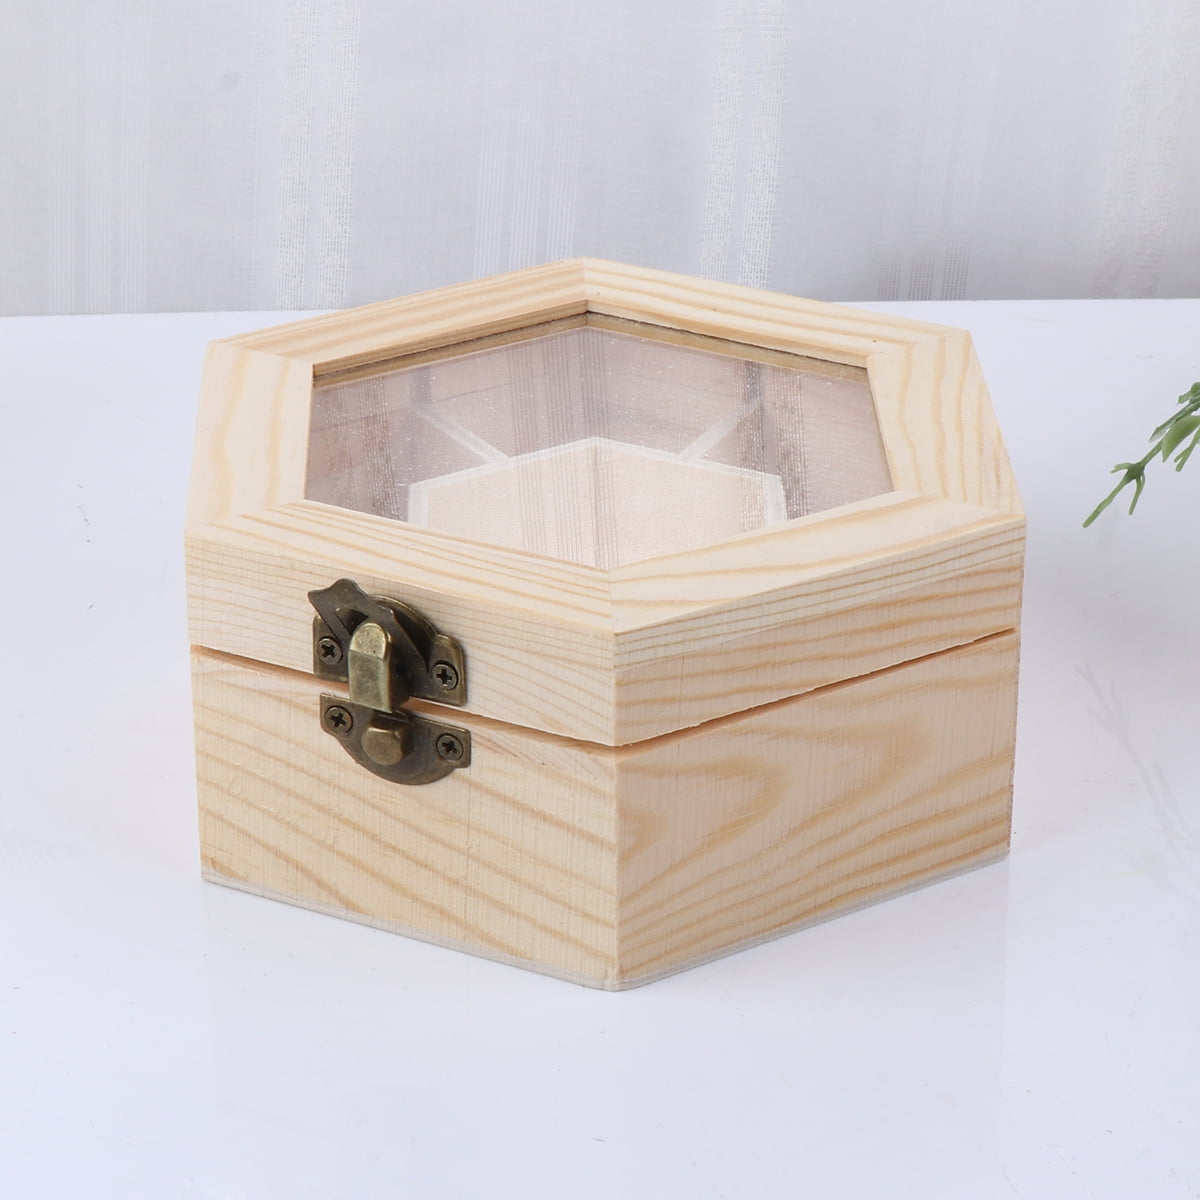
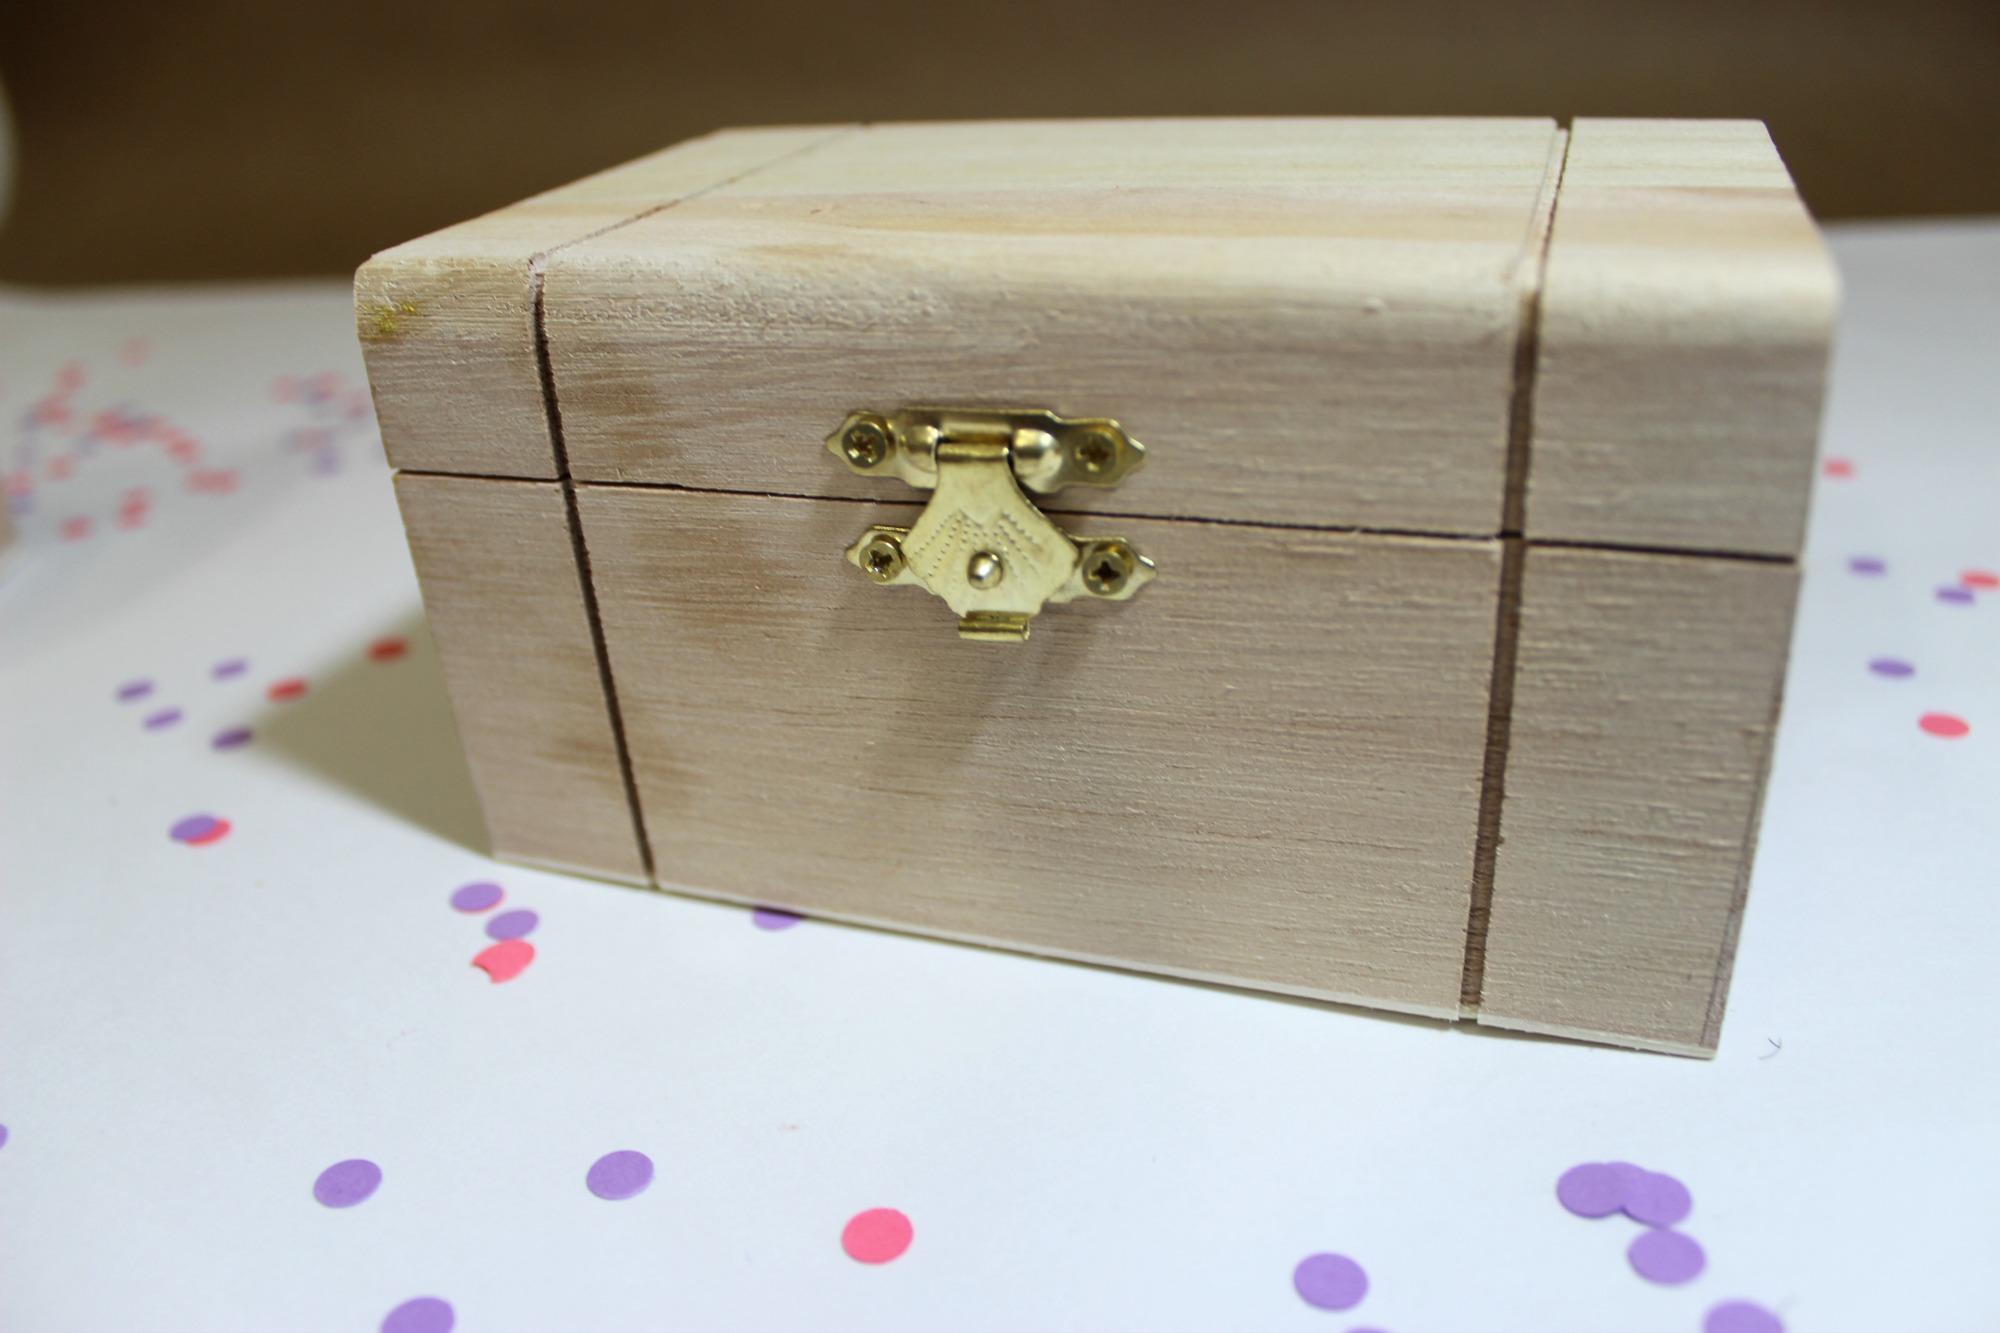
Design 1: The Minimalist Wooden Box
Preparation
Select a piece of wood that suits the size of your jewelry collection. Sand the edges and surfaces until smooth. Measure and mark where you want any compartments or drawers, then cut accordingly using a saw.
Assembly
Assemble the box using wood glue and clamps, ensuring corners are square. Let dry completely before proceeding.
Finishing Touches
Paint or stain your box in a color that complements your room decor. Add a layer of varnish for protection. For an extra touch, attach small drawer pulls to the front of each compartment.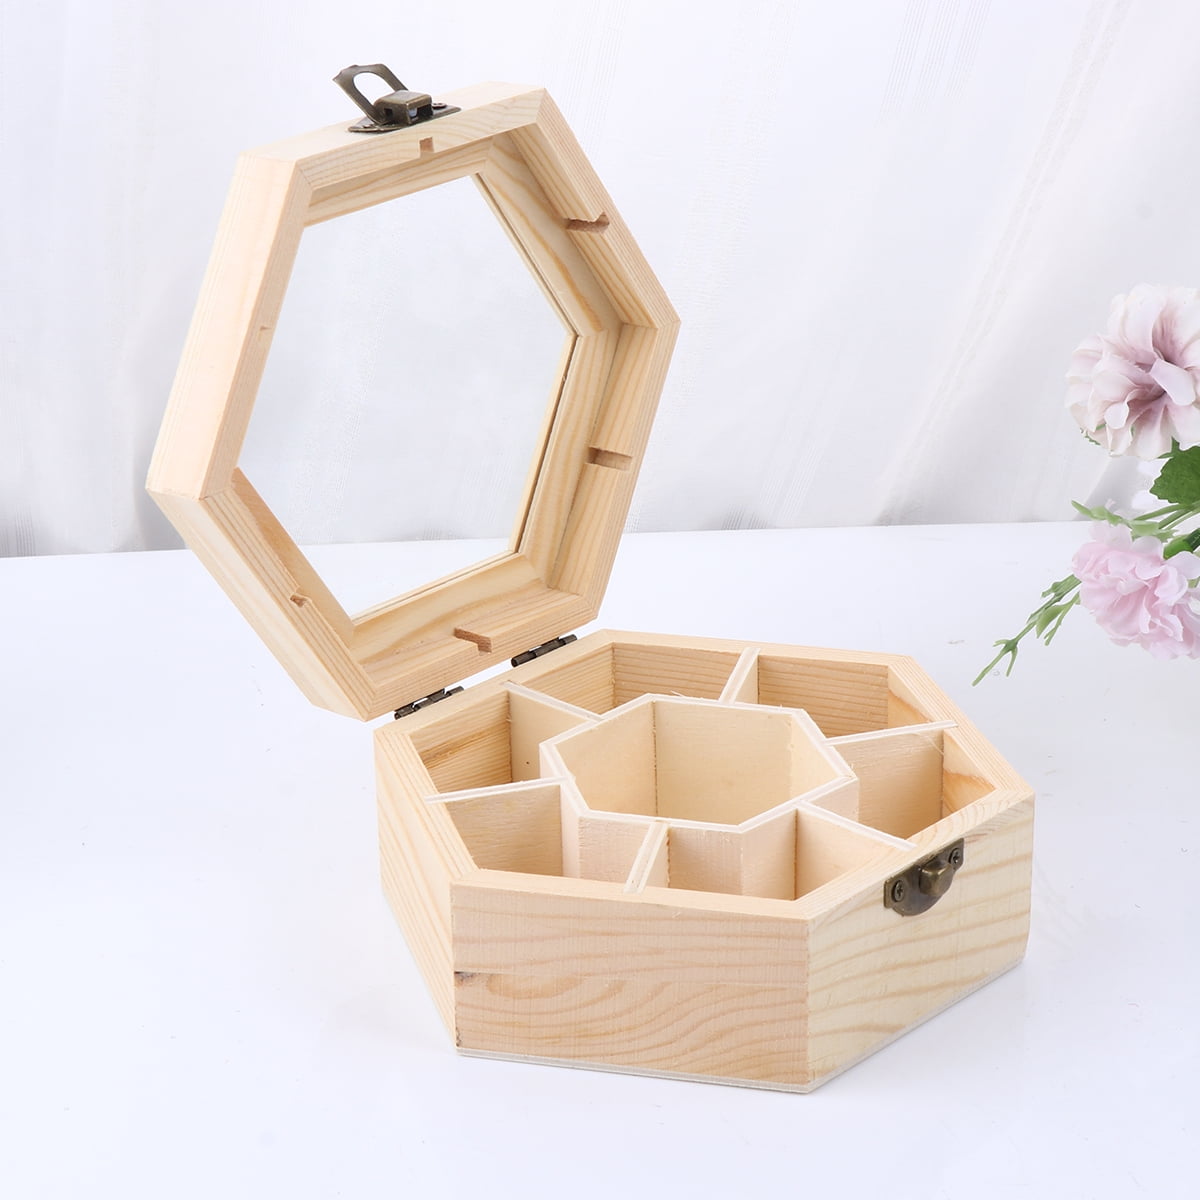
Design 2: Upcycled Book Box
Choosing the Right Book
Find a hardcover book that you no longer read, ensuring its size can accommodate your jewelry. Remove the pages carefully using a utility knife, leaving only the cover and spine intact.
Creating Compartments
Measure and cut foam or felt to line the inside of the book, creating sections for different types of jewelry. Glue the foam or felt in place.
Decorative Cover
Cover the outside of the book with decorative paper or fabric, adhering it with Mod Podge. Add personal touches like stickers, stamps, or decoupage elements.
Design 3: Fabric-Covered Cardboard Organizer
Cutting and Assembling
Using cardboard, cut out the base and sides for your box, making sure they fit together snugly. Fold and glue the edges to form the box structure.
Fabric Lining
Choose a fabric that matches your room’s aesthetic. Cut it slightly larger than the cardboard pieces and wrap around each part, securing with glue. Trim excess fabric neatly.
Adding Dividers
Create compartments within the box by gluing thin cardboard strips or using fabric-covered dividers. This helps organize earrings, bracelets, and necklaces separately.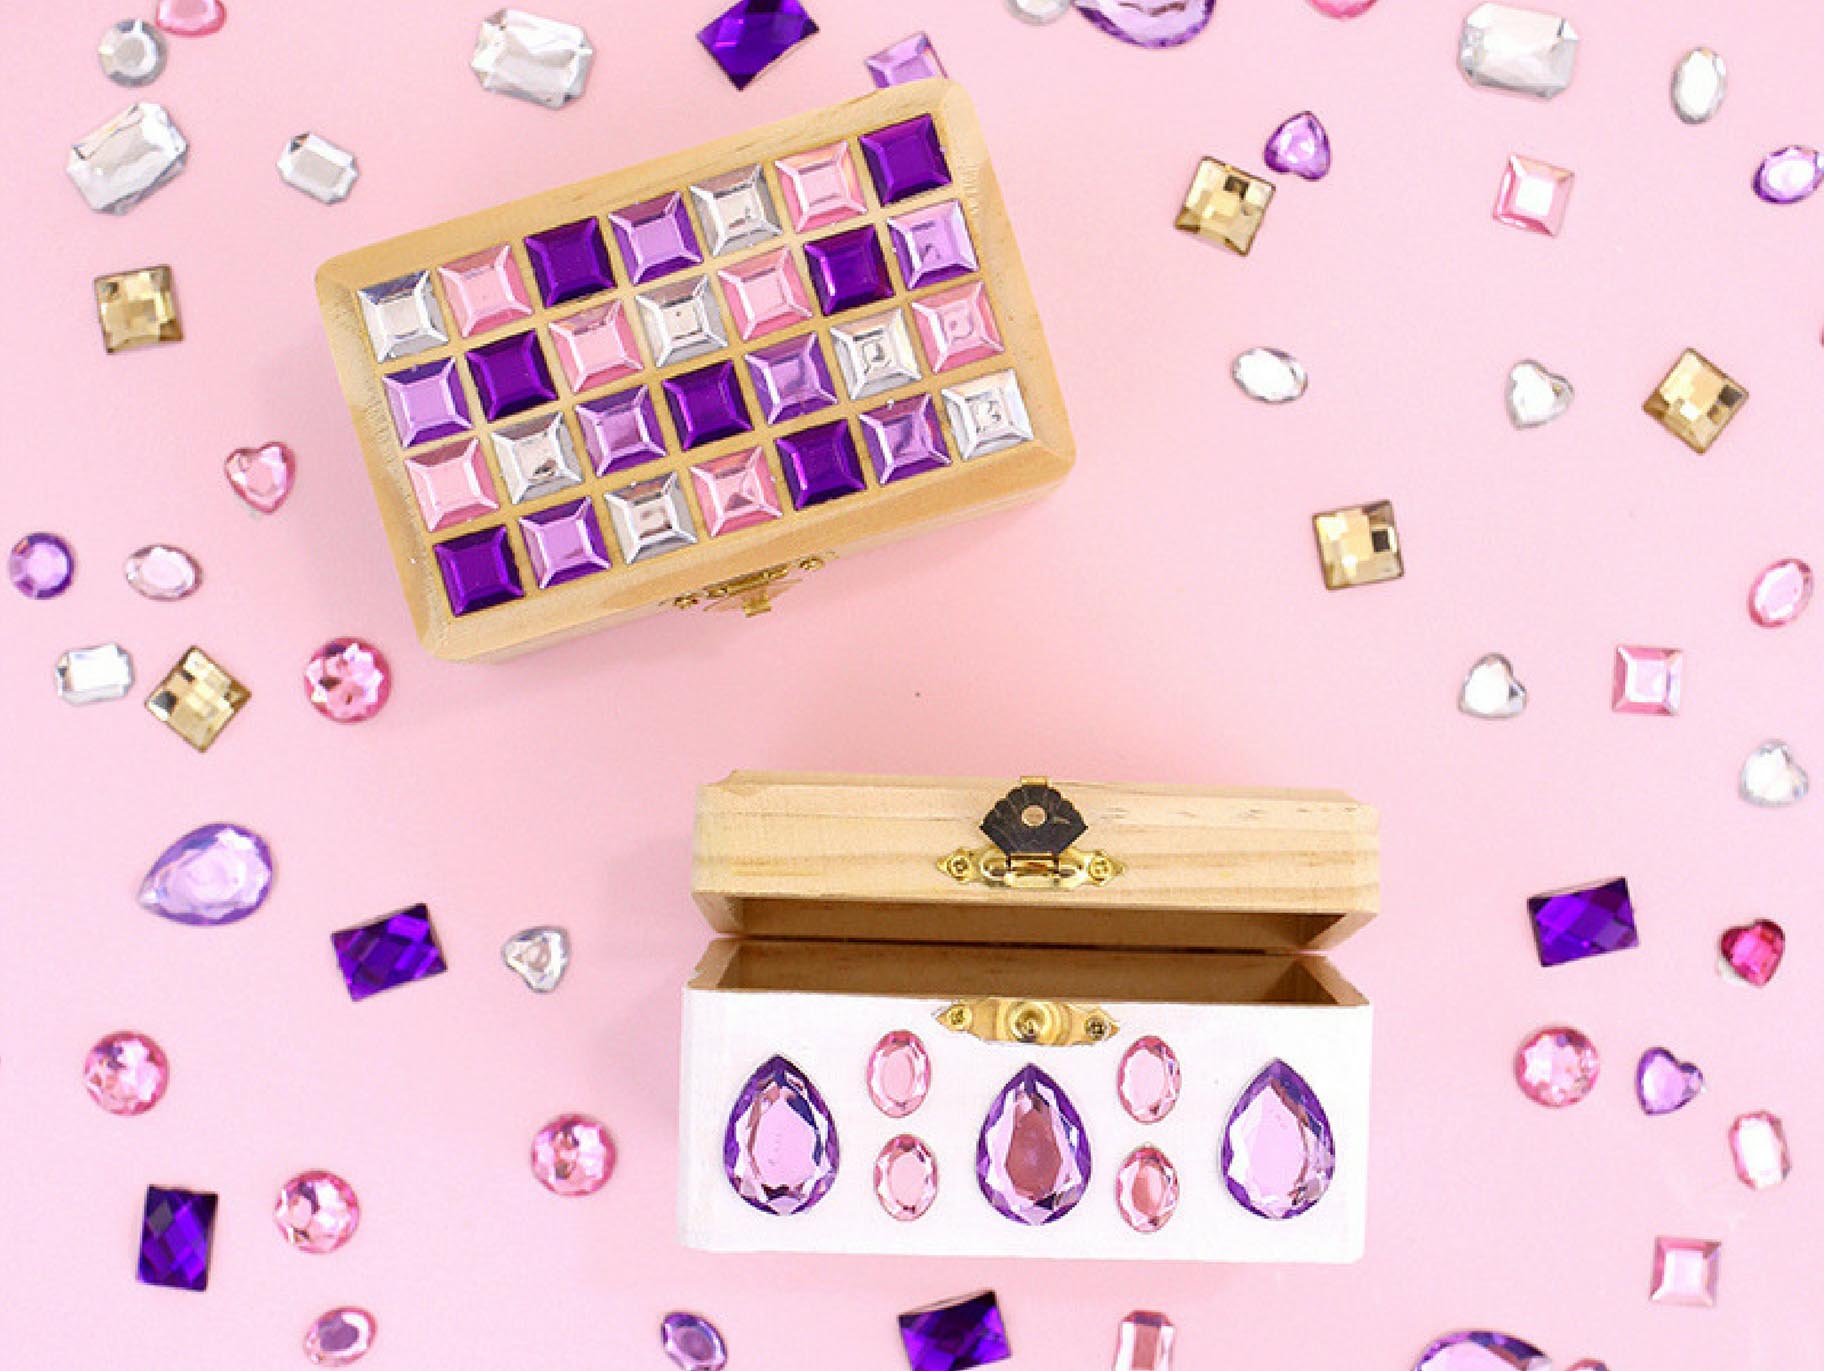
Design 4: Mason Jar Jewelry Display
Preparing Jars
Collect several mason jars of varying sizes. Clean them thoroughly and remove any labels. If desired, paint the jars in pastel or metallic shades for a chic look.
Mounting Jars
Attach the jars to a wooden board using brackets or strong glue. Arrange them in an aesthetically pleasing manner, ensuring stability.
Accessories Hangers
Add hooks or wire around the jar lids for hanging necklaces and bracelets. Fill the jars with smaller items like rings and earrings.
Personalizing Your Creation
No matter which design you choose, remember that personalization is key. Consider adding monograms, special trinkets, or even painting motifs that resonate with you. Not only does this elevate the appearance of your jewelry box, but it also makes it a heartfelt, one-of-a-kind piece.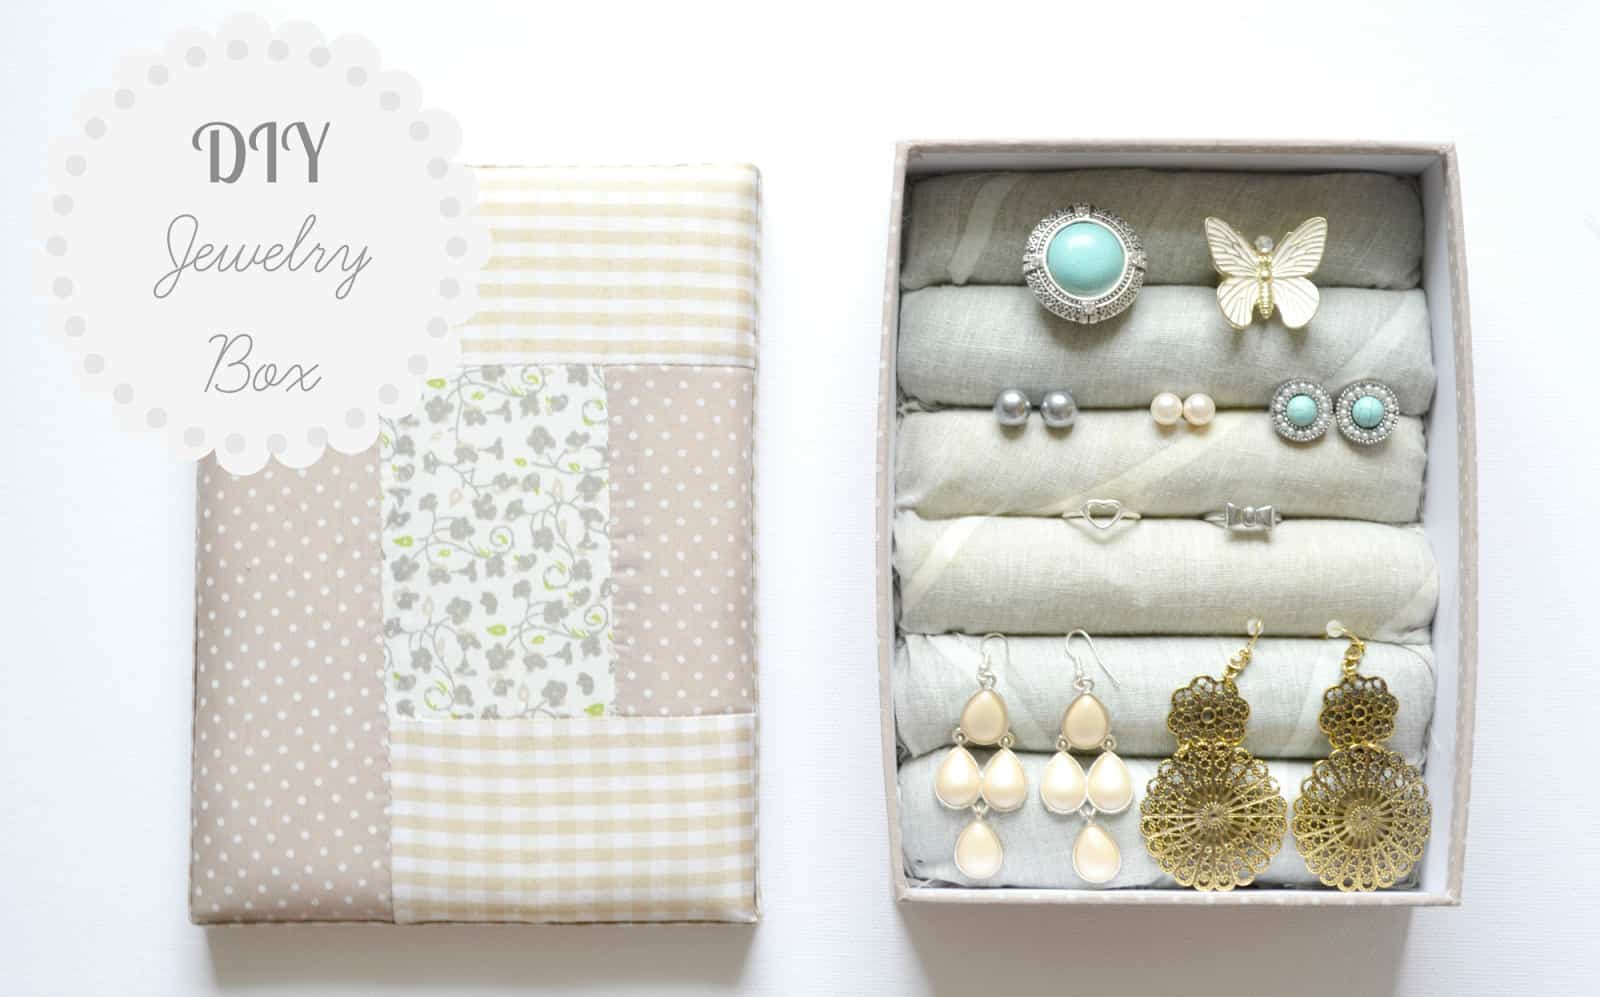
Finishing and Maintenance
Once your DIY jewelry box is complete, give it a final inspection for any rough edges or uneven finishes. Apply a protective coating if necessary to ensure longevity. Regular dusting and occasional cleaning will keep your box looking as good as new.
Embracing Creativity
DIY jewelry boxes are not just about practicality; they’re a canvas for your creativity. Don’t be afraid to experiment with different materials, colors, or themes. Whether you prefer a minimalist, vintage, or eclectic style, there’s a DIY project to match your vision.
Exploring Advanced Techniques and Materials
For those who wish to take their DIY jewelry box project to the next level, there are numerous advanced techniques and unique materials to consider. These enhancements can elevate your creation from a simple storage solution to a statement piece of art.
- Inlay Work: If you’re working with wood, consider incorporating inlay work. This technique involves embedding pieces of contrasting material (like mother of pearl, colored resin, or different types of wood) into the surface of your box for intricate, decorative patterns. It requires precision and patience but results in a stunning, high-end finish.
- Metal Accents: Adding metal accents such as brass corners, hinges, or even custom-cut metal sheets can add a touch of elegance and durability to your box. You can also experiment with etching or engraving designs onto the metal for a personalized flair.
- LED Lighting: For a touch of modern luxury, integrate LED strip lights into your jewelry box design. Soft lighting not only enhances the visual appeal of your jewelry but also makes it easier to find what you’re looking for. Battery-powered options make this addition simple and wireless.
- Fused Glass Elements: If you have experience with glasswork, consider incorporating fused glass pieces into your design. Small glass tiles or even a fused glass panel on the lid can introduce unique textures and colors, especially when combined with natural light.
- Upcycling Unusual Objects: Extend your creativity beyond traditional materials by upcycling unconventional items. Old cigar boxes, vintage tea tins, or even antique suitcases can be transformed into charming and unique jewelry storage solutions. These items often come with their own character and history, adding depth to your project.
- Marquetry and Parquetry: These techniques involve creating patterns or pictures using thin veneers of wood or other materials. It’s a sophisticated method to decorate the exterior of your box, allowing for intricate designs and a high degree of customization.
- Smart Integration: For tech-savvy creators, integrating smart features like automatic lighting, charging ports for smart jewelry, or even fingerprint locks can bring a futuristic twist to your jewelry box. These features not only add convenience but also showcase your innovative spirit.
Conclusion: Crafting a Legacy
Crafting your own jewelry box is more than just a weekend project; it’s a chance to create something that holds both your treasures and your memories. By putting your heart into the design and execution, you’re not only organizing your jewelry but also adding a personal touch to your daily routine. These simple yet stylish DIY designs offer a starting point for your creative journey, inspiring you to make something truly unique and special.


