Introduction to Cabinet Door Hinges
Cabinet door hinges are pivotal for smooth door operation. These small components bear the weight of the door and define its swing. When it comes to cabinet design, hinges not only serve a functional role but also influence the overall aesthetics.
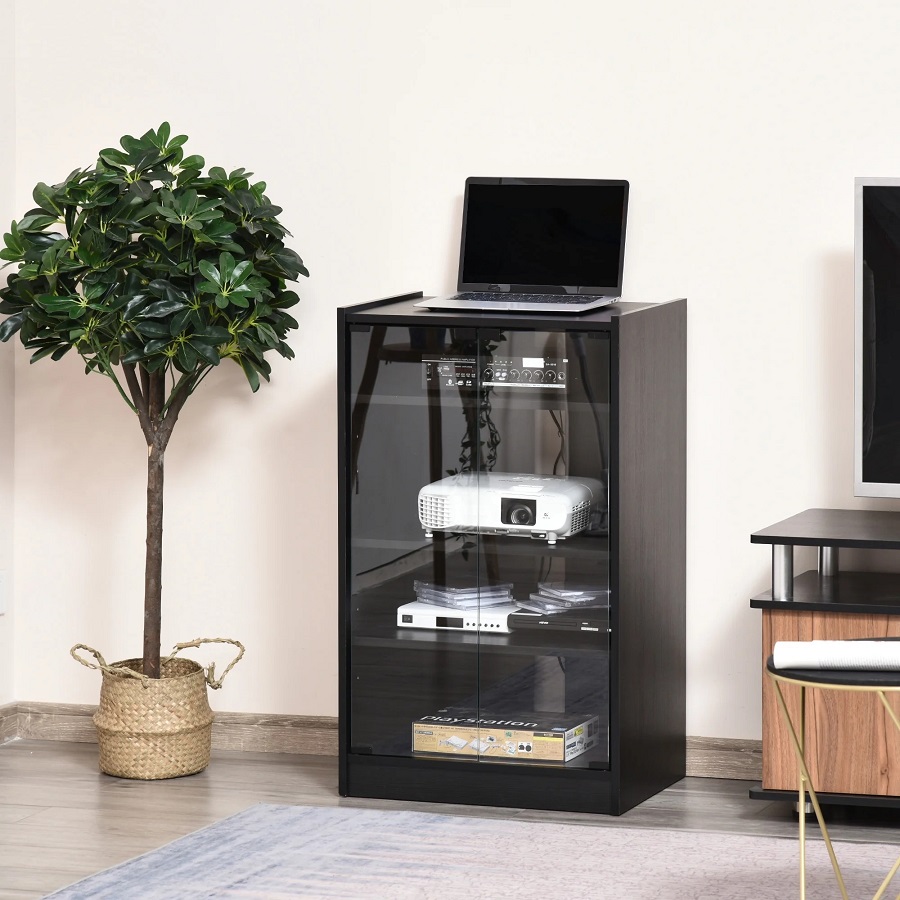
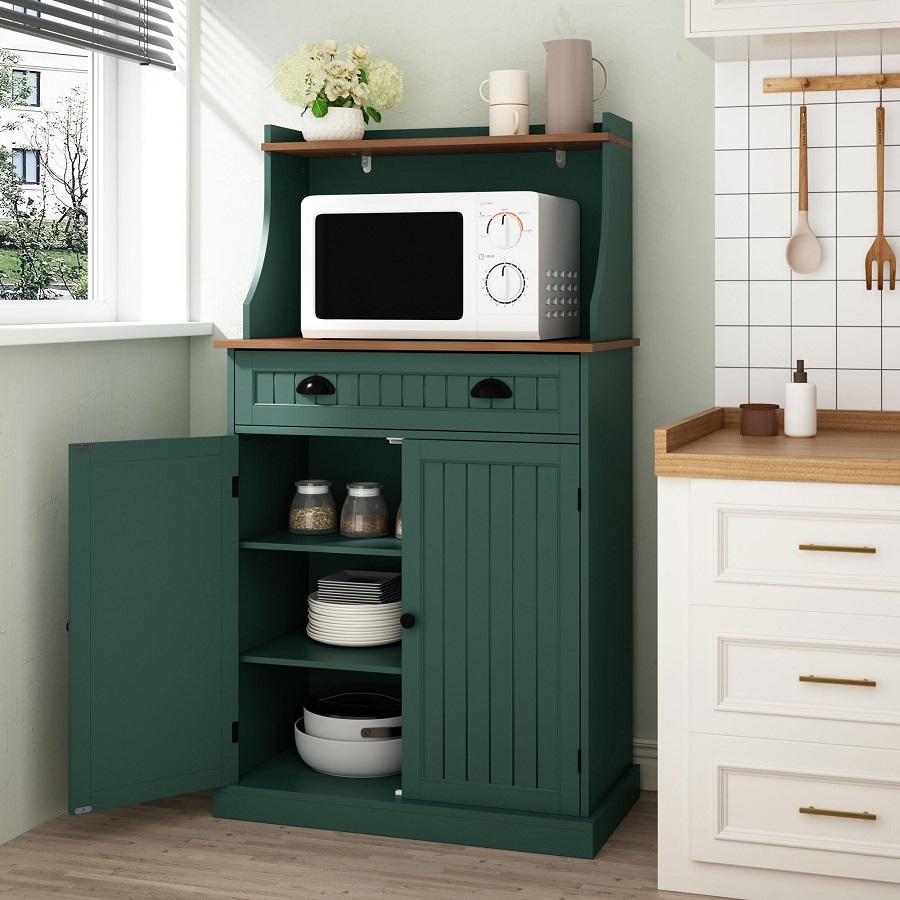
Choosing the right hinges is key for seamless integration with the cabinet’s style and design. There are concealed hinges that offer a clean, modern look, and decorative hinges that can enhance the cabinet’s visual appeal. Moreover, some hinge types allow for soft-closing action, which protects the cabinet from damage and reduces noise.
Before starting the installation, you need to understand the different types of cabinet door hinges. This way, you ensure you choose the ones best suited for your cabinet’s design and functionality. It is important to note that a proper installation can significantly extend the lifespan of both the hinge and the cabinet door. Misalignment or incorrect hinge choice can lead to wear and unnecessary damage over time.
In this guide, we will delve into the various types of cabinet door hinges, discuss the tools and materials you’ll need, and walk you through a step-by-step installation. By following our maintenance tips, you can keep your cabinet door hinges in top shape and avoid common mistakes during installation.
Types of Cabinet Door Hinges
Understanding the various types of cabinet door hinges is crucial for a successful installation. Hinges differ in their design, functionality, and the visual effect they have on cabinetry. Let’s discuss the most common types used in cabinet design:
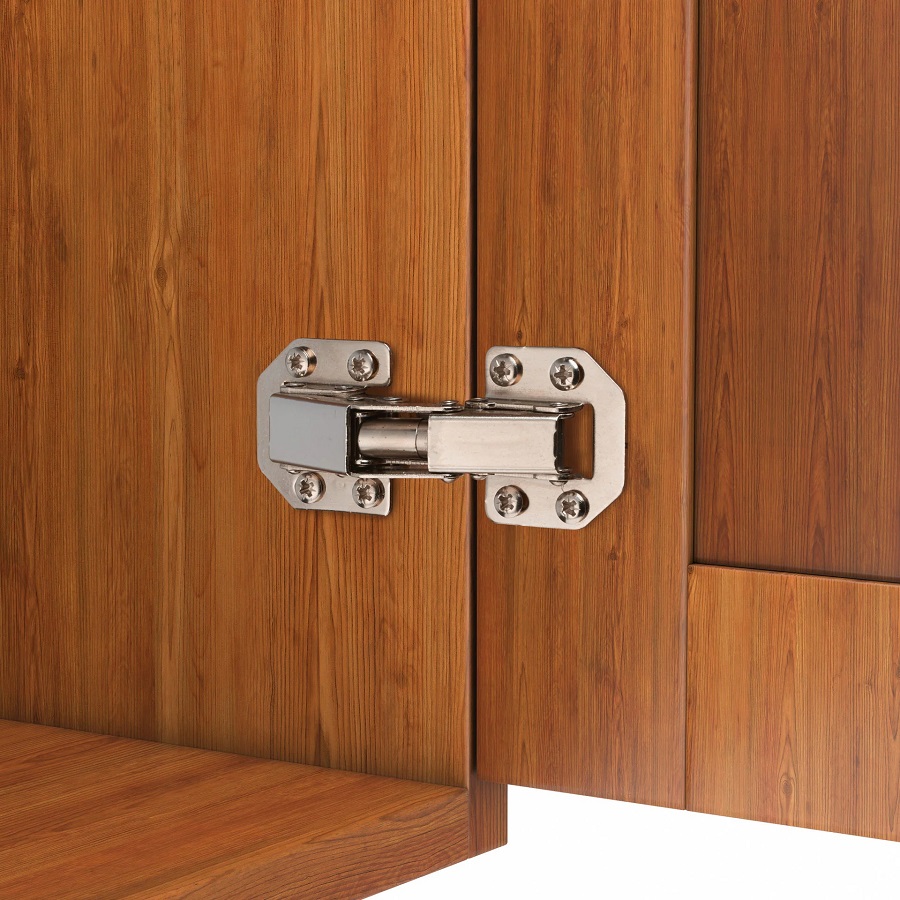
- Standard Hinges: These are visible when the cabinet door is closed. They come in various styles and finishes.
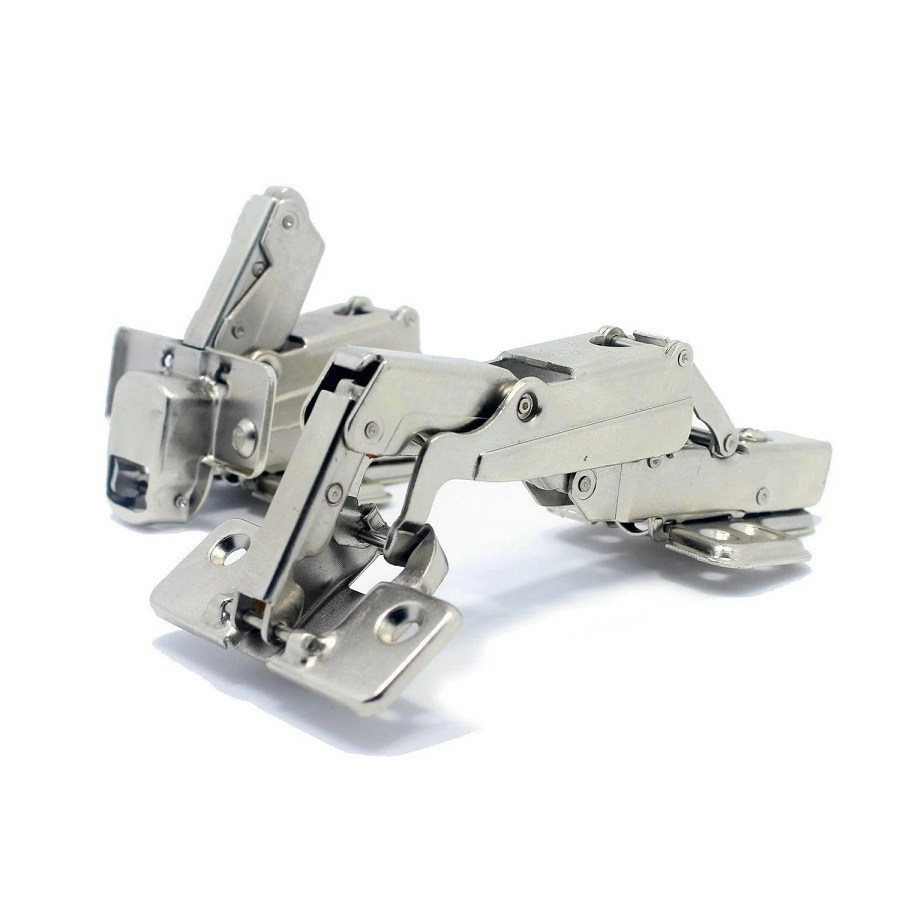
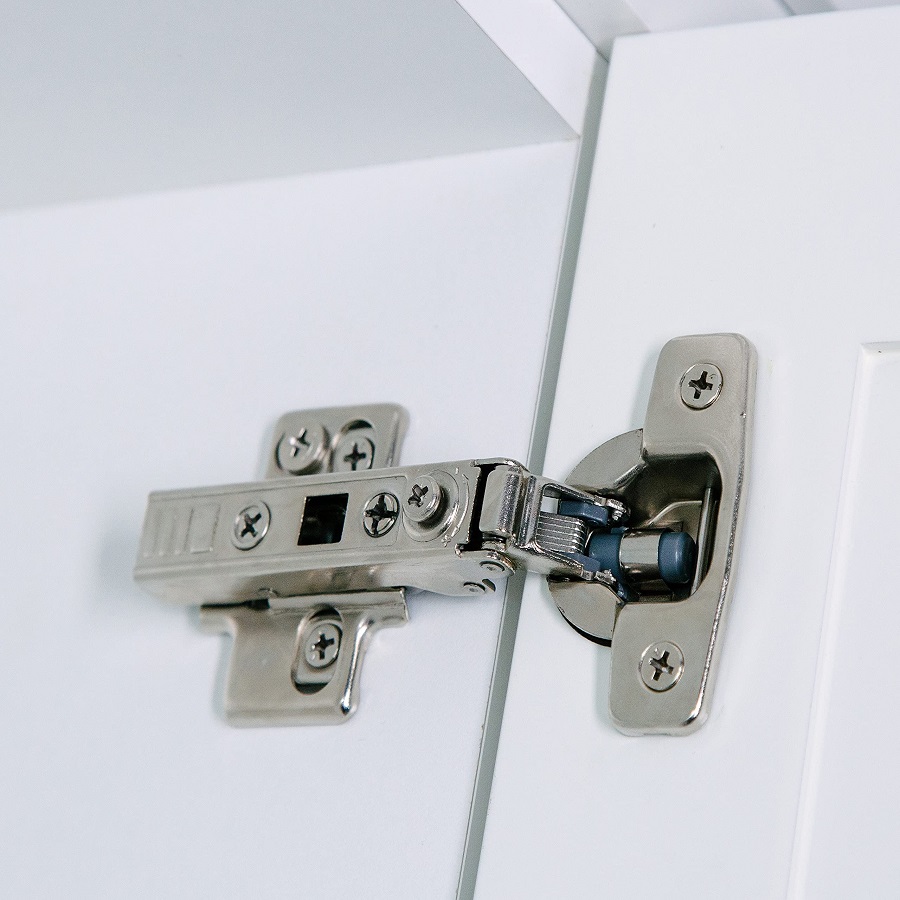
- Concealed Hinges: Also known as European hinges, they are not visible when the door is shut, giving a sleek look.
- Overlay Hinges: These allow the door to lay over the cabinet frame, and can be either concealed or visible.
- Inset Hinges: Designed for doors that sit inside the cabinet frame, they offer a clean, tailored appearance.
- Partial Inset Hinges: These are for doors that partially rest inside the frame and partially cover it.
Each hinge type offers distinct advantages. Consider the cabinet design, door weight, and desired aesthetic when choosing your hinges. Standard hinges are great for traditional designs, while concealed hinges work best for modern, minimalist cabinetry. Overlay hinges suit cabinets where the frame is less prominent, and inset hinges provide a custom, high-end look.
Selecting the right cabinet door hinges impacts both the function and the style of your kitchen or bathroom cabinets. Take your time to assess the look you want to achieve and the level of durability required. Proper hinge selection can prevent frustration down the line and ensure that your cabinet doors operate smoothly for years to come.
Tools and Materials Needed for Installation
Before you begin the installation of your cabinet door hinges, it is essential to gather all the necessary tools and materials. Having everything at hand will make the process smoother and more efficient. Here is a list of items you’ll need to install your cabinet door hinges properly:
- Screwdriver: A standard Philips head screwdriver or a power drill with a screwdriver bit.
- Measuring Tape: To take precise measurements of the door and the cabinet framework.
- Pencil or Marker: For marking drill holes on the cabinet and door.
- Drill and Drill Bits: A drill is needed for making pilot holes for screws.
- Hinges: Cabinet door hinges that are suitable for your specific cabinet design.
- Screws: They usually come with the hinges, but ensure they are the correct size and length.
- Level: To ensure that the doors hang straight and are properly aligned.
- Carpenter’s Square: For checking the corners are right angles during alignment.
- Clamps: To hold the door in place while you work on it, which is particularly helpful for heavy doors.
Ensure that you have selected the appropriate type of cabinet door hinges for your project. Double-check that you have all the hardware required for installation, including any additional pieces that may come with specific types of hinges. Being prepared with the right tools and materials from the get-go can prevent delays and help you achieve a seamless and successful installation of your cabinet door hinges.
Preparing the Cabinet and Door for Hinge Installation
Before you start the actual hinge installation, proper preparation of both the cabinet and the door is vital. Here are the steps to follow to set up for a smooth installation:
- Mark the Hinge Positions: Use your measuring tape to determine where the hinges will go on the cabinet frame and the door. Mark these positions with a pencil or marker. Proper placement is crucial for function and appearance.
- Measure Twice, Drill Once: After marking, measure the spots again to ensure accuracy. Misplaced hinges can lead to problems with door alignment.
- Create Pilot Holes: Using the drill, create pilot holes at the marked positions. This will help prevent the wood from splitting when you insert the screws.
- Dry Fit the Hinges: Before you start screwing the hinges in place, attach them to the door and cabinet frame to check their fit and alignment. Make adjustments to the markings if needed.
- Check the Door’s Balance: If you’re reinstalling a door, check that it hasn’t warped over time as this can affect the installation of the new hinges.
Performing these preparatory steps will help ensure that your cabinet door hinges are installed correctly and function as intended. Skipping these preparatory stages could lead to uneven doors and additional work later on. Take your time, and make sure everything is lined up correctly before moving on to the next step of the installation process.
Step-by-Step Installation Process
Following the preparation of your cabinet and door, it’s time to proceed with the hinge installation. Here’s a detailed, step-by-step process to secure your cabinet door hinges effectively and efficiently.
- Align the Hinge with the Pilot Holes: Take the designated cabinet door hinges and line them up with the pilot holes on the door and cabinet frame.
- Secure the Hinges to the Cabinet: Using your screwdriver or power drill, fix the hinges onto the cabinet frame at the marked locations with the screws.
- Attach the Door to the Frame: Now, carefully align the door with the frame, making sure the hinges are in the correct position for a smooth motion.
- Test the Door Movement: Gently open and close the door to check its movement. Ensure there’s no scraping or misalignment.
- Make Necessary Adjustments: If the door isn’t perfectly aligned or smooth in operation, you may need to adjust the hinges. Loosen the screws slightly, reposition the door, and then tighten again.
- Final Check for Alignment: Use your level to confirm that the door is hanging straight. If not, tweak the hinges until it’s just right.
- Secure the Door in Place: Once you are satisfied with the alignment, finalize the installation by tightening all screws.
- Inspect the Door’s Swing and Closure: Open and close the door several times to ensure it swings freely and closes securely without issues.
The successful installation of cabinet door hinges enhances the functionality and longevity of your cabinet doors. Be patient and precise with each step to ensure a flawless fit and seamless motion. A meticulous installation now can save time and effort in the future.
Adjusting and Aligning Cabinet Doors
After installing your cabinet door hinges, the next crucial step is adjusting and aligning the doors. This process ensures that each door sits perfectly within the cabinet frame, operates smoothly, and looks great. Here’s how to make those adjustments:
Check the Alignment
Using a level, verify that the doors are horizontally and vertically aligned with the cabinet frame. If you notice a door is not level, you will need to adjust the hinges.
Adjust Hinges for Level
Loosen the mounting screws on the hinges slightly. Shift the door up or down, left or right to level it. Tighten the screws once the door is in the correct position.
Test Door Swing
Open and close the doors to test the swing. A properly aligned door should move freely without rubbing against the frame or other doors.
Make Minor Adjustments
If the door still isn’t sitting right, use the adjustment screws on the hinges. These allow for finer control and can correct small misalignments.
Tighten All Screws
Once the doors are correctly aligned, make sure to tighten all the hinge screws. This ensures the door stays in the correct position.
Final Check
After adjustments, double-check the spacing around the doors and ensure they all match and look uniform.
Getting cabinet doors perfectly aligned might take a few tries, but patience pays off. Take your time to adjust each door carefully, and you’ll achieve a professional-looking finish to your cabinet installation.
Maintenance Tips for Cabinet Door Hinges
To keep your cabinet door hinges functioning smoothly, regular maintenance is key. Here’s how to maintain the hinges effectively:
- Regularly Check for Loose Screws: Door usage can cause screws to loosen over time. Tighten them up as needed.
- Clean Hinges Periodically: Dust and grime can build up, affecting movement. Wipe hinges with a damp cloth and dry them.
- Lubricate the Hinges: Apply a silicone-based lubricant to the hinge joints to ensure a quiet and smooth operation.
- Watch for Rust Formation: If hinges are metal and exposed to moisture, they can rust. Remove rust with a fine steel wool.
- Check for Alignment: Periodically ensure your cabinet doors are still properly aligned. This prevents unnecessary strain on the hinges.
- Avoid Overloading the Door: Too much weight can damage the hinges. Be mindful of how much the cabinet doors hold.
Following these simple yet effective maintenance steps can prolong the life of your cabinet door hinges and ensure they continue to function as expected. Routine checks and care can prevent the need for early replacements and can make a noticeable difference in the operation of your cabinet doors.
Common Mistakes to Avoid During Installation
Installing cabinet door hinges might seem straightforward, but some common pitfalls could complicate the process. To ensure a smooth installation, steer clear of these mistakes:
- Skipping Measurements: Not measuring the door and frame accurately is a critical blunder. Always measure twice before drilling.
- Ignoring Pilot Holes: Forgetting to drill pilot holes can lead to wood splitting. Make pilot holes for each screw.
- Over-Tightening Screws: Screws that are too tight can strip the wood or damage the hinge. Tighten them firmly, but with care.
- Using Mismatched Hinges: Ensure all hinges are the same model and size. Different types can cause the door to hang unevenly.
- Neglecting Door Weight: Not considering the door weight when selecting hinges can result in sagging. Choose hinges that can support the door’s weight.
- Improper Alignment: Rushing through the alignment might lead to gaps or sticking doors. Take time to adjust the hinges accurately.
- Forgetting to Test Before Finalizing: Always test the door’s swing and closure before securing the hinges completely. Make adjustments if necessary.
By avoiding these mistakes, you can achieve a professional and durable installation of your cabinet door hinges. Remember to review the steps beforehand and approach each stage with patience and precision.