Creating a well-organized kitchen utensil drawer not only helps in maximizing space but also enhances the efficiency of your daily cooking tasks. A clutter-free space saves time and reduces stress, making your cooking experience more enjoyable. In this article, we will explore a detailed guide on how to create your own DIY kitchen utensil drawer organizer, with simple steps and practical tips to transform your drawer into a model of orderliness.
Understanding the Importance of an Organized Drawer
The Benefits of Organization
Before diving into the process of organizing your kitchen utensil drawer, it is crucial to understand its importance. An organized drawer brings several benefits, the most notable being efficiency and peace of mind. When your utensils are neatly arranged, you can easily find what you need, saving time and effort during meal preparation. An orderly environment also contributes to a calmer atmosphere in the kitchen, allowing you to focus on the joy of cooking rather than the chaos of misplaced items.
Avoiding Common Pitfalls
Many individuals face common pitfalls when setting out to organize their drawers. Often, they underestimate the number of utensils they own or overestimate the space available. As a result, drawers can become overcrowded, and finding a specific utensil becomes a frustrating experience. By spending some time understanding what you have and the space you need, you can design an effective organizer that accommodates all your kitchen tools without the clutter.

Assessing Your Kitchen Utensils
Take Inventory of Your Utensils
To start your DIY project, the first step is to take stock of your kitchen utensils. Empty your drawer completely and spread everything out on a flat surface. This step not only helps you see what you have, but it can also reveal duplicates, unused items, and utensils that may need replacing. It’s essential to be realistic about what is necessary for your cooking style. Consider your cooking habits, and categorize your utensils into essentials, occasional use, and rarely used.
Sorting and Purging
Once you have your utensils laid out, begin sorting them into different groups. Create piles for essentials—items you use daily, occasional tools for specific recipes, and a pile for items that can be donated or discarded. This process of purging excess utensils is critical to achieving a clutter-free drawer. If you find utensils that you have not used in over a year, it’s time to let go. Remember, holding onto kitchen tools that you do not need only contributes to unnecessary clutter.
Planning Your Organizer Layout
Choose the Right Design
Now that you’ve decluttered your utensils, it’s time to plan how to best organize them within your drawer. There are various organizer designs to choose from—some individuals prefer drawer dividers, while others may opt for custom-built compartments. Consider your drawer’s size and shape, and research DIY templates or inspirations online. The design should cater to the specific types of utensils you have, ensuring that each item has its designated spot for easy access.
Measuring Your Drawer
Before committing to any design, take accurate measurements of your drawer’s interior. Width, depth, and height are all crucial factors in deciding what organizers will fit. This step will also guide the proportions of any dividers or compartments you decide to build or purchase. If using a pre-made organizer, measuring will allow you to gauge whether you need to adjust your selection to fit your space perfectly.

Building Your Organizer
Choosing Materials
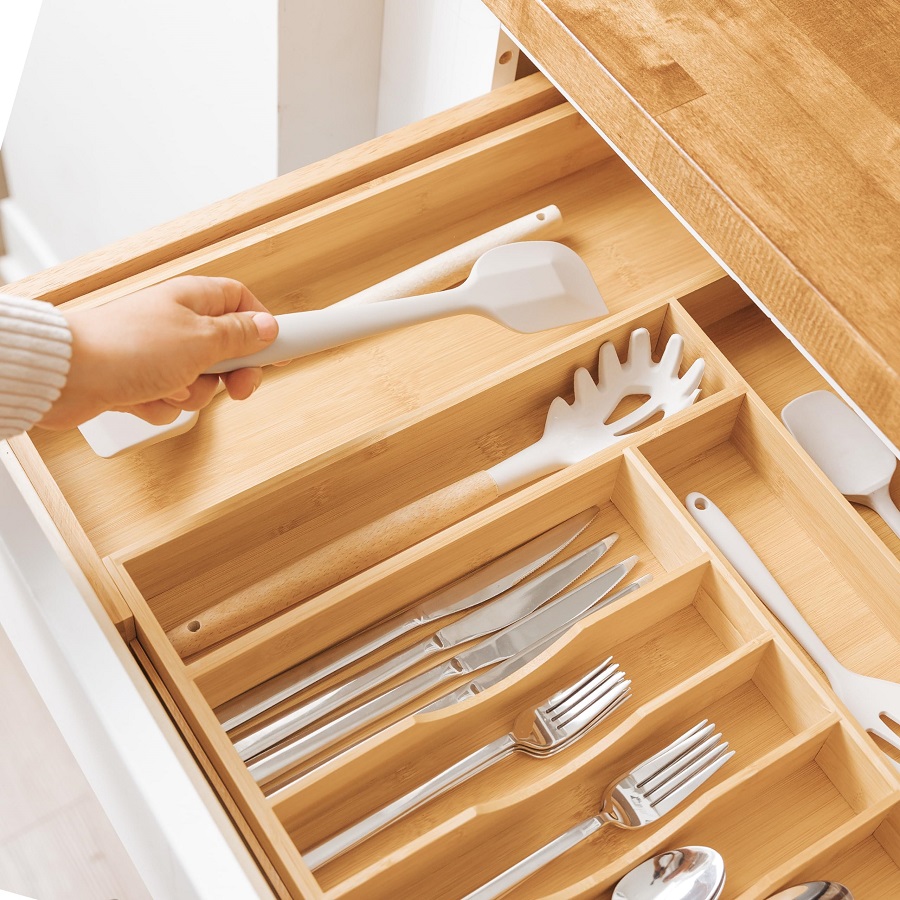
With a plan in place, it’s time to gather materials for constructing your organizer. Common materials include wood, plastic, or even repurposed items like small boxes. If you’re going the DIY route, consider using plywood or sturdy cardboard, which can be cut and adjusted to fit your needs. Alternatively, ready-made organizers are readily available at various home goods stores, often made of plastic or bamboo, giving a clean aesthetic to your drawer.
Step-by-Step Construction
If you’re building your own organizer, follow these steps:
- Measure and Cut: Based on your drawer’s measurements and the design plan, measure and cut your material accordingly. Make sure that all pieces are uniform and fit snugly within the drawer.
- Assemble Compartmentalized Sections: Depending on your design, use wood glue or screws to fasten the pieces together. Ensure that the compartments are large enough to accommodate your utensils comfortably without overcrowding.
- Finishing Touches: After assembling the organizer, sand any rough edges to prevent scratching or damaging your utensils. You might also consider staining or painting the wood for aesthetic purposes to match your kitchen decor.
Organizing Your Utensils
Categorizing Your Items
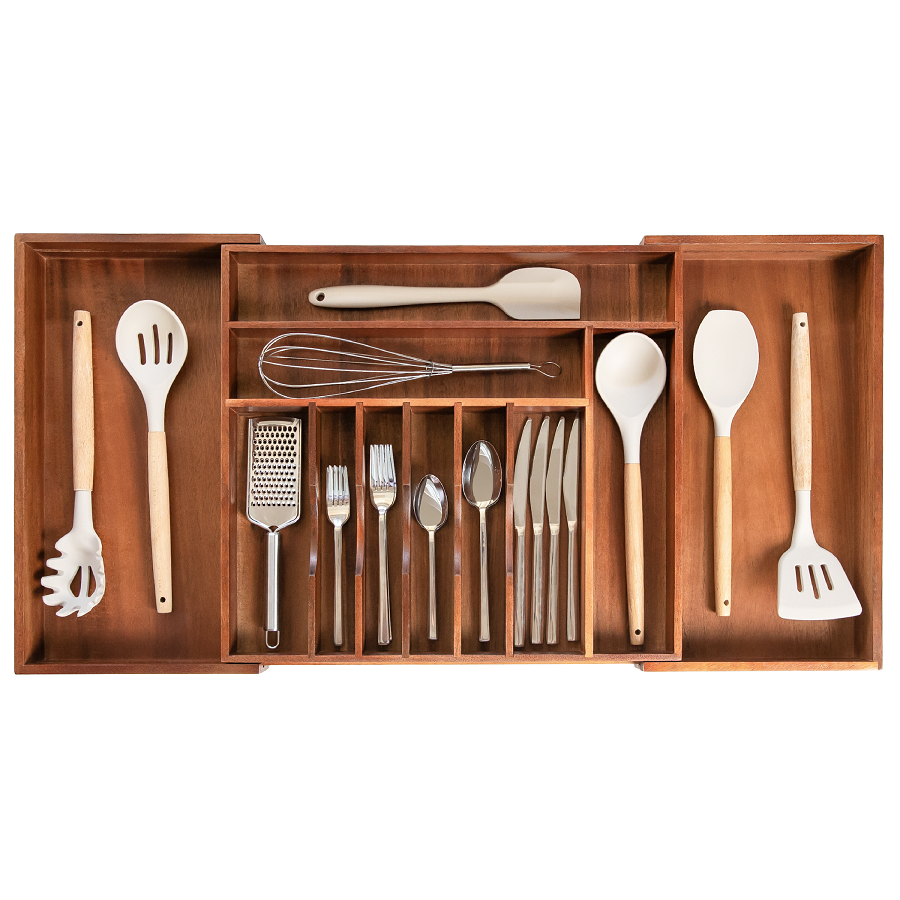
Once your organizer is complete, it’s time to fill it with your utensils. Start by categorizing items based on usage or type. Tools such as spatulas, spoons, and whisks can be grouped together. Consider creating lighter and heavier utensil sections to prevent overcrowding as heavier items might push lighter ones out of their designated spaces.
Creating a Logical Layout
As you place your utensils into the organizer, think about the order in which you use them regularly. Frequently used items should be positioned towards the front of the drawer for quick access, while less frequently used utensils can take up the back. This logical layout will allow you to maintain organization even as you continue to cook and use your utensils over time.
Maintenance Tips for a Clutter-Free Space
Regularly Review
To sustain the organization you’ve established, it’s important to regularly review and maintain your drawer. Every few months, take a moment to check for new utensils that might need a designated space. If you acquire new items, assess if they require room in the drawer and whether anything can be eliminated.
Clean and Rearrange
Cleaning your organizer is equally important. Spills or splatters are inevitable in a busy kitchen. A quick wipe down of your utensils and organizer can prevent grime buildup. If you notice certain utensils aren’t being used as often, consider rearranging them to better suit your habits.
Selecting the Right Organizer
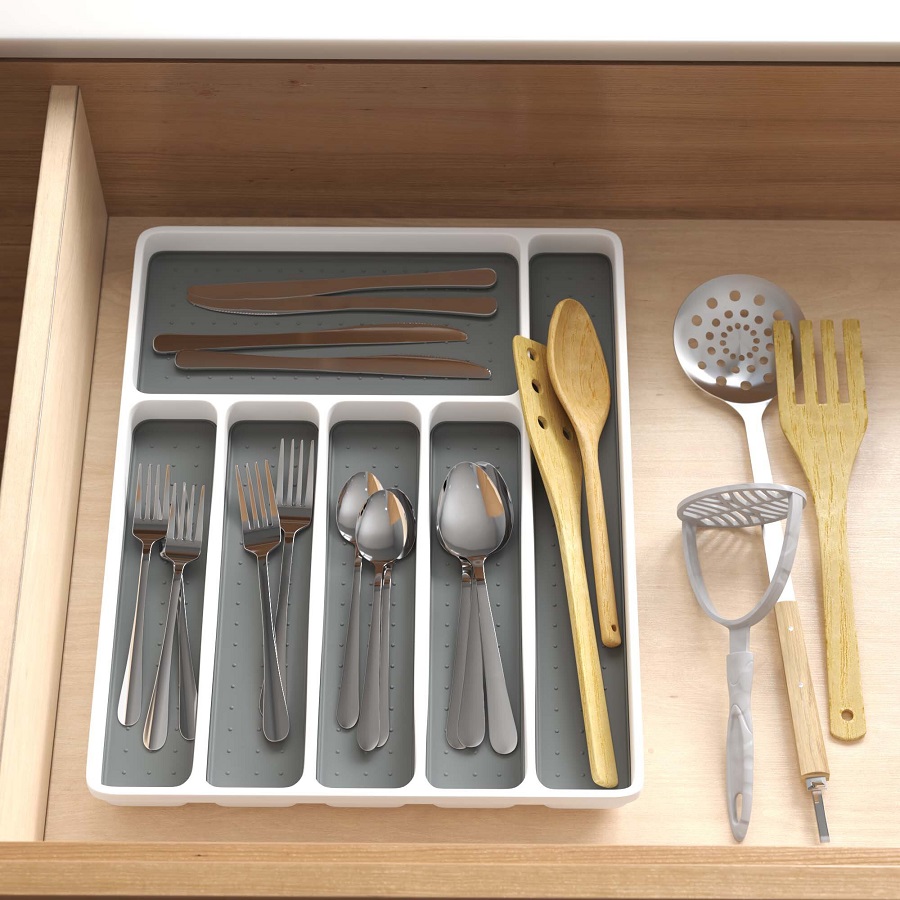
Before you start placing utensils into your drawer, it’s essential to choose the right organizer that suits your kitchen’s style and your needs. There are various options available, from traditional drawer dividers to tiered organizers that offer more visibility and accessibility. Consider investing in adjustable dividers that can fit different drawer sizes. Additionally, look for organizers made of durable materials that can withstand the wear and tear of daily use. An effective organizer not only keeps your utensils tidy but also enhances the overall functionality of your kitchen space.
Utilizing Vertical Space
If your kitchen drawer has depth, consider utilizing vertical space effectively. Incorporate drawer risers or stackable containers to create additional layers for your utensils. This allows you to store more items without cluttering the surface area. Vertical organization can help separate smaller tools from larger ones, making it easier to find exactly what you need without rummaging through overcrowded sections. Moreover, if your space allows, consider using a hanging utensil rack on the inside of cabinet doors. This frees up drawer space and keeps frequently used tools within easy reach.

Conclusion: Enjoying Your New Space
Final Thoughts on a Clutter-Free Kitchen
Creating a DIY kitchen utensil drawer organizer is a rewarding project that not only enhances the visual appeal of your kitchen but also improves your cooking efficiency. By taking your time to assess, plan, and build a tailored organizer, you will find that a clutter-free space has significant positive impacts on your culinary adventures.
Embracing the Organized Lifestyle
Once you’ve finalized your drawer organization, embrace the new lifestyle that comes with it. A well-organized kitchen encourages creativity, fun, and spontaneity in the kitchen, allowing you to experiment with new recipes and cooking techniques without the frustration of searching for misplaced tools. Enjoy your clutter-free space and take pride in the system you’ve created!


