Introduction to DIY Drawer Organization
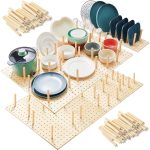
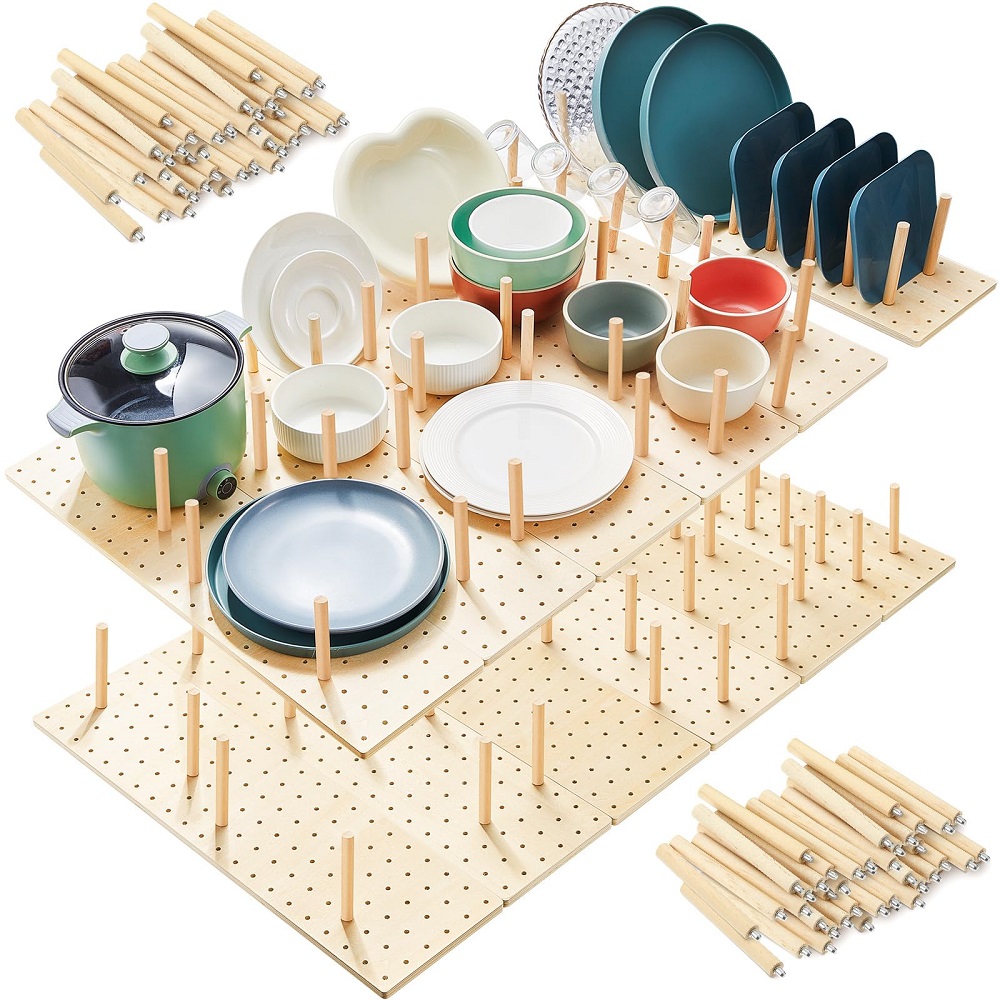
Getting organized with DIY solutions can be both satisfying and practical. A DIY pegboard drawer organizer offers a flexible and efficient way to manage your tools and accessories. This system utilizes a combination of pegboards, wood dowels, and divider wood to create adjustable compartments within your drawer. By implementing this organizer, you can not only save space but also streamline your workflow by keeping all necessary tools within reach. Whether in a workshop, kitchen, or office, a pegboard drawer organizer can be tailored to fit any drawer dimensions and can cater to a variety of organizational needs.
Materials Needed for a Pegboard Drawer Organizer
Creating your own DIY pegboard drawer organizer is a fun and useful project. To get started, you will need a few essential materials. Here is the list to help you prepare:
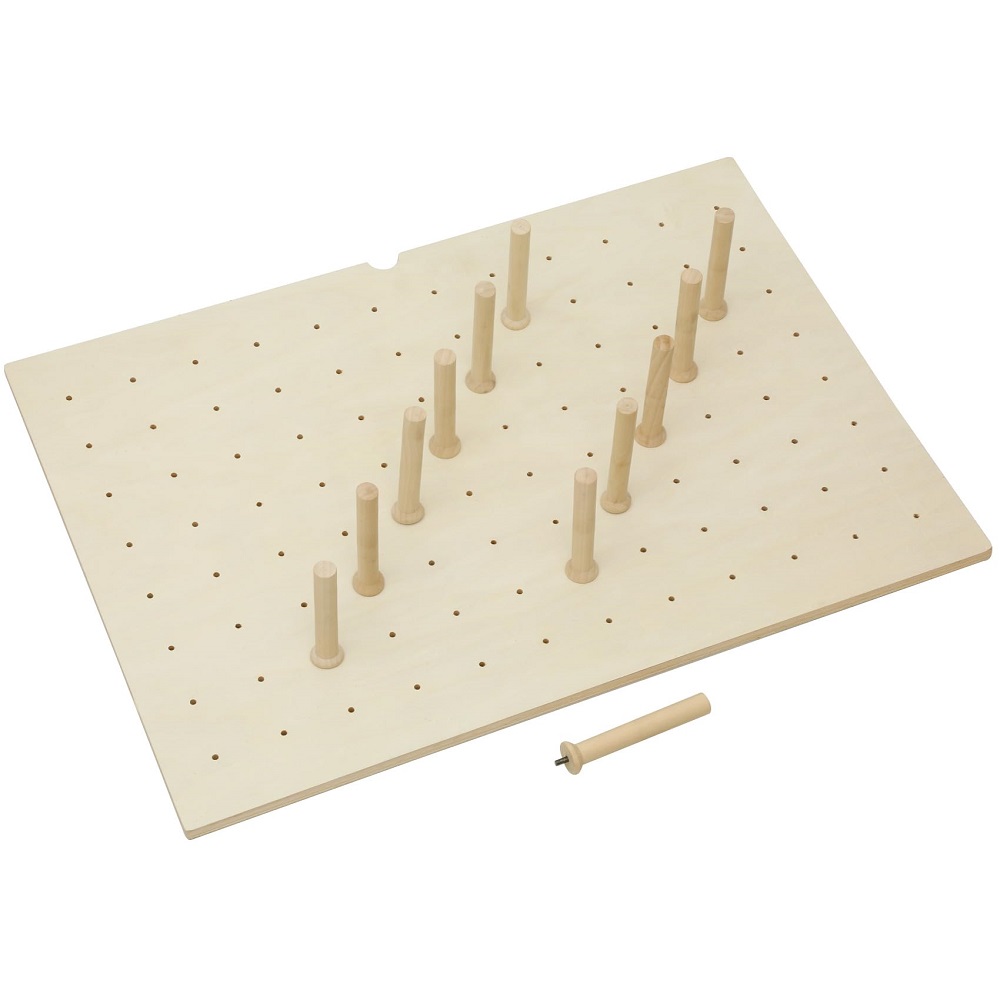
- Pegboard: Choose a pegboard with 1/4″ holes. This will serve as the base for your drawer organizer.
- Wood Dowels: You will need 1/4″ diameter wood dowels. These will fit snugly into the pegboard holes and hold the dividers in place.
- Divider Wood: Any sturdy wood or plywood will do, especially if you have scrap wood. Ensure it’s 3/4″ thick for best results.
- Saw: To cut the pegboard and the dividers to the correct size, either a handsaw or power saw will work.
- Drill: A drill is necessary to create a side entry point on the pegboard for the dowels.
- Forstner Bit: This special drill bit is ideal for making a neat half-circle cut for easy dowel placement.
- Tape: Use tape to bundle and secure dowels while cutting them into smaller pieces.
- Rubber Mallet: Handy for inserting the dowels firmly into the pegboard without hurting your hands.
- Labeling Materials: Consider grabbing labels or small tags for marking the dividers, so you can easily identify the contents of each section.
Gather these items before you begin, and you will be well on your way to creating a customizable storage solution for any drawer in your home or workshop.
Measuring and Cutting the Pegboard
Once you have your materials ready, the first practical step is measuring and cutting the pegboard. Start by measuring the interior dimensions of your drawer. Be precise; a snug fit is key for a stable base. Next, mark the cut lines on the pegboard accordingly. Use a ruler or a straight edge to ensure the lines are straight.
Now, it’s time to cut. Place the pegboard on a stable surface. Secure it if necessary to prevent movement. Using a handsaw or power saw, follow the lines you’ve marked to cut the pegboard. Move steadily, aiming for a clean edge.
After cutting, do a test fit in the drawer to check the sizing. If the fit isn’t perfect, now’s the time to make small adjustments. Remember, a better fit will lead to a better-functioning diy pegboard drawer organizer. Trim as needed, always cutting less rather than more; you can always take more off, but you can’t add it back on.
Once satisfied with the fit, smooth any rough edges with sandpaper. This step will protect you, your tools, and the drawer from scratches. With the pegboard cut to size, you’re ready to move on to the next steps of creating your customizable drawer organizer.
Preparing the Divider Wood with Grooves
Before assembling your diy pegboard drawer organizer, prepare your divider wood. The wood needs grooves to fit the dowels. Here’s how to do it:
- Choose the Right Wood: Any strong wood or plywood works. Thicker pieces offer better support.
- Mark the Groove Placement: Decide how deep you want the grooves. About 1/2 inch is standard.
- Cut the Grooves: Use a saw or router to create grooves. A table saw with a dado stack is ideal. Ensure the grooves are 1/4 inch wide to accommodate the dowels.
- Smooth the Edges: After cutting, smooth the groove edges with sandpaper. This helps prevent splinters.
With these steps, your divider wood will be ready for the dowels. Make sure the cuts are straight and clean for the best fit. Grooves must be consistent to hold the dowels securely. Take your time to measure and cut accurately for a perfect diy pegboard drawer organizer.
Cutting and Preparing Dowels
Before assembling your DIY pegboard drawer organizer, prepare the dowels correctly. Follow these steps to ensure they fit well and support your dividers strongly:
- Measure the Dowels: You’ll need 1/4″ diameter wood dowels. Measure the depth of the grooves on your divider wood. This determines dowel length.
- Cut the Dowels: Mark the required length on your dowels. Bundle them together and wrap with tape to keep stable. Use a saw to cut through the bundle. This ensures uniformity.
- Adjust the Length: The dowels should fit into the pegboard’s holes and extend slightly into the wood dividers. They shouldn’t be too tall that they push your dividers up. Make any necessary adjustments with a saw.
- Sand the Edges: Once cut, sand the edges of the dowels. This prevents splinters and ensures a clean fit into the pegboard holes.
Correctly prepared dowels are crucial for a stable and functional organizer. This process helps maintain the adjustable nature of your DIY pegboard drawer organizer.
Assembling the Drawer Organizer Dividers
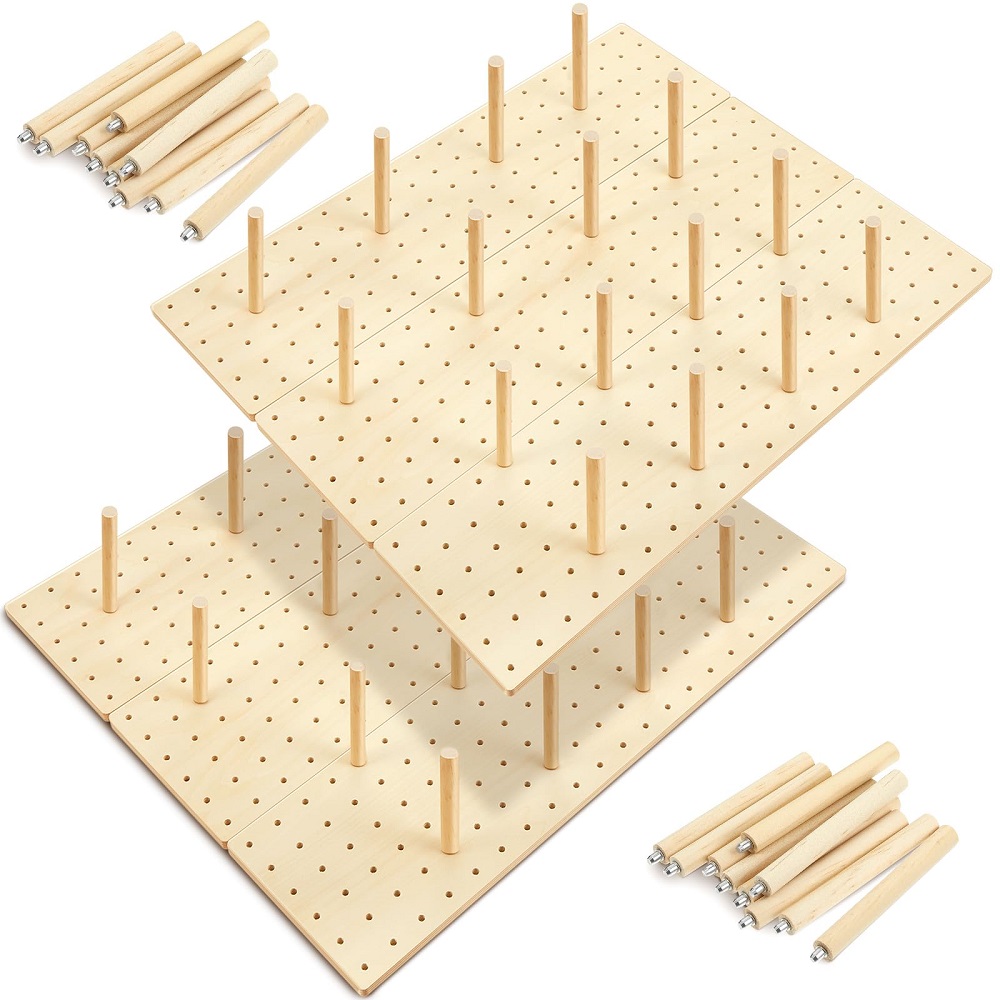
Once you’ve prepared your pegboard and dowels, it’s time to assemble the dividers. This step is straightforward and allows for a customized configuration to suit your needs. Here’s a simple guide to putting it all together:
- Insert the Dowels: Begin by placing the cut dowels into the pegboard holes where you want your dividers. Use a rubber mallet gently if needed to secure them in place. Be careful not to hammer too hard to avoid damaging the pegboard or dowels.
- Position Your Dividers: Slide the grooved dividers onto the dowels. The dowels should fit snugly into the grooves, providing support and stability for the dividers. Ensure that the dividers are at the right spots according to your plan. This creates the customized sections in your drawer.
- Fine-Tune the Fit: If the dividers wobble or seem loose, you may need to adjust the dowel height. Trim any dowels that are too tall, or try pushing them further into the pegboard if they’re too short. Your goal is a firm fit that holds the dividers upright and secure.
- Test the Configuration: Place the pegboard with the dividers into the drawer to ensure a good fit. Check if the dividers are creating the compartments as you intended. Adjust the spacing if necessary by relocating the dowels and repositioning the dividers.
With these steps, your DIY pegboard drawer organizer comes to life, transforming a messy drawer into a well-organized storage space. The beauty of this system lies in its flexibility; you can easily adjust the dividers as your storage needs change.
Customizing and Labeling for Specific Tools
Once you assemble your DIY pegboard drawer organizer, you can tailor it to fit specific tools. Customization is simple and helps you find what you need fast. Here’s how to customize and label your dividers for easy identification:
- Sort Your Tools: Group tools by type or size. This helps decide how to partition your drawer.
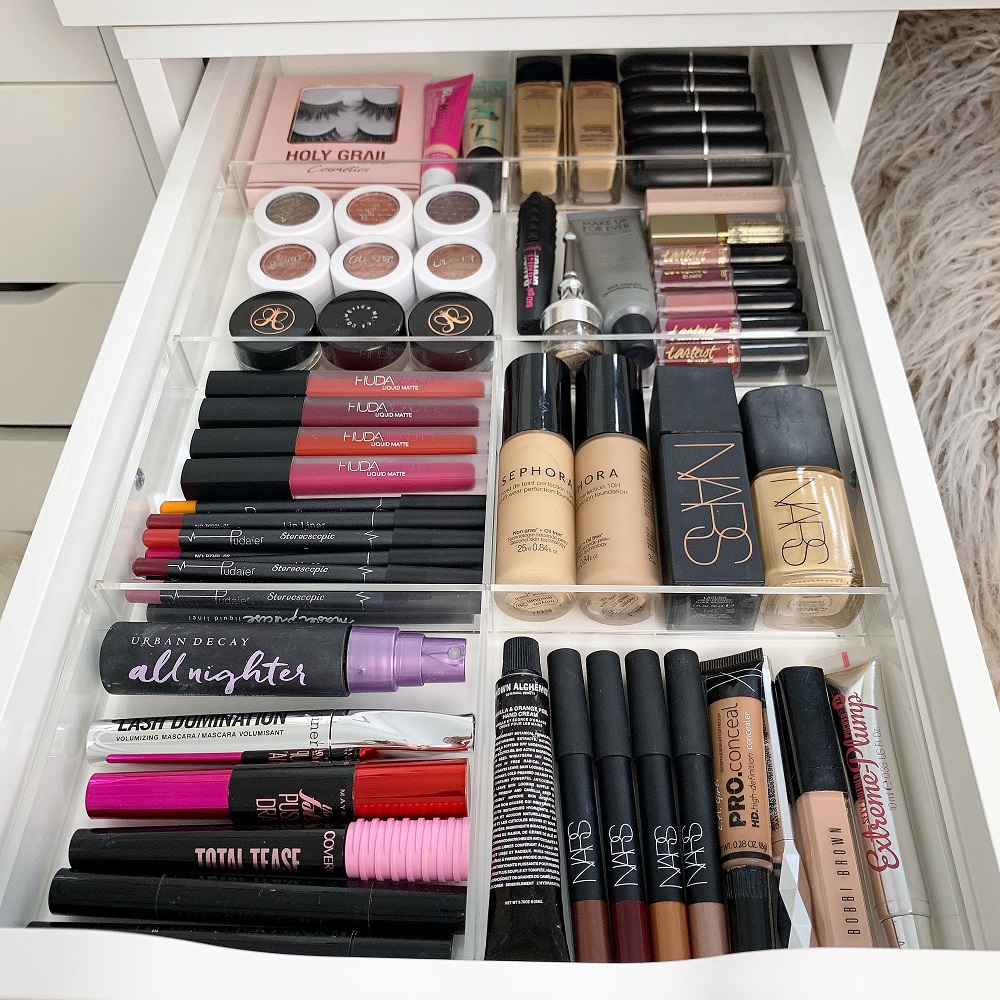
- Arrange the Dividers: Place dowels and dividers to form compartments. Fit them to match the size of your tools.
- Label Each Section: Use labels or tags to mark each compartment. Write tool names or categories on them.
- Insert Labels: Place labels in clear view within each section. Make sure they are easy to read at a glance.
- Adjust as Needed: Over time, your tool collection may change. Rearrange dowels and labels to fit new items.
With your organizer labeled and customized, you’ll waste no time finding the right tool. This system keeps your drawer tidy and your workflow efficient. The modular nature of your diy pegboard drawer organizer means it can evolve with your needs. Enjoy an organized space that adapts to your tools and projects.
Tips for Maintaining an Adjustable Pegboard Drawer Organizer
Maintaining your DIY pegboard drawer organizer ensures long-term functionality and adaptability. To keep your organizer in top shape, follow these simple tips:
- Regularly Check the Fit: Over time, the fit of the dowels and dividers may loosen. Every few months, make sure they are snug and secure.
- Clean the Pegboard and Dividers: Dust and debris can accumulate in the grooves and holes. A quick wipe down with a damp cloth will keep everything clean.
- Update the Labels: If you add new tools or change the layout, update your labels. Re-labeling keeps the system clear and useful.
- Avoid Overloading: Don’t force too many tools into one section. This can warp the dividers or damage the dowels.
- Sand the Dowels: If dowels become rough, sand them down. Smooth dowels prevent damage to the pegboard and dividers.
- Adjust as Necessary: Be willing to move dowels and dividers as your storage needs change. This helps maintain order in your drawer over time.
By sticking to these practices, your diy pegboard drawer organizer will remain a versatile and dependable part of your workspace.

