Essential Makeup Items to Organize
DIY makeup organizer is about keeping what you need and love. Start by decluttering.
How to Determine What to Keep
Go through each makeup item. Ask if you’ve used it recently. Check if it’s expired. Keep favorites and daily essentials. Toss old or unused products. The goal is to simplify your collection to items like face primer, concealer, a favorite eyeshadow palette, and beauty brushes. Also consider what fits your lifestyle and the looks you most often wear. Remember, less is often more in makeup organization, allowing you to access and use your beloved items with ease.
Repurposing Common Household Items
Transform everyday items into functional DIY makeup organizers with these simple tips.
Using Mason Jars as Makeup Holders
Mason jars are versatile and readily available. Use them to organize lipsticks, glosses, and brushes. Sort items by color or type for easy access. Place the jars on your vanity or in a drawer to save space.
Transforming Shoe Organizers for Makeup
Hang a shoe organizer on a door or wall. It’s perfect for storing various makeup items like palettes, brushes, and mascara. Label each pocket for better organization. This method utilizes vertical space efficiently.
Crafting Organizers from Ice Cube Trays
Repurpose ice cube trays to hold small items such as lipsticks or single eyeshadows. Decorate trays with washi tape for a personalized touch. Arrange trays in drawers or on shelves for easy access to makeup essentials.
Specialized Organizers
Having a designated place for every makeup item not only maintains order but also saves time. Let’s explore DIY organizer ideas that utilize household items to give every beauty product its own special spot.
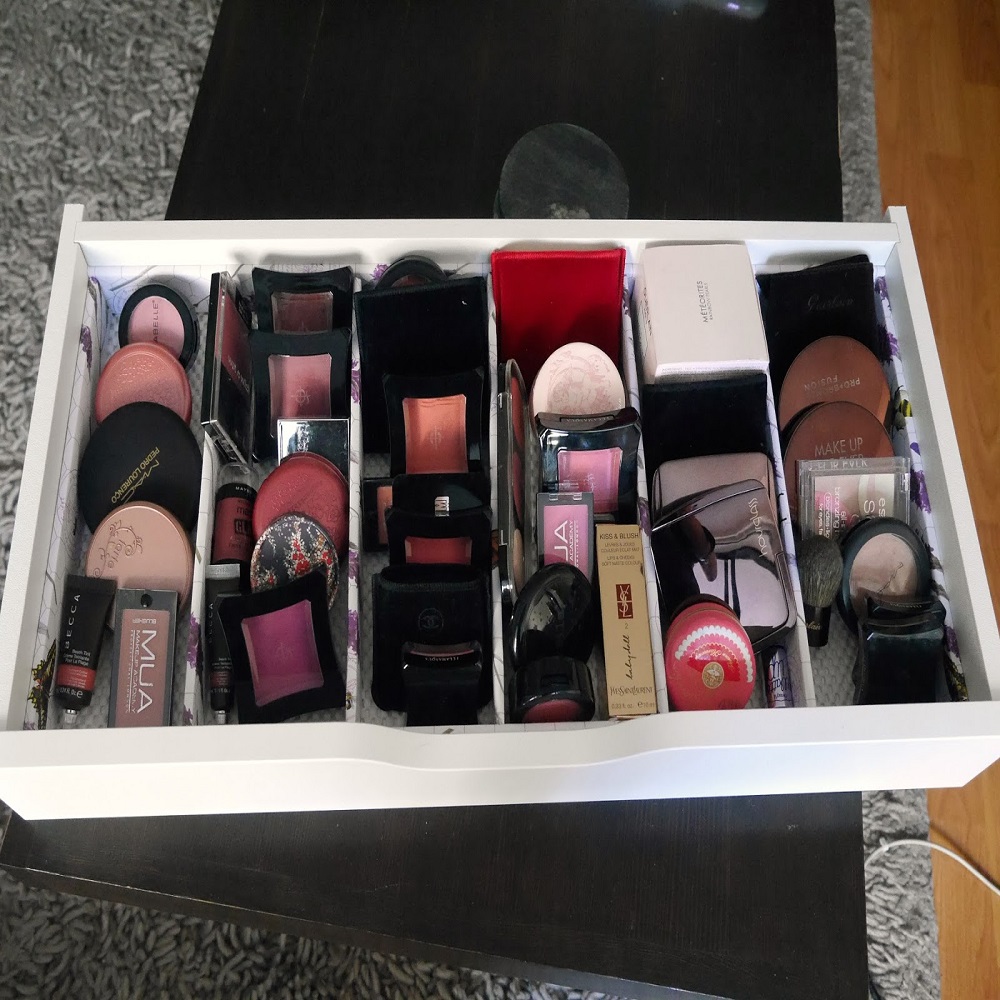
Building a Drawer Organizer from Cereal Boxes
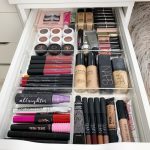
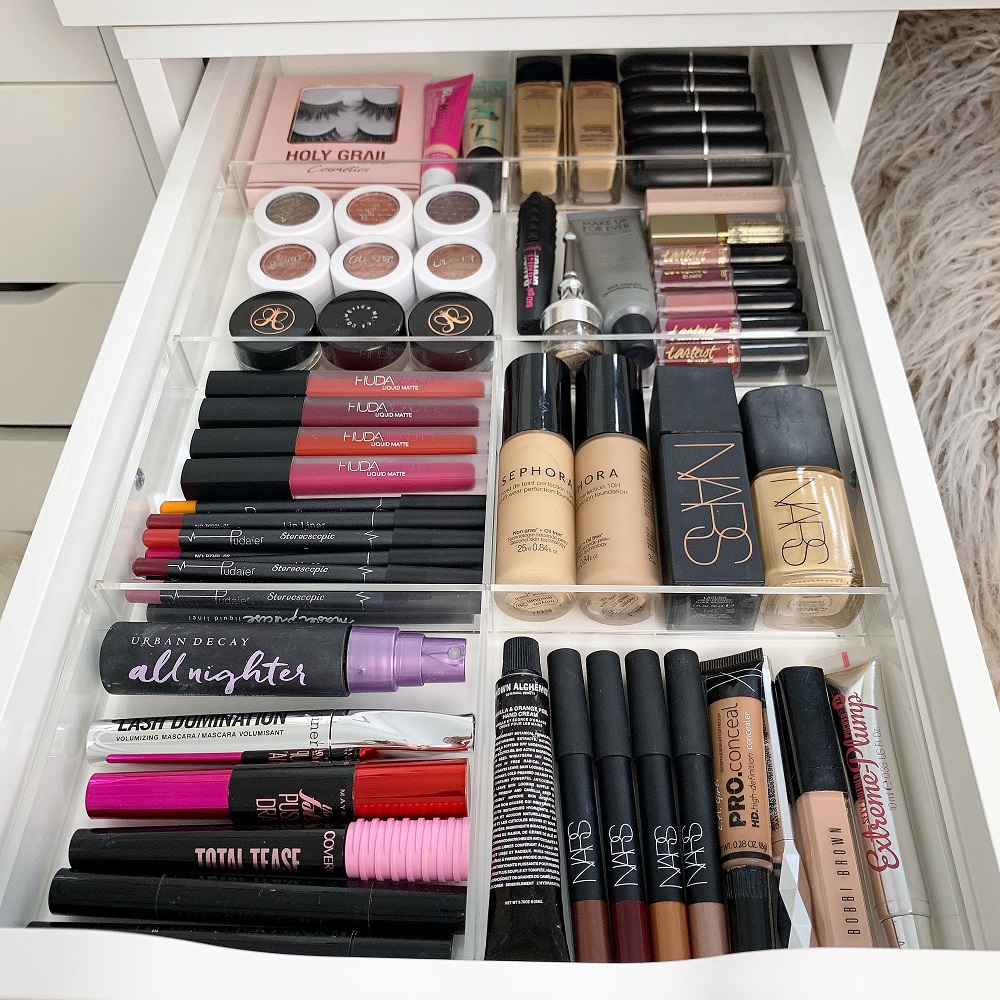
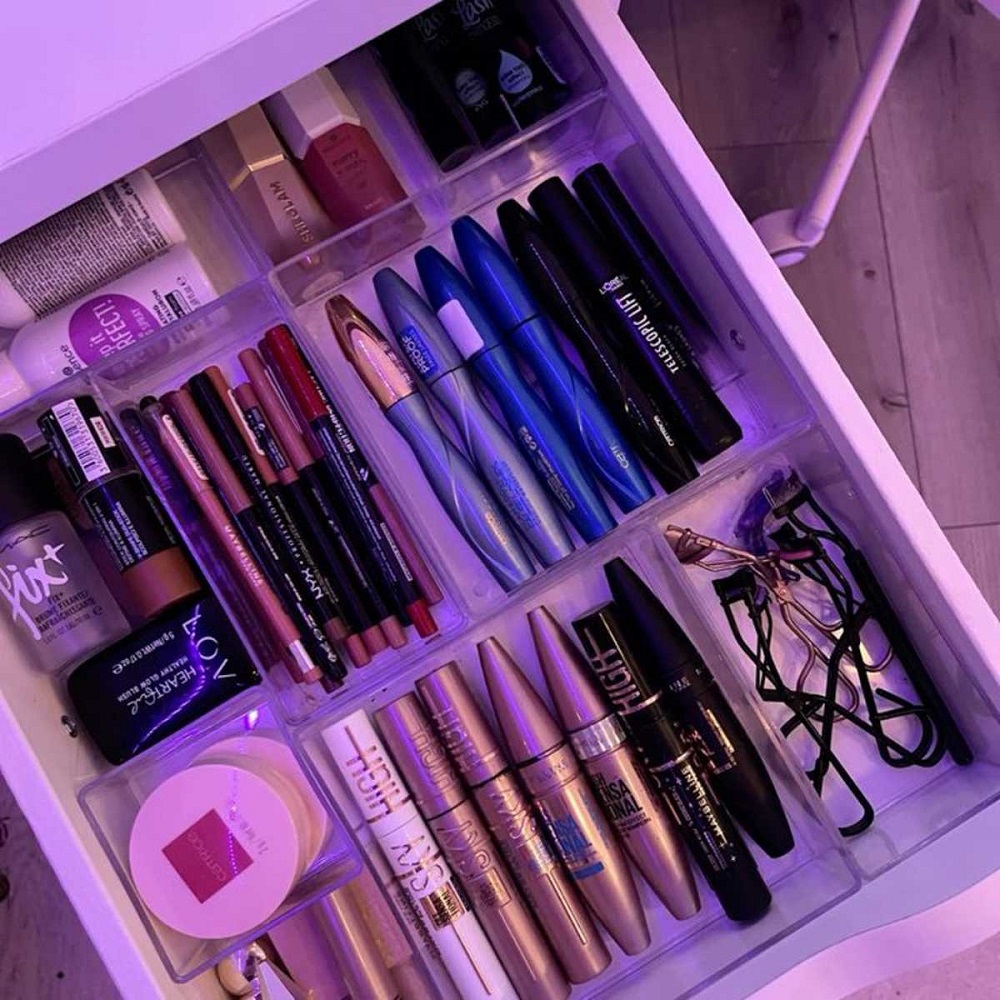
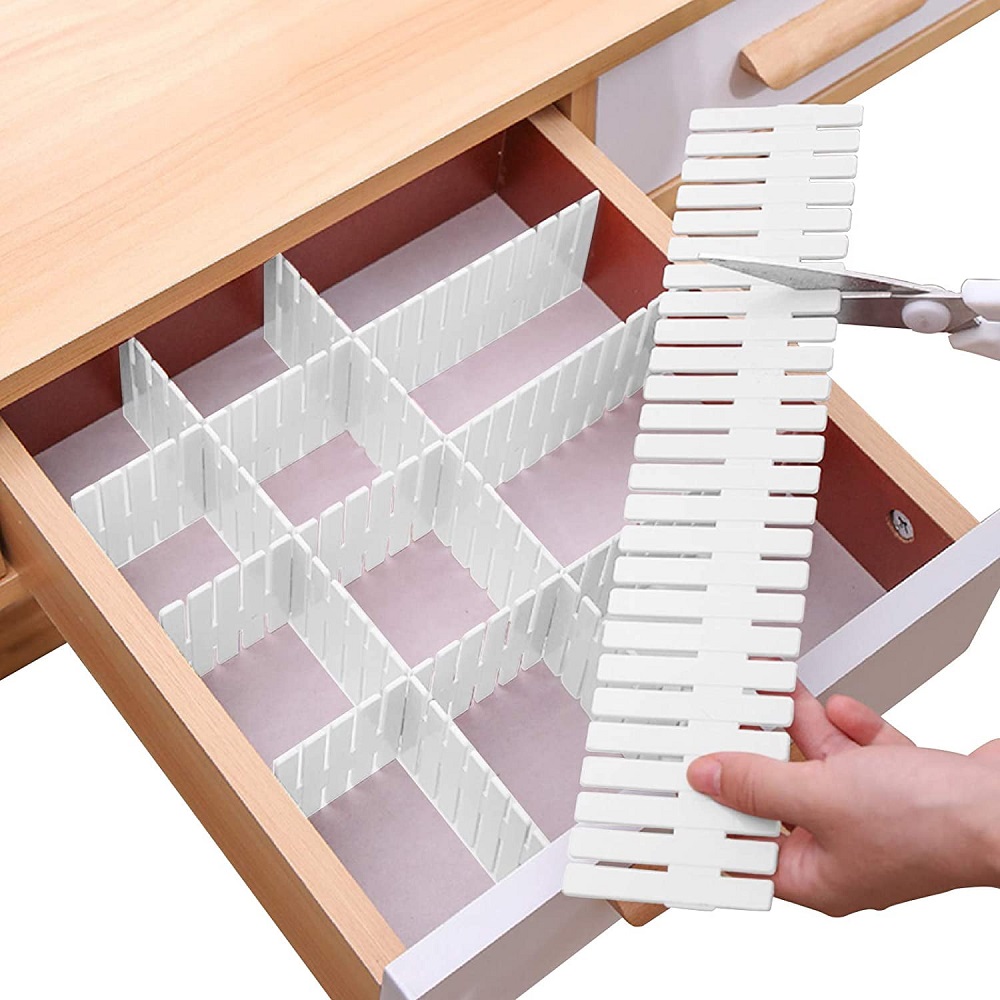
Turn cereal boxes into custom drawer dividers. Measure and cut boxes to fit your drawer. Wrap them in pretty paper. Group and sort makeup into each section for a tidy look.
Creating a Lipstick Organizer with Small Glass Jars
Small glass jars can hold lipsticks brilliantly. Arrange them by color or brand on your counter. Transparent jars make it easy to spot your favorite shade.
Making a Drawer Divider with Shoe Box Tops
Use shoe box tops to make dividers. Cut them to different lengths. Decorate with paint or paper. Arrange them inside a drawer or box. Organizing makeup becomes simple and neat.
Creative Makeup Brush Storage Solutions
Creating functional and attractive storage for your makeup brushes doesn’t require a large budget. With a little creativity, old household items can become stylish organizers. Give your makeup brushes a unique home and keep your vanity tidy.
Decorating Old Vases for Brushes
Revitalize an unused vase by wrapping it in colorful washi tape. Fill it with beads or sand to keep brushes standing upright. This transforms a simple vase into a chic brush holder, combining decor with function.
Utilizing Sushi Mats for Brush Storage
Sushi mats can be clever brush organizers. Secure elastic bands through the mat to create loops. Insert brushes into loops for a roll-up storage that saves space and is transportable. Bring a touch of creativity with decorative ribbons to tie it closed.
Crafting with Painted Mason Jars
Mason jars are perfect for a DIY project. Paint them in your favorite colors, or use washi tape for an artistic touch. Arrange your brush collection in the jars for an organized and appealing display. These containers also store eyeliners, tweezers, and other beauty tools effectively.
Remember to clean your makeup brushes regularly to maintain them in top condition, and enjoy the functionality and aesthetics of your new DIY makeup organizer.
Cleaning and Maintenance Tips
Maintaining your DIY makeup organizer entails regular cleaning and upkeep. Simple habits can ensure your makeup tools stay in top condition, and your organizers look as good as new.
How to Clean Makeup Brushes
Keeping makeup brushes clean is crucial for your skin’s health and the performance of the brushes. Here are easy steps to clean them:
- Fill a bowl with warm water.
- Add a few drops of gentle shampoo to the water.
- Swirl the brush in the water to create a lather.
- Gently massage the bristles to remove built-up makeup.
- Rinse the brush under running water until clean.
- Gently squeeze out excess water from the bristles.
- Lay the brushes flat on a towel to dry completely.
By following these steps, your makeup brushes will be clean and ready to use, and will last longer too.
Regular Organizer Cleaning Tips
Your DIY makeup drawer organizer also needs attention to stay tidy and functional. Here’s how to maintain it:
- Empty and wipe down each compartment with a damp cloth regularly.
- Toss out makeup that’s old or seldom used during each cleanout.
- Wash or replace any fabric elements of the organizer, like drawer liners.
- Check and tighten any loose parts of custom-built organizers.
- Keep a habit of returning items to their rightful place after use.
Following these simple tips will help preserve your DIY organizer’s look and usefulness. By keeping up with regular cleaning and decluttering, your makeup routine can remain seamless and enjoyable.
