In today’s fast-paced world, maintaining an organized and efficient workspace is key to boosting productivity and reducing stress. A cluttered desk can be overwhelming and distracting, but with the right organizational tools, you can create a clean, streamlined environment that helps you stay focused on your tasks. One of the most effective ways to achieve this is by incorporating DIY desktop organizer drawers into your workspace. These simple yet effective solutions can help you store essential items, minimize clutter, and create a more pleasant and functional workspace.
In this article, we’ll explore various DIY desktop organizer drawer ideas that will help you maximize your workspace. From basic designs to more advanced DIY projects, we’ll cover everything you need to create custom storage that fits your needs. Whether you’re working in a home office, a student study nook, or a professional setting, these DIY ideas will ensure you have a clean, clutter-free desk.
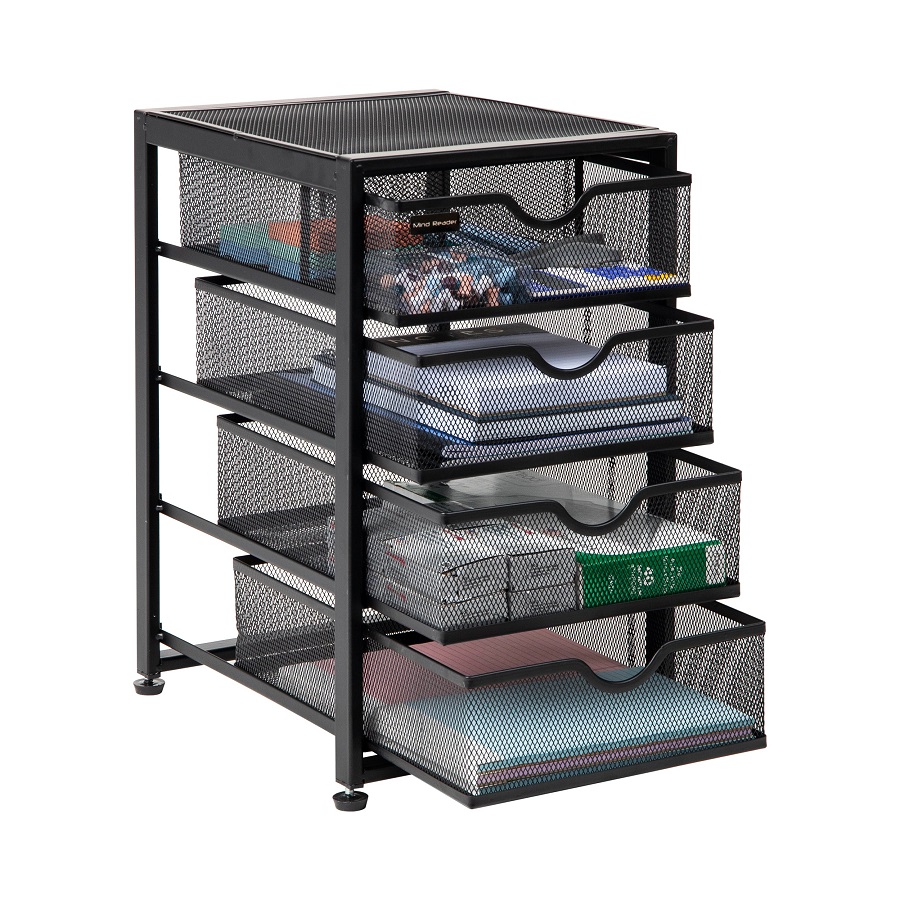
Why You Need a Desktop Organizer Drawer
The Benefits of an Organized Desk
An organized desk is not only visually pleasing but can also improve your overall productivity. Studies show that clutter can contribute to stress, making it harder to focus and work efficiently. With a desktop organizer drawer, you can store your stationery, gadgets, files, and other essentials in a systematic way that prevents distractions and boosts concentration. A tidy desk can enhance your ability to focus, promote creativity, and reduce anxiety, helping you get more done in less time.
A well-designed organizer drawer system also saves time by making items easy to find. Instead of searching through piles of papers or rummaging through drawers, you’ll have everything within reach, neatly arranged, and ready to use. Whether you’re looking for a pen, paper clip, or a set of sticky notes, having a dedicated space for each item can eliminate unnecessary interruptions and help you maintain a smooth workflow.
Tailor Your Organizer to Your Needs
One of the greatest benefits of DIY desktop organizers is that you can tailor them to suit your specific needs. Every desk and workspace is different, and so are the items you use regularly. If you’re someone who uses multiple pens, markers, and notebooks, you might need a drawer with ample sections for these tools. If you tend to keep files and papers on hand, consider an organizer that can handle larger items. The best part about DIY organizers is that they can be customized to fit your exact storage requirements.
Simple DIY Organizer Drawer Ideas for Beginners
Basic Wooden Drawer Dividers
If you’re new to DIY projects and looking for a simple way to get started, wooden drawer dividers are a great option. These dividers can be cut to fit any drawer, allowing you to create separate compartments for your pens, papers, scissors, and other desk essentials. Not only are wooden dividers functional, but they also give your desk a sleek and natural aesthetic that complements any style.
Materials Needed:
- Thin plywood or wooden planks
- Measuring tape
- Saw (hand saw or jigsaw)
- Wood glue or small nails
- Sandpaper
- Paint or stain (optional)
Step-by-Step Instructions:
- Measure Your Drawer: Start by measuring the dimensions of the drawer you want to organize. Take note of the width, length, and depth, as this will guide you in cutting the wood to the correct size.
- Cut the Dividers: Using your saw, cut the wood into strips that are the right size for your drawer. You’ll want to have a variety of divider widths to accommodate different items, such as pens, paper clips, and larger tools.
- Sand the Edges: Once the pieces are cut, use sandpaper to smooth out the edges, ensuring there are no sharp corners that could damage your drawer or your hands.
- Assemble the Dividers: Arrange the pieces inside the drawer, ensuring they fit securely. You can glue or nail the dividers together depending on your preferred method of attachment.
- Personalize Your Organizer: If desired, you can paint or stain the wood to match the color scheme of your desk. A coat of varnish can also help protect the wood from wear and tear over time.
With this basic organizer, you’ll have separate compartments for different items, helping you keep everything in its place while maintaining a neat, professional workspace.
Drawer Organizer Using Repurposed Materials
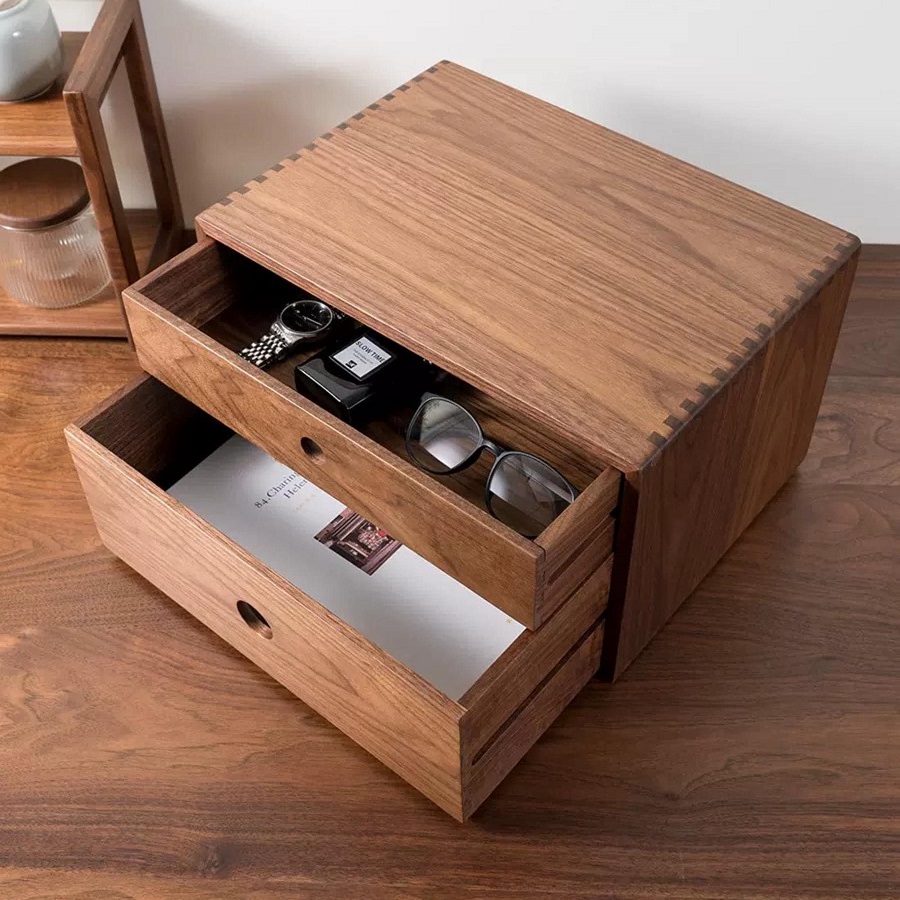
If you enjoy recycling and repurposing materials, another simple DIY option is to create a desktop organizer drawer using items you may already have at home. Cardboard boxes, old shoeboxes, or even tin cans can be transformed into functional storage solutions with a little creativity. This method is not only cost-effective but also environmentally friendly.
Materials Needed:
- Old shoeboxes, cereal boxes, or tin cans
- Scissors or a box cutter
- Decorative paper or fabric (optional)
- Hot glue gun or double-sided tape
- Ruler or measuring tape
Step-by-Step Instructions:
- Select Your Containers: Choose boxes, cans, or other containers that will fit in your drawer. If using boxes, consider how many sections you need and the overall size of the box.
- Cut to Size: Use scissors or a box cutter to cut the boxes or cans to the appropriate height to fit inside your drawer. If you’re using a large shoebox, consider cutting it into smaller sections to create multiple compartments.
- Reinforce and Decorate: For a more polished look, reinforce the edges of your boxes with hot glue or tape. You can also wrap them in decorative paper, fabric, or paint them to match your office décor.
- Arrange and Use: Place the containers inside the drawer, arranging them to suit your storage needs. You can use them for pens, paper clips, small gadgets, or even business cards.
This DIY organizer is an affordable and customizable way to organize your drawer space without needing to invest in new materials. Plus, it’s a fun way to reduce waste by repurposing everyday items.
Intermediate DIY Organizer Drawer Ideas
Drawer with Pull-Out Trays
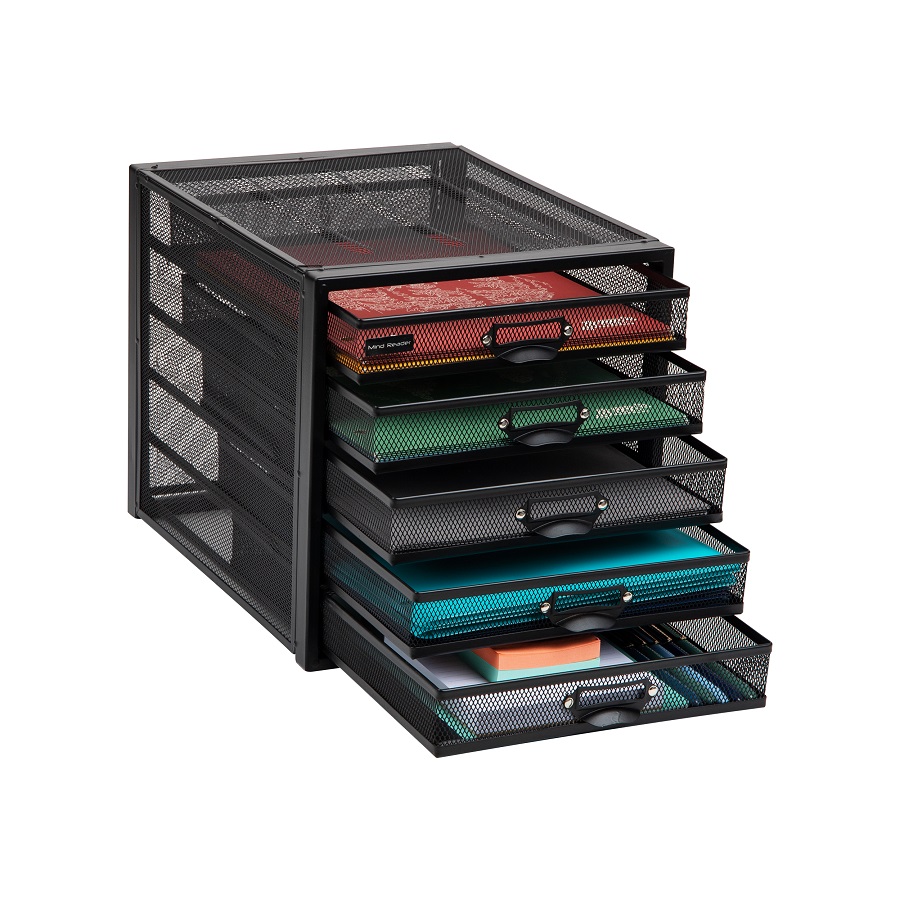
For those who want to take their DIY organizer skills up a notch, a drawer with pull-out trays is an excellent solution. This design adds a layer of functionality to your desktop organization, allowing you to pull out trays for easy access to your items without having to remove everything from the drawer. A pull-out tray system also maximizes vertical space in the drawer, giving you more room for different supplies.
Materials Needed:
- Plywood or MDF board
- Drawer slides
- Screws and drill
- Wood glue
- Measuring tape
- Saw
Step-by-Step Instructions:
- Design Your Layout: First, measure your drawer to determine how many pull-out trays you need. You can design a multi-level system where each tray slides out independently.
- Cut the Wood: Using a saw, cut the plywood or MDF board to the desired size for your trays. Ensure they are slightly smaller than the drawer itself so they can slide in and out easily.
- Attach Drawer Slides: Install drawer slides on the sides of each tray and on the inside of the drawer. Make sure the slides are aligned correctly to allow smooth movement.
- Assemble the Trays: Once the slides are in place, attach the trays to the slides, ensuring they fit snugly in the drawer. Test the trays to make sure they slide out and back smoothly.
- Finishing Touches: Sand the edges of the trays, and add a coat of varnish or paint if desired.
A pull-out tray system can turn any drawer into a highly functional storage space, offering easy access to everything from office supplies to gadgets.
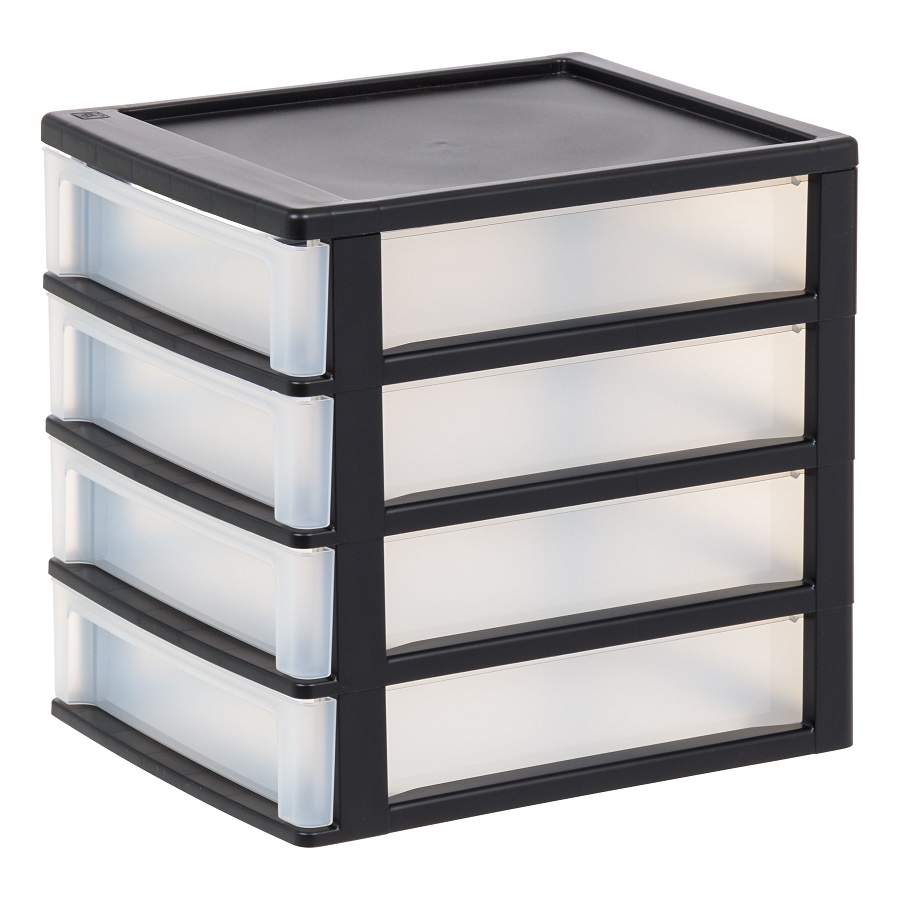
Multi-Compartment Desktop Organizer with Dividers
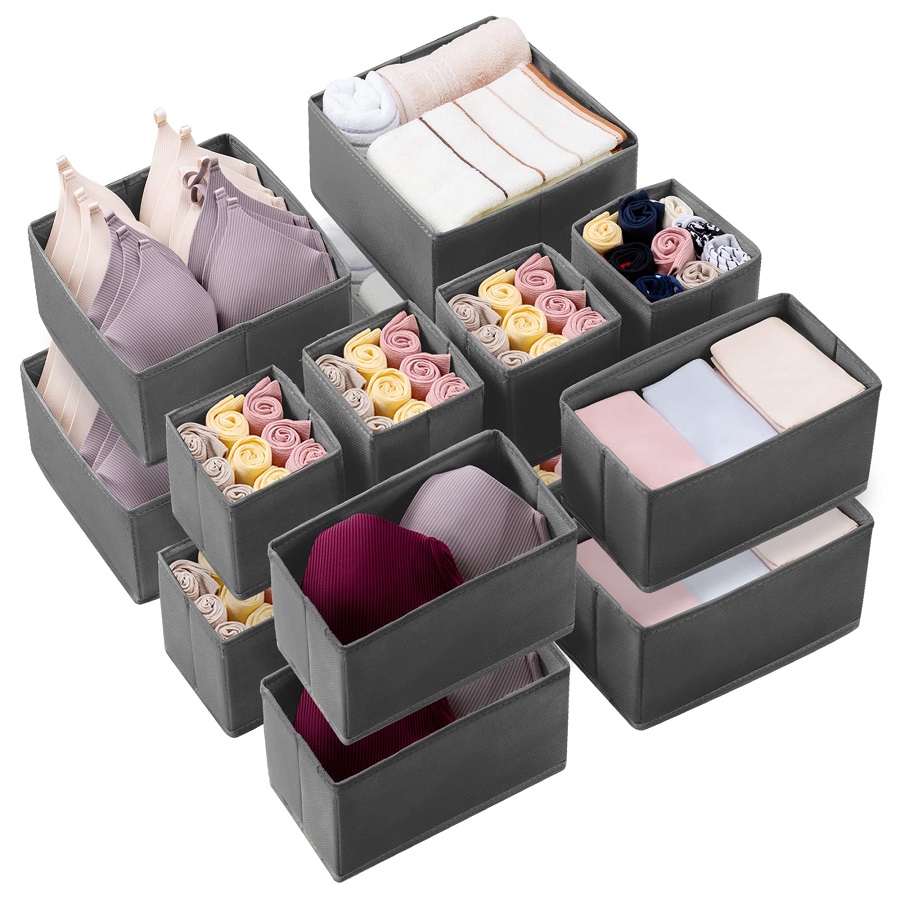
For those with a lot of small items to store, creating a multi-compartment desktop organizer with removable dividers can be a game-changer. This type of organizer allows you to adjust the size of each compartment based on your storage needs, making it ideal for a variety of desk essentials.
Materials Needed:
- MDF or plywood
- Dividers (wood, plastic, or cardboard)
- Measuring tape
- Saw
- Wood glue or screws
- Sandpaper
Step-by-Step Instructions:
- Design Your Organizer: Decide how many compartments you need and sketch out a design for your organizer. The idea is to create flexible sections that you can adjust to store different items.
- Cut the Base and Dividers: Cut a rectangular piece of MDF or plywood for the base. Then, cut dividers to the appropriate length and width to fit within the organizer.
- Assemble the Organizer: Glue or screw the dividers into place on the base to form separate compartments. Allow the glue to dry completely before proceeding.
- Finish and Personalize: Sand down rough edges, and if desired, paint or stain the organizer to match your desk décor.
This versatile organizer is ideal for organizing everything from pens and pencils to paperclips and small notebooks. The removable dividers allow you to reconfigure the layout as your storage needs change.
