Introduction to DIY Tool Organization
Organizing your workshop can transform your work and save time. A DIY power tool drawer organizer is a great project to start with. It’s a simple solution that makes tools easy to find and put away. A well-organized drawer turns clutter and chaos into a tidy and efficient workspace. Embarking on this DIY project requires minimal experience and tools. The result is a custom organizer that fits your tools and drawers perfectly. In the next sections, we’ll explore the benefits, materials, steps, and tips to help you create your very own power tool drawer organizer. Let’s turn those jumbled drawers into a model of efficiency with a homemade touch.
Benefits of a Drawer Organizer for Power Tools
A DIY power tool drawer organizer offers numerous benefits for any workshop enthusiast. First and foremost, it provides a customized storage solution. Every tool has its unique shape and size. A custom organizer ensures each tool has a designated spot that fits perfectly. This prevents tools from rattling around in the drawer, which can lead to damage.
Easy access and retrieval of tools can greatly increase efficiency. When you’re in the middle of a project, you don’t want to waste time searching for the right drill or saw. With a well-organized drawer, every tool is visible and within reach. This not only saves time but also reduces frustration and interruptions during work.
Moreover, an organized drawer promotes a safer work environment. Tools left haphazardly in a drawer can be a safety hazard. Sharp edges could cause injury when you’re rummaging through the drawer. An organizer helps prevent such accidents, keeping sharp and dangerous tools securely in place.
Another significant benefit is the protection of your investment. Power tools are not cheap, and proper storage is key to their longevity. By organizing them in a DIY drawer organizer, you safeguard the tools from knocks and scratches that could impair their functionality.
Lastly, a tidy workshop speaks to your professionalism. Whether you’re a hobbyist or a professional, a clean and organized space reflects your commitment to your craft. It shows you take your work seriously and value order and efficiency. A drawer organizer is a simple yet powerful step towards a more professional and productive workspace.
Materials Needed for a DIY Power Tool Drawer Organizer
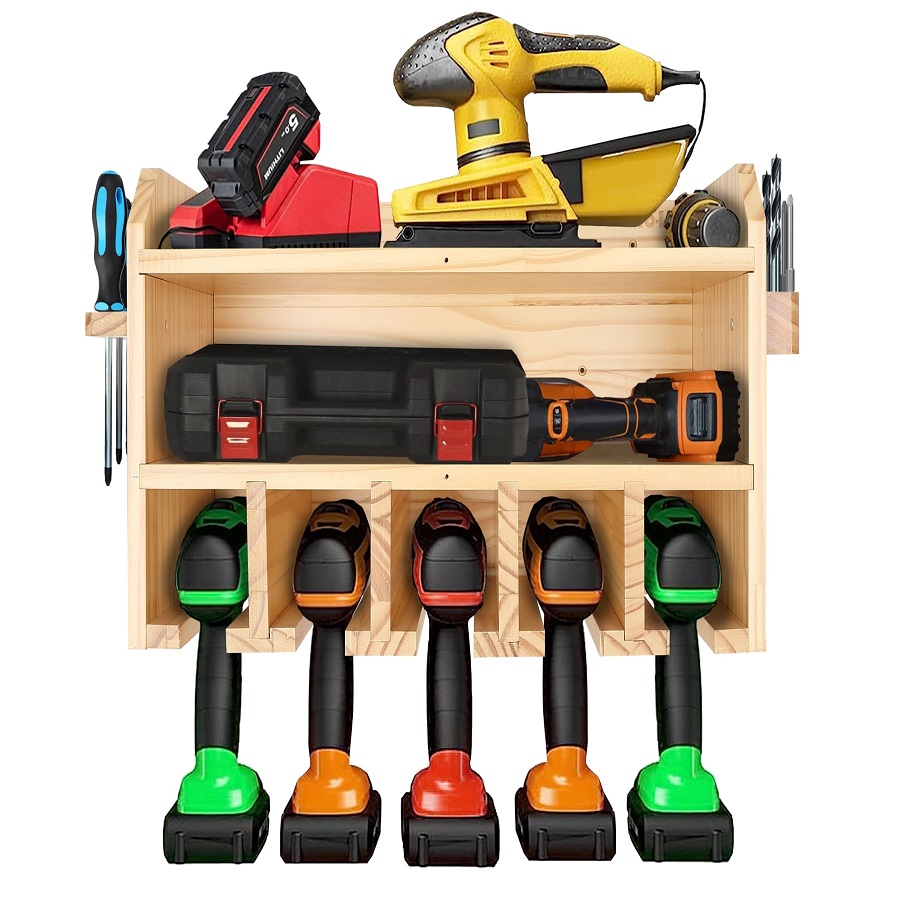
Creating a DIY power tool drawer organizer calls for specific materials. These materials are easy to find and cost-effective, ensuring your project is affordable and simple to execute. Here’s what you’ll need to start crafting your own organizer:
- Plywood or MDF sheets: These are the base materials for creating the compartments.
- Measuring Tape: Vital for accurate measurements to ensure a snug fit for your tools.
- Saw: A jigsaw or circular saw is perfect for cutting the plywood or MDF to the right sizes.
- Drill: You’ll need this tool to predrill holes for screws or for making handle cutouts.
- Screws or Wood Glue: Choose one or both to assemble and secure the compartments.
- Sandpaper: Essential for smoothing out rough edges and ensuring your organizer is safe to handle.
- Paint or Wood Stain: This is optional but can add a professional finish and extra protection.
- Foam Inserts: Can be used to provide cushioning and additional grip for your tools.
- Ruler or Straightedge: Key for drawing straight lines for cleaner, more precise cuts.
- Pencil: For marking your measurements and cut lines on the material.
- Safety Gear: Always wear goggles and gloves to protect yourself during the building process.
Gather these materials before you start building your power tool drawer organizer. With everything on hand, you’ll be set to create a custom organizer that makes your DIY tasks smoother and your workflow more efficient.
Step-by-Step Guide to Building Your Drawer Organizer
Creating your own power tool drawer organizer is a rewarding DIY project. Follow these steps to construct a high-quality organizer efficiently. Remember, accurate measurements and careful cutting are key to ensuring a snug fit for your tools, enhancing both accessibility and safety.
- Gather Materials: Before you start, make sure you have all the necessary materials listed in the previous section. This includes plywood or MDF sheets, screws or wood glue, and necessary tools like a saw and drill.
- Measure Your Drawer: Use a measuring tape to determine the internal dimensions of your drawer. This is crucial to ensure the organizer fits perfectly.
- Plan the Layout: Sketch out a layout of the compartments on paper. Consider the sizes and shapes of the tools you need to store. Create a balance between large and small compartments.
- Cut Your Materials: Transfer your layout to the plywood or MDF. Use a saw for cutting the materials to the required sizes. Be precise with your cuts to ensure a clean, professional look.
- Assemble the Compartments: If using screws, predrill the holes to avoid splitting the wood. For wood glue, apply it precisely and clamp until dry. Make sure all pieces are securely joined.
- Sand and Finish: Use sandpaper to smooth any rough edges. This step prevents injuries and gives your organizer a finished look. Optionally, apply paint or wood stain to protect the wood and enhance its appearance.
- Install the Organizer: Place the completed organizer into your drawer. Check for fit and make any necessary adjustments.
- Add Foam Inserts: If desired, add foam inserts for extra protection and grip. Cut the foam to fit each compartment and place it at the bottom.
- Load Your Tools: Arrange your power tools into their designated spots. Larger, heavier tools should go towards the bottom or back to maintain balance.
By following these steps, you’ll have a customized DIY power tool drawer organizer that enhances your workflow and efficiency. The rewards of this project are not just practical but also provide a sense of accomplishment and order in your workspace.
Customization Tips for Your Power Tool Organizer
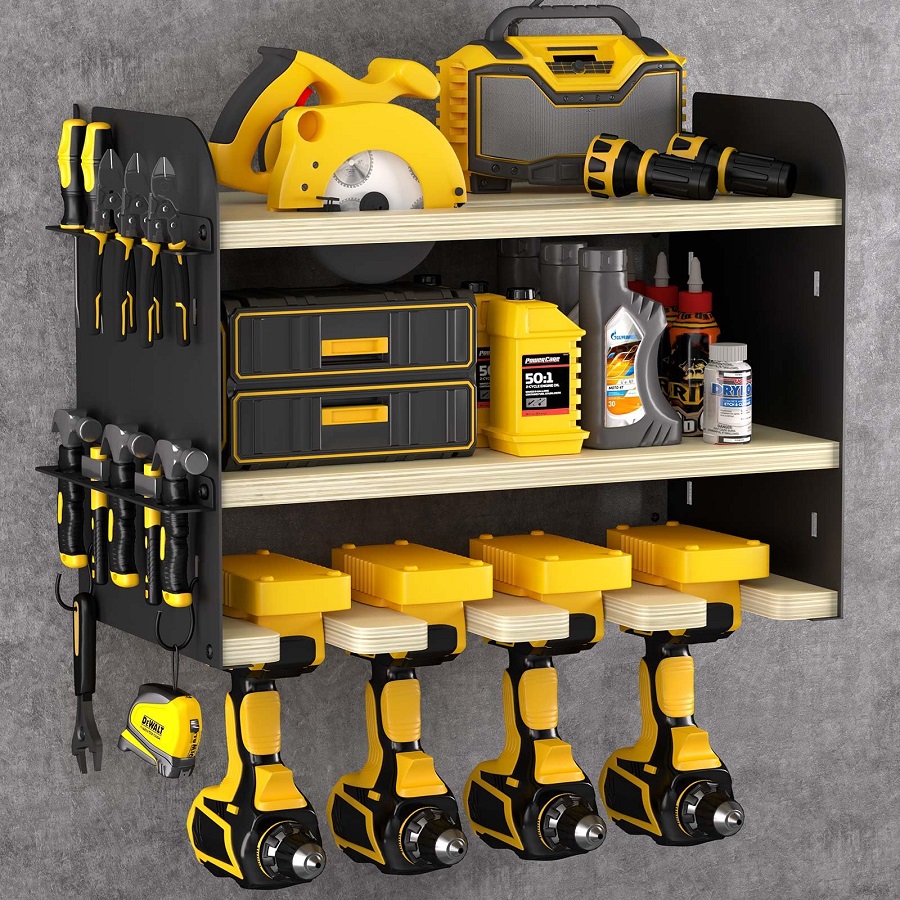
Creating a DIY power tool drawer organizer is more than just assembling shelves and compartments. It’s about tailoring the storage to fit your tools and preferences. Here are some tips to customize your organizer:
- Assess Your Tools: Look at the tools you use most often. Design the layout to make these tools the most accessible.
- Think Vertical: Use the full height of the drawer. Create different levels with stands or inserts to double the storage space.
- Adjustable Sections: For future needs, make some compartments adjustable. Dividers with slots or Velcro can be moved as needed.
- Tool Outlines: Trace outlines of tools on foam inserts. This will show exactly where each tool should go, making it easy to return them to their spot.
- Label Everything: Use labels for each compartment. It will help you and others find the right tool quickly.
- Allow for Growth: Leave some empty space for new tools you might acquire. A full organizer today could be too small tomorrow.
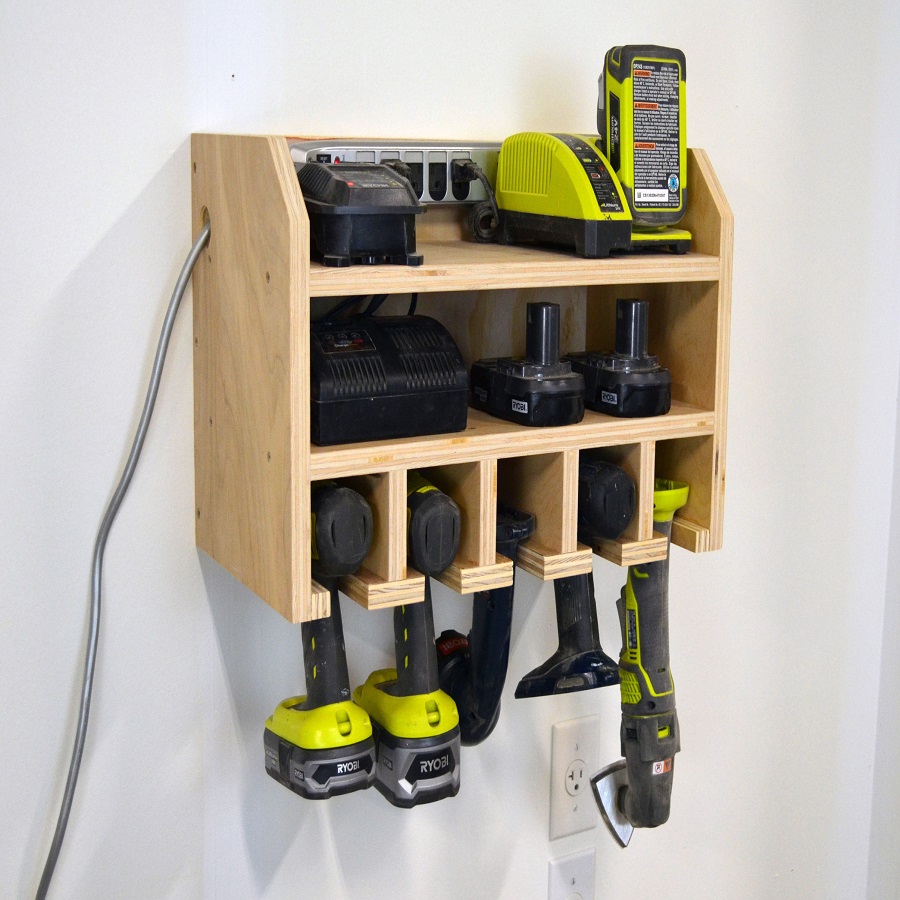
- Add-on Features: Consider extra features like a charging station for batteries or a small shelf for accessories. They add functionality to your organizer.
By following these customization tips for your DIY power tool drawer organizer, your workspace will stay organized and cater to your specific needs. Tailoring your organizer can lead to improved efficiency and a smoother workflow in the long run.
Organizing Your Tools: Placement and Sorting Strategies
When setting up your DIY power tool drawer organizer, strategic placement and sorting of tools is key. Here’s how you can keep things in order:
- Group Similar Tools Together: Place drills, saws, and other power tools that serve similar functions in the same area. It makes finding what you need quicker.
- Heaviest Tools on Bottom: To maintain balance and prevent drawer tipping, put the heaviest tools at the bottom of your organizer.
- Frequently Used Tools in Front: Place the tools you use most often towards the front of the drawer for easy access.
- Rarely Used Tools in Back: Tools you don’t use as much can go towards the back or in a less accessible spot.
- Vertical Storage for Long Tools: Stand up long items like levels or straightedges. It saves space and keeps them from getting buried.
- Small Items in Containers: For bits, blades, and small accessories, use little bins or containers within the drawer to prevent them from getting lost.
- Leave Space for Expansion: Don’t pack every inch. Allow room for new tools or accessories you might acquire in the future.
- Regular Cleanup: Every few weeks, take a moment to tidy up. This helps maintain organization and ensures everything is in its place.
Following these placement and sorting strategies will enhance the functionality of your DIY power tool drawer organizer and streamline your workflow. Regularly revisit these strategies to keep your drawer adapted to your changing toolset.
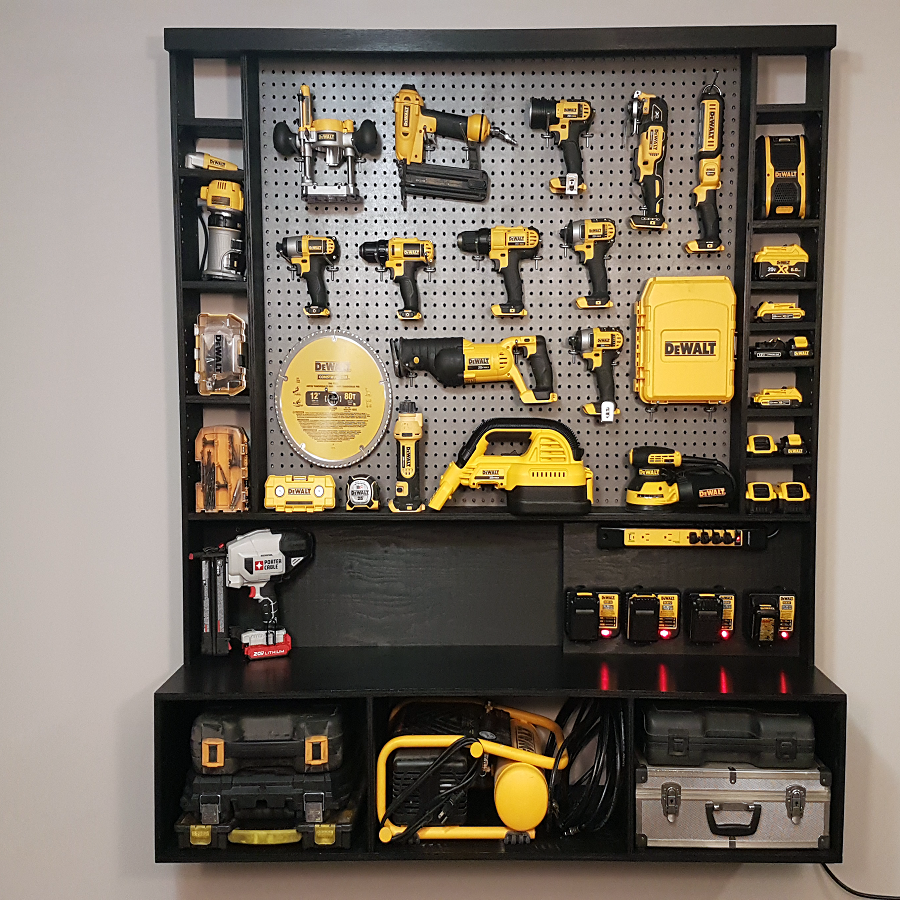
Maintaining Your DIY Tool Organizer
Maintaining your DIY power tool drawer organizer is key to longevity and efficiency. Here are simple steps to keep it in top condition:
- Regular Cleaning: Wipe down the organizer frequently. Remove dust and debris that can wear down materials.
- Inspect for Damage: Check for any splits, cracks, or loose components. Repair these issues promptly to avoid further damage.
- Tighten Screws: If you used screws, ensure they are tight. Over time, they can loosen due to opening and closing the drawer.
- Reorganize Periodically: As you use your tools, your organizational needs may change. Reevaluate the layout and make adjustments as needed.
- Touch Up Finishes: If you painted or stained your organizer, it might need a touch-up. A fresh coat can protect the wood and keep it looking new.
- Refresh Foam Inserts: If you employed foam, replace it when it wears out. New foam will continue to protect and cushion your tools.
- Ensure Compatibility: If you add new tools to your collection, make sure they fit. You might need to modify the organizer to accommodate the new additions.
By making maintenance a regular habit, your power tool drawer organizer DIY will continue to serve you well. Such care will manage tool safety and prolong the life of both the organizer and the tools it holds.
Final Thoughts on DIY Workshop Efficiency
A DIY power tool drawer organizer is more than a convenience. It’s a step toward greater efficiency in any workshop setting. Let’s recap the value such an organizer brings to your workspace:
- It creates a personalized system tailored to your unique tool set. This makes work smoother and quicker.
- Good organization using a DIY solution also means safety. No more rummaging through drawers and risking injury.
- A DIY project like this saves money. You’re creating value with your own hands, avoiding costly store-bought options.
- And let’s not forget, an organized space reflects discipline. It shows pride in your craft and workspace.
Lastly, maintaining and upgrading your power tool drawer organizer over time will help it grow with your skill set. Be sure to clean, check for wear and tear, and reorganize as needed.
Embracing DIY workshop efficiency with open arms and a creative spirit will not just improve your workspace but also elevate the quality of your craft. So take what you’ve learned, and start organizing—your future projects will thank you!
