Organizing your kitchen tools can transform your cooking experience, making it more enjoyable and efficient. One of the most essential tools in any kitchen is a good set of knives, and having them neatly organized in a drawer can save you time and frustration. In this guide, we’ll delve into the steps required to create a custom knife drawer organizer that not only meets your storage needs but also enhances your kitchen’s aesthetics.
Understanding the Importance of Knife Organization
Why Organize Your Knives?
Knives are one of the most important tools in the kitchen, and keeping them organized is crucial for several reasons. First, it enhances safety; a disorganized drawer can lead to accidental cuts when searching for a knife. Second, it prolongs the life of your knives. When knives are stored properly, their blades remain sharp and undamaged. Finally, an organized drawer makes cooking more efficient, allowing you to quickly find the right knife for any task, whether it’s chopping vegetables or slicing meat.
The Benefits of a Custom Organizer
Creating a custom knife drawer organizer tailored to your specific collection has numerous advantages. Unlike store-bought organizers, a DIY solution allows you to maximize your drawer space based on the size and shape of your knives. You can also choose materials and designs that complement your kitchen’s decor. Additionally, making your own organizer can be a rewarding project that adds a personal touch to your kitchen.
Planning Your Knife Organizer
Measuring Your Drawer Space
Before diving into the project, it’s crucial to measure your drawer accurately. Use a tape measure to determine the length, width, and depth of the drawer. Make note of any obstacles, such as dividers or other utensils, that might affect your design. This step ensures that your custom organizer fits perfectly within the existing space, eliminating any adjustments later on.
Choosing the Right Materials
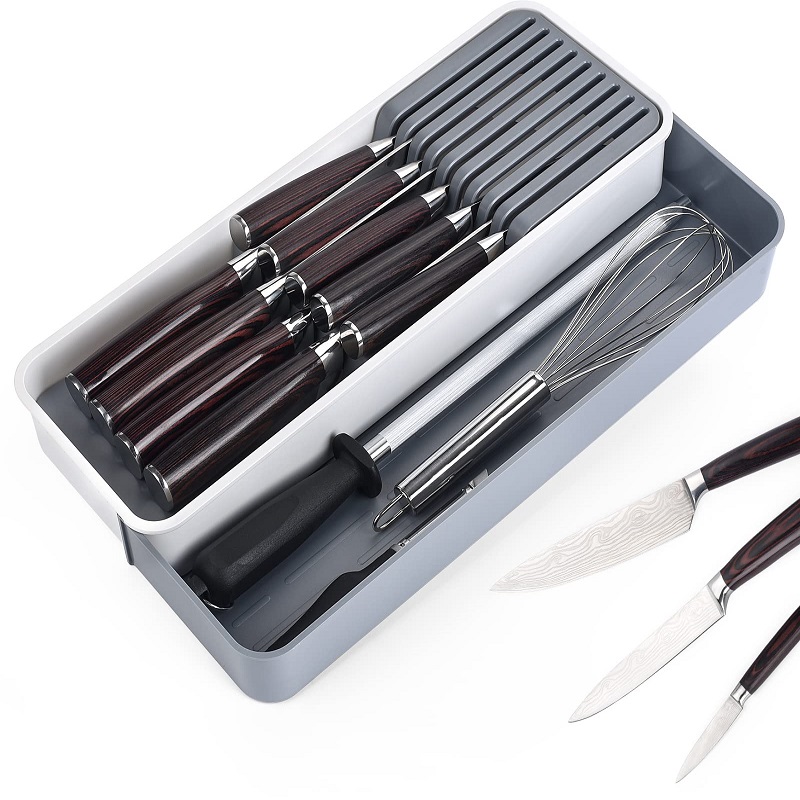
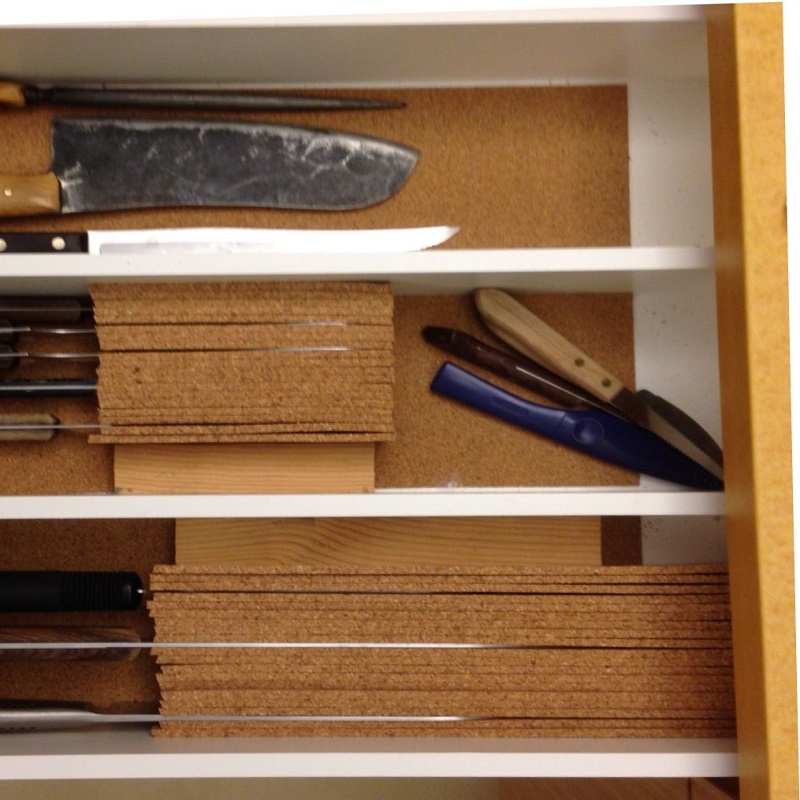
The next step involves selecting the materials for your organizer. Popular choices include wood, plastic, and bamboo. Each material has its pros and cons. Wood is sturdy and provides an aesthetically pleasing look but may require additional care. Bamboo is eco-friendly and lightweight, while plastic offers easy cleaning but may not have the same durability. Consider your preferences and the overall design of your kitchen when making this decision.
Designing Your Organizer
Sketching the Layout
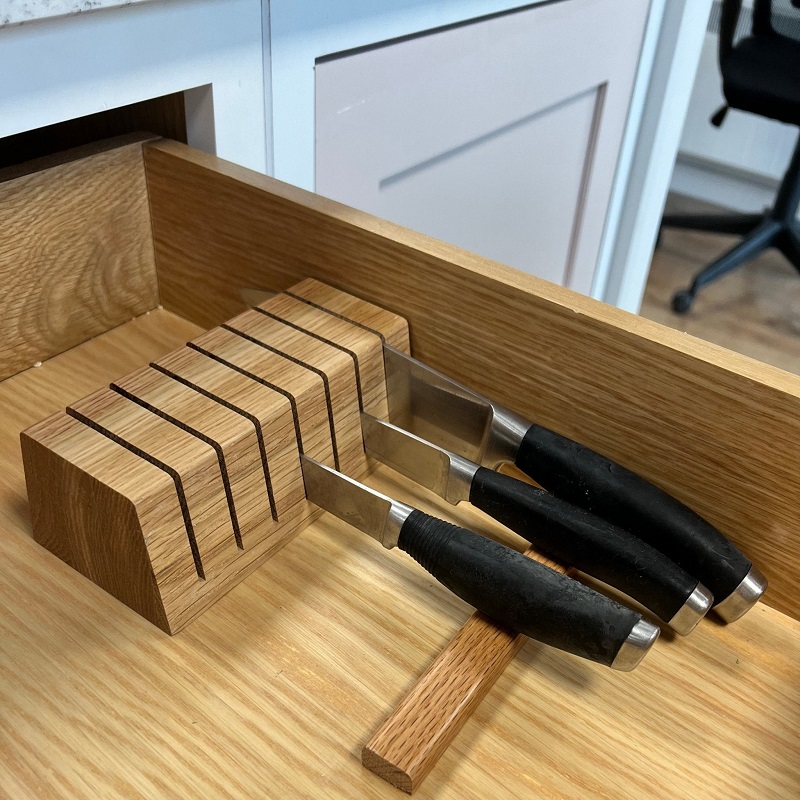
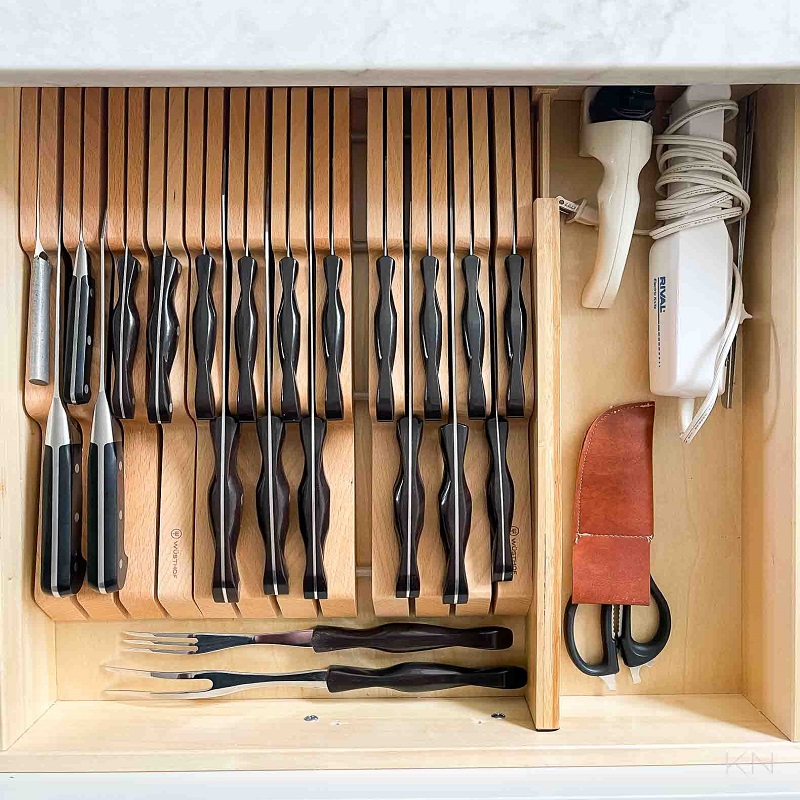
Once you have your measurements and materials, it’s time to sketch the layout of your organizer. Think about how many knives you have and their sizes. A simple layout could include slots for larger chef’s knives, medium-sized utility knives, and smaller paring knives. Be creative; you can also add compartments for honing steels or kitchen scissors if you desire.
Creating a Prototype
Before you start cutting materials, it’s beneficial to create a prototype using cardboard or paper. This allows you to visualize the layout without committing to any cuts. Adjust the sizes and compartments as needed until you’re satisfied with the design. Having a prototype helps ensure that everything will fit well in the drawer and that you have considered all your knives.
Building the Organizer
Cutting the Materials
With your final design in hand, it’s time to cut your chosen material to size. Use a saw suitable for your material—whether it’s a hand saw for wood or a utility knife for plastic. Safety is paramount, so always wear protective gear and follow safety guidelines. Double-check your measurements before making cuts to avoid any mistakes.
Assembling the Organizer
After cutting the pieces, it’s time to assemble your organizer. Depending on your design, you may need wood glue, screws, or nails. Start by creating the base and adding the dividers according to your layout. Ensure everything is level and secure. If you’re using wood, consider sanding the edges to avoid splinters. Take your time with this step to ensure a sturdy and durable finished product.
Finishing Touches
Sanding and Painting
Once the assembly is complete, it’s essential to sand any rough edges for a smooth finish. If you’ve opted for wood, this is also the time to apply a stain or paint if desired. Choose a color that matches your kitchen decor. For a natural look, a clear sealant can protect the wood while allowing its natural grain to shine through.
Adding Non-Slip Feet
To prevent your organizer from sliding around in the drawer, consider adding non-slip feet. These can be purchased at hardware stores or made from rubber pads. Attach them to the bottom of your organizer to keep it secure and stable when opening and closing the drawer. This simple addition can make a big difference in usability.
Organizing Your Knives
Sorting Your Knife Collection
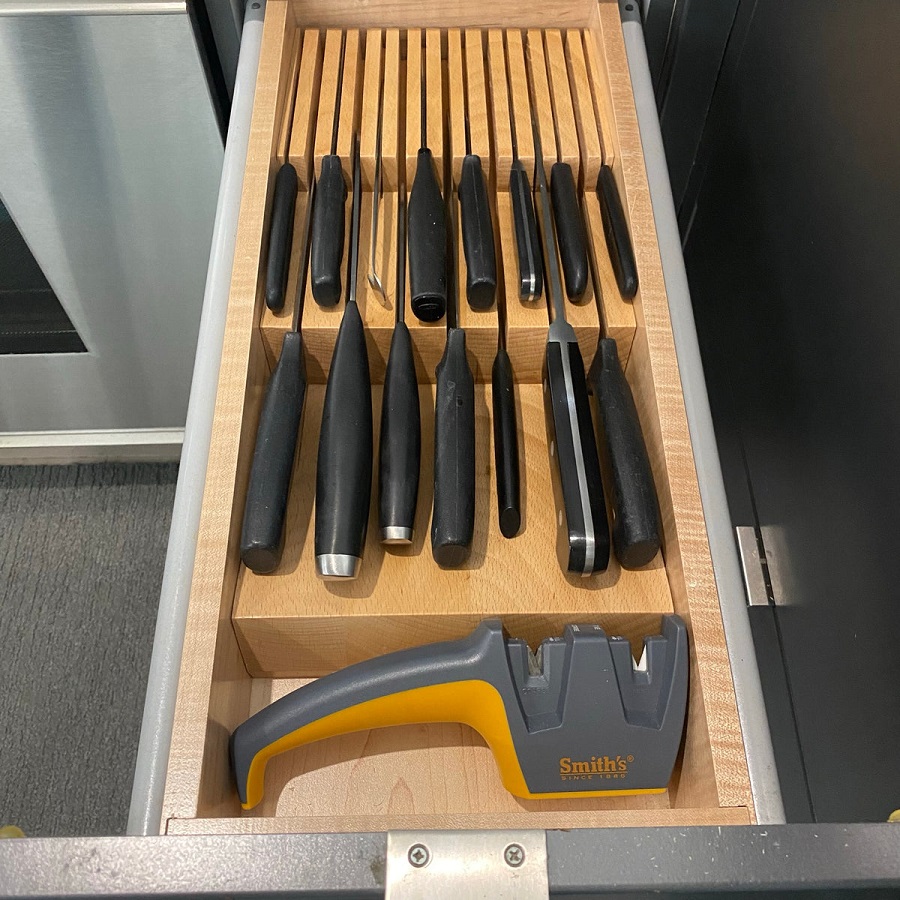
With your organizer complete, it’s time to sort your knives. Start by grouping them into categories: chef’s knives, utility knives, paring knives, and specialty knives. This organization makes it easier to find the right tool when cooking. Also, consider the frequency of use; place your most-used knives in the most accessible slots.
Proper Knife Storage Techniques
When placing your knives in the organizer, ensure that the blades are positioned safely. If your organizer has specific slots, place each knife in its designated space. Avoid overcrowding to prevent damage to the blades. For larger knives, make sure they are securely positioned to avoid accidental slips. Following these storage techniques will help maintain the integrity and sharpness of your knives.
Maintenance Tips
Regular Cleaning
To keep your knife organizer in top shape, regular cleaning is essential. Remove the knives periodically and wipe down the organizer with a damp cloth. If you’ve used wood, ensure that you are using appropriate cleaning methods to avoid damaging the finish. For plastic organizers, mild soap and water are sufficient.
Checking for Damage
Inspect your knives and organizer regularly for any signs of damage. Look for dull blades, loose handles, or any scratches in the organizer material. Addressing these issues promptly will help extend the lifespan of both your knives and the organizer.
Exploring Alternative Designs
Modular Organizers
If you’re looking for flexibility, consider a modular knife organizer. This design consists of interlocking components that can be adjusted or expanded as needed. Modular organizers allow you to customize your knife storage based on changes in your collection. You can add more slots for new knives or rearrange the layout to better suit your cooking style.
Magnetic Knife Strips
Another innovative option is a magnetic knife strip. This wall-mounted solution frees up drawer space while showcasing your knives. Simply attach a strong magnetic strip to the wall and hang your knives for easy access. This design not only looks stylish but also keeps your blades visible, making it quick to grab what you need when cooking.
Conclusion
The Joy of DIY Projects
Crafting your own knife drawer organizer can be a fulfilling DIY project that enhances the functionality of your kitchen. Not only does it promote safety and efficiency, but it also allows for creativity and personalization. Whether you’re an experienced DIY enthusiast or a beginner, this project is an excellent way to elevate your cooking experience.
Your Custom Organizer Awaits
With careful planning, the right materials, and some creativity, you can create a knife drawer organizer that fits perfectly in your kitchen. Enjoy the process of designing and building your custom solution, and relish the satisfaction of having an organized and efficient space for your culinary tools. Happy organizing!