Introduction to DIY Clothes Drawer Organizers
Why Organize Your Drawers?
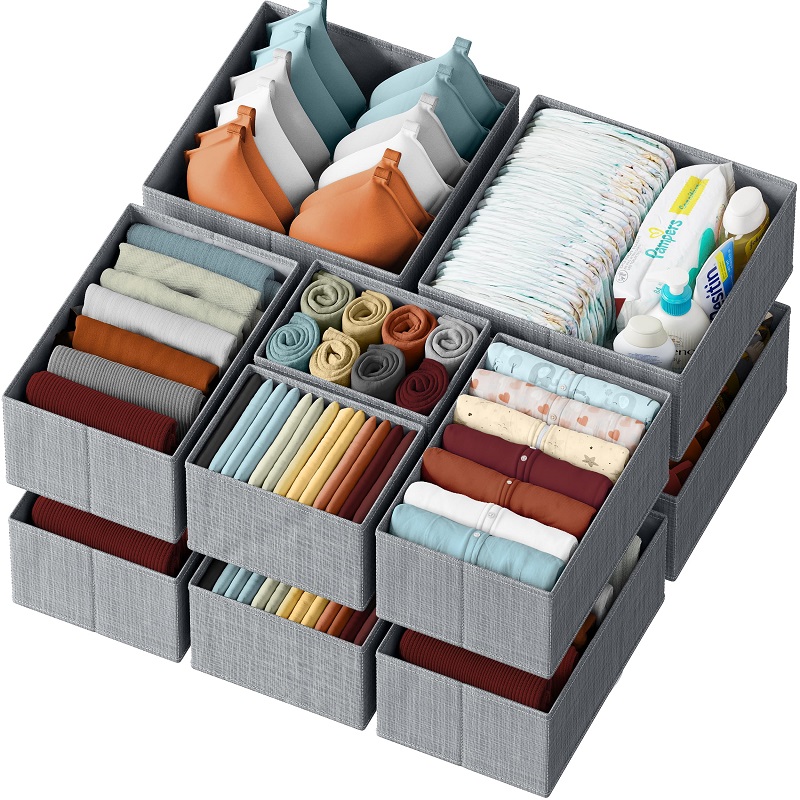
A well-organized drawer not only helps in finding what you need quickly but also makes your closet look more appealing. DIY clothes drawer organizers are a cost-effective solution to transform cluttered drawers into neatly arranged spaces. By creating your own organizers, you can customize them to fit your specific needs and the dimensions of your drawers. This approach saves money and allows you to add a personal touch to your storage solutions.
Benefits of DIY Over Store-Bought Organizers
DIY organizers often offer more flexibility than pre-made options. While store-bought organizers might not fit perfectly or meet all your requirements, DIY projects allow you to design exactly what you need. Additionally, making your own organizers can be a fun and satisfying craft, offering a sense of accomplishment and a practical outcome. You also have the freedom to use materials you already have, reducing waste and saving money.
Essential Materials and Tools
Choosing the Right Materials
For effective DIY drawer organizers, selecting the right materials is crucial. Cardboard, foam board, and fabric are popular choices due to their versatility and ease of use. Cardboard is sturdy and can be easily cut to size, making it ideal for various drawer sizes. Foam board offers a more durable solution and is great for larger or heavier items. Fabric-covered organizers add a touch of style while providing a soft, customizable option.
Tools You’ll Need
Basic tools for making drawer organizers include a ruler, scissors or a utility knife, glue or adhesive tape, and a pencil. A cutting mat is useful for precision cutting, especially when working with cardboard or foam board. For fabric organizers, a sewing machine or fabric glue might be required, depending on the complexity of the design. Having these tools on hand will make the crafting process smoother and more efficient.
Simple Cardboard Drawer Organizer
Designing Your Organizer
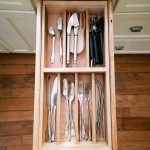
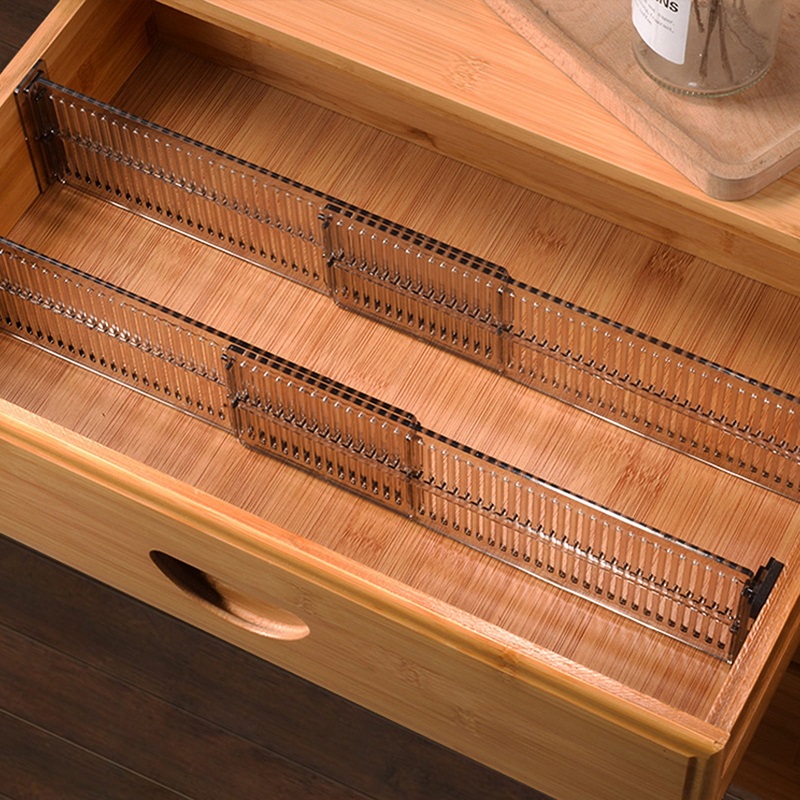
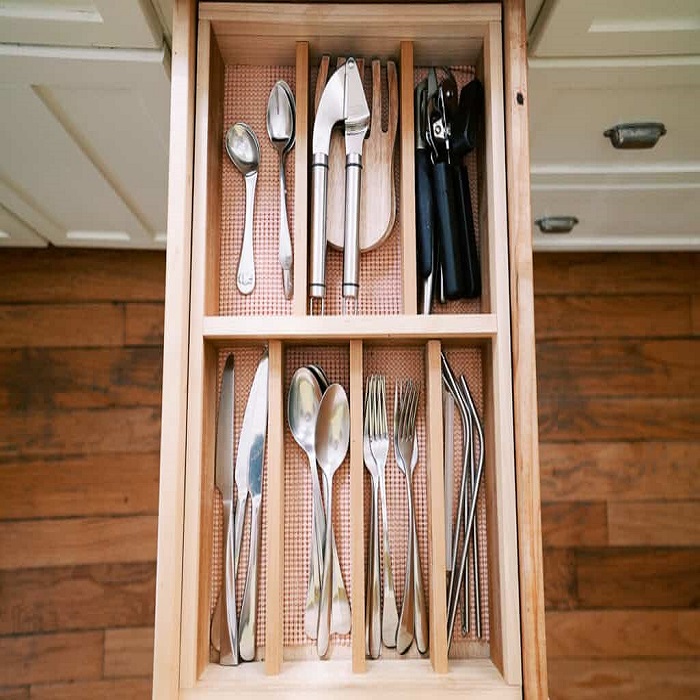
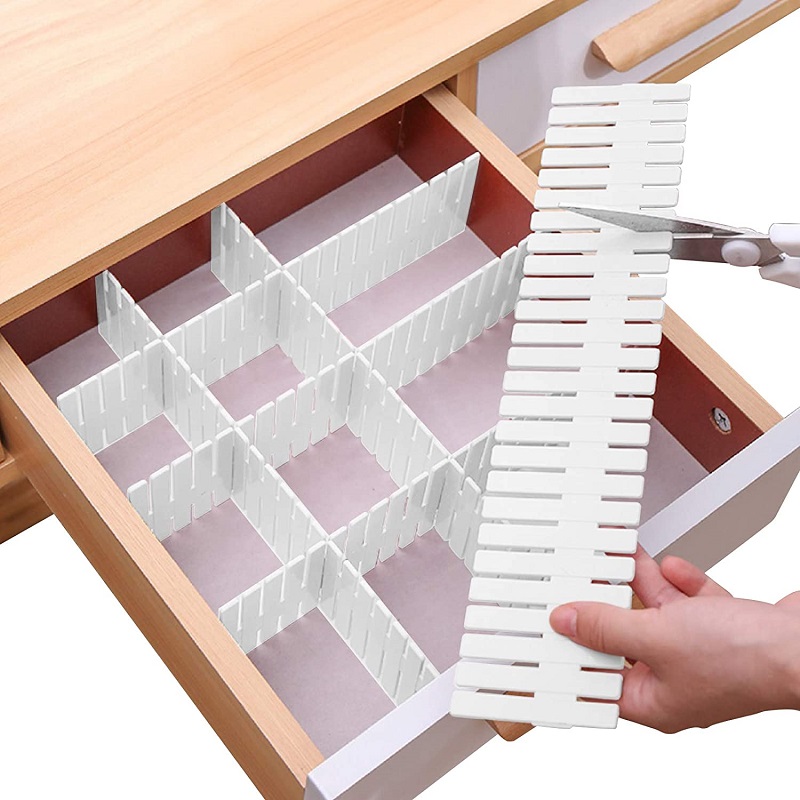
Cardboard drawer organizers are one of the easiest and most customizable options. Start by measuring the dimensions of your drawer to determine how many sections you need. Sketch out a basic design on paper, keeping in mind that each section should be sized appropriately for the items you plan to store. Consider creating dividers to separate smaller items, ensuring that each section is practical and functional.
Assembling the Organizer
To assemble your cardboard organizer, cut the cardboard pieces according to your design. Use a ruler and pencil to mark precise measurements before cutting. Once all pieces are cut, assemble them using glue or adhesive tape. For added stability, reinforce the corners with additional strips of cardboard. Allow the glue to dry thoroughly before placing the organizer in your drawer. This method provides a sturdy and cost-effective solution for organizing clothes.
Fabric Drawer Organizer
Selecting and Preparing the Fabric
Fabric organizers add a stylish touch to your drawers and can be customized to match your decor. Choose a durable fabric, such as canvas or cotton, that can withstand the wear and tear of regular use. Measure and cut the fabric according to the dimensions of your drawer and the sections you want to create. If you prefer a more structured organizer, consider using interfacing to add stiffness.
Constructing the Organizer
To construct a fabric drawer organizer, start by sewing or gluing the fabric pieces together to form the desired compartments. If sewing, use a sewing machine to stitch the sides and create clean, durable seams. For a no-sew option, use fabric glue to assemble the sections. Ensure that all seams are secure and that the organizer fits snugly in the drawer. Fabric organizers offer flexibility and can be easily adapted for different drawer sizes and shapes.
Foam Board Drawer Organizer
Advantages of Foam Board
Foam board is a versatile material that provides a sturdy and lightweight solution for drawer organizers. It’s particularly useful for larger drawers or for organizing heavier items. Foam board is easy to cut and shape, making it ideal for custom projects. It also has a smooth surface that can be easily covered with fabric or painted to match your drawer’s interior.
Creating Your Foam Board Organizer
Measure and cut the foam board to fit your drawer and design. Use a utility knife or a rotary cutter for clean, precise cuts. Assemble the pieces using a strong adhesive, such as hot glue or foam board glue. For added durability, reinforce the joints with additional foam board strips. Once assembled, place the organizer in your drawer and adjust as needed to ensure a perfect fit. Foam board organizers offer a durable and customizable solution for neat and organized drawers.
Advanced DIY Organizer Projects
Using Recycled Materials
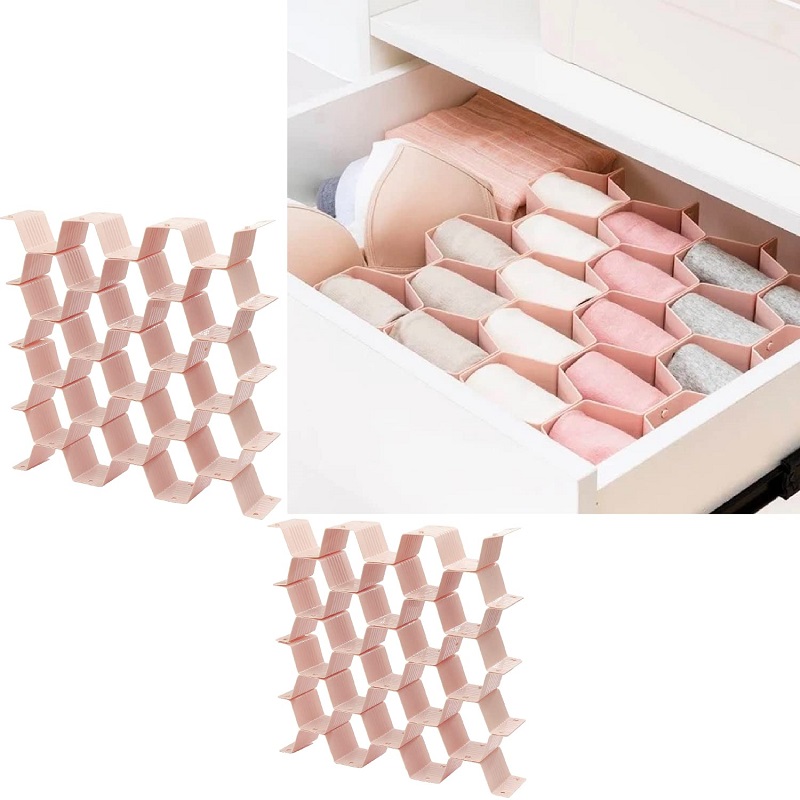
For a more eco-friendly approach, consider using recycled materials for your drawer organizers. Old shoeboxes, cereal boxes, or even unused plastic containers can be repurposed into functional organizers. By cutting and decorating these materials, you can create unique and personalized organizers that help reduce waste while keeping your drawers tidy.
Customizing Your Organizer with Personal Touches
To add a personal touch to your DIY drawer organizers, consider customizing them with paint, fabric, or decorative paper. Adding labels to each section can also help you keep track of what’s inside. Personalizing your organizers not only makes them more functional but also enhances the overall look of your closet. These customizations can make organizing more enjoyable and tailored to your specific needs.
Maintenance and Care for DIY Organizers
Regular Cleaning and Upkeep
Keeping your DIY drawer organizers clean and well-maintained is essential for their longevity. Periodically remove the organizers from the drawer and clean them with a dry cloth or a gentle cleaner, depending on the material used. For fabric organizers, spot clean as needed and consider washing them if they are machine washable. Regular cleaning helps prevent buildup and ensures that your organizers remain in good condition.
Adjusting for Changing Needs
As your storage needs evolve, you might need to adjust or reconfigure your drawer organizers. Consider redesigning or repurposing your organizers if you find that they no longer suit your needs. For example, if you acquire new items or change the way you store your belongings, updating your organizers can help maintain optimal functionality and organization.
Repairing and Upcycling
If your DIY organizer becomes damaged over time, simple repairs can extend its usability. For cardboard organizers, reinforce weakened areas with additional glue or tape. Fabric organizers can be patched or re-sewn if they develop holes or tears. Additionally, consider upcycling old organizers by repurposing them for different uses or incorporating them into new DIY projects. This approach not only saves money but also promotes sustainability.
Conclusion
Enjoying a Neater Closet
Creating your own drawer organizers is a rewarding project that can significantly improve the organization and appearance of your closet. Whether you choose cardboard, fabric, foam board, or recycled materials, DIY organizers offer a practical and customizable solution for a neater and more efficient storage system. With these simple projects, you can transform cluttered drawers into neatly arranged spaces that reflect your style and meet your organizational needs.
The Ultimate Benefits of DIY Organizers
The ultimate benefit of DIY drawer organizers is the ability to tailor them to your specific needs and preferences. By delving into various materials and methods, you can create organizers that fit perfectly in your drawers and enhance your overall closet organization. Embracing DIY projects not only saves money but also provides a sense of accomplishment and satisfaction, making your closet a more functional and enjoyable space.
