Organizing drawers can be a game-changer for maintaining a tidy and efficient space. One of the most affordable and versatile ways to achieve this is by using cardboard to create custom drawer organizers. This guide explores simple and effective DIY drawer organizer ideas using cardboard, offering practical solutions to declutter and maximize drawer space.
Benefits of Using Cardboard for Drawer Organizers
Cost-Effective and Accessible
Cardboard is an incredibly cost-effective material, making it an excellent choice for DIY projects. Most people have access to cardboard from old shipping boxes or packaging, which means you can create custom drawer organizers without spending much money. This accessibility also means that if you make a mistake or need to make adjustments, you can easily start over with more cardboard.
Customizable to Fit Any Drawer
One of the greatest advantages of using cardboard for drawer organizers is its flexibility. Cardboard can be easily cut, shaped, and adjusted to fit any drawer size and configuration. Whether you have a small desk drawer or a large kitchen drawer, you can create organizers that fit perfectly and meet your specific needs. This customization ensures that every inch of your drawer is utilized effectively, making it easier to keep everything in its place.
Materials and Tools Needed
Essential Materials
To start your DIY drawer organizer project, gather the following materials:
- Cardboard: Use sturdy cardboard from boxes or old packaging. Corrugated cardboard is especially durable and easy to work with.
- Scissors or Craft Knife: For cutting the cardboard to size.
- Ruler and Pencil: To measure and mark your cuts accurately.
- Glue or Tape: To assemble the pieces of your organizer. Hot glue provides a strong hold, while double-sided tape is a less messy alternative.
Optional Materials
Depending on your design, you might also consider these optional materials:
- Decorative Paper or Contact Paper: To cover the cardboard and give it a more polished look.
- Labels: To identify the contents of different sections.
- Dividers: Additional pieces of cardboard to create compartments within compartments.
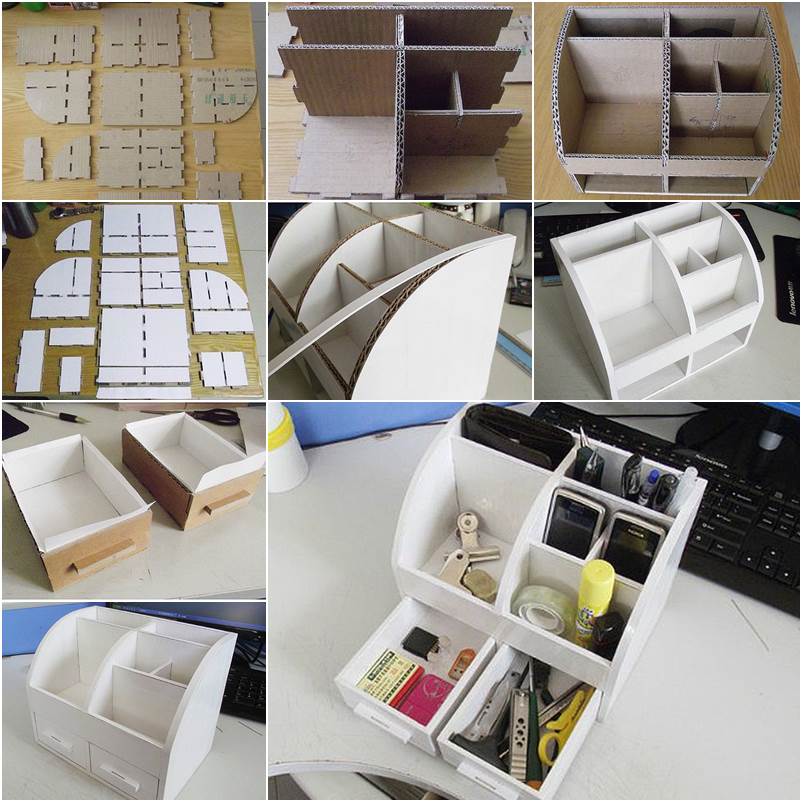
Step-by-Step Guide to Creating a Basic Drawer Organizer
Measure and Plan
Before cutting any cardboard, measure the dimensions of your drawer. Note the length, width, and height to ensure your organizer fits perfectly. Sketch a simple design on paper, including the number and size of compartments you want. Planning ahead will save time and ensure that your organizer is functional.
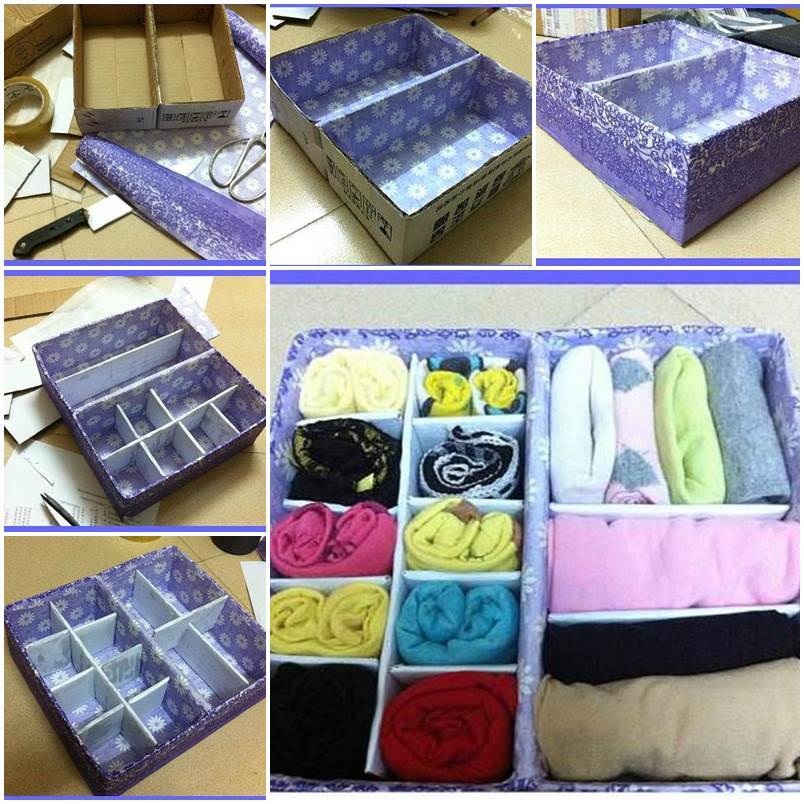
Cutting and Assembling the Cardboard
Using your measurements, cut the cardboard into pieces that will form the base and sides of your organizer. For a basic organizer, you’ll need:
- Base pieces: The bottom of the organizer.
- Side pieces: The vertical walls of each compartment.
- Divider pieces: Optional, for creating smaller sections within the compartments.
Assemble the base and sides by gluing or taping them together. Ensure that the pieces are aligned correctly and allow the glue to dry completely before proceeding.
Adding Dividers and Custom Features
If your design includes dividers, cut additional pieces of cardboard and attach them inside the main compartments. This will help create smaller sections for better organization. You can also add custom features like labels or decorative paper to personalize your organizer and make it more visually appealing.
Creative Ideas for Custom Drawer Organizers
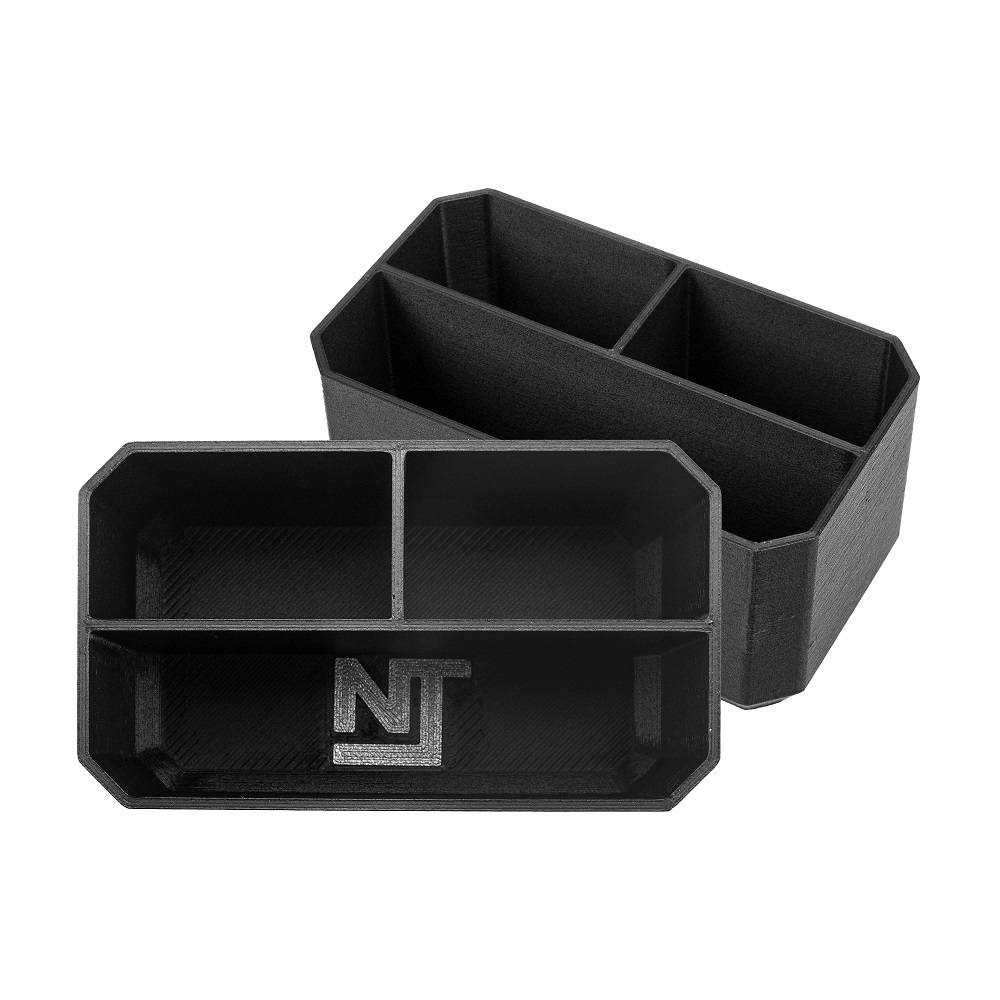
Drawer Organizer for Office Supplies
Office drawers often become cluttered with pens, paper clips, and other small items. Create a custom organizer with various compartments to separate these items. Use small dividers to create sections for different office supplies, and label each compartment for easy access. Cover the cardboard with decorative paper to give your organizer a professional look that complements your workspace.
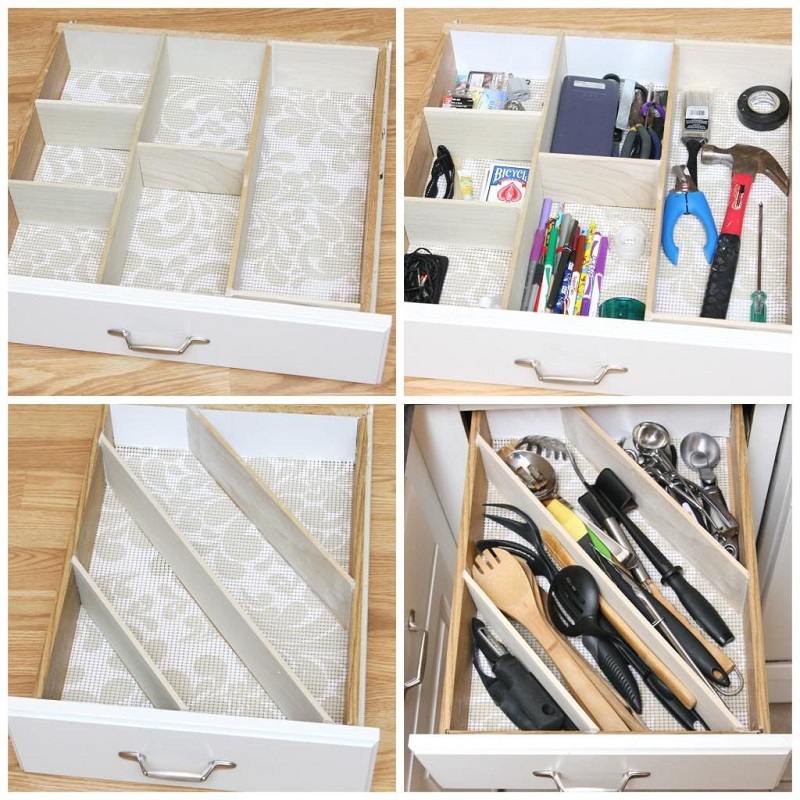
Kitchen Drawer Organizer for Utensils
In the kitchen, keeping utensils and tools organized can make cooking and meal prep much more efficient. Design a drawer organizer with compartments for utensils, measuring spoons, and other kitchen gadgets. Create separate sections for different types of utensils, and use dividers to keep everything neatly arranged. This will help you quickly find what you need while keeping your kitchen drawers tidy.
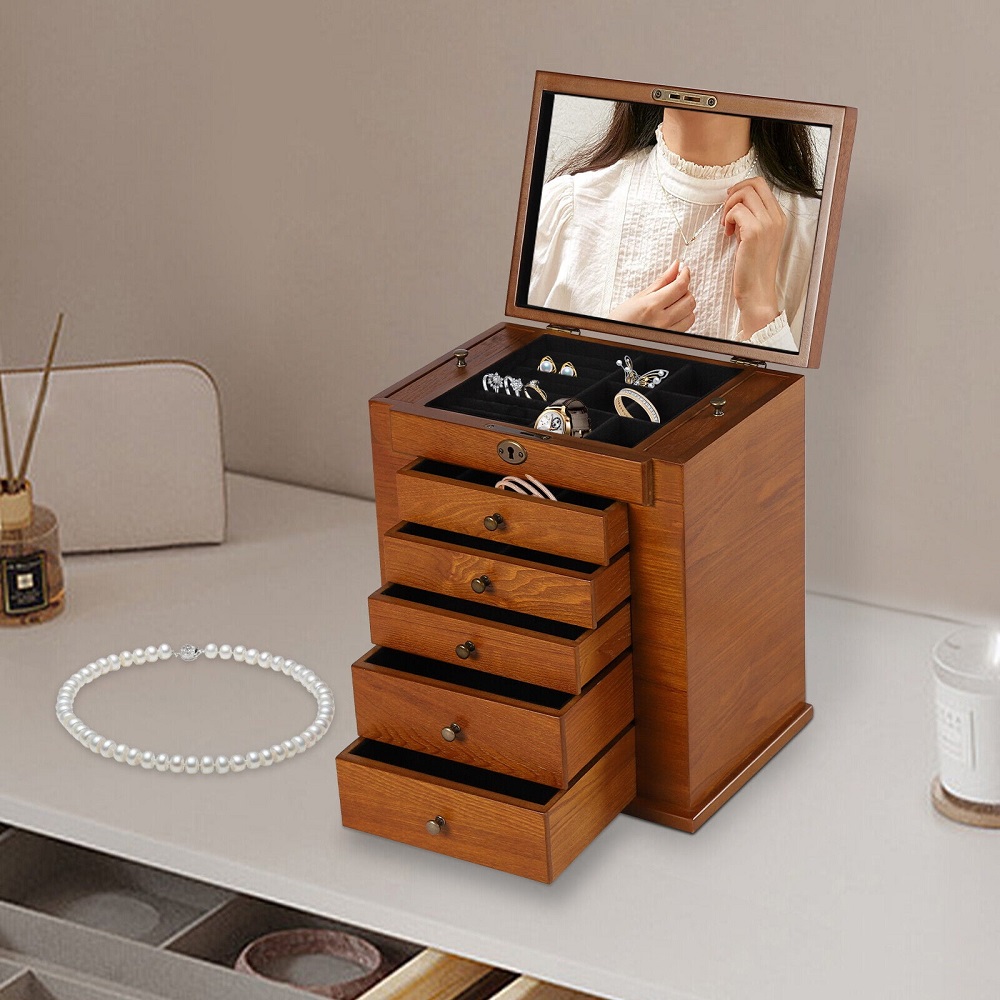
Jewelry Drawer Organizer
For those who want to keep their jewelry organized, a cardboard organizer can be a stylish and functional solution. Design compartments of varying sizes to accommodate different types of jewelry, such as rings, necklaces, and earrings. Use small dividers to create sections for each type of jewelry and consider adding a cushioned lining to protect delicate items. This organizer will keep your jewelry neatly displayed and easily accessible.
Tips for Enhancing the Durability of Your Cardboard Organizer
Reinforcing Weak Areas
Cardboard organizers can be reinforced to improve their durability. Add extra layers of cardboard to areas that will bear the most weight, such as the base and dividers. This will help prevent bending or collapsing over time. Additionally, consider using hot glue for a stronger hold, especially for joints and corners.
Protecting Against Wear and Tear
To extend the life of your organizer, cover the cardboard with a protective layer. Decorative paper, contact paper, or even fabric can provide added durability and make the organizer more resistant to spills and stains. Choose a material that matches your décor and is easy to clean, ensuring your organizer remains functional and attractive.
Organizing Tips for Different Drawer Types
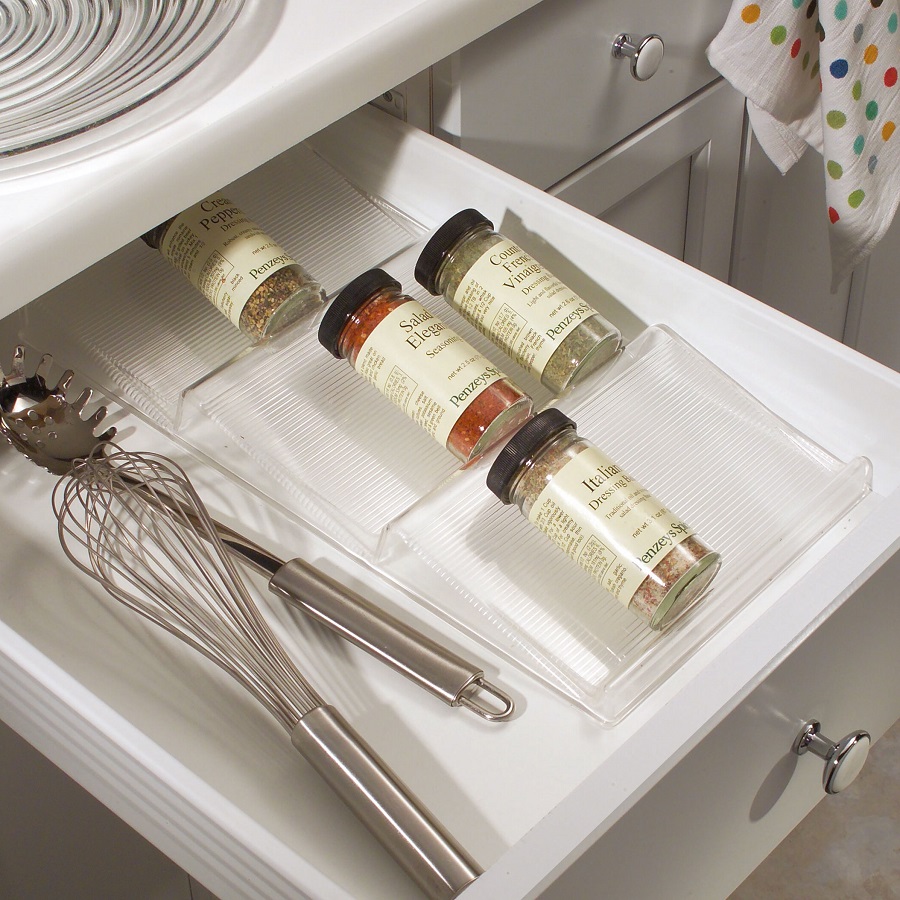
Shallow Drawers
Shallow drawers are ideal for small items like office supplies or cosmetics. Use shallow compartments and dividers to keep these items organized and easily accessible. Arrange the compartments in a way that maximizes the available space and ensures that everything is within reach.
Deep Drawers
Deep drawers require more robust organizers to accommodate larger items. Create taller dividers or multi-tiered sections to organize larger utensils, tools, or kitchen gadgets. Ensure that the organizer is securely anchored to prevent it from shifting or collapsing under the weight of the items.
Multi-Functional Drawers
For drawers that serve multiple purposes, such as a junk drawer or a multi-use storage area, design an organizer with adjustable compartments. This flexibility allows you to reconfigure the sections as your needs change, providing a versatile solution for various types of items.

Maintenance and Upkeep of Your Cardboard Organizer
Regular Cleaning
To keep your cardboard organizer in good condition, clean it regularly. Dust and wipe down the surface with a dry or slightly damp cloth to remove dirt and debris. Avoid using excessive moisture, as this can weaken the cardboard and cause it to deteriorate.
Replacing Worn Parts
Over time, cardboard organizers may show signs of wear and tear. Replace any damaged or worn parts promptly to maintain the organizer’s functionality. Keep spare pieces of cardboard on hand to make quick repairs or adjustments as needed.
Advanced Design Ideas for Cardboard Drawer Organizers
Modular Drawer Organizers
Modular organizers allow you to customize and adjust your storage solutions as needed. Create individual, interlocking sections that can be rearranged to fit different drawer sizes or organizational needs. This flexibility is perfect for those who like to frequently change their drawer layouts or need organizers for varying types of items.
Stackable Organizers
If you have multiple shallow drawers or want to maximize vertical space, stackable organizers are a great option. Design separate units that can be stacked on top of each other, creating multiple layers of storage within a single drawer. Ensure that the base of each organizer is sturdy enough to support the weight of the items in the units above.
Conclusion
Recap of DIY Cardboard Drawer Organizer Benefits
Creating a DIY drawer organizer using cardboard is a simple, cost-effective, and customizable solution for decluttering and maximizing drawer space. With basic materials and a little creativity, you can design organizers that fit your specific needs and enhance the functionality of your drawers.
Encouragement to Try DIY Projects
Whether you’re looking to organize office supplies, kitchen utensils, or jewelry, a DIY cardboard drawer organizer offers a practical and enjoyable project. Embrace the opportunity to create a personalized solution that adds order and efficiency to your space. By following the tips and ideas provided, you can enjoy a more organized and clutter-free environment.