Introduction: Organize for Optimal Workshop Performance
A well-organized workshop is the cornerstone of productivity and creativity. Among the chaos of sawdust and scattered tools, a DIY power tool drawer organizer can transform your workspace, ensuring every implement is within reach and ready for action. This comprehensive guide walks you through creating a custom drawer system tailored to your specific tool collection, enhancing both the efficiency and safety of your workshop.
Assessing Your Power Tool Inventory
1.1 Cataloguing Your Tools
Begin by pulling out all your power tools and accessories, grouping them by type and frequency of use. This step helps identify the variety of sizes and shapes that your organizer needs to accommodate.
1.2 Measuring for Custom Fit
Measure the dimensions of your drawer or cabinet where the organizer will be placed, taking note of height, width, and depth. Ensure your design maximizes the available space without overcrowding.
1.3 Identifying Storage Needs
Consider factors such as cord management, battery storage, and securing tools to prevent rolling or sliding during transport.
Designing Your DIY Organizer
2.1 Sketching Out Ideas
Sketch a preliminary layout, deciding between fixed compartments, adjustable dividers, or a combination of both. Think about accessibility – will tools be stacked, laid flat, or stood upright?
2.2 Material Selection
Choose materials that are durable, easy to work with, and cost-effective. Plywood, MDF, or high-density plastic sheets are popular choices. For a more professional finish, consider using edge banding or veneer.
2.3 Custom Features
Incorporate custom features like magnetic strips for metal accessories, foam inserts for delicate tools, or a lift-out tray for portable organization.
Building Your Organizer: Step-by-Step
3.1 Cutting Components
Using a table saw or circular saw, carefully cut your chosen materials according to your design plans. Sand edges smooth to avoid splinters.
3.2 Assembly
Assemble the frame using wood glue and screws for strength. For adjustable dividers, drill holes along the sides of the drawer box and use pegs or dowels to allow for customization.
3.3 Finishing Touches
Apply a coat of paint, varnish, or a protective clear coat to enhance durability and match your workshop aesthetic.
Integrating Cord Management Solutions
4.1 Cord Hooks and Straps
Install hooks or Velcro straps to keep cords coiled neatly and tangle-free. Mount these on the back or side walls of the drawer or cabinet.
4.2 Built-In Charging Stations
If space allows, design a section within your organizer to house a charging station for battery-powered tools. Ensure proper ventilation to prevent overheating.
4.3 Cable Troughs
Create cable troughs using PVC pipes or duct channels to route extension cords or air hoses neatly beneath or behind the drawer unit.
Securing Tools for Safe Transport
5.1 Non-Slip Mats
Line drawers with non-slip mats or rubber shelf liner to prevent tools from shifting during movement.
5.2 Tool-specific Holders
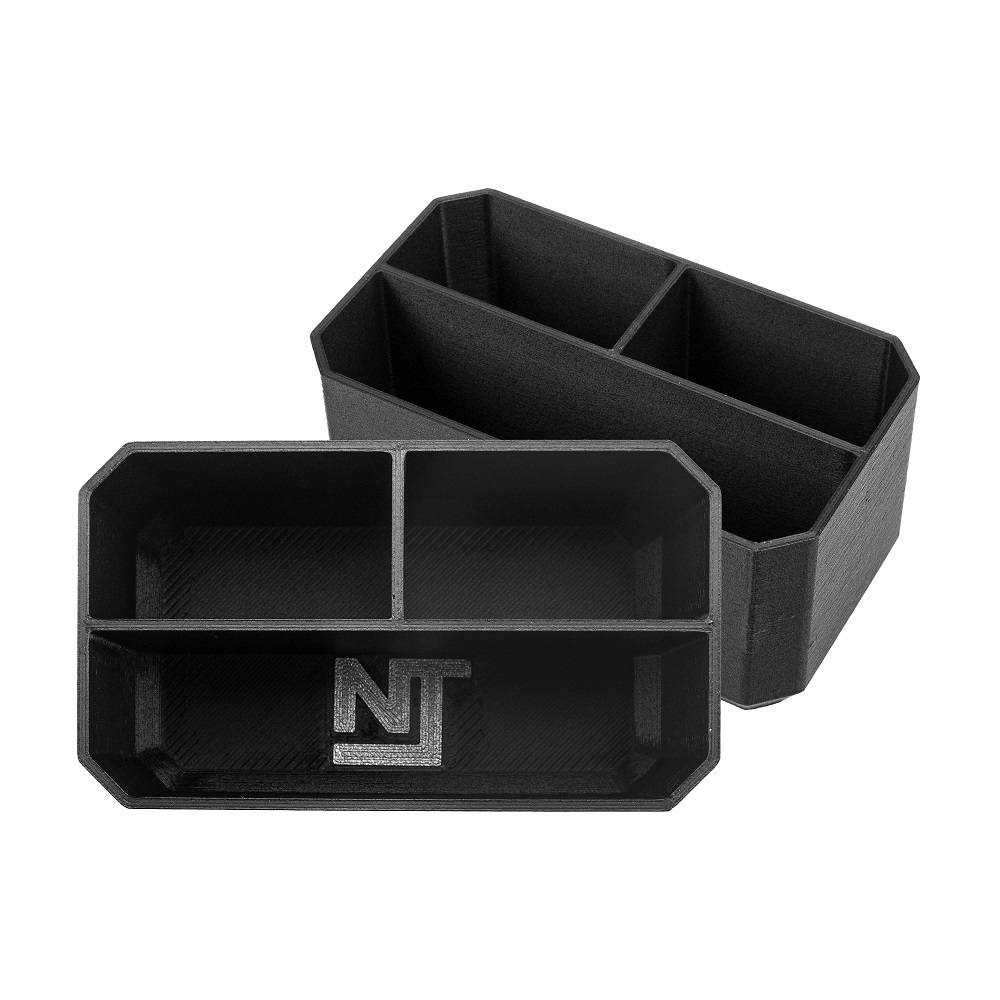
Custom fabricate holders for individual tools using foam, plastic, or even 3D printing, ensuring a snug fit that keeps tools secure.
5.3 Locking Mechanisms
For mobile workshops, consider adding drawer locks to prevent accidental opening during transit.
Maintenance & Future Adaptability
6.1 Regular Cleaning
Design your organizer for easy cleaning, using materials that can withstand workshop cleansers and occasional wipe-downs.
6.2 Adaptability for New Tools
Plan for expansion by making dividers adjustable or leaving extra space for future acquisitions. This forward-thinking approach ensures your organizer remains useful as your tool collection grows.
6.3 Periodic Assessment
Regularly assess your organizer’s effectiveness and make adjustments as needed. As your workflow evolves, so should your organizational system.
Maximizing Space Utilization: Vertical Organization Techniques
In addition to drawer organizers, optimizing vertical space is crucial for workshops of all sizes. Efficient use of wall and overhead areas can free up floor space, promoting a safer and more spacious working environment.
Wall-Mounted Racks and Pegboards
7.1 Customizable Pegboard Systems
Pegboards are a classic solution for tool storage. Install a large pegboard wall where you can hang frequently used hand tools and power tool accessories. Use color-coded hooks and shelves to create an organized visual system that streamlines tool retrieval.
7.2 Sliding Tool Racks
For a more advanced setup, consider installing sliding tracks with hanging racks. This allows you to pull out sections of tools, inspect and select what you need, then slide it back to conserve space.
7.3 Magnetic Strips for Metal Tools
Attach strong magnetic strips to walls or the side of cabinets to hold metal tools securely. This not only saves space but also keeps sharp-edged tools safely off countertops.
Overhead Storage Solutions
8.1 Suspended Shelves and Racks
Utilize the unused airspace above workbenches or aisles with suspended shelves and racks. These can hold bulky items like spare lumber, large containers, or seldom-used power tools, keeping them accessible without cluttering the floor.
8.2 Hoist Systems for Heavy Equipment
For extremely heavy items, install a hoist system that allows you to lift and store items like compressors or sandblasters on the ceiling when not in use. This approach requires careful planning and adherence to weight-bearing limits.
8.3 Foldable Work Surfaces
Incorporate foldable or drop-down workbenches that can be raised when needed and tucked away to clear space. Combine these with overhead storage to create a flexible workspace capable of adapting to various project sizes.
Integrating Lighting for Visibility
9.1 Under-Cabinet Lighting
Install LED strip lights under overhead cabinets or shelves to illuminate your work area without shadows. Proper lighting enhances visibility, making it easier to find and use your tools efficiently.
9.2 Task Lighting for Workstations
Position task lighting, such as adjustable swing-arm lamps, near your most frequented workstations. This targeted illumination supports intricate work and reduces eye strain.
9.3 Lighted Drawers and Cabinets
For an added touch of luxury and utility, consider installing LED lighting within drawers and cabinets. This not only looks impressive but also simplifies finding tools in dimly lit corners.
Optimizing Airflow and Ventilation
10.1 Ceiling Fans for Air Circulation
Integrate ceiling fans in your workshop to enhance air circulation. This is particularly beneficial in warmer climates or during summer months, helping to regulate temperature and reduce stuffiness.
10.2 Exhaust Fans for Fume Extraction
If your workshop involves activities that produce fumes, such as painting or welding, install exhaust fans or a ventilation system to extract harmful vapors. Proper ventilation ensures a safer working environment and prevents the buildup of flammable gases or particles.
10.3 Zoned Heating and Cooling
Consider implementing a zoned heating and cooling system that allows you to control the temperature in different areas of your workshop independently. This tailored approach can lead to energy savings by only conditioning the spaces you’re actively using.
Enhancing Safety Measures
11.1 Fire Extinguishers and Smoke Detectors
Place fire extinguishers in strategic locations throughout the workshop and install smoke detectors to ensure early warning in case of a fire emergency. Regularly inspect and maintain this equipment to guarantee they function properly when needed.
11.2 Emergency Exit Planning
Ensure clear pathways to emergency exits and mark them clearly. Install emergency lighting that illuminates escape routes, even during power outages. Conduct regular drills to familiarize yourself and others with the fastest and safest exit strategies.
11.3 Personal Protective Equipment (PPE) Storage
Designate a visible and easily accessible area for storing personal protective equipment such as safety glasses, earplugs, respirators, and gloves. Encouraging the use of PPE by making it readily available promotes a culture of safety in the workshop.
By incorporating these overhead storage solutions, lighting enhancements, airflow optimizations, and safety measures, you can transform your workshop into a highly functional, well-lit, and safe environment that fosters productivity and creativity.
Conclusion: Transforming Chaos into Creativity
A DIY power tool drawer organizer is more than just a practical solution; it’s a testament to your ingenuity and commitment to a well-functioning workspace. By thoughtfully designing and constructing a custom storage system, you’ll not only maximize efficiency but also foster an environment conducive to inspiration and craftsmanship. As you navigate through the build process, remember that flexibility and attention to detail are key. With your new organizer in place, you’ll spend less time searching for tools and more time bringing your projects to life, turning your workshop into a haven of productivity and enjoyment.
