Introduction: Unleashing Creativity with Thermochromic Magic
In the realm of DIY crafts, few projects evoke as much wonder and excitement as creating your own color changing cups. These magical vessels, also known as thermochromic cups, transform their hues with the simple touch of a warm or cold beverage, making them a fascinating addition to any gathering or a personalized gift. This comprehensive tutorial will guide you through the process of crafting your very own thermochromic cups, blending creativity with science for a result that is both enchanting and functional.
Materials Gathering: The Foundation of Your Color-Changing Adventure
To embark on this creative journey, you’ll first need to gather your materials. The essentials include clear plastic or glass cups, thermochromic pigment powder (available in various colors), a clear casting resin, mixing cups, stirring sticks, gloves, and a scale for measuring precise amounts. Don’t forget safety goggles and a well-ventilated workspace to ensure a safe crafting experience. Each component plays a critical role: the cups serve as your canvas, the pigment powder the magic ingredient, and the resin the binding medium that secures the transformation.
Preparation Station: Setting the Stage for Creativity
Before diving in, set up a clean, organized workspace. Cover your table with a disposable plastic sheet to protect it from spills. Have all your materials within reach and wear protective gear such as gloves and goggles. Precision is key when working with resin, so take the time to measure out the exact quantities required according to the resin package instructions. Remember, safety comes first in any DIY project, ensuring that your creative adventure is both enjoyable and incident-free.
Mixing the Magic: Blending Resin and Thermochromic Pigment
With your workstation ready, it’s time to mix the heart of your project: the thermochromic resin blend. Begin by carefully weighing out the resin and hardener in the ratio specified by the manufacturer. Slowly combine the two in a mixing cup, stirring gently but thoroughly to avoid bubbles. Once fully mixed, gradually add the thermochromic pigment powder. The amount added will determine the intensity of the color change, so start with a small quantity and increase as desired, always stirring gently to avoid clumps. The mixture should achieve a uniform color without visible powder particles.
Casting the Spell: Applying the Resin Mixture to Your Cups
Now comes the artistic part: transferring your magical concoction onto the cups. Using a steady hand, pour the resin mixture slowly and evenly along the inner surface of the cup, rotating it gently to ensure complete coverage. Be cautious not to overfill, aiming for a thin, consistent layer that will still allow the cup’s transparency to showcase the transformation. As you work, remember that patience is key – allow the resin to settle naturally, avoiding any rapid movements that might introduce air bubbles.
Setting and Curing: The Transformation Takes Shape
After application, it’s crucial to let the resin cure undisturbed. Place your cups in a dust-free area away from direct sunlight or heat sources. Curing times vary depending on the resin used, typically ranging from 24 to 72 hours. During this period, the resin will transition from a liquid state to a solid, clear finish, encapsulating the thermochromic pigment within. Avoid handling the cups until they are fully cured to prevent smudging or distortion of the resin layer.

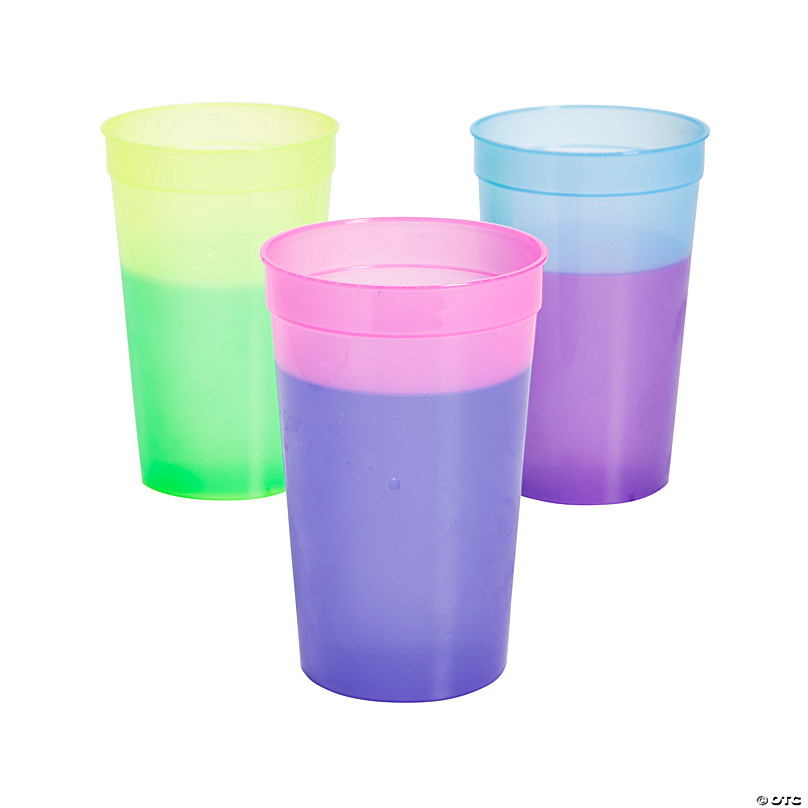
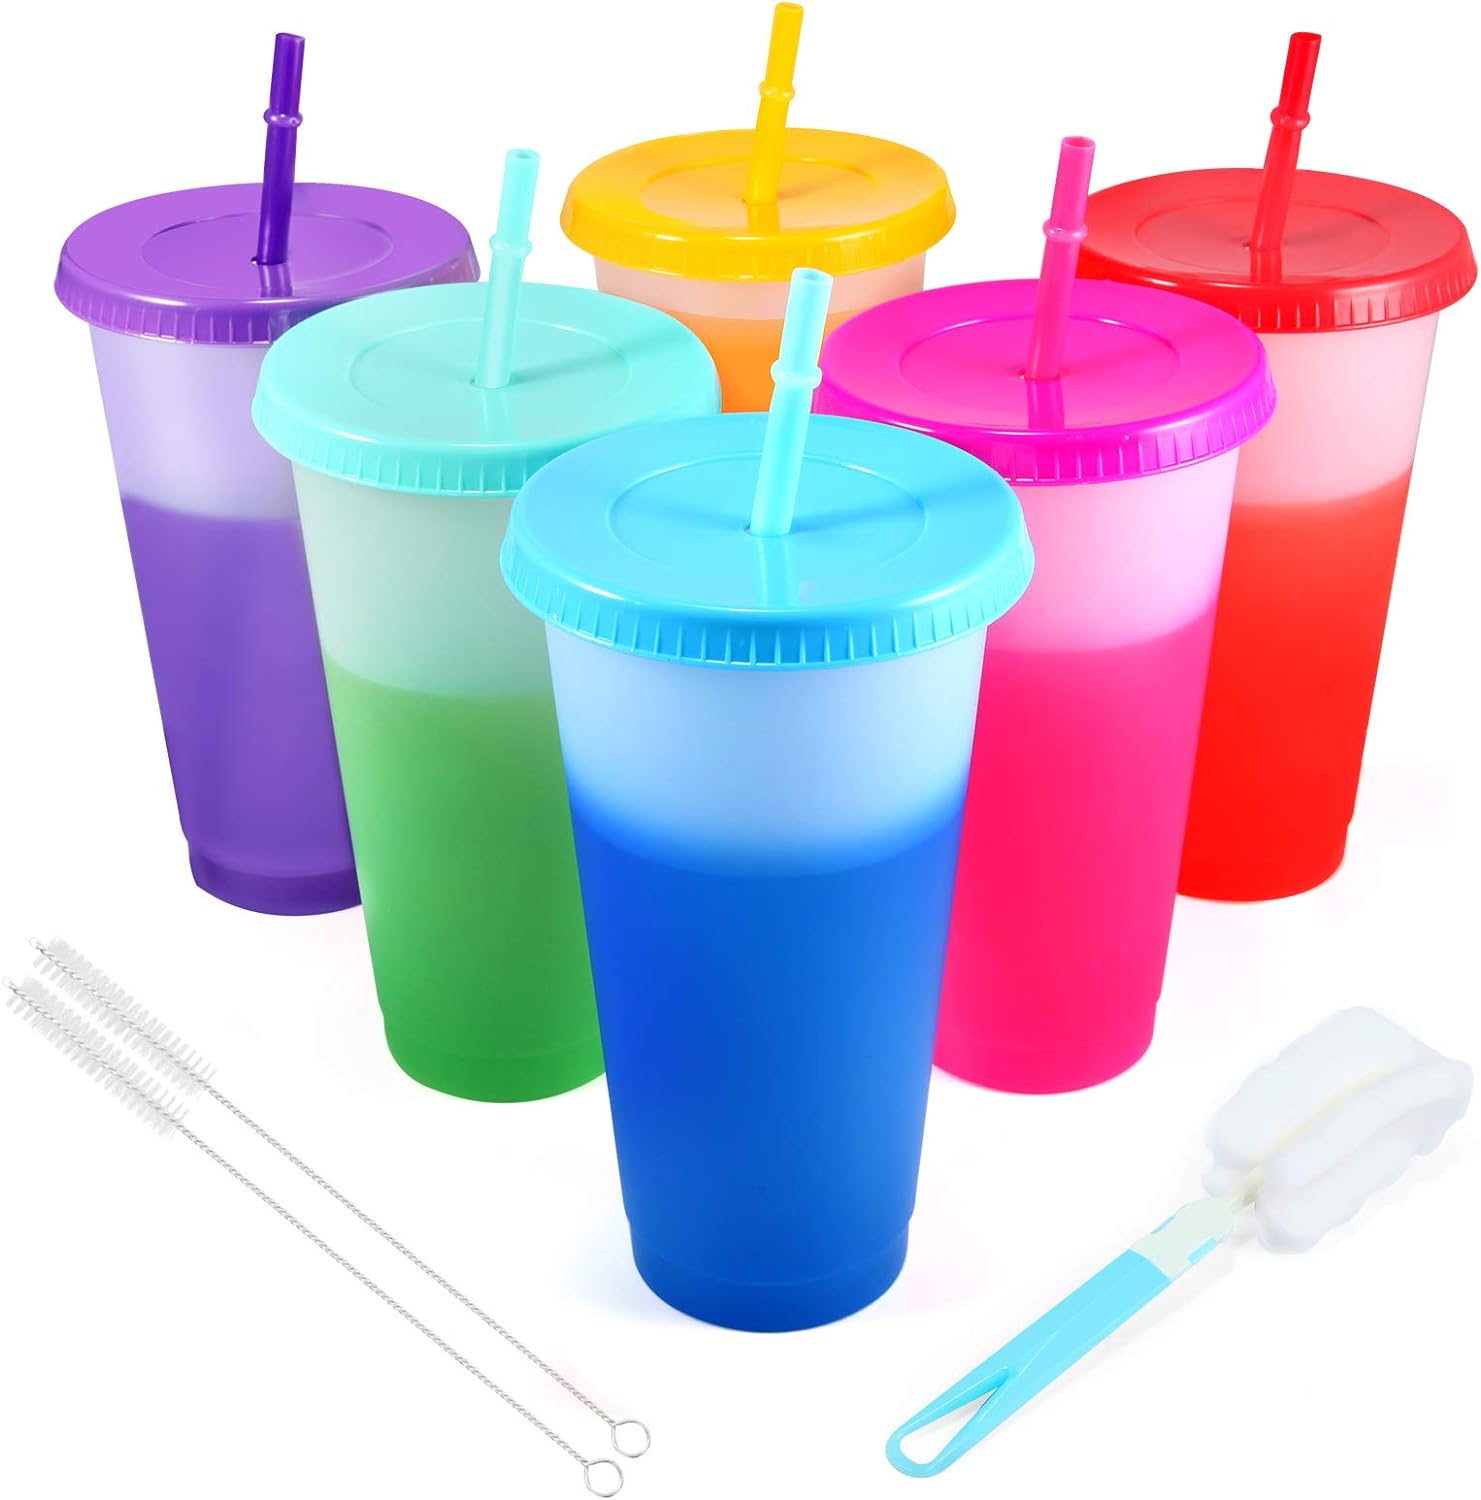
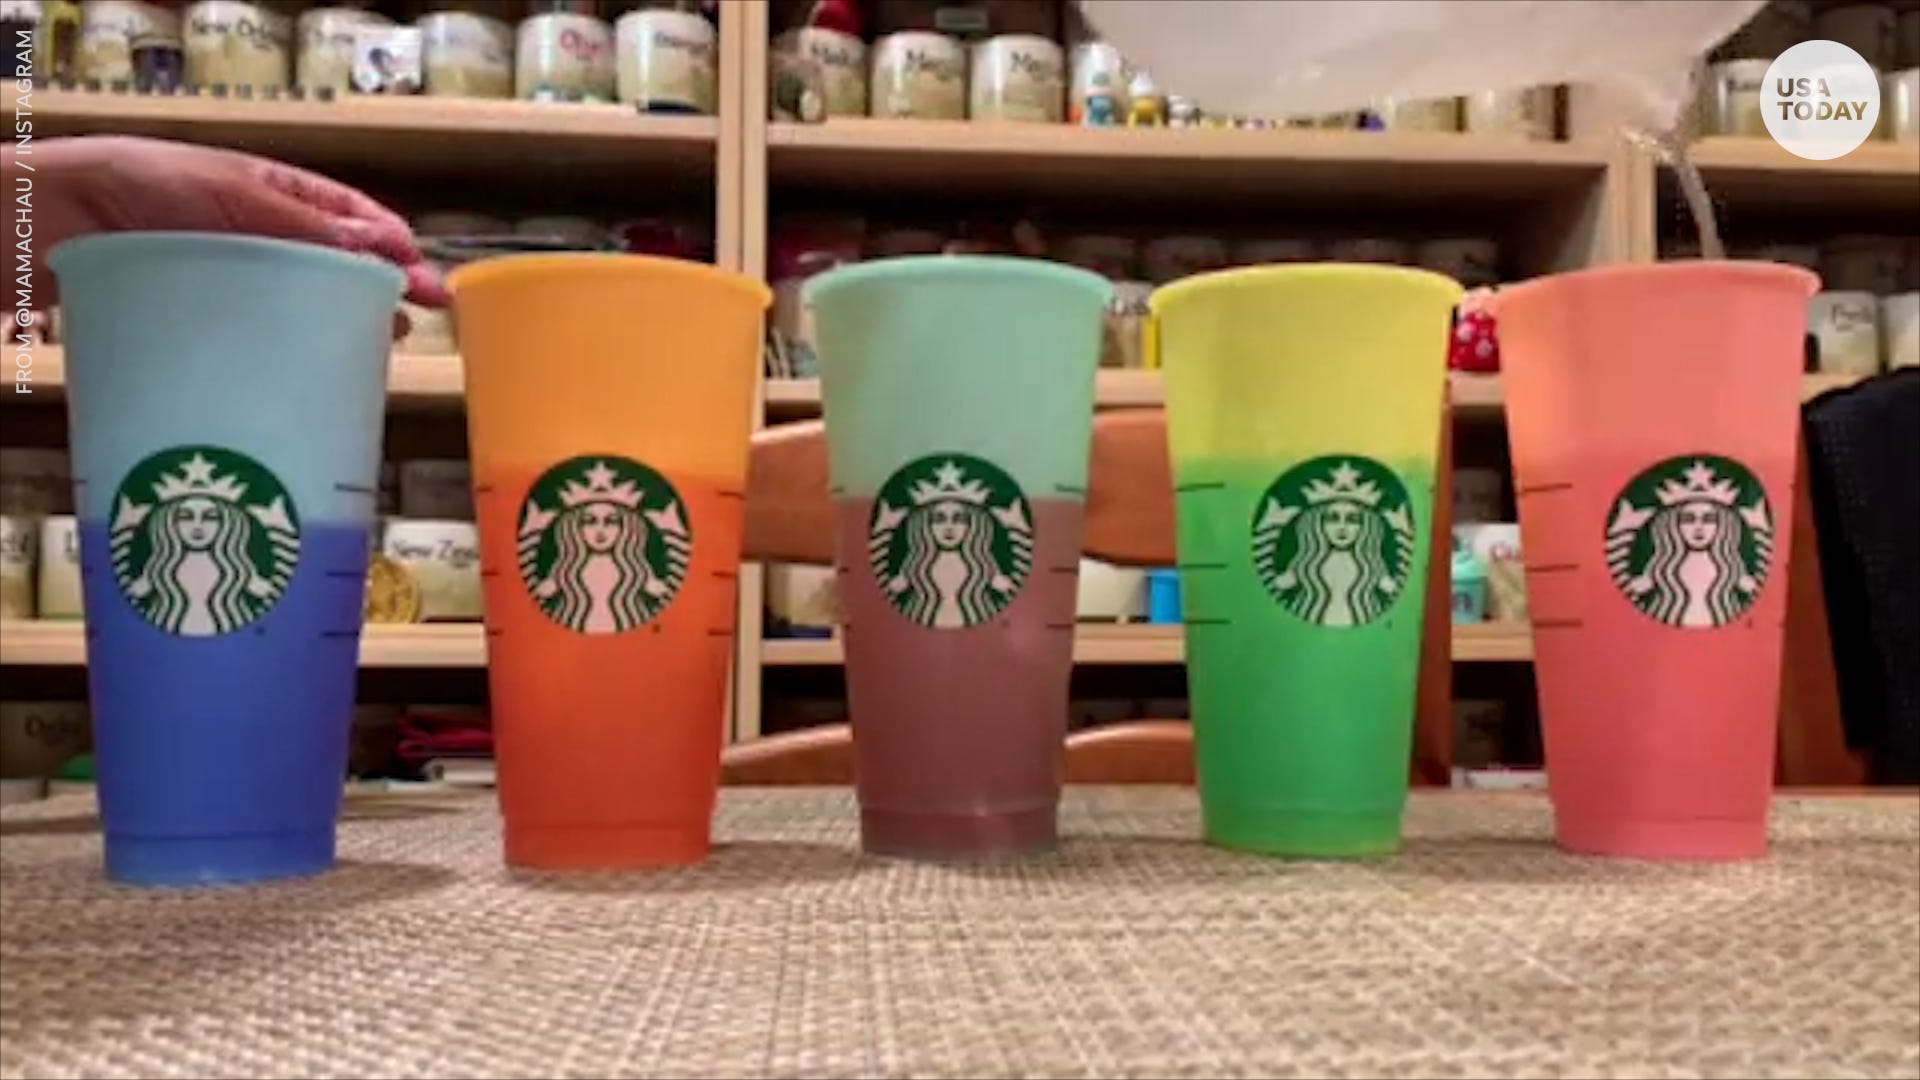
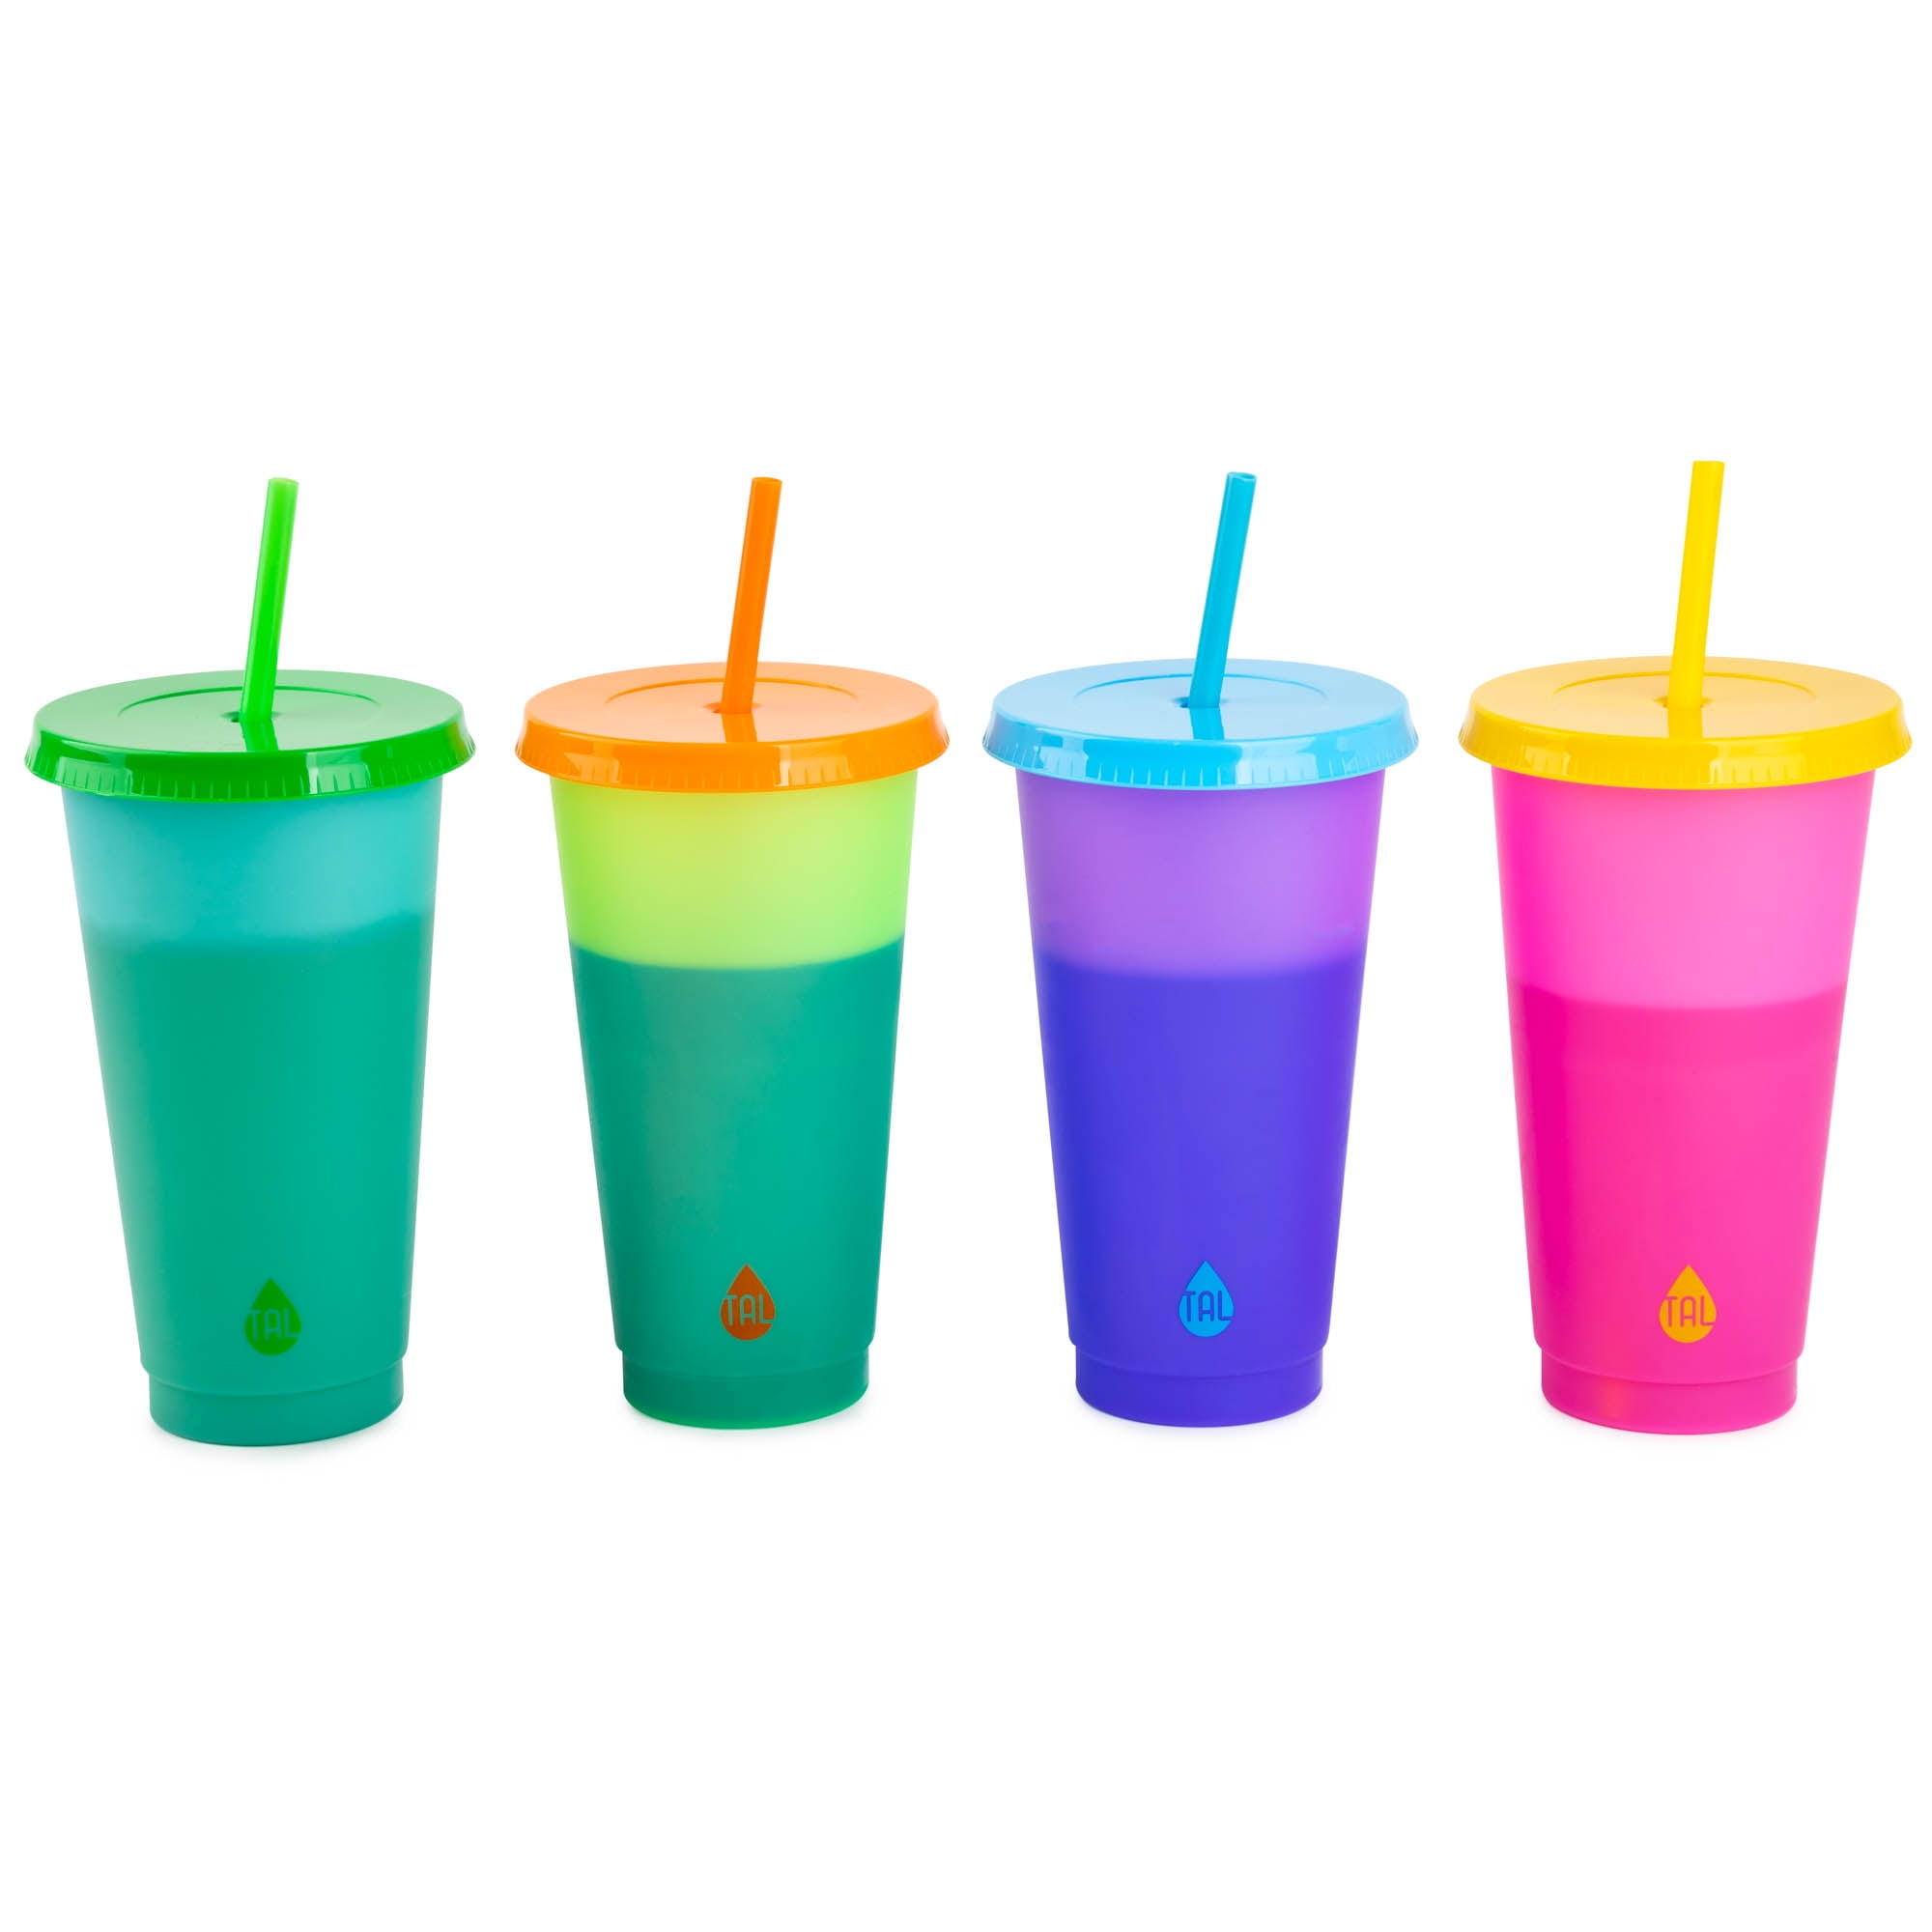
The Reveal: Testing and Admiring Your Creation
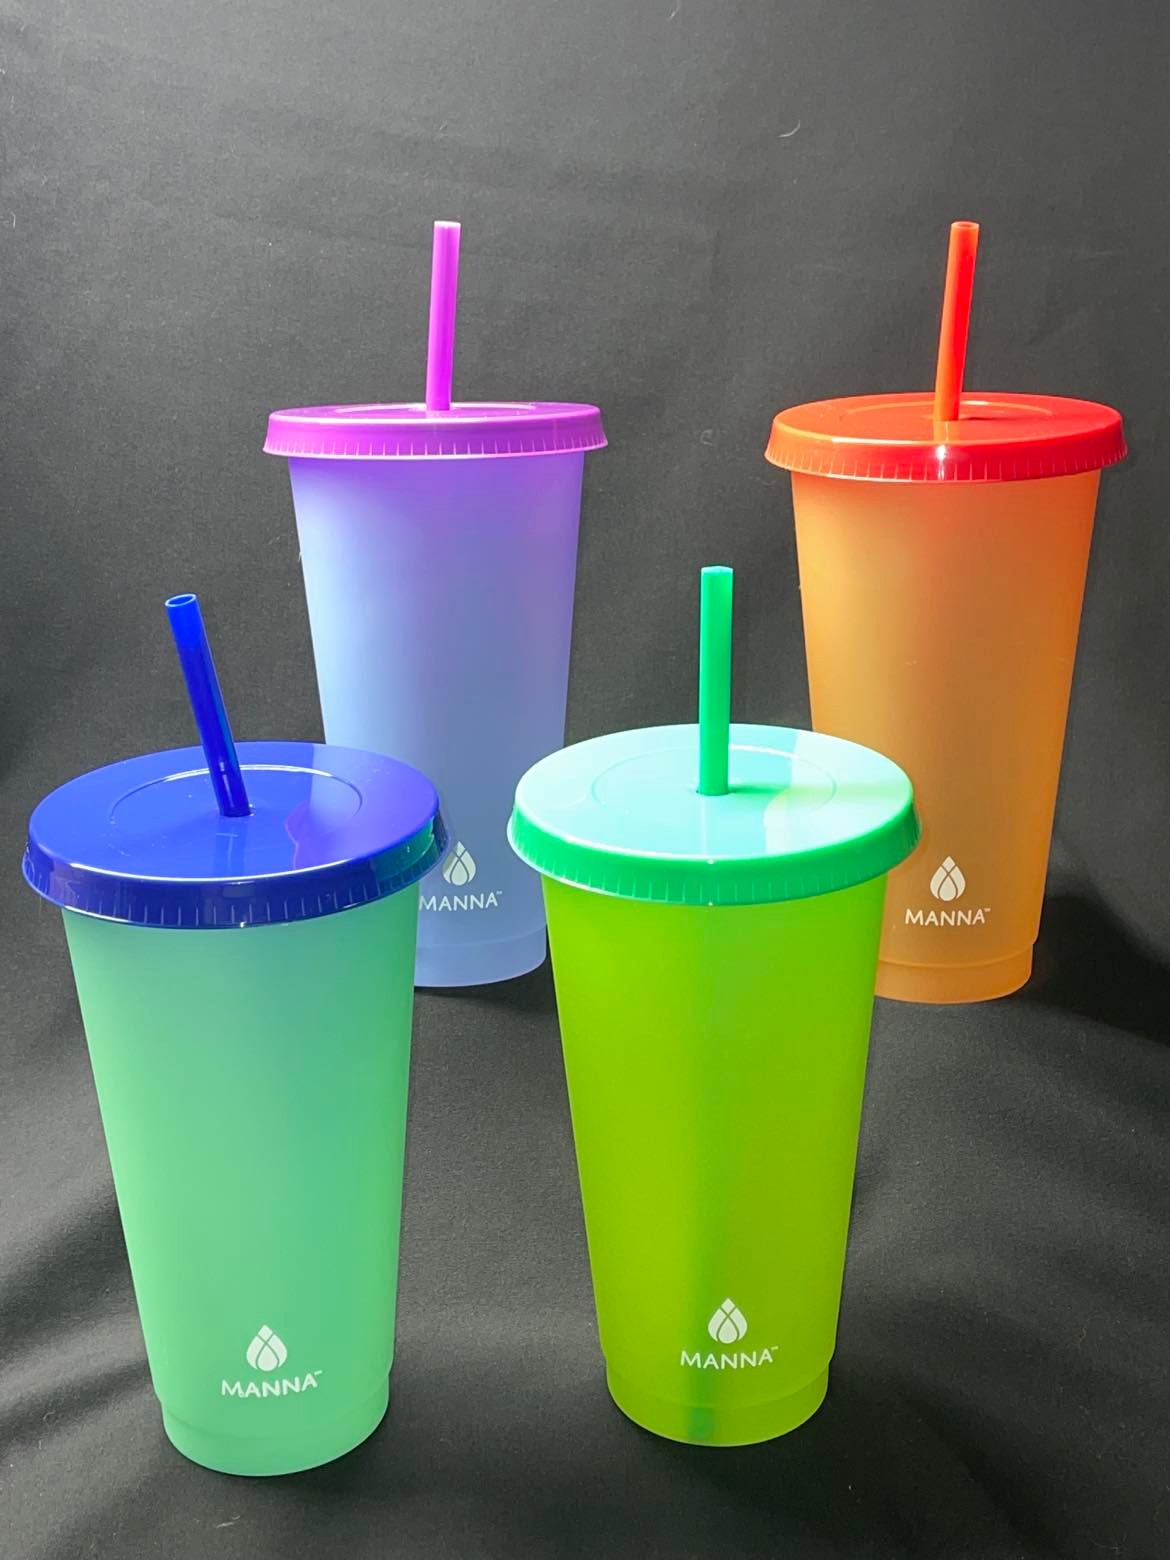
Once the curing period has elapsed, the moment of truth arrives. Fill your newly transformed cups with either hot or cold water to witness the color shift firsthand. The thermochromic pigment reacts to temperature changes, revealing a mesmerizing display of chromatic dance. Observe how different temperatures elicit varying hues, enhancing the interactive nature of your creation. Take pride in the fact that you’ve not only crafted a functional item but also a conversation starter that merges art and science seamlessly.
Customizing Your Creations: Adding Personal Flair
To elevate your color-changing cups further, consider incorporating additional personal touches. You could experiment with layering different thermochromic pigments for a multi-color effect or add glitter to the resin mixture for a sparkling finish. Alternatively, use stencils or stickers to apply designs before pouring the resin, which will be preserved underneath the clear layer, adding a unique touch to each cup. The possibilities for customization are limited only by your imagination.
Expanding Your Creative Horizons: Advanced Techniques and Ideas
As you master the basics of creating resin-infused, thermochromic cups, there’s a whole world of advanced techniques and creative ideas waiting to be explored. These not only enhance the visual appeal of your projects but also push the boundaries of what’s possible with this fascinating fusion of art and chemistry.
- Layered Effects: Experiment with creating multiple layers of resin, each infused with a different thermochromic pigment. This technique can yield stunning, multi-dimensional color shifts as the temperature changes, offering a more complex and engaging visual experience.
- Incorporating Embedments: Embedding small objects like beads, sequins, or even dried flowers within the resin layers adds an element of surprise and texture. Ensure these items are compatible with resin and won’t react negatively when exposed to temperature changes.
- Ombre and Gradient Effects: Achieving an ombre or gradient look involves carefully mixing and layering resin with differing concentrations of pigment. This technique requires precision and patience but results in cups with a smooth transition of colors that shift elegantly with temperature.
- Lighting Effects: Incorporate LED lights into the base of your cups to backlight the thermochromic resin. This not only amplifies the color-changing effect but also introduces an entirely new dimension to your creations, especially in low-light settings.
Conclusion: Savoring the Joy of DIY Innovation
Creating your own thermochromic cups is not just about producing a functional item; it’s an exercise in creativity, exploration, and the satisfaction that comes from transforming ordinary objects into something extraordinary. Whether you’re crafting these cups as a gift, for personal use, or as a fun family activity, the process embodies the essence of DIY culture: combining knowledge, skill, and a sprinkle of magic to bring ideas to life. Embrace the journey, revel in the results, and continue to explore the vast world of DIY color transformations, knowing that you’ve mastered the art of crafting enchanting, thermochromic wonders.