Preparing for Your Cabinet Painting Project
Before the transformative process of cabinet painting begins, adequate preparation is crucial. This stage sets the groundwork for a durable and visually pleasing outcome. It involves choosing suitable paint and prepping the cabinet surfaces.
Selecting the Right Paint for Your Cabinets
The selection of paint plays a pivotal role in cabinet painting. Not all paint types work well with cabinetry. Make an informed choice to ensure the finish withstands kitchen conditions. Opt for paints that are moisture-resistant and easy to clean. A semi-gloss or high-gloss paint is often favored for its durability and the ease with which you can wipe down surfaces. Additionally, consider the base of the paint; oil-based paints are known for their toughness, while acrylic paints offer a quicker drying time.
Cleaning and Sanding the Surfaces
Before applying any paint, start with a clean slate. Remove all traces of grease, grime, and dust from your cabinets. A thorough cleaning ensures the primer and paint adhere properly. After cleaning, sanding is the next step. Sanding smooths out imperfections and roughens the surface slightly. This helps the primer stick better. When sanding, don’t go too deep. Aim to scuff the surface rather than strip it bare. Proceed with a fine to medium-grit sandpaper for best results. Once sanded, wipe down the cabinets again to remove any lingering dust.
Cabinet Painting Tools and Materials
Preparing your kitchen cabinets for painting goes beyond choosing the right paint. Having the right tools and materials is just as critical for achieving that smooth, professional finish. The tools you select can make or break your cabinet painting project.
Essential Tools for a Smooth Finish
To get started, you’ll need the following tools:
- Painter’s Tape: Mask off areas you do not want to paint, such as walls and countertops.
- Drop Cloths: Protect your floors and appliances from drips and spills.
- Sandpaper: A fine to medium-grit will do to prep the surface after cleaning.
- Tack Cloth: Wipe away dust particles after sanding for a clean surface.
- Screwdriver: Helpful for removing hardware from the cabinets.
- Paint Tray: For holding and rolling out paint.
- Stir Sticks: To thoroughly mix your paint prior to application.
It’s essential to use the right tools to ensure the job goes smoothly and the finish is of high quality. Missing a tool could set you back or result in a less-than-smooth finish.
Choosing Quality Brushes and Rollers
When it comes to applying paint, not all brushes and rollers are created equal. Here are some tips for selecting quality brushes and rollers:
- Brushes: Choose synthetic bristle brushes for water-based paints and natural bristles for oil-based paints. Ensure they have fine tips for a smooth application.
- Rollers: Foam rollers work well for a smooth finish on flat cabinet surfaces. Nap rollers are better suited for textured surfaces.
Investing in quality brushes and rollers can make a significant difference in the finish and can reduce the presence of brush marks and lint left behind. Always choose tools that match the type of paint you are using and that are designed for a fine finish. This will help achieve that sleek, professional look you’re aiming for in your cabinet painting project.
Step-by-Step Guide to Painting Kitchen Cabinets
Painting kitchen cabinets can be rewarding with the right approach. Follow this step-by-step guide to ensure a job well done.
Removing Hardware and Doors
Begin by taking off all the handles and knobs. Use a screwdriver to remove the cabinet doors and hinges. Store all hardware in a safe place. This makes it easier to paint all sides and edges. It also protects the hardware from paint.
Applying Primer for Better Adhesion
Once cabinets are clean and sanded, it’s time for primer. Choose a primer that matches the type of paint you’ve selected. Apply it evenly with a quality brush or roller. Primer helps the paint stick and covers any preexisting paint or stains. Wait for the primer to dry completely before moving on.
Painting Techniques for a Professional Look
For the best finish, apply paint in thin layers. Start with the back of the door and work your way forward. Use smooth, even strokes with your brush or roller. Foam rollers can help avoid brush marks on flat surfaces. For the edges and details, switch to a finer brush. Between coats, wait for the paint to dry completely. This helps prevent drips and gives a smoother coat.
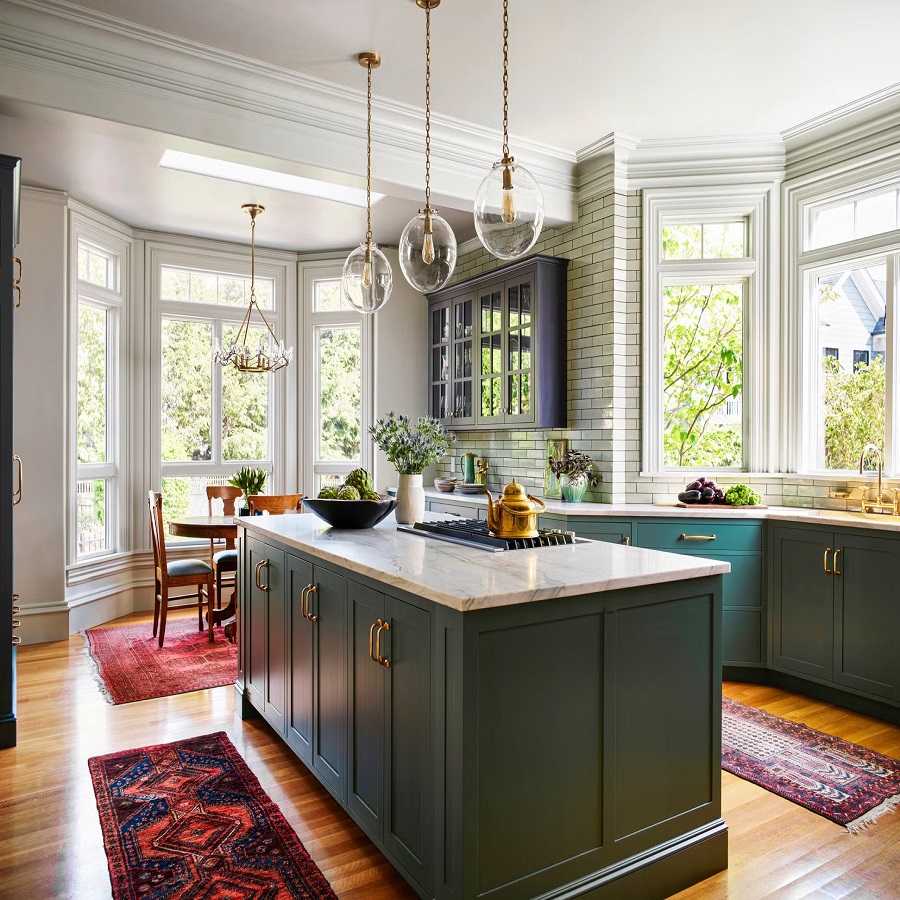
Tips for a Flawless Cabinet Painting Job
Achieving a flawless cabinet painting job requires attention to detail and avoiding common pitfalls. With the proper tips in hand, you can ensure a smooth and lasting finish.
Avoiding Common Painting Mistakes
Prevent mistakes to ensure a professional-looking paint job. Here are key points to remember:
- Paint on a clean surface: Ensure cabinets are free from grease and dust.
- Don’t rush the drying process: Allow enough time for the primer and each paint coat to dry.
- Apply thin, even coats: Thick paint can lead to drips and an uneven finish.
- Keep a wet edge: Work in sections to avoid lap marks and maintain a uniform appearance.
- Check for drips or errors: Fix issues before the paint dries for a smooth finish.
Controlling the Painting Environment
The environment plays a huge role in the painting process. Control these factors for the best results:
- Keep the area well-ventilated: This helps the paint to dry evenly and reduces fumes.
- Maintain a consistent temperature: Extreme temperatures can affect drying time and paint consistency.
- Protect from dust and debris: Use drop cloths and close doors/windows to keep the area clean.
By following these guidelines and controlling the painting environment, you’ll be on your way to achieving a flawless cabinet painting job that revitalizes your kitchen space.
Adding Character with Advanced Painting Techniques
Once you’ve mastered the basics of cabinet painting, you can explore advanced techniques to add character to your kitchen. These methods allow for creative expression and can give your cabinets a distinctive look that stands out.
Glazing and Antiquing for a Unique Style
Glazing involves applying a transparent or semi-transparent coat over the base paint. This technique adds depth and highlights the cabinet details. Begin with a base coat in the color of your choice. Once dry, apply the glaze and wipe off excess to achieve the desired effect. Antiquing is similar, but it often involves darker glazes to create an aged look. Pay attention to corners and crevices where aging naturally occurs.
Using Faux Finishes for Personal Touches
Faux finishes mimic the appearance of other materials like wood grain or marble. With the right tools and a little practice, you can create these impressive finishes. Use sponges, rags, or special brushes to apply glazes or paints in layers. Techniques like sponging, rag-rolling, or graining demand patience but have stunning results. Remember to keep layers thin and allow ample drying time between them.
By incorporating glazing, antiquing, or faux finishes, your cabinet painting project can move beyond functional to become a statement of your personal style.
Protecting Your Newly Painted Cabinets
After the hard work of painting, it’s crucial to protect the cabinets for long-lasting beauty. Proper sealing and maintenance can prevent damage and keep the cabinets looking fresh.
Best Practices for Sealing and Curing Paint
Once your cabinet painting project is complete, sealing is your next step. Apply a clear coat finish to shield the paint from wear and tear. Use a water-based polyurethane sealant for acrylic paints. For oil-based paints, choose a polyurethane or varnish appropriate for the task. Apply the sealant with a clean brush, and avoid heavy coats. Do this in a well-ventilated area to help the sealant set quickly. Allow ample time for the sealant to cure before heavy use. This usually takes about 24 hours, but can take longer depending on the product and environment.
Maintenance Tips to Keep Cabinets Looking New
Maintaining the look of your newly painted cabinets is easy with these tips:
- Clean Regularly: Wipe surfaces with a soft cloth and mild detergent. Avoid strong cleaners that can damage the paint.
- Treat Gently: Avoid hanging wet towels over doors. This can lead to peeling over time.
- Touch-Up: Keep leftover paint for small touch-ups. This is handy when minor scratches or chips appear.
- Avoid Moisture: Protect surfaces from steam and water splashes, especially near the sink and stove.
- Use Liners: Place shelf liners inside the cabinets to guard against scratches and spills.
By sealing your cabinets properly and following these maintenance tips, your cabinet painting makeover will stay beautiful for years to come.
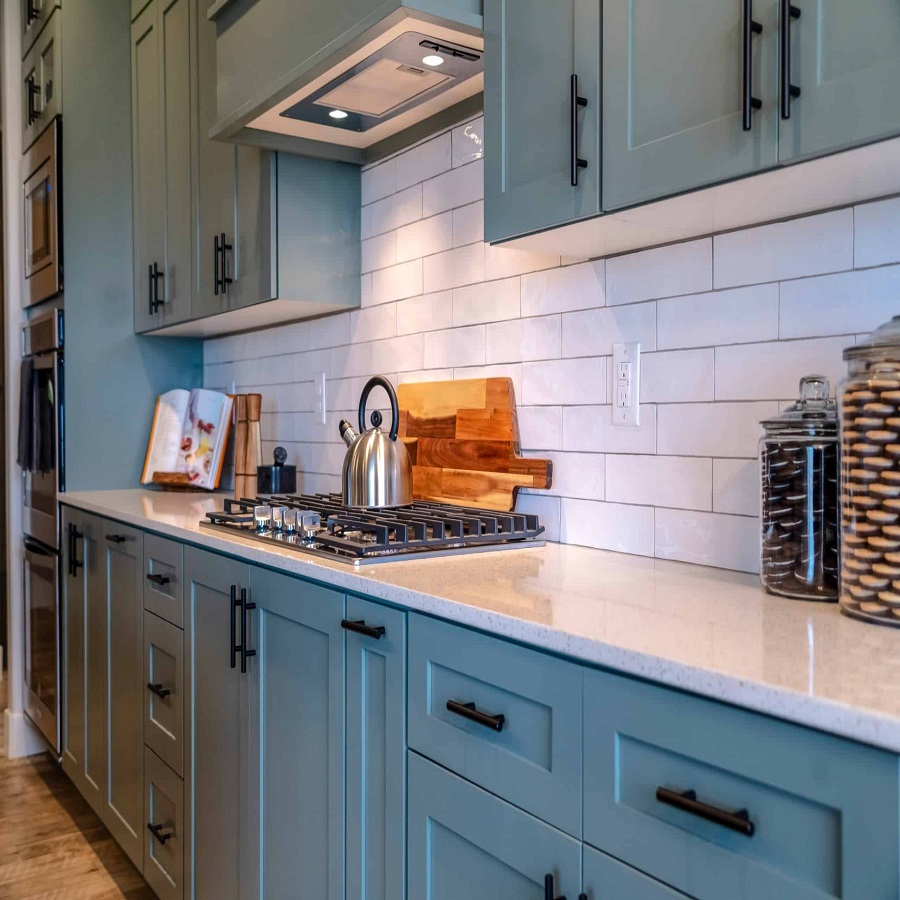
Final Touches and Reassembling
After your cabinet painting efforts, the final steps are crucial. They ensure your kitchen’s new look is complete and functional.
Reinstalling Hardware and Doors
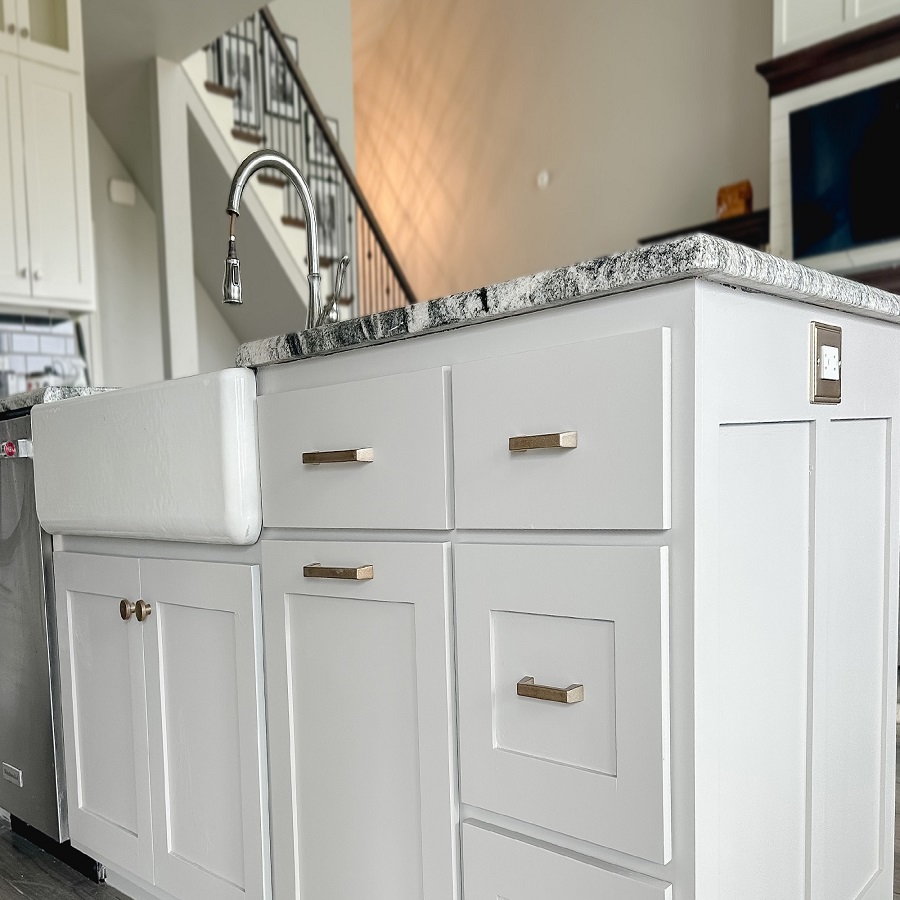
Once the paint cures, it’s time to put everything back in place. Start by attaching the hinges to the doors. Then, mount the doors back onto the cabinet frames. Adjust them for proper alignment. Next, if you have any, reattach handles and knobs. Be gentle to avoid damaging the new paint. For a fresh feel, consider updating hardware with new designs.
Styling Your Revamped Cabinets
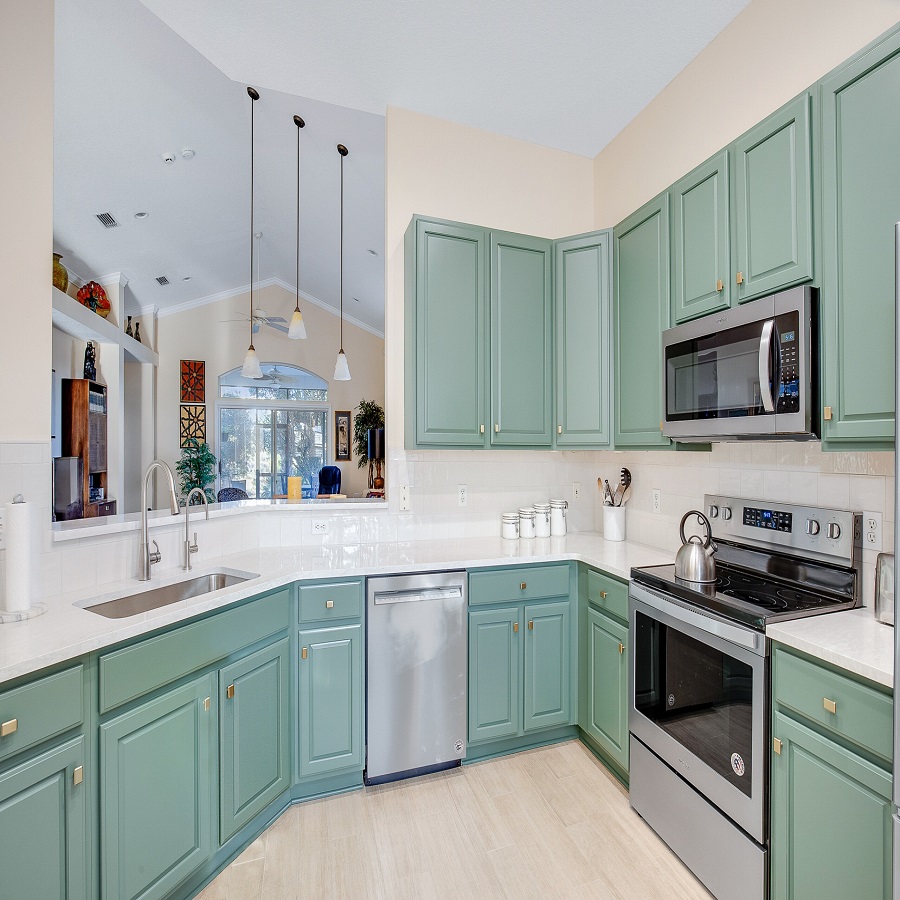
With the cabinets reassembled, styling is your chance to enhance your kitchen’s appeal. Use this opportunity to declutter and reorganize. Consider new drawer organizers or storage solutions. Display a few decorative items that match your kitchen’s theme. Keep countertops uncluttered to highlight the cabinets. Add under-cabinet lighting to create ambiance and improve functionality. Finally, enjoy your revitalized kitchen space, knowing your hard work paid off.

