Introduction to DIY Drawer Organizing
Organizing your clothes drawers can transform your daily routine.
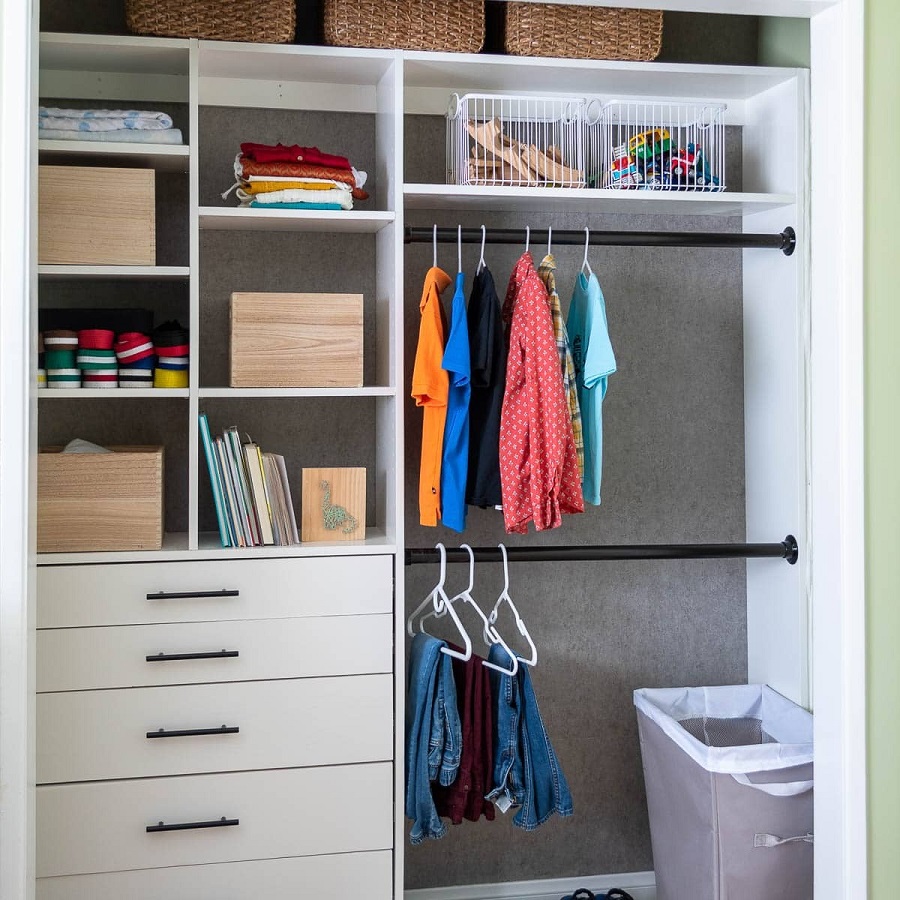
Creating DIY clothes drawer organizer helps you find garments fast. It’s a satisfying project that saves you time and adds a personal touch to your room.
As we introduce DIY drawer organizing, consider the benefits.
First, it’s cost-effective. You don’t need expensive supplies to start. Often, you can use materials available at home.
Second, it’s customizable. DIY allows you to create solutions that fit your unique space and needs.
Third, the process is fun. It’s a chance to express creativity while improving your living space.
Ready to streamline your clothes drawers with DIY organizers? Let’s dive in and explore how you can de-clutter your space with ease.
Essential Materials for DIY Clothes Drawer Organizers
Gathering the right materials is the first step in your DIY clothes drawer organizer project. Here is a list of essential materials you will need:
- Cardboard or Foam Board: These materials provide a firm base for dividers and can be easily cut to size.
- Measuring Tape: Essential for precise measurements to ensure your organizers fit perfectly in your drawer spaces.
- Scissors or a Box Cutter: Needed to cut your base materials to the desired dimensions.
- Adhesive: Glue or double-sided tape helps to secure the dividers within the drawer.
- Fabric or Wrapping Paper: Adds a decorative touch to your organizers and offers a smooth surface that protects your clothes from snags.
- Ruler or Straight Edge: Guarantees straight lines while cutting, leading to a cleaner, more professional look.
With these materials, you can effectively plan and create functional DIY clothes drawer organizers tailored to your specific storage needs.
Step-by-Step Guide to Creating Simple Drawer Dividers
Creating simple drawer dividers is easy. Follow this guide to make efficient use of your space.
- Measure Your Drawer: First, pull out your drawer and measure its length, width, and height. Use a measuring tape for accuracy. Ensure to note the dimensions.
- Decide on Divider Layout: Think about the size and number of compartments you need. Sketch a rough layout based on the drawer’s measurements and your organizing needs.
- Cut Your Base Material: Take the cardboard or foam board and mark it with the measured dimensions. With scissors or a box cutter, cut the board to create dividers.
- Wrap Dividers for Protection: To prevent snags, wrap the dividers with fabric or wrapping paper. Secure the covering with adhesive for a neat finish.
- Assemble the Dividers: Fit the dividers into the drawer to form compartments. Adjust if necessary. Once satisfied, secure them in place with additional adhesive if needed.
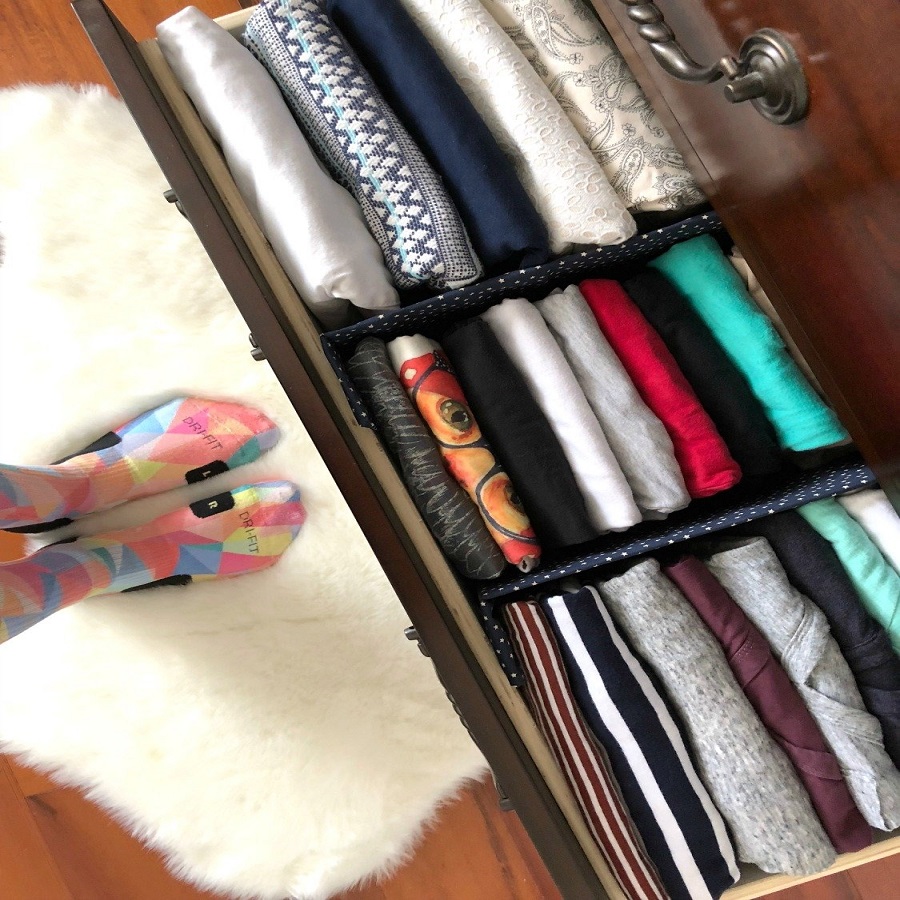
- Place Clothes in Organizers: Now, sort and arrange your clothes into the newly created sections. Folding items neatly enhances organization.
Repeat the process for all drawers requiring organization. Personalize each one to suit different clothing types. With these DIY clothes drawer organizers, your daily routine will become more streamlined and efficient. Remember to use the dividers to maintain a tidy drawer space.
Innovative DIY Clothes Organizer Designs
To breathe new life into your clothes storage, consider these innovative DIY clothes drawer organizer ideas:
- Vertical Dividers: Maximize drawer depth by installing vertical dividers. This design allows for stacking clothing items and makes each piece more accessible.
- Custom Fabric Boxes: Create small boxes from sturdy fabric for delicate items like lingerie or accessories. Personalize them with colors and patterns that match your style.
- Slide-Out Trays: Craft slide-out trays for easier access to items at the bottom. Fit them with rails to smoothly pull out without disarranging the contents above.
- Tension Rods: Use tension rods inside the drawer to create adjustable compartments. It’s a flexible system that can accommodate different sizes of clothing.
- Egg Cartons for Small Items: Repurpose egg cartons for organizing jewelry or socks. They’re perfect for keeping small items separated and in place.
- Pegboard Organizer: Insert a pegboard at the bottom of the drawer. Couple with pegs to customize compartments, which can be rearranged as needed.
- Denim Pockets: Don’t throw away old jeans. Use the pockets as wall-hanging organizers for small items, freeing up space in the drawers.
Remember to incorporate the diy clothes drawer organizer keyword as you bring these ideas to life, following the basic principles of cutting, wrapping, and assembling outlined in the previous section. These innovative designs not only improve organization but also add a unique touch to your room decor. Keep in mind the size and function of each drawer as you choose the best design for your space.
Tips for Maximizing Small Drawer Spaces
Maximizing small drawer spaces requires smart planning and design. Here are some practical tips:
- Use Vertical Space: Think upwards. Use stacking organizers or add shelves within drawers to increase vertical storage.
- Slim Dividers: Opt for slim dividers. They take up less space, allowing for more compartments in the same drawer area.
- Roll Your Clothes: Rolling instead of folding can save space. It also makes it easier to see each item.
- Go Minimal: Keep only what you need. Declutter often to free up valuable space.
- Compartmentalize: Use small containers or trays for tiny items like jewelry or cufflinks.
- Double-duty Organizers: Find organizers that serve more than one purpose, like a divider with a lid that can be a shelf.
- Label Sections: Label each section so you can quickly find items and maintain order.
By following these tips, even the smallest drawers can be transformed into highly organized spaces. Remember to adapt solutions like the diy clothes drawer organizer to your unique needs for maximum efficiency.
How to Maintain and Care for Your DIY Drawer Organizers
Maintaining your DIY clothes drawer organizer ensures it lasts longer and keeps its functionality. Here are some tips:
- Regular Cleaning: Empty your drawers monthly. Wipe down the organizers with a damp cloth to remove dust and debris.
- Careful Use: Avoid overfilling drawers. This prevents stress on your organizers and ensures they don’t warp or break.
- Monitor Wear and Tear: Check for signs of wear, like fraying fabric or loose adhesives. Repair as needed to maintain sturdiness.
- Update As Needed: As your wardrobe changes, so should your organization system. Adjust or create new dividers when required.
- Avoid Moisture: Ensure clothes are dry before placing them back. This prevents mold and keeps your organizers in good shape.
- Refresh the Liners: If you’ve lined your dividers with fabric or paper, replace them once they start showing signs of age or damage.
By following these simple care steps, your DIY clothes drawer organizer will continue to aid in keeping your clothes well-organized and your drawers clutter-free. Remember to integrate the ‘diy clothes drawer organizer’ keyword in these routines to optimize your organization habits consistently.
Popular DIY Organizer Projects for Different Clothing Types
Tailoring your DIY clothes drawer organizer projects to accommodate different types of clothing is essential. Here are some popular DIY organizer projects specially designed for various clothing categories:
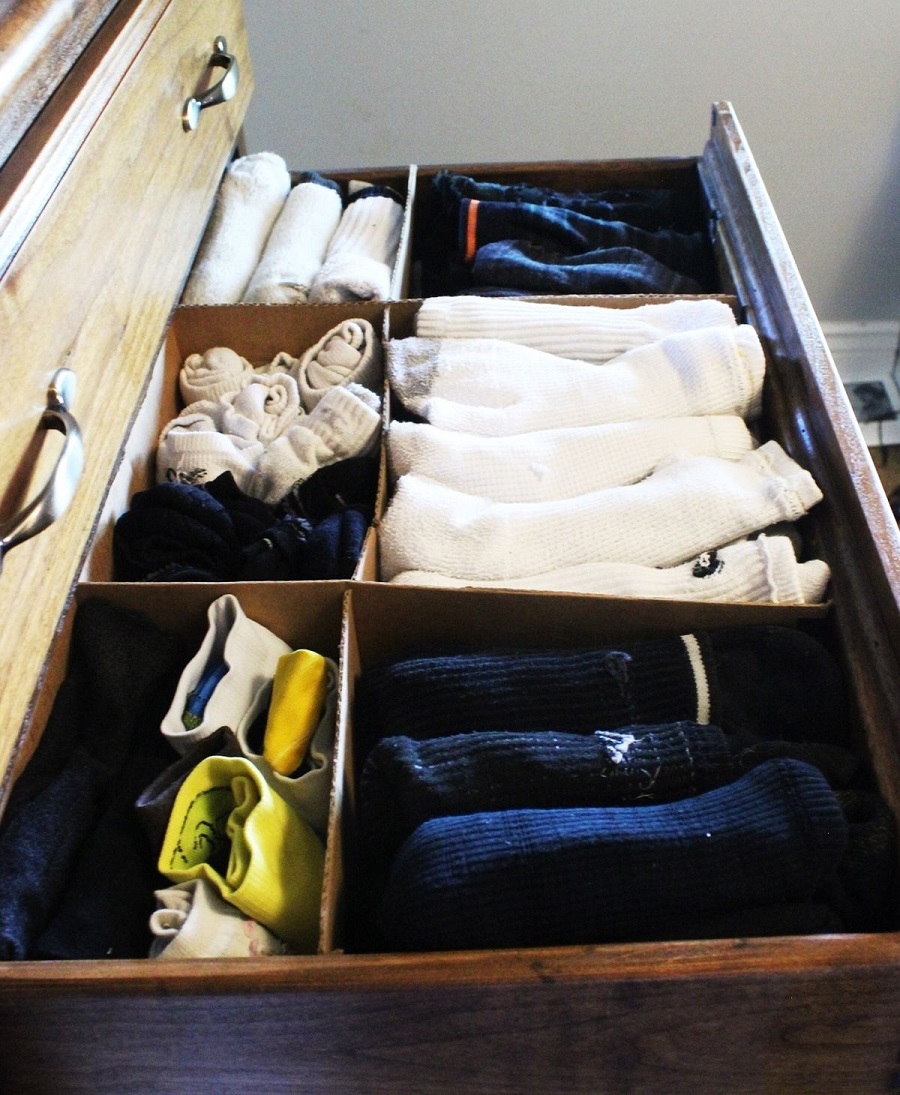
- Undergarments Organizer: Construct dividers with smaller compartments for organizing underwear, socks, and bras. This keeps delicate items separate and easily accessible.
- T-Shirt Organizer: Use wider dividers to stack t-shirts neatly. This system can help maintain the shape and visibility of your shirts.
- Jeans and Pants Organizer: Install deeper dividers appropriate for heavier items like jeans and pants. It helps in maintaining order and maximizing drawer space.
- Scarf Hanger: Instead of a divider, consider creating a hanging organizer for scarves. It can be a simple rod with hooks or rings, positioned inside or adjacent to the drawer.
- Accessory Trays: For small accessories such as belts, ties, and hats, use shallow trays that can stack over clothing dividers or fit into smaller drawers.
These projects enable you to tailor your organization techniques to fit various clothing types, enhancing both function and aesthetics in your bedroom storage areas. Utilize these ideas to keep your drawers harmonized and ensure easy access to all your clothing.
Sustainability in DIY: Using Recycled Materials for Drawer Organizers
Sustainability is key in DIY projects. Use recycled materials for your drawer organizers to be eco-friendly. Here’s how to do it:
- Old Cereal Boxes: Turn these into divider sections for shallow drawers. They’re great for socks and small items.
- Shoe Boxes: Cut them into strips for creating deeper compartments. Ideal for t-shirts and underwear.
- Wine Corks: Glue together for making quirky jewelry holders. They can fit inside small drawer spaces.
- Glass Jars: Store items like buttons or pins in these. They can also hold smaller accessories upright.
- Plastic Containers: Reuse these from your kitchen to sort belts, watches, or hair ties. They can slide out easily.
- Cardboard Tubes: Stash items like scarves, ties, or rolled belts in these for quick access and neatness.
- Fabric Scraps: Cover and decorate your dividers. This adds a unique touch and uses up leftover materials.
By reusing and repurposing items, you’re not only organizing but also reducing waste. Keep in mind the phrase ‘diy clothes drawer organizer’ as you construct these sustainable storage solutions. They should be functional, cost-effective, and easy on the environment.