Designing Your Jewelry Drawer Organizer
Creating a jewelry drawer organizer can be an enjoyable and practical project to protect and display your precious items neatly. Here, we’ll discuss how to select the perfect location for your organizer and what materials and tools you’ll need.
Selecting the Ideal Space for Your Organizer
The first step is to find the ideal spot for your jewelry organizer. Consider spaces that are easy to access yet secure. Common choices include a drawer in your bedroom dresser, a vanity unit, or a space within a walk-in closet. Ensure the chosen area is dry and not exposed to direct sunlight to prevent damage to your jewelry.
Choosing Suitable Materials and Tools
Once you’ve picked the perfect place, it’s time to gather your materials and tools. You will need wood for the frame, such as sanded plywood, and other supplies like stain or paint, velvet lining, adhesive, and a glue gun. Tools might include a measuring tape, saw, sandpaper, and nail gun. Opt for high-quality materials to ensure durability and select tools that you are comfortable using to make the process smoother.
Planning Your Jewelry Drawer Layout
Creating the layout is critical for an organized jewelry drawer. This step involves careful measurement and thoughtful division.
Measuring and Space Management
Start by measuring your drawer’s width, depth, and height. Keep these numbers handy. You need a clear idea of the space to manage jewelry placement smartly. Consider shallow drawers for less bulky items and deeper ones for chunky accessories. Think about drawer extenders if space is limited.
Dividing Spaces for Different Jewelry Types
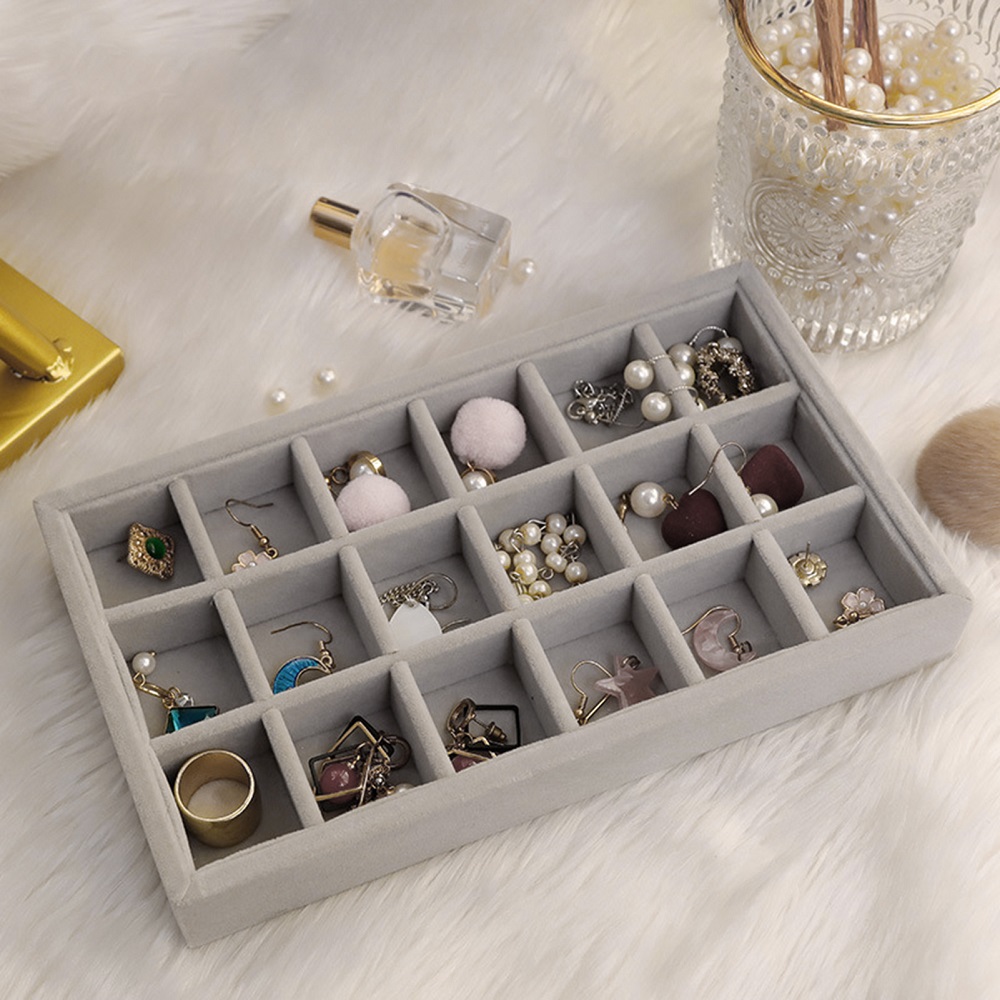
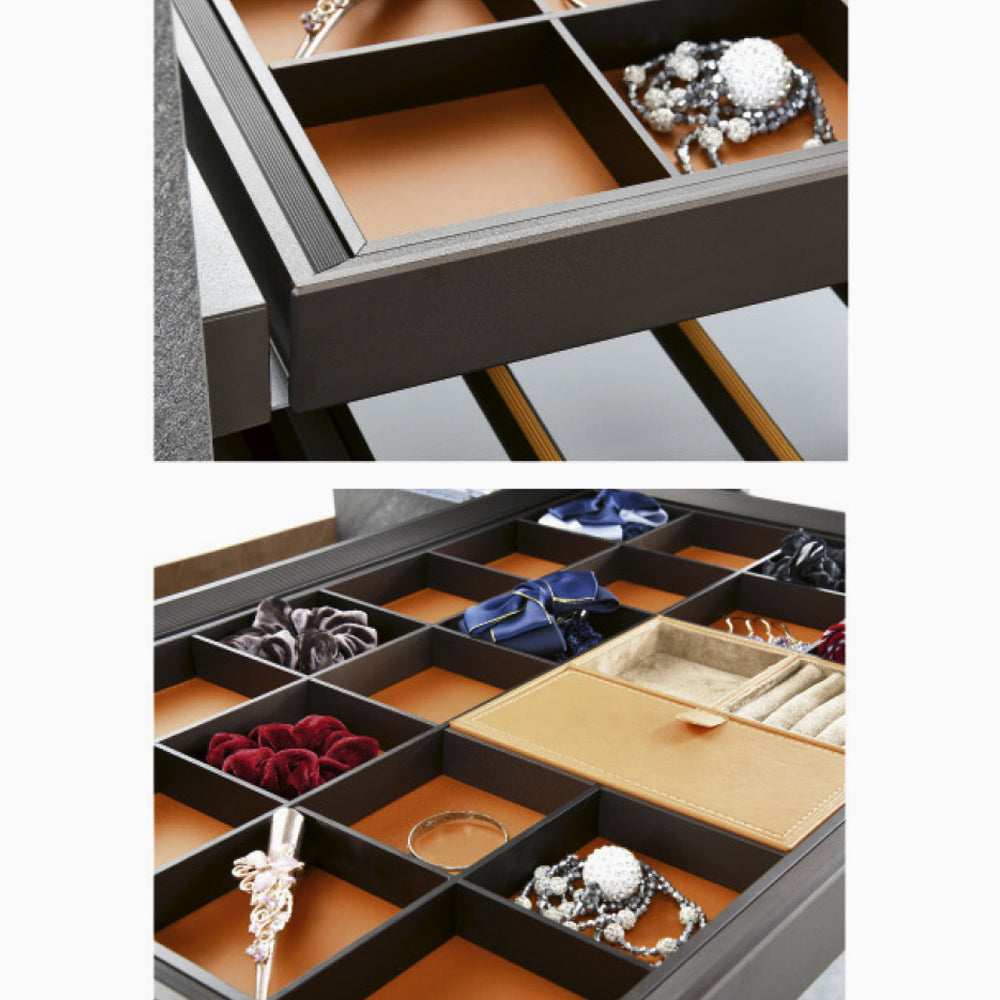
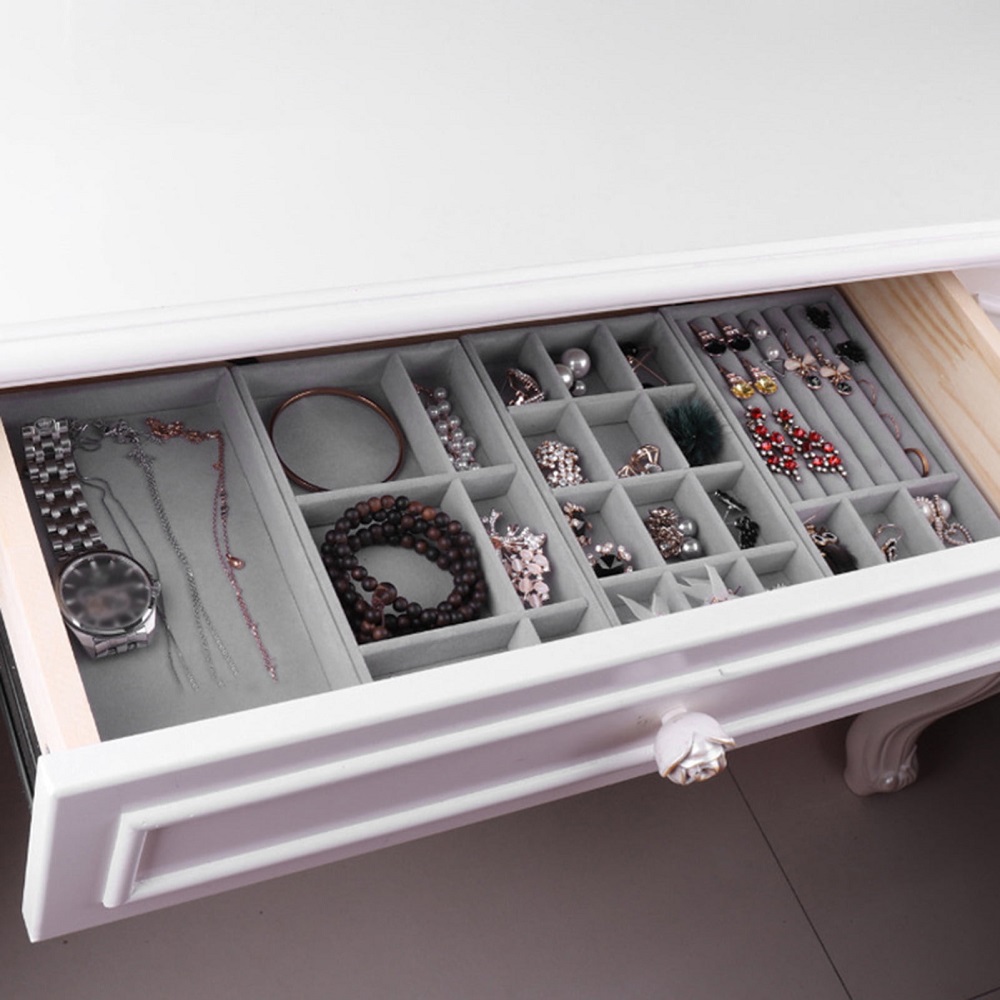
Segregate the drawer space based on jewelry type. Rings, bracelets, earrings, and necklaces each require different compartments. For rings, small square sections work well. Long, narrow spaces suit necklaces and bracelets. Square or rectangular compartments can hold earrings. Vary the divider sizes to accommodate both small and large pieces. Keep your most-worn items most accessible.
Building the Drawer Organizer Frame
To create a custom jewelry drawer organizer, building a sturdy frame is essential.
Cutting and Assembling Wood Pieces
Start by cutting the wood to the exact dimensions of your drawer. Use a saw to cut plywood or the wood of your choice. For the frame, decide on the height based on your tallest piece of jewelry. Assemble the frame by nailing the pieces together to form a rectangular shape that fits snugly inside the drawer.
Applying Stains and Finishes
Once the frame is constructed, sand it down to remove rough edges. Apply a wood stain or paint to match the interior of your drawer and to add a touch of elegance. Allow the stain to dry completely before moving on to the next steps. This not only enhances the appearance but also provides a layer of protection to the wood. Ensure that the finish is smooth to avoid snagging your jewelry on the organizer.
Creating Compartments and Dividers
Sizing and Placing Dividers
To organize your jewelry neatly, it’s vital to size and place dividers accurately. Start by identifying the types of jewelry you own, like rings, necklaces, and bracelets. Each type needs a specific compartment size. For rings, create small square spaces. For necklaces and bracelets, use longer compartments to prevent tangling. Consider adjustable or removable dividers for flexibility. Measure carefully to make use of every inch of your drawer. Don’t forget to leave enough height for bangle bracelets and watches. Once you’ve planned your layout, cut dividers to size and place them in the drawer. Ensure they fit snugly but can be moved if needed.
Covering and Protecting with the Right Fabrics
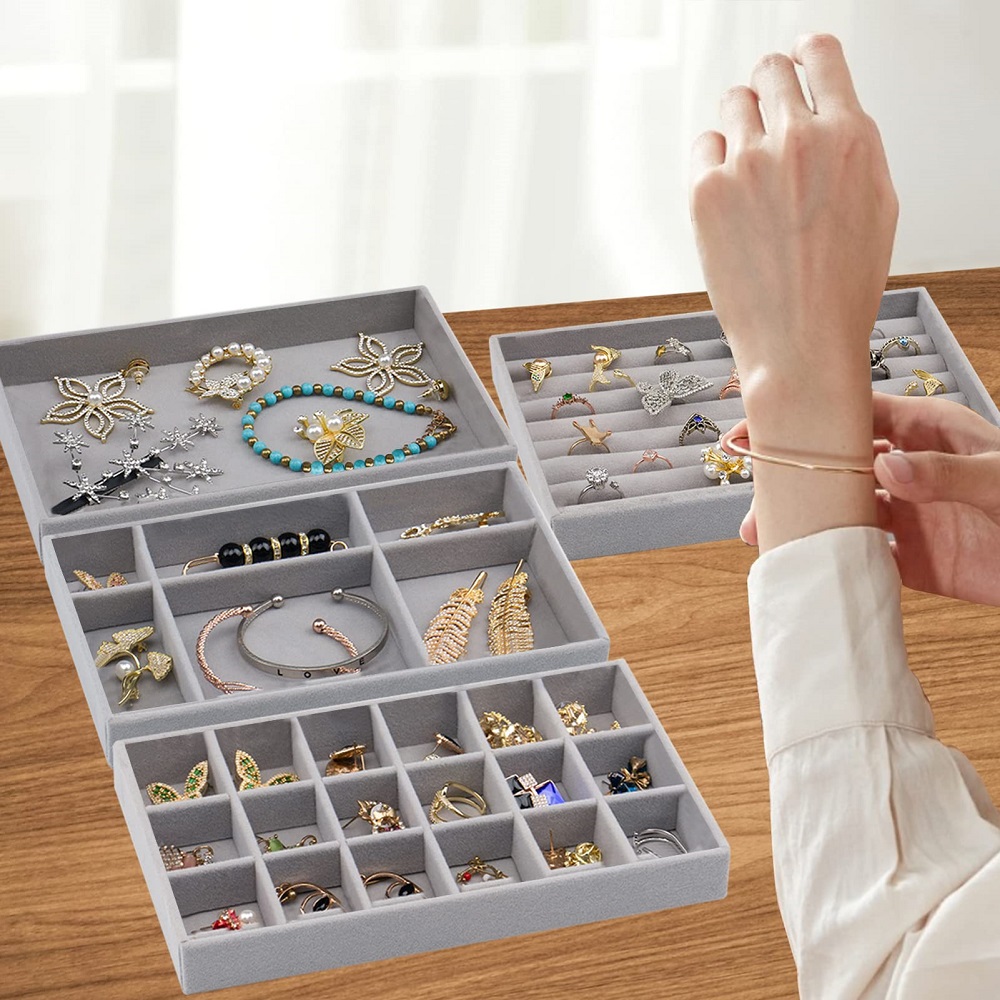
After dividers are in place, choose soft fabrics to cover them. Fabric protects your jewelry from scratches and adds a luxurious feel. Velvet is a popular choice for its elegance and cushioning effect. Cut the fabric to size, allowing extra for wrapping over edges. Use spray adhesive for a clean application with no visible glue lines. Wrap fabric tightly around each divider and secure it with hot glue for a lasting hold. If you choose a colored fabric, select a shade that makes your jewelry stand out. Now, your dividers not only organize but also safeguard your precious items.
Fine-Tuning Your Organizer
Enhancing the functionality of your jewelry drawer organizer requires some fine-tuning.
Adding Sliding Trays for Enhanced Accessibility
Introduce sliding trays to improve access to your jewelry. These trays can double your drawer’s usability. Begin by measuring and choosing trays that fit inside your drawer. Attach sturdy rails on the drawer’s sides. Use durable materials, like metal or hardwood. Position the trays on the rails to slide smoothly. This setup helps you reach all jewelry easily.
Ensuring Smooth Operation
To ensure smooth operation, focus on the quality of materials and assembly. Choose high-quality drawer slides that can support the trays’ weight. Make sure the slides have a smooth mechanism. Regularly check and oil the moving parts to avoid jams. Proper alignment of rails and trays is crucial. This ensures lasting functionality and a frustration-free experience.
With these adjustments, your jewelry drawer will not only look good but will also function effortlessly, keeping your valuable items secure and accessible.
Additional Features
To take your jewelry drawer organizer to the next level, consider adding these two key features for extra security and enhanced visibility.
Introducing a Locking Mechanism for Security
Adding a lock to your jewelry drawer ensures your valuable items stay secure. There are several types of locks to choose from:
- Cam locks that you can easily install into the wood of your drawer.
- Padlocks, if you have a loop or handle.
- Electronic locks, which provide a keyless entry with a code.
Choose a locking mechanism based on the level of security you need and the style of your drawer.
Implementing Lighting Solutions
Good lighting in your jewelry drawer will help you quickly find what you’re looking for. Consider these ideas:
- Stick-on LED lights that are easy to install.
- Battery-operated push lights that you can turn on and off as needed.
- Motion-activated lights that illuminate your drawer when opened.
Remember to opt for lights that don’t generate too much heat to protect your jewelry.
Final Assembly and Installation
When you’ve crafted the individual components of your jewelry drawer organizer, it’s time to put them all together. This final assembly is where your preparation pays off and your organizer starts to take form.
Review and Adjustment of Components
Before securing everything in place, take a moment to review each component. Double-check measurements and fit each piece inside the drawer as a dry run. Ensure dividers align and trays slide effortlessly. If needed, trim any pieces that are too large or reposition rails that seem off. This step is crucial for a seamless final installation.
Adjustments may include sanding down edges for smoother trays or adding padding under the fabric for a plush finish. Recheck your locking mechanism and light installations to confirm they’re working correctly. Small tweaks now can prevent headaches later.
Setting Up in the Desired Location
With everything fitting perfectly, secure the organizer within your chosen location. If it’s a drawer, perhaps in your bedroom dresser, ensure it’s fixed firmly to avoid movement. For vanity units or walk-in closets, apply adhesive where necessary to attach the organizer to the surface.
Place your jewelry neatly into the compartments and admire the organization and easy access to your items. The sliding trays should easily reveal hidden spaces, and the locks should offer peace of mind. With the lights working well, you can spot your favorites at a glance.
Enjoy the fruits of your labor. Your well-planned, carefully built jewelry drawer organizer is now ready to use. It not only maximizes storage but also introduces a functional elegance to your space.

