Introduction
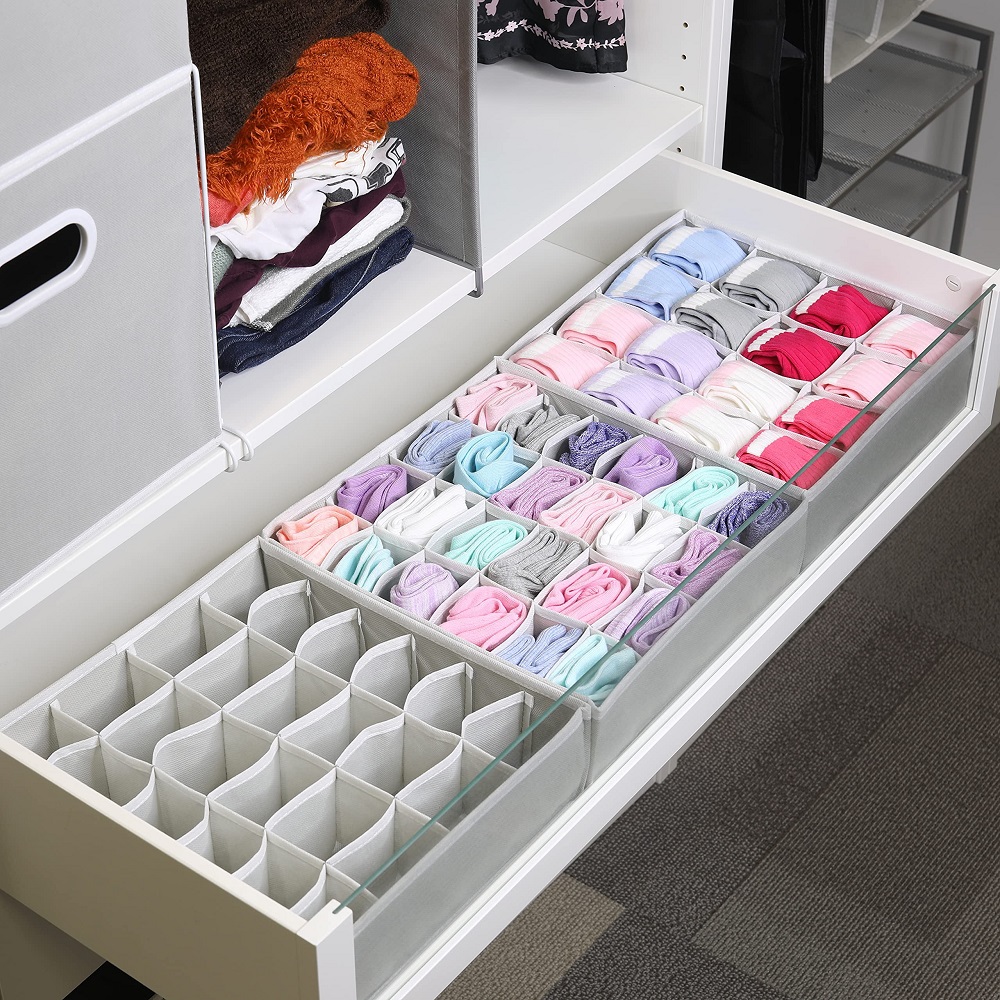
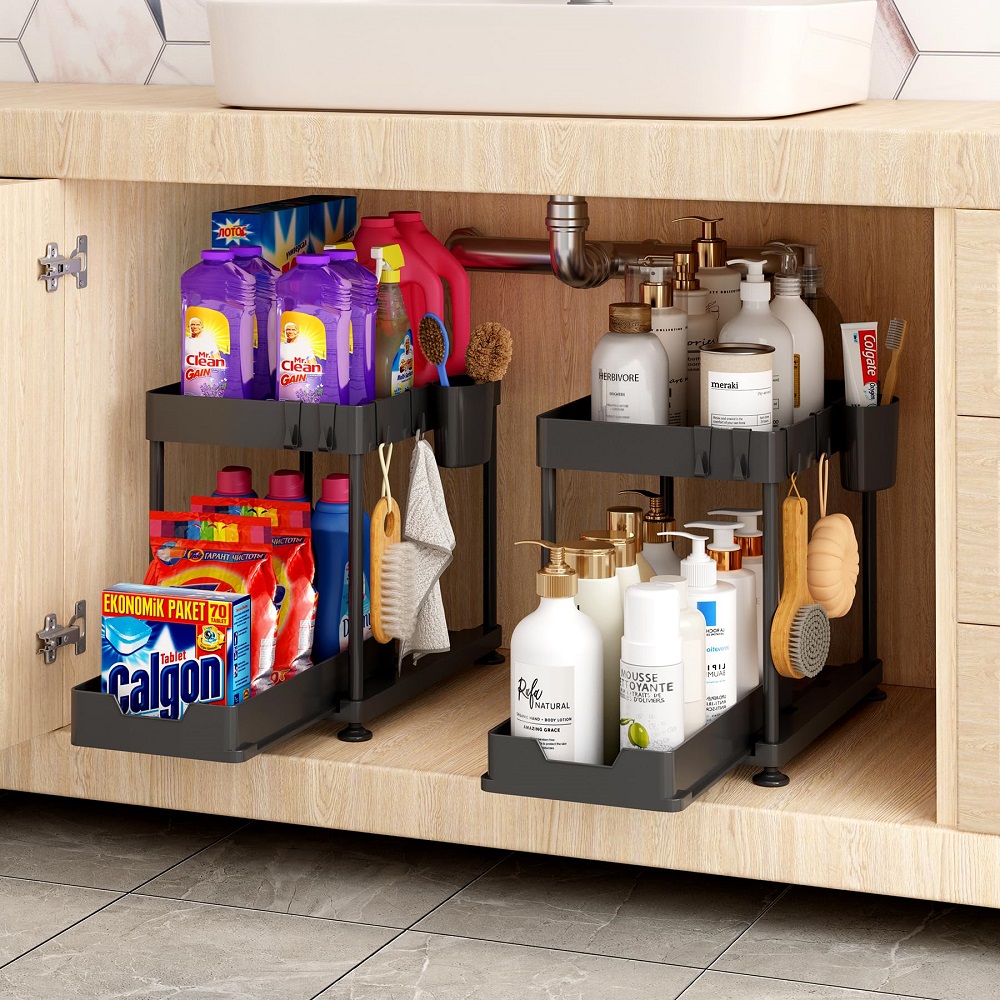
Welcome to the world of organized kitchen drawers, where every tool and utensil has its appointed place, and the chaos of clutter is but a distant memory. As we delve into creating a functional and customizable DIY drawer organizer for your kitchen, we’ll discover the transformative power of a well-organized space. The path to kitchen drawer nirvana is simpler than you might think, and it begins right here with your very own DIY project. So, let’s roll up our sleeves and embark on this journey of creating a custom storage solution that will cater to your unique kitchen needs and preferences.
The Problem with Pre-Made Drawer Organizers
Pre-made drawer organizers often fall short of our expectations. One size rarely fits all when it comes to the varied items we store in our kitchen drawers. Common issues with pre-made solutions include inflexible layouts that don’t match our specific needs, poor use of space that leads to wasted areas, and materials that may not stand the test of time. They may also move around when opening and closing drawers, causing further disorganization and frustration. Deciding to take the DIY route for a drawer organizer enables a tailored approach, ensuring every kitchen tool and utensil has the perfect spot, while eliminating the common problems of pre-made options. With a DIY solution, you’ll create an organizer that fits snugly, utilizes every inch of space efficiently, and can be made with durable materials that suit your kitchen’s aesthetic and functional demands.
Why Choose a Custom DIY Drawer Organizer?
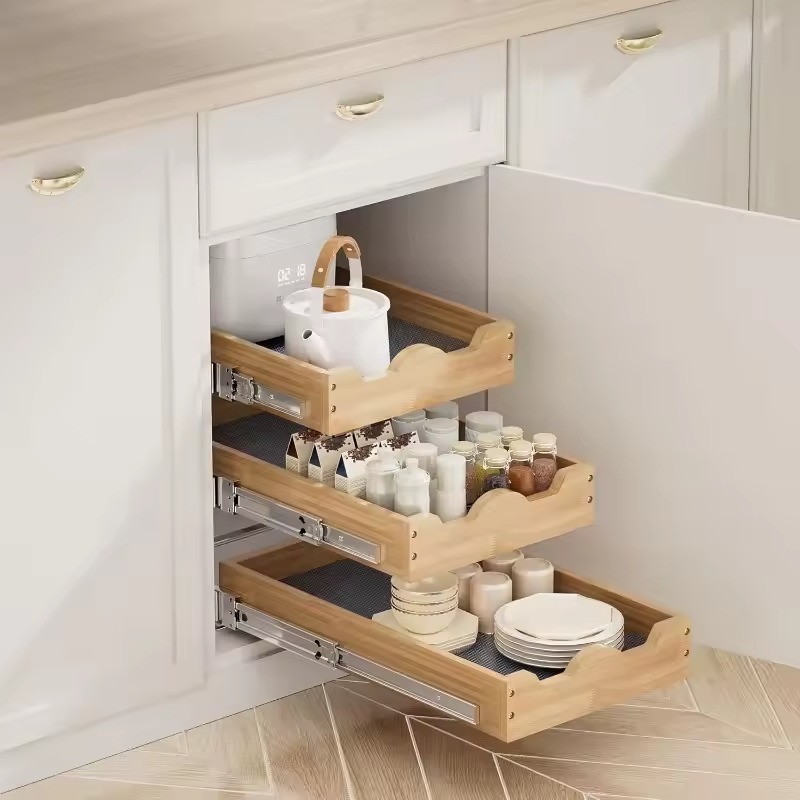
Choosing to embark on a DIY drawer organizer project offers a multitude of benefits over store-bought alternatives. Customization is at the heart of this undertaking; by opting to build your own, you can create an organizer tailored to fit the unique dimensions and layout of your kitchen drawers. Furthermore, a DIY approach enables you to select high-quality, durable materials that align with your kitchen’s design and your personal preferences. This results in a solution that not only enhances the visual appeal of your kitchen but also provides a long-lasting organizational system.
Crafting a DIY drawer organizer also means that you can design compartments that specifically cater to your cooking tools and utensils, ensuring that each item has its designated place. This level of personalization can greatly improve your cooking workflow, saving you time and reducing frustration during food preparation. No more rummaging through drawers to find that elusive spatula or whisk; everything has its spot in your custom organizer.
Another compelling reason to go DIY is cost efficiency. Pre-made drawer organizers can be pricey, especially when they don’t quite fit or meet your needs. By investing time in a DIY project, you’re likely to save money while achieving a perfect fit and personalized functionality.
Lastly, the satisfaction of completing a DIY project cannot be understated. There’s a unique joy in using something you’ve crafted with your own hands. Every time you slide open a kitchen drawer to see a neatly organized space, you’ll be reminded of your successful endeavor. A custom DIY drawer organizer not only organizes your kitchen tools but also stands as a testament to your creativity and handiwork.
Materials and Tools Needed for Your DIY Drawer Organizer
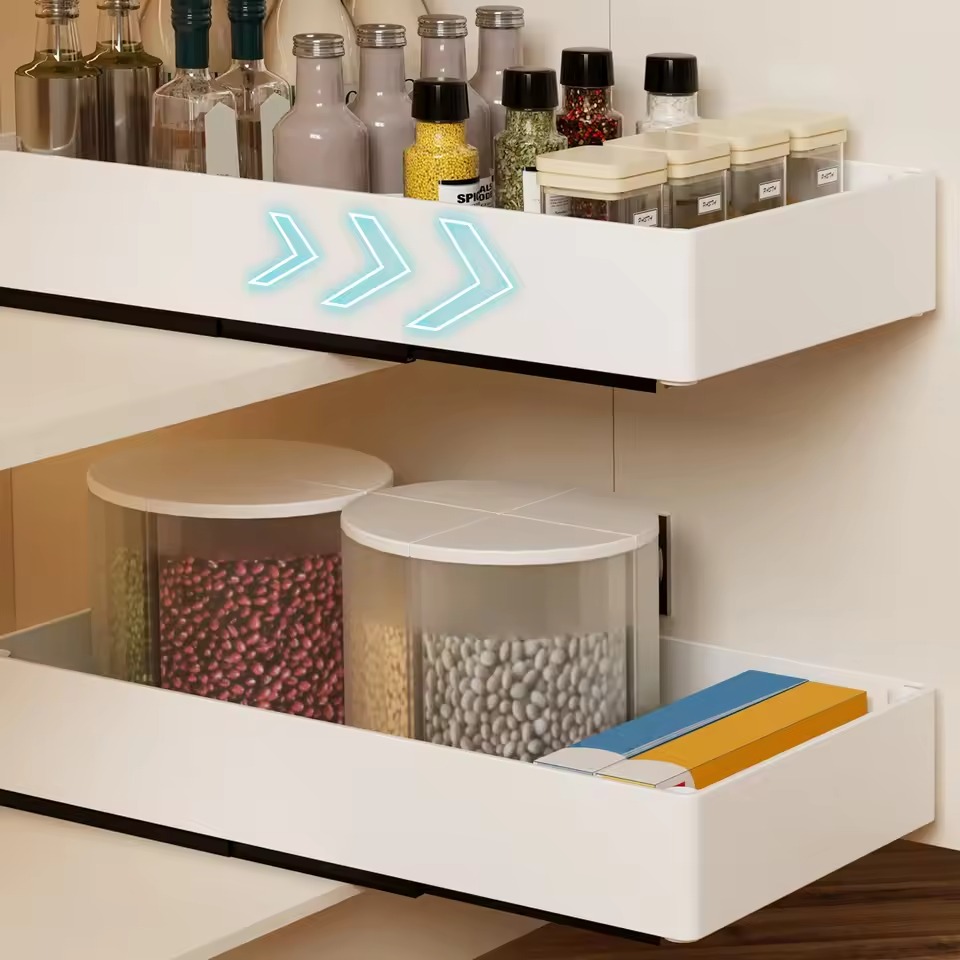
To begin your DIY drawer organizer journey, gathering the right materials and tools is crucial. This ensures a smooth process and a final product that meets your specific kitchen needs. The following list outlines what you’ll require for this project:
- Measuring tape: Essential for accurate measurements of your drawer’s dimensions.
- Plywood or sturdy board: This will be the base material for your organizer, so choose a size that fits your drawer and a thickness that provides stability.
- Saw: Whether it’s a handsaw or a power saw, this tool is needed to cut your base material to the correct dimensions.
- Sandpaper or sander: To smooth out any rough edges on your cut pieces, ensuring a clean and safe finish.
- Wood glue: A strong adhesive to bind the pieces of your organizer together without the need for screws or nails.
- Clamps: To hold the pieces tight while the glue dries.
- Divider materials: These could be additional wood slats, acrylic dividers, or any suitable material that can create separated sections within your drawer.
- Drill (optional): If you prefer to use screws for added stability, a drill will come in handy.
- Paint or sealant (optional): To protect your organizer from moisture and wear, and to match it to your kitchen’s aesthetic.
- Non-slip drawer liner: To keep your organizer firmly in place without it sliding around when the drawer is opened or closed.
With these materials and tools at the ready, you’re well on your way to crafting a bespoke solution that will enhance your kitchen storage. Not only will your kitchen drawer be tailored perfectly to your needs, but it will also exhibit the craftsmanship and care that only a DIY project can offer.
Step-by-Step Guide to Creating Your Custom Drawer Organizer
Crafting your own kitchen drawer organizer is a rewarding experience. Follow this simple step-by-step guide to create a drawer organizer that is both functional and perfectly designed for your space.
- Measure Your Drawer: Accurately measure the inside dimensions of your kitchen drawer. Record length, width, and height.
- Cut Your Base Material: Using the measurements, cut your plywood or chosen base to fit the drawer’s bottom.
- Sand the Edges: Smooth all cut edges with sandpaper or a sander. This ensures no splinters or sharp edges.
- Plan the Layout: Place your kitchen utensils in the drawer to determine the best layout. Arrange items by type or frequency of use.
- Cut Dividers: Based on the layout, cut divider materials to create separate sections for different utensils.
- Glue Dividers: Apply wood glue along the edges where dividers will attach. Position and firmly press dividers onto the base.
- Clamp to Dry: Use clamps to hold dividers in place. Wait for the glue to set as per instructions on the glue packaging.
- Drill for Stability (optional): If desired, drill holes and add screws to secure dividers for extra hold.
- Seal and Protect: Apply paint or sealant to protect the organizer from moisture and wear. Allow to dry completely.
- Add Non-Slip Liner: Cut a non-slip drawer liner to size and place it under the organizer to prevent sliding.
Congratulations, you now have a custom kitchen drawer organizer that makes finding and storing utensils a breeze. With everything neatly arranged, meal preparation becomes both efficient and enjoyable.
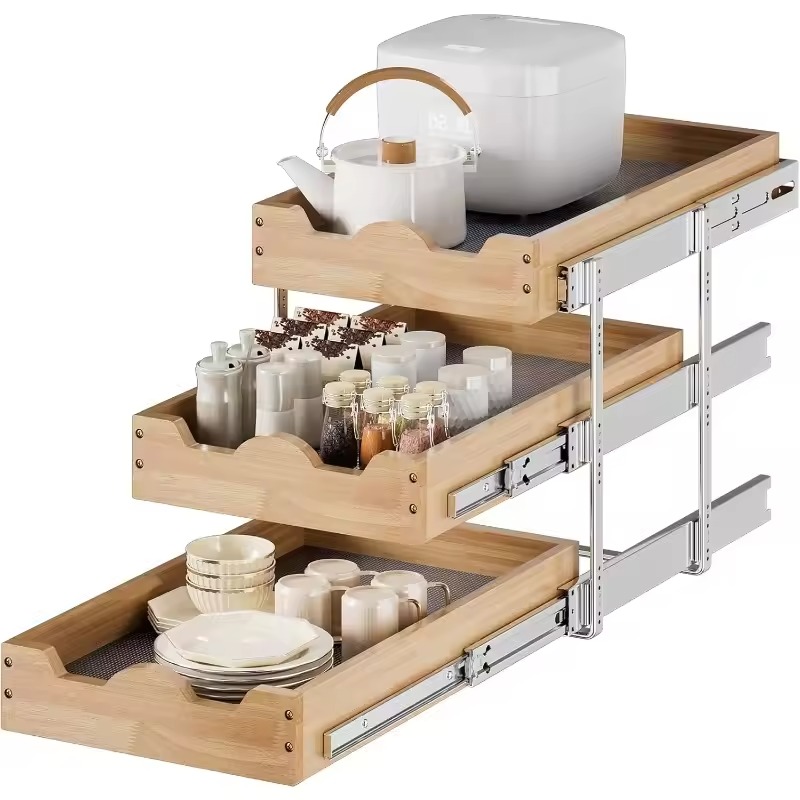
Innovative Solutions for a Non-Slip Organizer
When it comes to a DIY drawer organizer kitchen project, ensuring it stays in place is crucial. One key solution is using a non-slip drawer liner. Cut the liner to fit the bottom of your drawer before inserting the organizer. This creates friction, preventing any unwanted movement. If a liner isn’t available, consider alternatives like silicone pads or rubber matting. These can be cut to size and strategically placed to achieve the same stabilizing effect. Whichever method you choose, securing your organizer is important for both functionality and safety in the kitchen. With a non-slip solution, your newly crafted organizer will be both pristine and practical, enhancing your culinary workspace.
Additional Tips for Maintaining Your DIY Drawer Organizer
Maintaining your newly created DIY drawer organizer is key for long-lasting functionality. Here are some additional tips to keep your organizer in top condition:
- Clean Regularly: Empty your drawer occasionally to remove crumbs or debris. Wipe down your organizer with a damp cloth to keep it clean.
- Reapply Sealant: If you’ve painted or sealed your organizer, reapply the coating annually to protect against wear and moisture.
- Tighten Dividers: Check the dividers periodically to ensure they are secure. Tighten any loose screws or reapply glue if necessary.
- Reassess Layout: As your kitchen tools change or your cooking habits evolve, consider reorganizing your drawer. This may involve shifting dividers or creating new sections.
- Avoid Overloading: Prevent drawer jams by not overfilling sections. Keep only the essentials within easy reach for efficiency.
- Liner Replacement: If you’ve used a non-slip liner, replace it when it shows signs of wear or if it loses its grip.
With these upkeep tips, your DIY drawer organizer will continue to serve you well, keeping your kitchen operation smooth and your drawers an exemplar of organization.
Closing Thoughts on DIY Kitchen Drawer Organization
Embarking on a DIY drawer organizer kitchen project can be a rewarding experience, leaving you with a sense of pride and accomplishment. Not only will your custom drawer organizer enhance your cooking efficiency, but it also ensures that every tool is right where you need it, when you need it. With your own flair and touch, you’ve crafted a piece that’s not just practical, but also personal to your cooking style and kitchen design.
As you close the chapter on this project, remember that the beauty of a DIY approach lies in the flexibility to tweak and adjust as your needs evolve. Your kitchen is a dynamic space, and your organizer can adapt with it. Whether it’s replacing the non-slip liner, adjusting the layout, or simply giving it a good clean, the control is in your hands.
Your journey to kitchen drawer nirvana doesn’t end here; it’s an ongoing adventure. Keep your DIY spirit alive, and don’t hesitate to take on new projects that further refine and enhance your beloved kitchen space. Remember, the ultimate kitchen is not bought—it’s built, bit by bit, with your own hands and creative vision.
