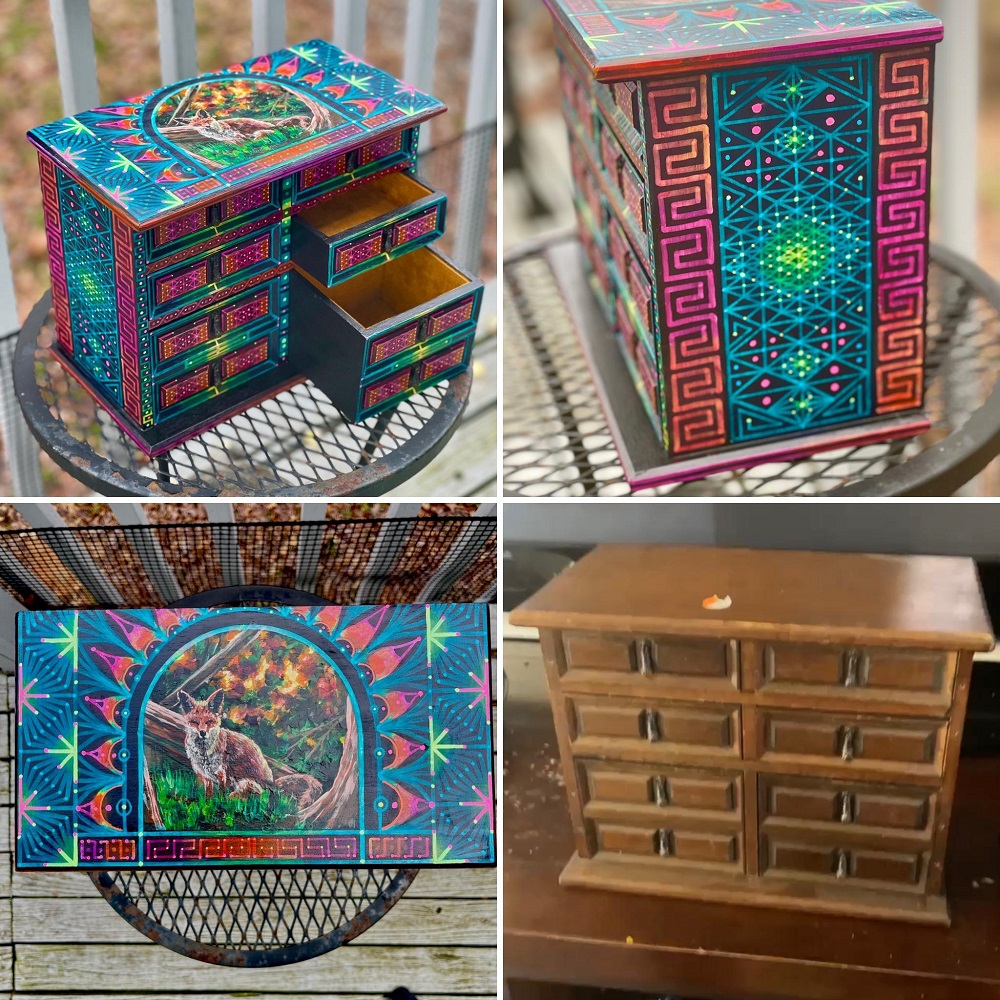
Jewelry boxes are more than just storage solutions; they can be a reflection of your personality and style. With a little creativity and some basic materials, you can turn a plain wooden box into a unique and beautiful piece of art. In this article, we will explore various creative painted jewelry boxes ideas that you can use to inspire your next DIY project. From historical designs to modern techniques, there’s something for everyone in this guide.
Understanding the Basics of Jewelry Box Design
The Importance of Functionality
When designing your jewelry box, functionality should be at the forefront of your mind. Consider what types of jewelry you own, and how you want to organize them. Do you have long necklaces that need to hang? Are you more inclined towards rings that require dedicated compartments? By paying attention to these details during the design phase, you’ll ensure that your jewelry box serves its purpose while also being visually appealing.
Selecting the Right Material
Choosing the right material for your jewelry box is essential in achieving the look and durability you desire. Common materials used for DIY jewelry boxes include wood, cardboard, and even repurposed items like old tin cans or shoe boxes. Wooden boxes are popular because they offer a sturdy base for painting and are long-lasting. If you opt for a cardboard box, consider reinforcing it with a layer of paper mache or decoupage for added durability.
Techniques for Painting Your Jewelry Boxes
Acrylic Painting: Vibrant and Versatile
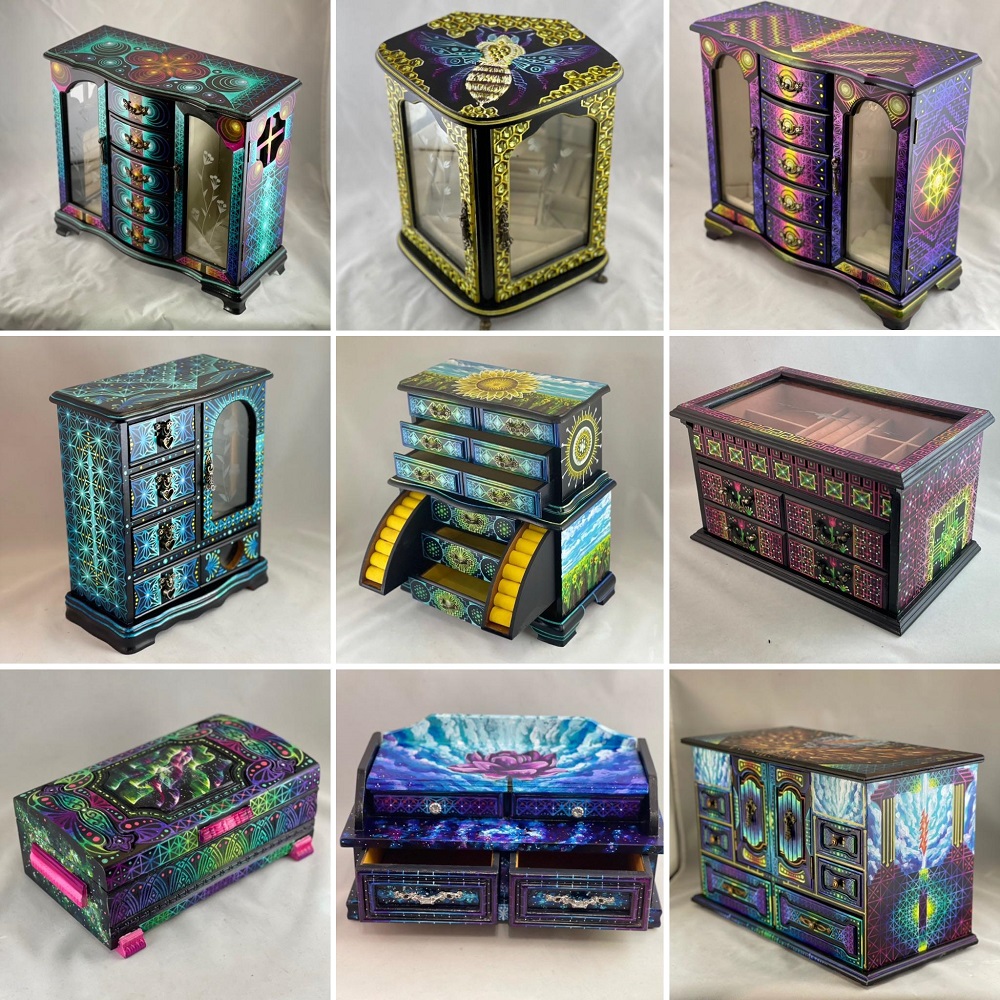
Acrylic paint is an excellent option for beginners and seasoned artists alike. It dries quickly, is easy to clean up, and comes in a wide array of colors. To get started, sand down your wooden box to create a smooth surface. Be sure to apply a base coat of white or light-colored paint to create a blank canvas. From there, you can either paint a single shade or mix colors for a more intricate design. Consider using sponges, brushes, or even fingers for added texture and effect.
Stenciling for Precision and Style
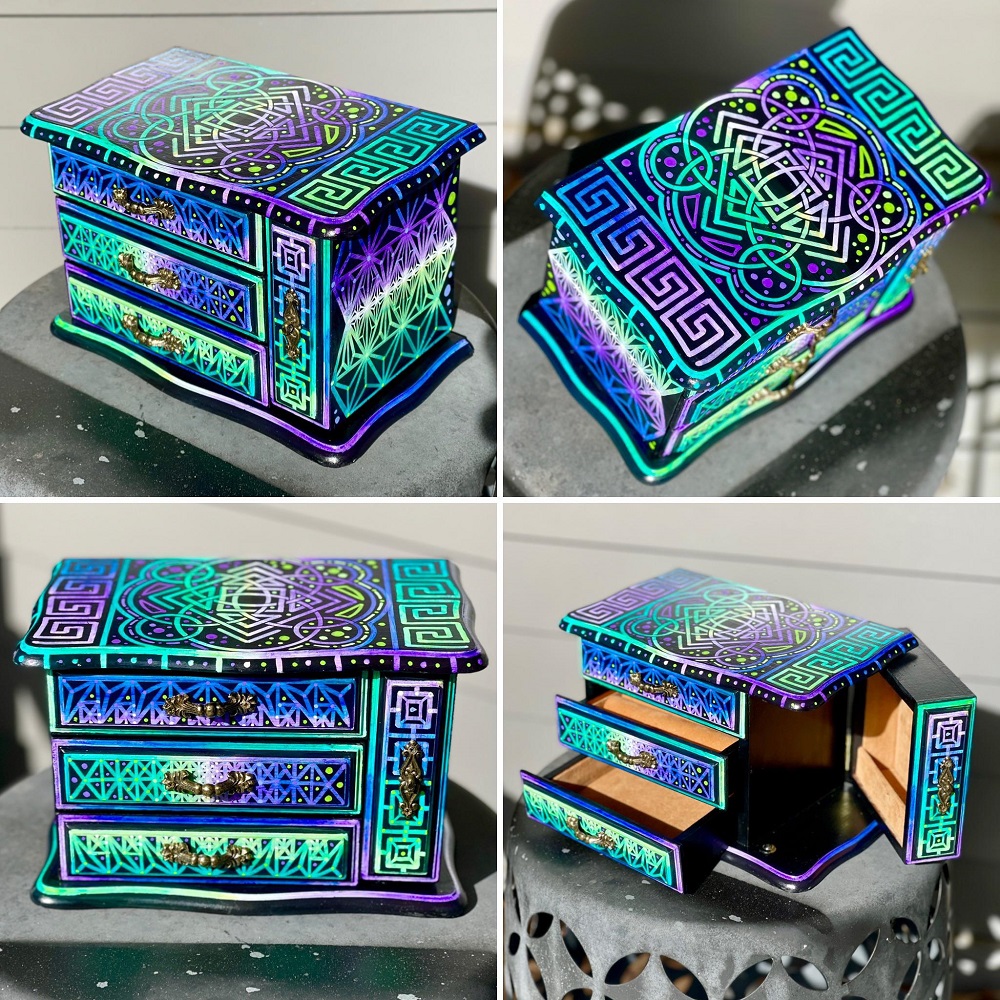
Stenciling is a fantastic way to achieve precise designs without the need for advanced painting skills. You can purchase pre-made stencils or create your own using cardstock. Simply lay the stencil on your box, secure it with painter’s tape, and then dab your chosen paint over it with a sponge or brush. This technique allows for symmetry and repetition of patterns, such as florals or geometric designs. Stenciling can be combined with painting techniques for added depth and complexity.
Adding Personal Touches to Your Jewelry Box
Customizing with Markers and Pens
Markers and paint pens can add details that make your jewelry box uniquely yours. Once your base layer is complete, use fine-tipped markers to draw intricate patterns, doodles, or even words and quotes that resonate with you. This step is especially appealing if you want to infuse your box with motivational phrases or personal meanings. Furthermore, metallic markers can elevate ordinary designs by adding a touch of glamour and elegance.
Incorporating Mixed Media
For a striking piece, consider integrating mixed media into your design. This involves combining various materials such as fabric, lace, beads, and buttons along with your paint. You could decoupage a beautiful fabric onto the lid of your box and then paint around it for a rich layered look. Adding these elements provides both texture and visual interest, transforming a simple box into a conversation starter.
Themed Jewelry Box Ideas
Vintage Floral Design
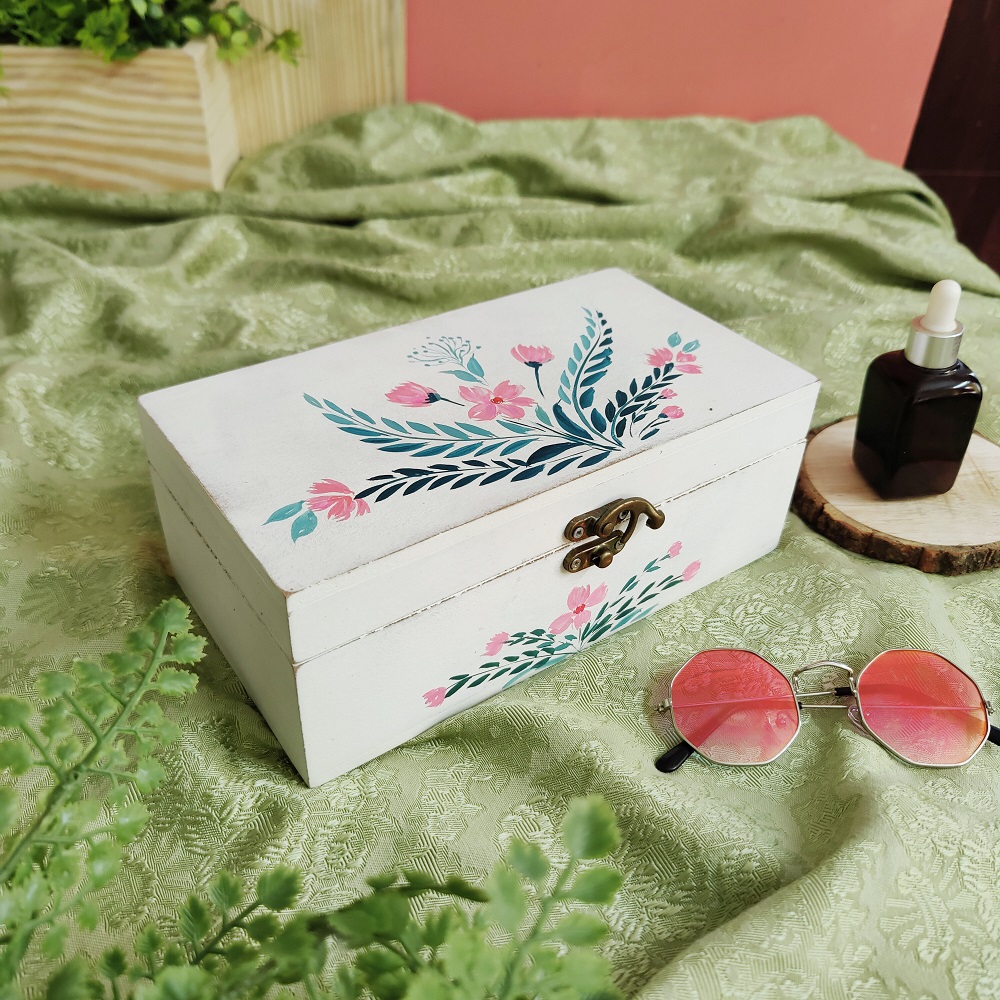
If you’re a fan of vintage themes, consider painted jewelry boxes with intricate floral patterns reminiscent of vintage china or wallpaper. Start by choosing a pastel color palette that includes soft pinks, blues, and yellows. Use a fine brush to paint delicate flowers, vines, and leaves. This whimsical design can serve not just as a jewelry holder but as a beautiful decorative piece for your vanity or bedroom.
Bohemian Chic Aesthetic
If your style leans more towards the eclectic, a Bohemian-themed jewelry box might be the perfect choice. To create this look, use bold, rich colors and mix them with patterns like paisley, mandala, and tribal motifs. Incorporate metallics like gold or bronze for an added layer of sophistication. For a fun twist, consider attaching small bells or feathers to the box’s sides for a touch of whimsy.
Techniques to Enhance Your Design
Using Decoupage for Depth
Decoupage is an age-old technique that involves gluing snippets of paper, fabric, or other materials onto your surface and then sealing it with a finish. Select beautiful paper napkins or scrapbook sheets that fit your theme, cut them to your liking, and adhere them to your jewelry box with a decoupage medium. Finish with a layer of matte or glossy sealant to protect your work. This method can add an unexpected and delightful depth to your jewelry box.
Experimenting with Layering Techniques
Layering is another method you can utilize to create a more visually engaging design. Start with a base coat in one color, then paint another layer in a contrasting color, and once dry, sand the edges or specific areas to let the base color peek through. You can also use stencils or stamps between layers to create additional patterns. This technique brings a rustic and worn-in feel, adding character to your box.
Personalization Beyond Paint
Monogramming Your Jewelry Box
Monogramming is an age-old tradition that can add a personal touch to your jewelry box. Choose a font that represents your initials and paint or glue it onto the lid. Alternatively, you could use wooden letters and paint them to match your design. This customization not only adds a personal flair but also makes it easy to identify whose jewelry box it is, especially if you plan to make one for gifts.
Photo Collage: A Memory Box
Consider turning your jewelry box into a memory box by incorporating photographs. Select printed photographs or magazine cutouts that are meaningful to you—perhaps travel photos, loved ones, or inspirational quotes. Use decoupage or simple adhesive to attach them to the box’s surface. Seal with a coat of varnish to protect the images. This adds a sentimental touch to an already delightful object, making it not just a jewelry holder but also a cherished keepsake.
Conclusion: Your Own Creative Journey Awaits
Making it Your Own
With the ideas and techniques discussed above, the possibilities for creating a painted jewelry boxes are endless. It’s essential to let your creativity flow and not adhere strictly to guidelines but rather make those guidelines your own. Experiment with colors, styles, and textures to cultivate a unique piece that reflects your individual journey.
The Joy of DIY
Ultimately, creating your own painted jewelry boxes is a rewarding endeavor, not just in terms of the physical product but also in the joy of the process. Whether you’re developing your skills or expressing your creativity, each brush stroke or glued piece adds to the beautiful narrative that is uniquely yours. Gather your supplies, find inspiration, and begin crafting a jewelry box that is a true mirror of your personality and style!

