Introduction to Drawer Organization
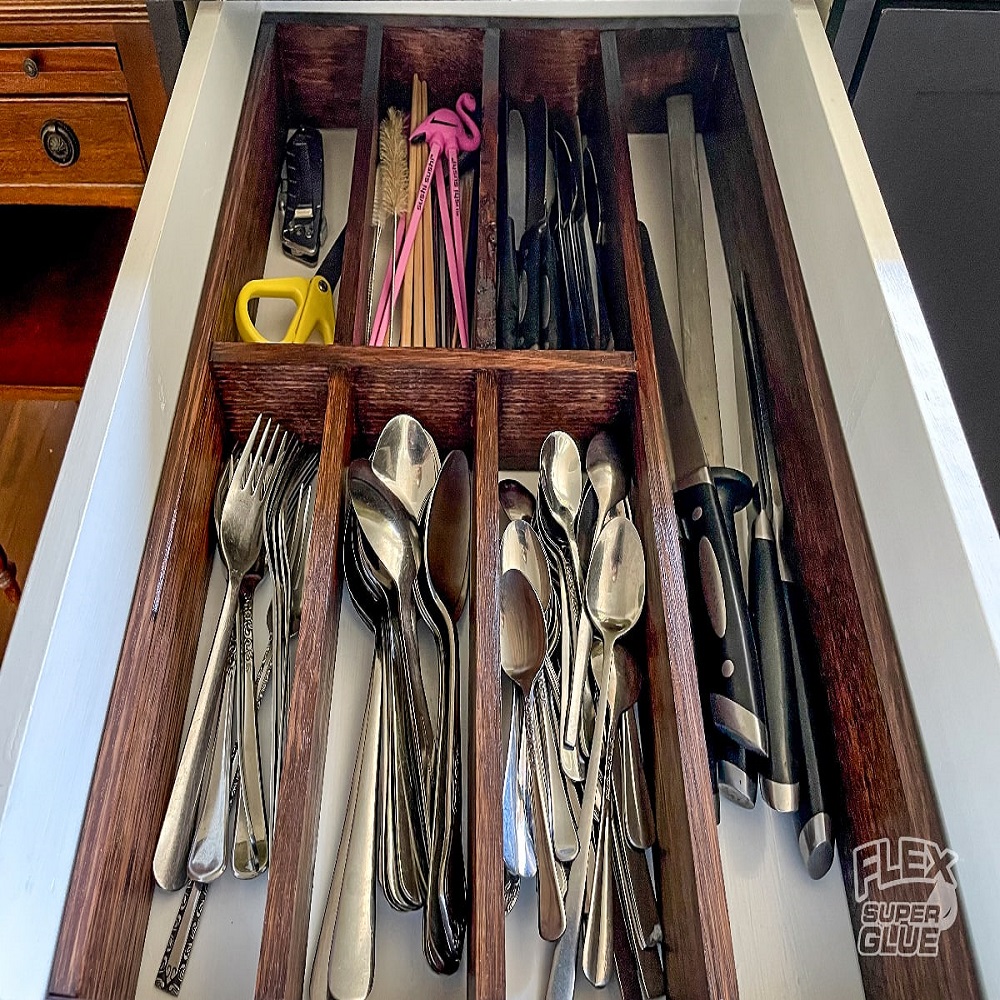
Kitchen drawer organizercan transform your daily routine. A well-organized drawer saves time and reduces frustration. Start by evaluating what’s inside your drawers. This will guide you in deciding the size and shape of organizers needed. Custom drawer organizers are great. They let you maximize every inch of space. Consider the materials you’ll use. Durable options include wood or sturdy plastics. Measure your drawers accurately before you begin. This ensures a perfect fit. DIY projects can be rewarding and cost-effective. With the right tools and materials, you can create a solution that fits your needs perfectly.
Assessing Your Drawer Space Needs
Before diving into the creation of your kitchen drawer organizer, conduct a thorough assessment of the items cluttering your space. Consider categorizing items by function. For instance, separate cooking utensils from baking tools or cutlery from serving pieces. Take inventory of bulky items versus small odds and ends that tend to disappear into the drawer abyss.
Measure the internal dimensions of your drawer: the width, depth, and height are critical for a custom fit. Note any unique features within the drawer, such as built-in tracks for existing slides.
Consider the frequency of use for each item to determine its placement. Frequent-use items should be easily accessible, while rarely used items can be stored toward the back. Taking these steps ensures that your DIY drawer organizer will not only look neat but also improve functionality and efficiency in your kitchen workflow.
Materials You’ll Need
To make your custom drawer organizer, you will need the following materials:
- Measuring Tape: This is essential for getting accurate measurements of your drawer’s dimensions.
- Wood: Choose a type of craft or hobby board, like poplar, for sturdy dividers. Consider the thickness of the wood; generally, 1/4 inch works well.
- Saw: You’ll need a saw to cut your wood to size. A skill saw, miter saw, or hand saw with a miter box will do the job.
- Sandpaper: To smooth out any rough edges after cutting the wood.
- Wood Glue or Adhesive: A strong wood glue or clear adhesive will hold your organiser’s sections in place.
- Clamps (optional): If you have them, clamps can be helpful to secure the wood while the glue dries.
- Pencil: For marking measurements and cut lines on the wood.
- Graph Paper (optional): Helpful for sketching a layout of your drawer organizer beforehand.
- Finishing Materials (optional): Paint or sealant if you wish to finish the wood to match your drawer’s interior or protect against wear.
Gather these materials before you start to ensure a smooth building process for your custom drawer organizer. The right tools and materials will help you create a durable and functional organizer, tailored to the items you’re organizing.
Step-by-Step Guide to Building Your Organizer
Gather Your Materials
Before you start, make sure you have all your materials ready. Measure your drawer’s dimensions. Then, select a wood type like poplar or hobby board and ensure it’s 1/4 inch thick for optimal durability. You’ll also need a saw for cutting, wood glue or a strong adhesive, and possibly clamps to hold pieces in place while the glue sets.
Measure and Mark Your Wood
Using your measuring tape, accurately measure the internal width, depth, and height of your drawer. Transfer these measurements onto your wood, marking where you need to cut. A pencil is perfect for making these marks clearly.
Start Cutting
Carefully cut along the marked lines using your chosen saw. If you’re new to using power tools, you may want to practice on some scrap wood first. Remember to follow all safety guidelines to prevent any accidents.
Sand the Edges
Once all pieces are cut, use sandpaper to smooth out any rough edges. This ensures your drawer organizer doesn’t have any sharp edges that could catch on items or damage your drawer.
Assemble the Organizer
Lay out the cut pieces following the design you planned. Apply wood glue along the edges where each piece meets. Use clamps if available to hold pieces together while the glue dries. This might take a few hours, so be patient.
Test Fit and Install
Once the glue is dry, remove any clamps and test fit the organizer in your drawer. Make any necessary adjustments. If everything fits well, place the organizer back in the drawer and start filling it with your kitchen tools.
By following these simple steps, you’ll create a custom drawer organizer that enhances your kitchen’s functionality and organization.
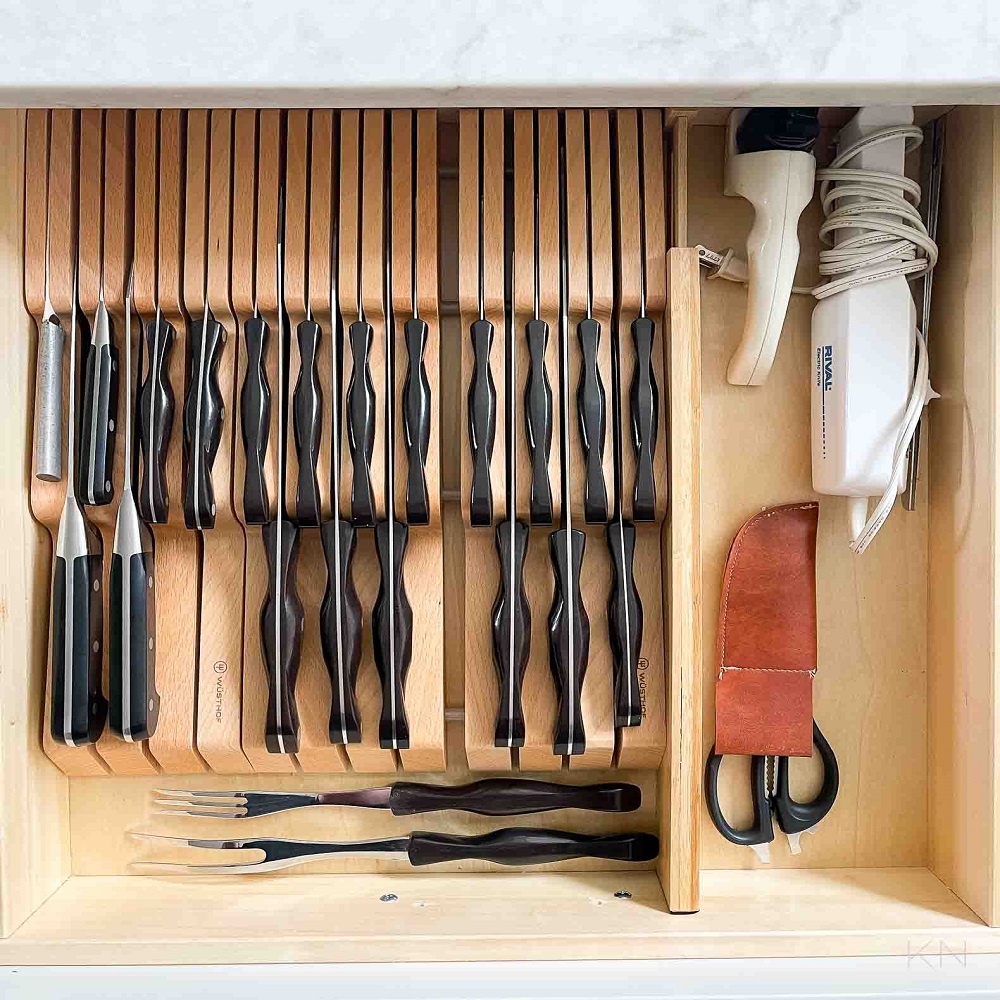
Installing Full Extension Drawer Slides
Installing full extension drawer slides is a game-changer for reaching the back of your drawers with ease. Here’s how you can add them to enhance your custom DIY kitchen drawer organizer.
Measure and Purchase the Correct Size
First, measure the length of your drawer and purchase slides that match these dimensions. Full extension slides allow you to pull the drawer out completely, making the most of the space.
Remove the Old Slides
Carefully remove any existing drawer slides. You may need a screwdriver for this task. Keep all removed hardware in case it’s needed later.
Attach the Slides to the Drawer
Align the new slides according to the manufacturer’s instructions. Secure them to the sides of the drawer with screws, ensuring they are straight and level.
Attach the Slides to the Cabinet
Next, position the corresponding part of the slides inside the cabinet. Use a level to confirm they’re even before screwing them in place.
Test the Functionality
Before placing the drawer back, gently slide the rails back and forth to check their movement. Make any necessary adjustments.
Reinstall the Drawer
Once you’re happy with the movement, place the drawer back onto the slides. Push it in and out several times to test the full extension feature.
Installing full extension drawer slides could require some patience, especially if you are a beginner at DIY projects. However, once installed, they significantly improve the functionality of your drawers. You’ll appreciate the full access they provide each time you reach for those previously hard-to-reach items.
Maintaining Your Custom Drawer Organizer
Ensuring the longevity of your custom drawer organizer is simple if you follow these maintenance tips. Regularly check each section for signs of wear or damage and make necessary repairs. Cleaning is a breeze — just wipe down the organizer with a damp cloth to keep it looking fresh. Avoid overloading compartments to maintain their shape and stability. Every now and then, re-evaluate your storage needs and adjust the organizer as necessary. With a bit of care, your DIY organizer will continue to enhance your kitchen’s functionality for years to come.
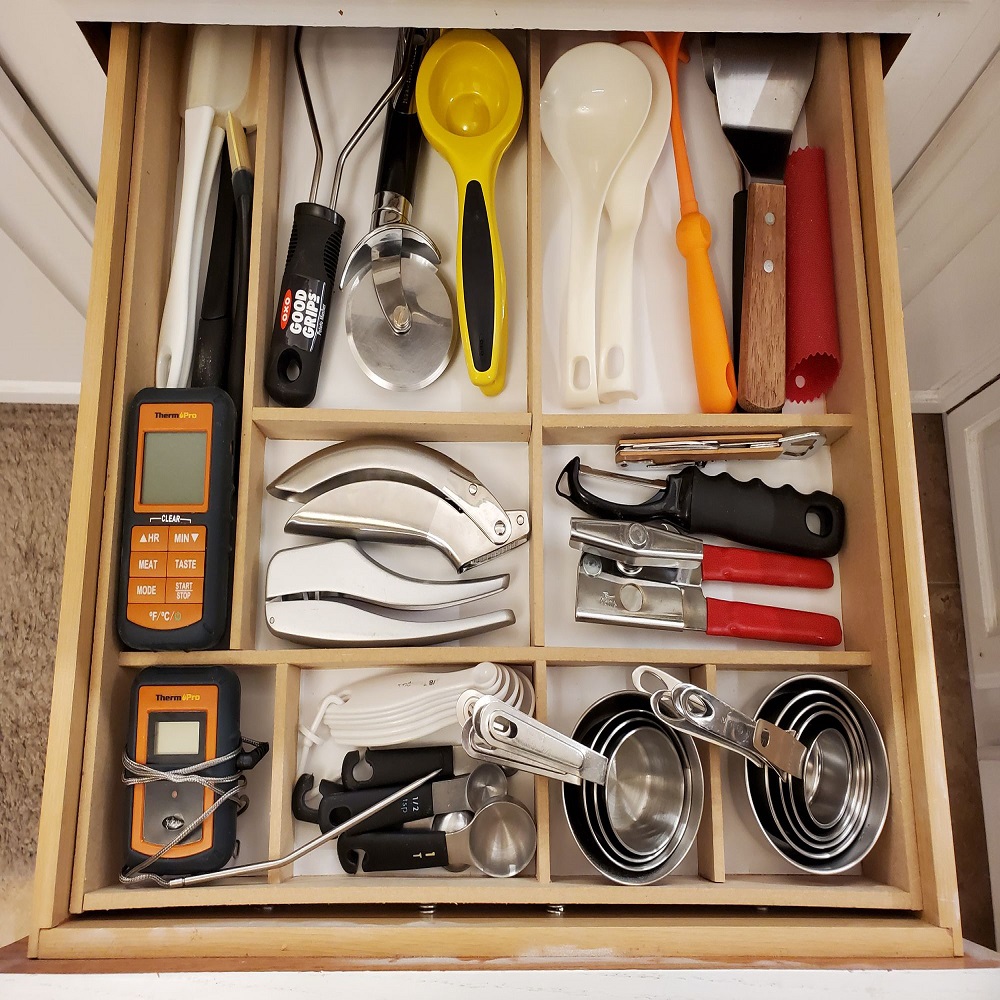
Alternative Materials and Methods
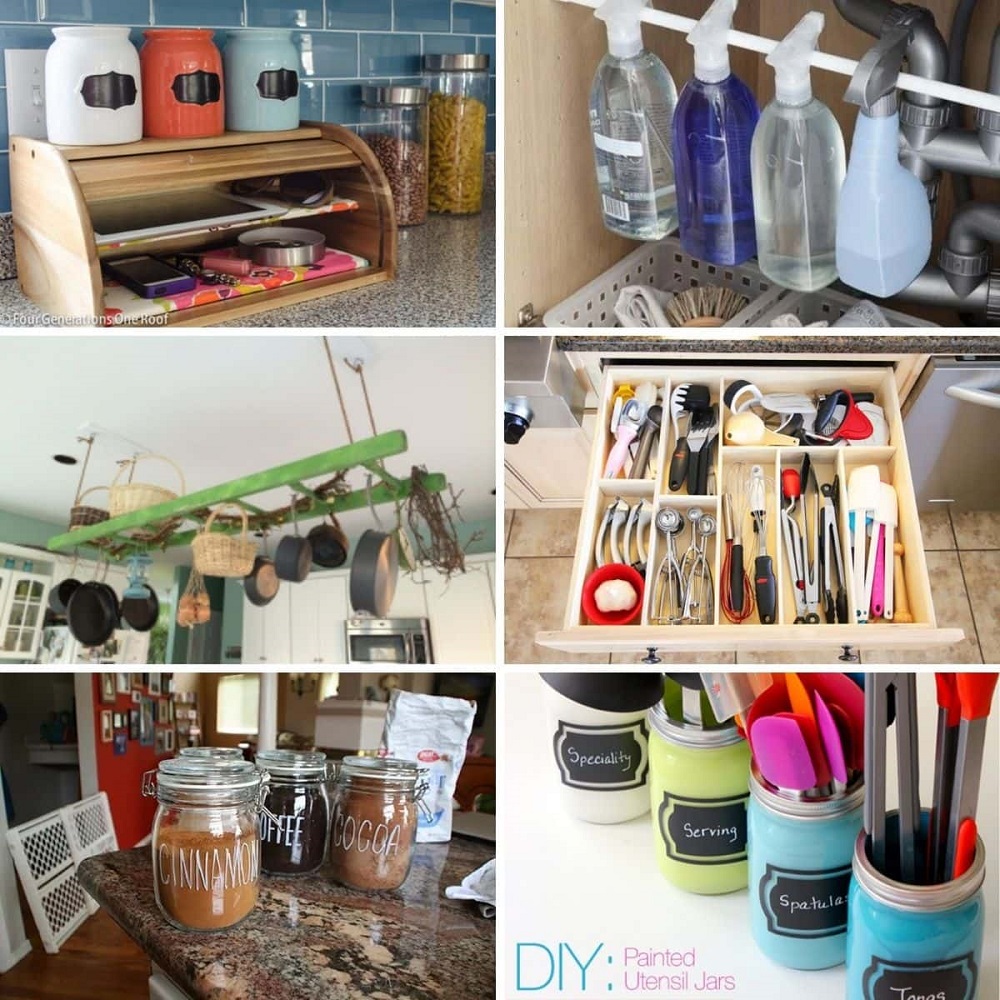
When creating DIY kitchen drawer organizers, there are various materials and methods that can serve your needs. If you’re looking for alternative options outside of wood, consider these ideas:
- Foam Board: Lightweight and easy to cut, foam board can be a quick alternative. Measure and cut as you would with wood, and secure pieces together with strong adhesive tape.
- PVC Pipe: For rounded compartments, such as those needed for utensil holders, PVC pipe can be cut to size and glued into place within the drawer.
- Acrylic Sheets: Durable and easy to clean, acrylic sheets can be cut to fit drawer dimensions and offer a sleek, modern look. Use acrylic cement to bond pieces together without visible glue lines.
- Metal or Mesh Baskets: Small wire baskets can be used to corral items and can be lifted out easily for cleaning. Just measure your drawer and find baskets that fit the space efficiently.
- Pre-made Inserts: If cutting isn’t your forte, consider adjustable pre-made drawer dividers that slot into place without tools.
- Felt Cloth: For a softer approach, especially for delicate items, create dividers with stiff felt, which can be sewn or glued into the sections.
These alternative materials can be combined with wood or used on their own to create unique and customizable drawer storage solutions. Get creative with the methods and choose what works best for your kitchen drawers and the items you’re storing. With a little ingenuity, you can make a drawer organizer that not only looks great but also improves the efficiency of your kitchen.
Additional Tips for Maximizing Drawer Functionality
When you’ve meticulously organized your kitchen drawers, maintaining that order and functionality is vital. Here are some additional tips to ensure your drawer organization stands the test of time:
- Reassess Regularly: Every few months, take a moment to reassess your drawer contents. Your needs might change, and your organization system should adapt accordingly.
- Use Drawer Liners: Protect the bottom of your drawers and the organizer with liners. They prevent items from slipping and are easy to clean.
- Stick to a System: Commit to a specific place for each item and ensure everyone in the household follows the system. This routine prevents disorganization.
- Keep It Simple: Don’t overcomplicate your drawer divisions. Too many compartments can become counterproductive. Strike a balance between too few and too many sections.
- Label Sections: Clearly labeling your drawer sections can help remind you and others where items belong. This is especially useful in busy households.
- Avoid Overloading: Overloading drawers can damage your organizers and make it hard to find items. If a drawer starts to become cluttered, it might be time to purge or relocate items.
- Prioritize Items: Place items you use daily at the front for easy access. Seasonal or rarely used items can be stored deeper in the drawer or elsewhere.
- Visual Clarity: If possible, aim to have a clear visual of all items in a drawer as soon as it’s opened. This can help in quickly locating what you need.
By following these additional tips, you’ll amplify the benefits of your custom DIY kitchen drawer organizer and ensure a smoothly functioning kitchen. Organization is an ongoing process, and by staying vigilant, your efforts will result in a continually efficient and enjoyable cooking space.
