Introduction to DIY Sock Drawer Organization
Socks seem to vanish in drawers or become unruly. A DIY sock drawer organizer can solve that. It is cost-effective and tailored to suit your space and style. To start, clear your drawer and assess the space.
Measure the width, depth, and height of your drawer. Jot these down. They guide the size of your organizer. Next, visualize the compartments you need. How many pairs of socks do you have? Do you need separate sections for different types?
The beauty of going DIY is customization. Add special touches that make your organizer perfect for you. Maybe you want a splash of color, or labels for easy sorting. Now, gather materials. You might find them around your home. Cardboard, scissors, tape, and rulers are basics. For a sturdier build, consider wood or acrylic dividers.
Stay tuned. We’ll guide you through each step of crafting your unique diy sock drawer organizer. And we’ll share some pro tips to make every inch of your drawer count.
Essential Materials for Crafting a Sock Organizer
Gathering the right materials is crucial for building a diy sock drawer organizer. Start with the basics:
- Cardboard or Dividers: Choose sturdy cardboard for a temporary solution or invest in wood or acrylic dividers for durability.
- Measuring Tape: Essential for measuring your drawer’s dimensions to ensure a perfect fit.
- Scissors or a Box Cutter: For cutting materials to the correct size.
- Tape or Glue: To secure the pieces of your organizer together. Consider strong double-sided tape or wood glue for lasting adhesion.
- Ruler or Straight Edge: This will help you make precise cuts and lines.
- Marker or Pen: To mark measurements and cutting lines on your materials.
Optional materials can add functionality and aesthetics:
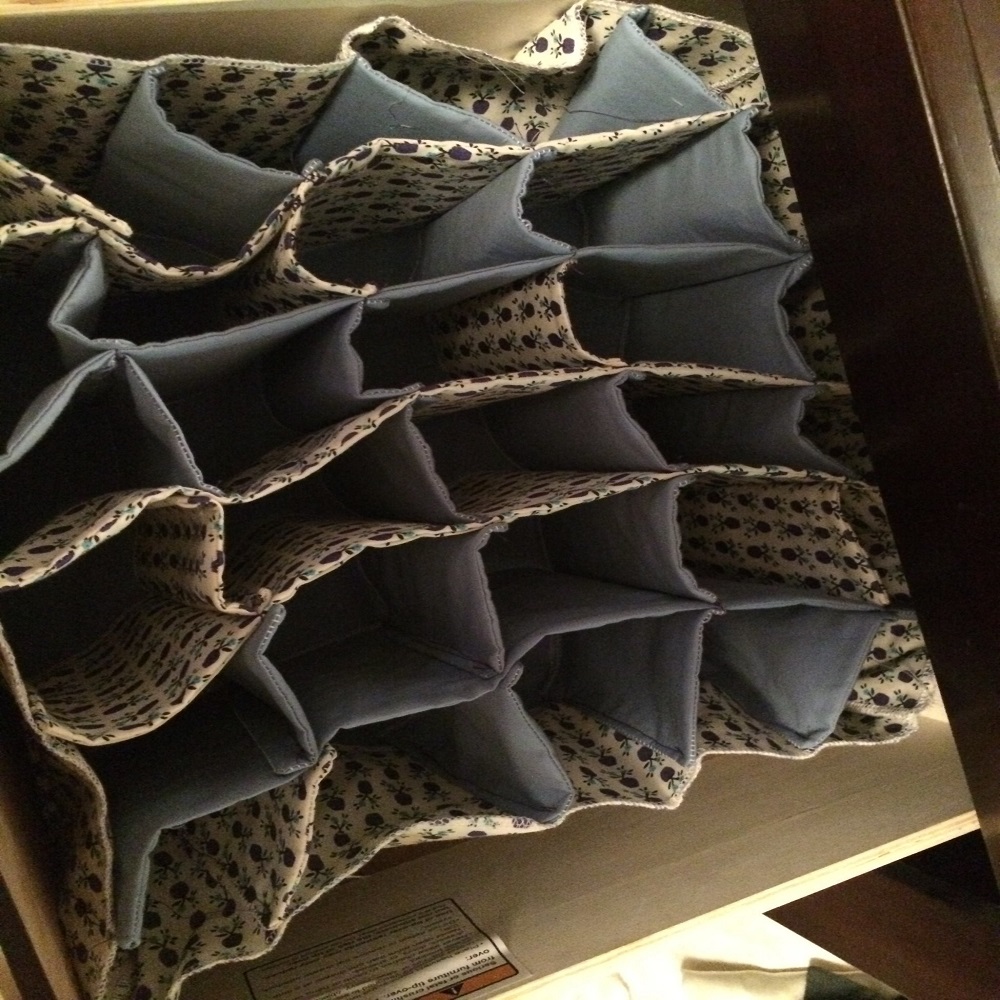
- Fabric or Contact Paper: To cover and decorate your organizer, making it blend with your drawer’s interior or adding a pop of color.
- Labels or Stickers: Handy for categorizing socks by type or color, making selecting your socks easy.
- Drawer Liner: Not only does it add a decorative touch, but it also protects both socks and drawer from wear.
Combine creativity with these essentials to craft a sock organizer that’s both functional and stylish. Remember, the goal is to create something that will maximize every inch of space in your sock drawer.
Step-by-Step Guide to Creating Your Own Sock Divider
Creating your own DIY sock drawer organizer is straightforward and rewarding. Here’s a step-by-step guide to help you get started.
- Measure Your Drawer: Use a measuring tape to get the exact dimensions of your drawer. Record the width, depth, and height. These measurements are crucial for the next steps.
- Plan the Layout: Decide how many compartments you need based on your sock collection. Consider different sections for daily wear, formal pairs, or seasonal socks.
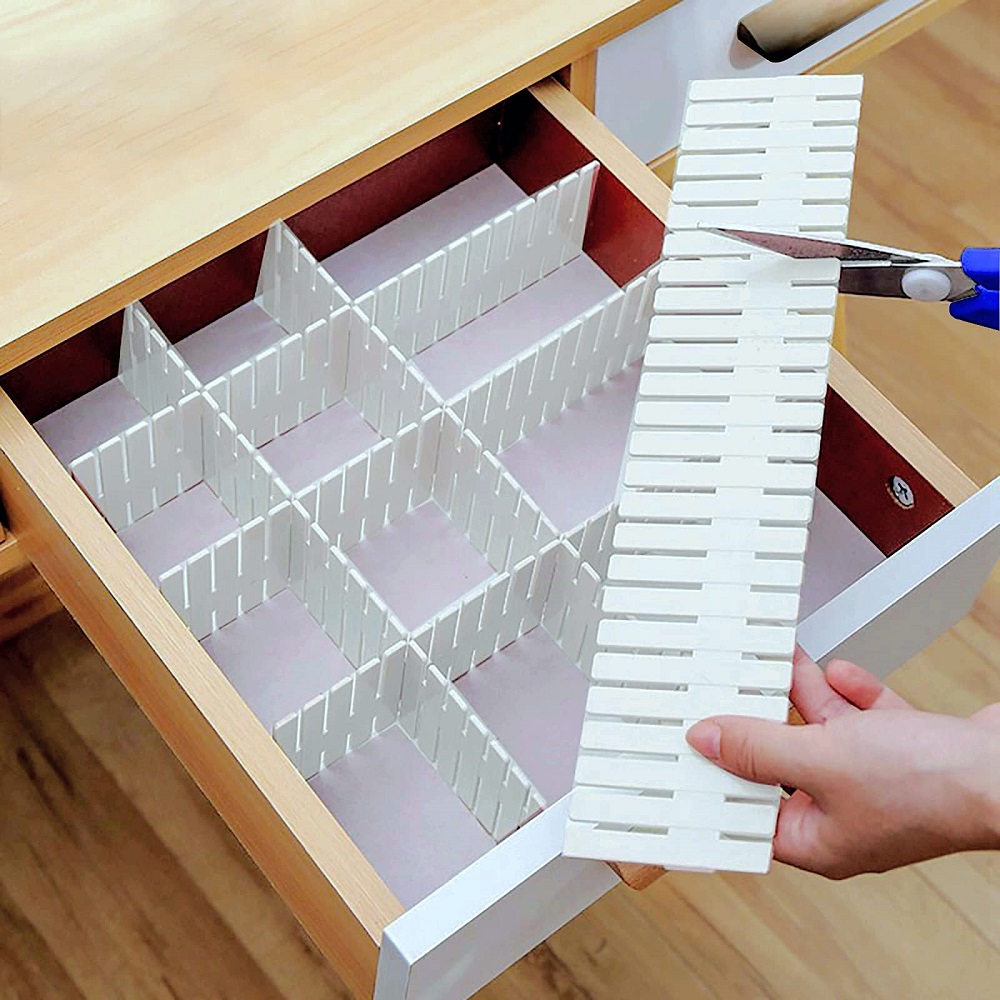
- Cut Your Dividers: Using your measurements, cut your chosen material (cardboard, wood, or acrylic) to create the dividers. A ruler or straight edge ensures straight cuts. Use scissors or a box cutter for precision.
- Assemble the Dividers: Arrange the cut pieces to form the layout you planned. Secure the intersections with tape or glue for stability. Ensure all dividers fit snugly in your drawer without forcing them.
- Decorate (Optional): Customize your sock divider with fabric or contact paper. This step is optional but adds a personal touch and can make your organizer blend with the drawer’s interior.
- Add Labels: Use labels or stickers to categorize socks by type or color. This makes picking out what you need easier and quicker.
Now, place your DIY sock drawer organizer into the drawer, fill it with socks, and experience the ease of finding what you need without any hassle.
Tips for Maximizing Drawer Space
To maximize drawer space in your DIY sock drawer organizer, consider these practical tips:
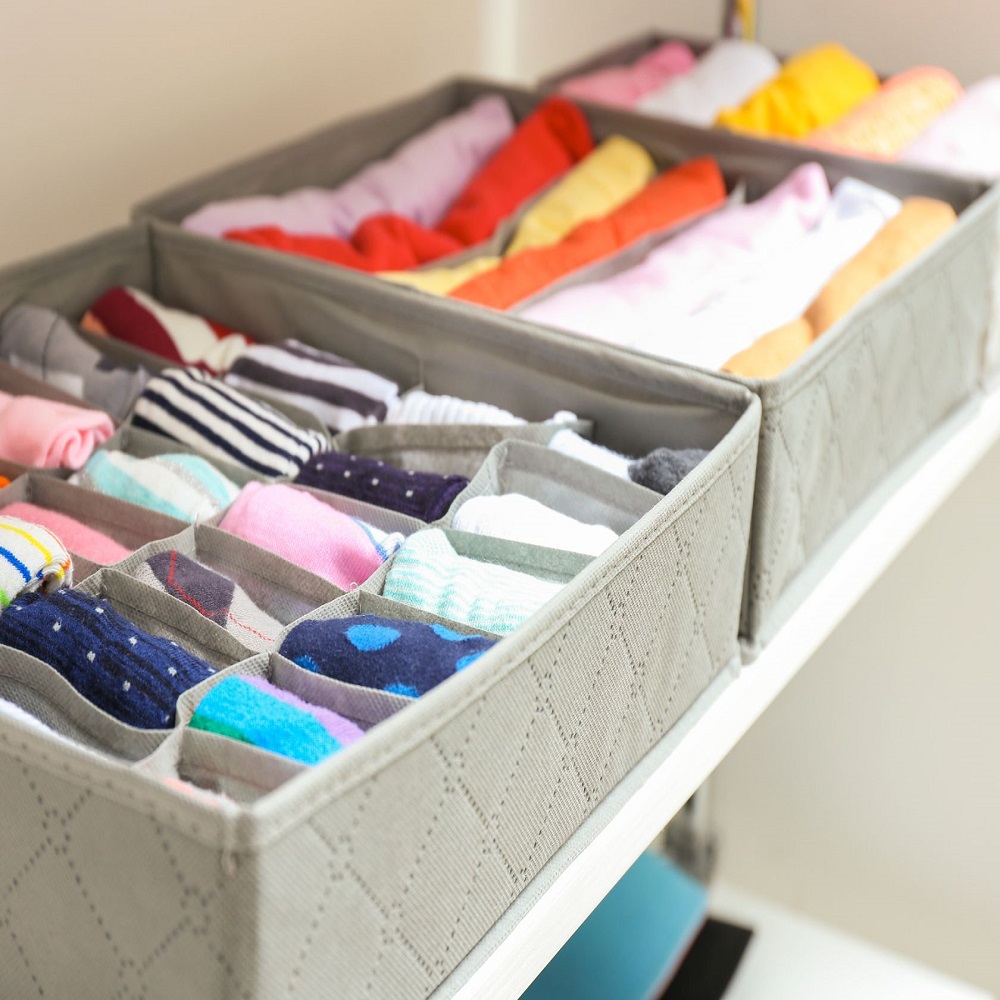
- Use Vertical Dividers: Vertical dividers help utilize the full height of the drawer. This allows you to stack socks and use upper space effectively.
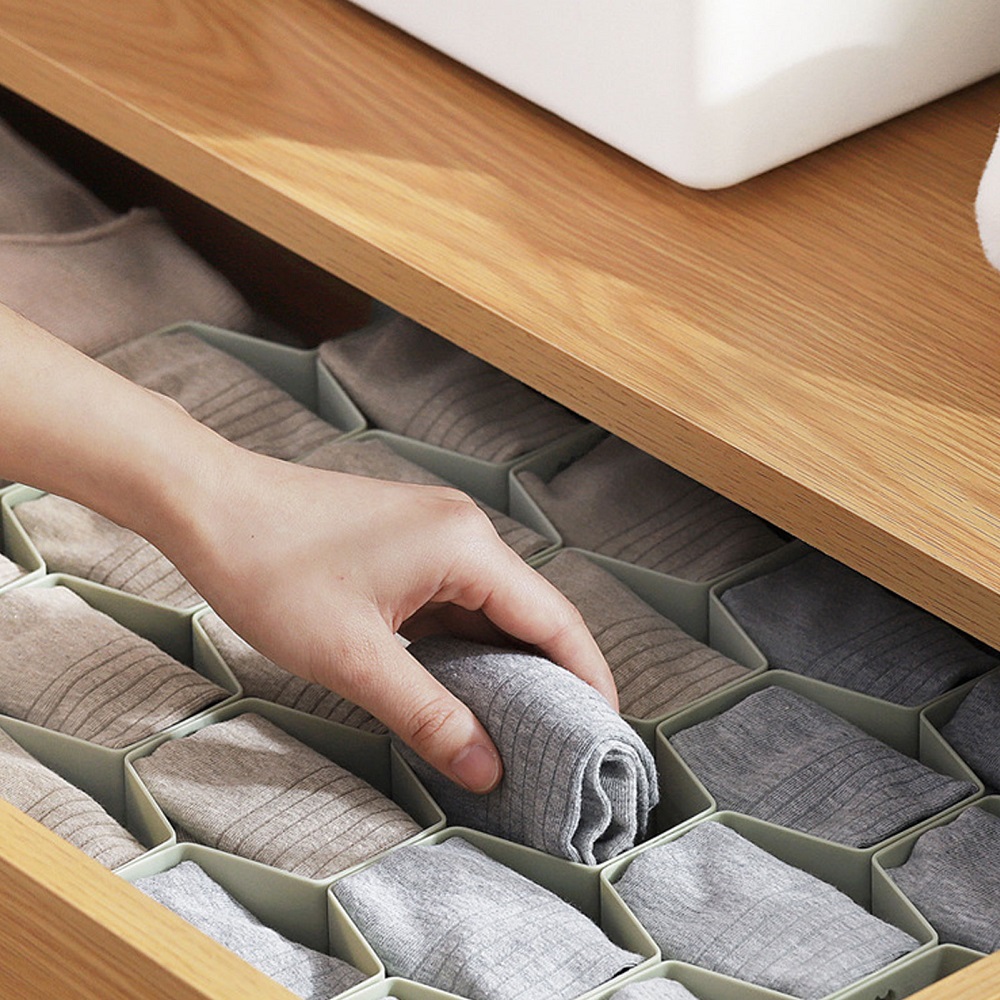
- Roll Instead of Fold: Rolling socks, instead of folding, can save a lot of space. This method also prevents wrinkles and makes it easier to spot different socks.
- Segment Wisely: Allocate segments in the organizer according to frequency of use. Keep daily wear socks at the front for easy access.
- Adjustable Dividers: If possible, use adjustable dividers. This gives flexibility to change compartment sizes based on your evolving needs.
- Go Minimal: Declutter socks that you no longer wear. Less clutter means more space for the essentials.
Implementing these tips will help you maximize every inch of your diy sock drawer organizer. You’ll spend less time searching and more time enjoying your neatly organized drawer.
Innovative Folding Techniques for Socks
When crafting a DIY sock drawer organizer, how you fold your socks is crucial. Proper folding techniques can maximize drawer space and keep socks neat and easily accessible. Here are some effective folding methods to consider:
- The Rolling Method: Start by laying a sock flat. Roll tightly from the toe to the top. Tucking the top end into the roll can secure it and save space.
- The Military Roll: Place a pair of socks flat and on top of each other. Fold the toe part up to about two-thirds, then begin rolling from the toe up. Once rolled, flip the open cuff over the roll to keep it in place.
- The KonMari Method: Popularized by Marie Kondo, lay the pair of socks flat, fold in half lengthwise, and then roll from the bottom. This method is not only space-efficient but also makes selecting socks easier.
By utilizing these folding techniques in your DIY sock drawer organizer, you ensure that your socks are compact and easy to find. This approach also prevents them from becoming bunched up or lost in your drawer.
Utilizing Vertical Space in Your Drawer
When organizing your sock drawer, don’t overlook the vertical space. Doing so could double or even triple storage capacity. Here’s how you can take advantage of this often-unused space:
- Install Tall Dividers: Use the full height of your drawer with tall dividers. This sets the framework for stacking socks vertically.
- Stack Socks: Place socks on top of each other within each compartment. It allows more pairs to fit and keeps them in view.
- Use Clear Containers: Clear, stackable containers let you see contents at a glance. It’s efficient for less frequently worn socks.
- Add Shelves or Tiers: If your diy sock drawer organizer is deep enough, build or insert small shelves. They act like a mini dresser within your drawer.
- Hanging Pockets: Attach hanging pockets to the upper part of the drawer sides. It’s great for single socks waiting for their match.
By using your drawer’s vertical space with these suggestions, you effectively multiply the usable area. This method isn’t just about fitting more socks; it ensures every pair is easy to access. Your diy sock drawer organizer will turn from a simple storage solution into a savvy space-saver.
Maintenance of Your DIY Sock Organizer
To keep your DIY sock drawer organizer in top shape, regular maintenance is key. Here are simple yet effective steps to follow:
- Clean Regularly: Empty the organizer and wipe down each compartment. This removes dust and lint that accumulate over time.
- Check for Damage: Look over your DIY organizer for any signs of wear or tear, especially if you opted for cardboard or homemade dividers.
- Reinforce When Needed: If parts of your organizer loosen or break, fix them with extra tape or glue. This prolongs your organizer’s life.
- Update as Needed: As your sock collection changes, so should your organizer. Add or remove dividers to fit new or fewer socks.
- Refresh the Look: If you used fabric or decorative paper, replace it when it starts to look worn or outdated. Keep your drawer looking fresh.
By following these simple maintenance tips, your DIY sock drawer organizer will continue to function effectively, making your daily routine smoother and hassle-free.
Creative Ideas to Customize Your Sock Storage
When building your diy sock drawer organizer, think beyond simple storage. You can get creative! Customizing your organizer not only makes it unique but also can inject a bit of fun into daily routines. Here are some imaginative ideas:
- Choose Vibrant Colors: Add a pop of color by using bright fabric or paint. Vibrant dividers can brighten up your day.
- Apply Themed Stickers: Are you a sports fan or music lover? Stick themed stickers on dividers for a personal touch.
- Incorporate Patterns: Use patterned contact paper to give your organizer a stylish look. Geometric shapes or florals—it’s up to you!
- Engrave or Paint Labels: Instead of plain labels, engrave or use decorative lettering. It’s both chic and functional.
- Mix Materials: Blend different materials like wood with fabric for a unique texture combo. It adds an artistic flair.
- Add Aromatic Elements: Line your drawer with lavender sachets or cedar strips. They keep socks smelling fresh.
- Create a Display Section: Reserve a spot for your favorite or most-used socks. It keeps them front and center.
- Install Lighting: Add a small LED light strip inside your drawer. It can help you find socks easily in low light.
Let your creativity guide you as you customize. These ideas should spark inspiration for a diy sock drawer organizer that’s not just practical, but also a joy to use every day.


