Introduction
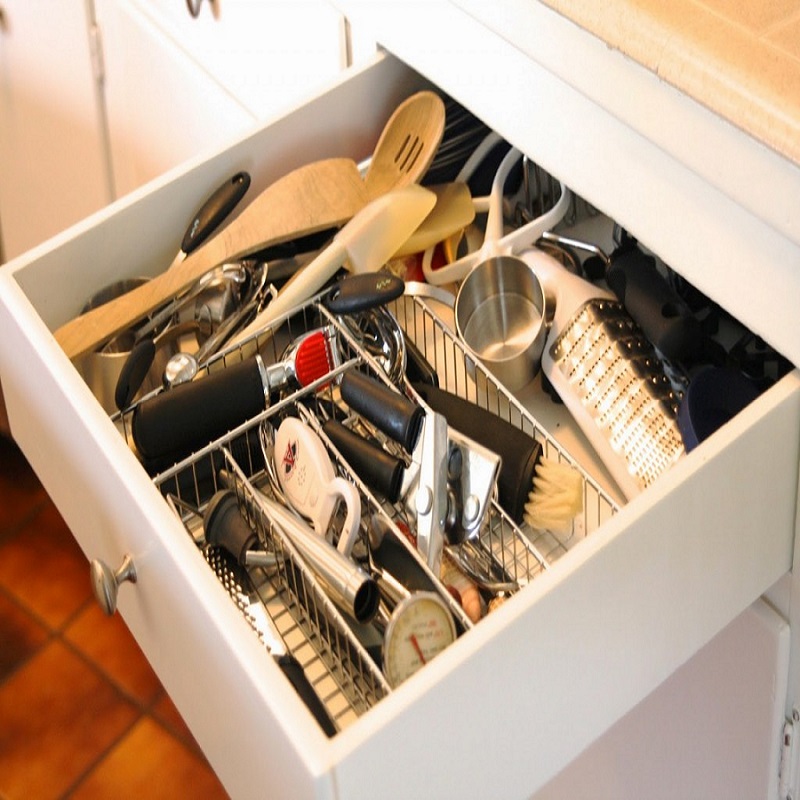
Keeping your kitchen drawers organized can be a daunting task, especially when it comes to finding the right spot for every utensil. However, crafting a personalized DIY utensil drawer organizer is a satisfying project that not only tidies up your space but also injects a touch of personal flair into your kitchen. This guide provides a clear, step-by-step approach to creating your very own custom drawer organizer. By following this guide, you’ll learn how to measure, cut, and install a tailored drawer divider that’s designed to fit your unique needs. Whether you’re an experienced DIY enthusiast or a first-timer, this project is an excellent weekend undertaking that will enhance the functionality and aesthetics of your kitchen.
Benefits of a Custom Utensil Drawer Organizer
Creating a DIY utensil drawer organizer offers a variety of benefits that can simplify your daily routine and enhance your kitchen environment. Here are some key advantages to taking on this DIY project:
- Tailored Fit: A custom organizer ensures each utensil has a designated spot, minimizing clutter and making the best use of your drawer space.
- Increased Efficiency: With a personalized layout, you can arrange your tools in a way that makes sense for your cooking habits, saving time during meal prep.
- Cost Savings: Building your own drawer organizer can be less expensive than purchasing pre-made solutions, especially if you already have some materials on hand.
- Personal Satisfaction: There’s a unique sense of accomplishment that comes with crafting something with your own hands that perfectly suits your needs.
- Adaptability: If your tool collection changes or you move to a new home, a DIY drawer organizer can be easily adjusted or remade to fit new circumstances.
By investing a little time and effort into creating a diy utensil drawer organizer, you not only declutter your space but also tailor your kitchen to your cooking style. This investment pays off with every use, as you enjoy a kitchen that truly feels like it’s made just for you.
Materials Needed for DIY Drawer Organizer
To craft your customized DIY utensil drawer organizer, begin by gathering the essential materials. Here’s what you’ll need:
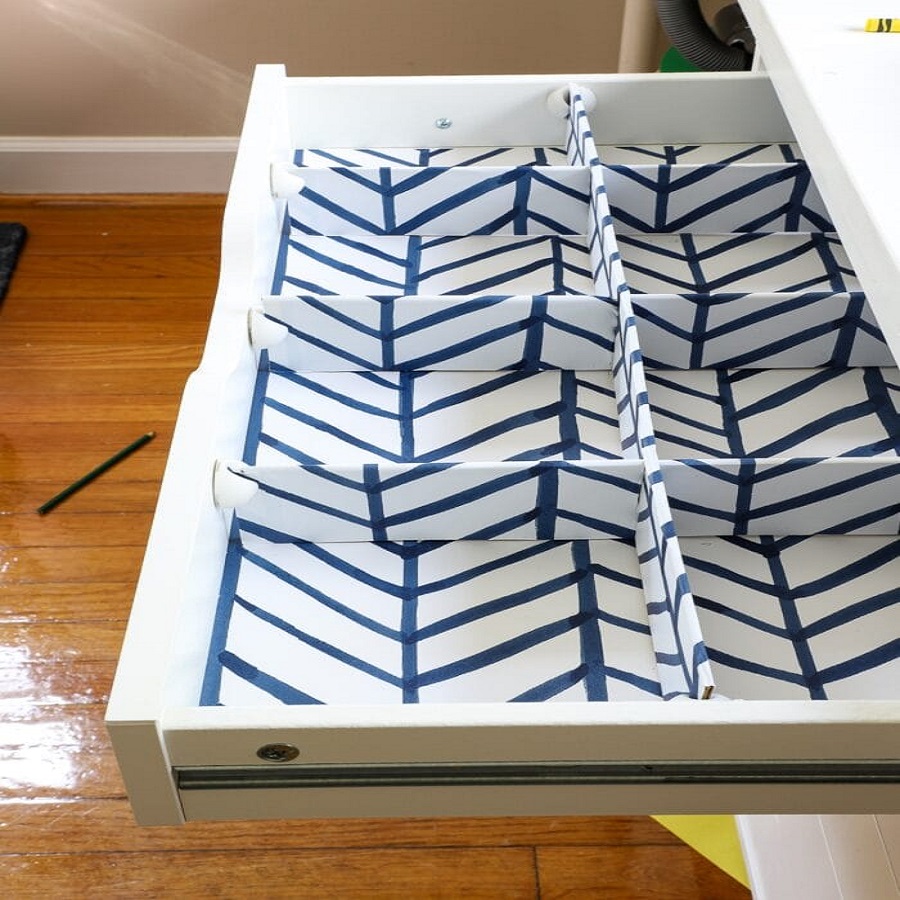
- Wood: Choose a wood type suited for indoor use and resistant to moisture—popular options include pine, poplar, or hobby boards readily available in home improvement stores. Ensure the boards are the appropriate width and thickness for your drawer.
- Measuring Tape: Crucial for accurate measuring of both your drawer and the wood. Precision is key in ensuring your organizer fits perfectly.
- Saw: A miter saw or hand saw is essential for cutting the wood pieces to the required dimensions.
- Sandpaper: Needed for smoothing the edges of the wood cuts to prevent splinters and ensure a clean, safe finish.
- Wood Glue: For securing the wood dividers in place. Alternatively, you can use nails or screws if you prefer a more permanent fix.
- Rubber Bumpers or Foam Pads (optional): To prevent the organizer from sliding around, these can be attached to the bottom or sides.
- Finishing Oil or Wood Sealant (optional): To protect the wood and give your drawer organizer a polished look.
This list of materials can be easily sourced from a local hardware store or can be ordered online. Prep these materials before you start with the cutting and assembling processes to streamline your DIY project.
Step-by-Step Guide to Building Your Drawer Organizer
Ready to transform your messy utensil drawer into a masterpiece of organization? Follow this simple step-by-step guide to create a DIY utensil drawer organizer that’s both functional and tailored to your kitchen’s specific needs.
Choosing the Right Wood
Start by selecting the ideal wood for your project. Poplar or pine hobby boards are great choices due to their durability and resistance to moisture. Make sure they match your drawer’s height and are smooth to avoid snags.
Before buying, measure your drawer’s interior dimensions. Aim for boards that fit these specs or can be easily trimmed down. Home improvement stores typically stock a variety of widths and can cut to size if needed.
Cutting and Measuring Techniques
With your measuring tape, mark the precise lengths on your wood based on your drawer’s measurements. Use a miter saw or hand saw for clean cuts. Remember, measure twice, cut once to avoid mistakes.
After cutting, sand down all edges. This removes any splinters and ensures each piece fits snugly without harming your utensils or fingers.
Securing the Dividers
To hold the dividers firmly in place, wood glue is an efficient and easy-to-apply option. If you’re looking for a more durable solution, consider using screws or nails but be cautious to avoid splitting the wood.
Ensuring a Perfect Fit
Once your dividers are cut and sanded, test place them in your drawer. If they move around, use rubber bumpers or foam pads on the sides or bottom. This small addition creates tension and keeps everything secure.
There you have it—a precise, cost-effective organizer that looks as good as it functions. With this guide, you’re well on your way to enhancing your kitchen’s efficiency and style.
Installing the Drawer Organizer
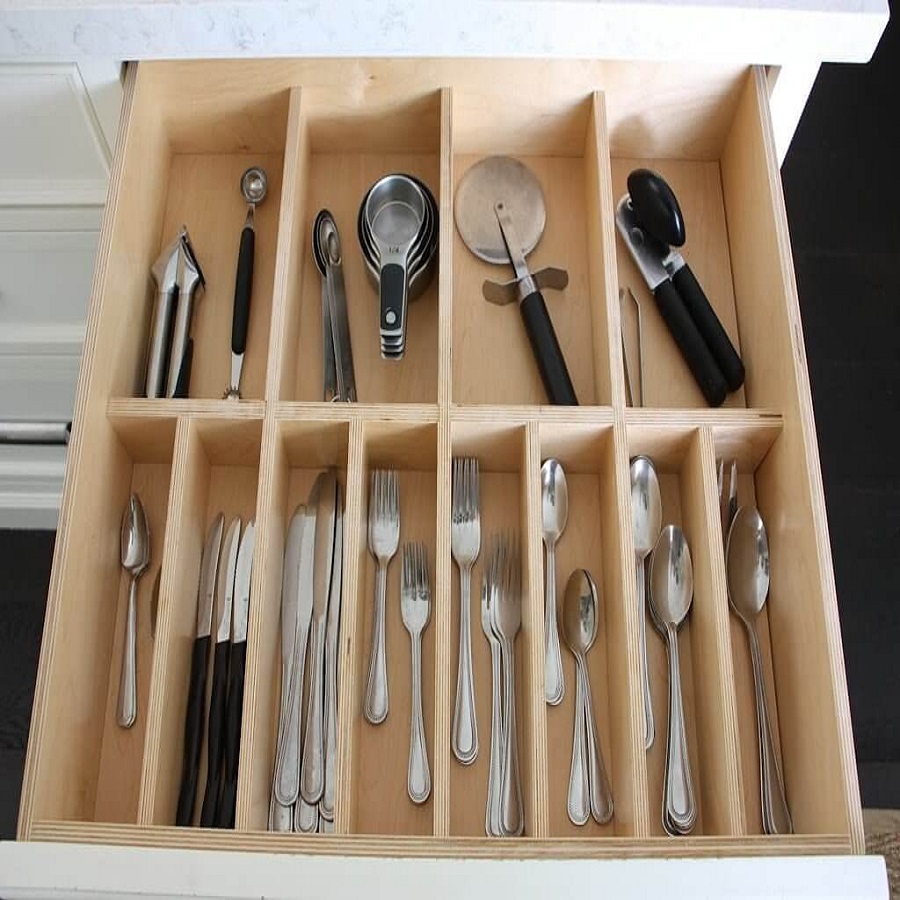
After creating and preparing your dividers based on the previous steps, it’s time to install them into your drawer to transform it into a well-organized space. Here’s how to secure and ensure a perfect fit for your DIY utensil drawer organizer.
Securing the Dividers
Begin by placing each divider into the drawer according to your design. Apply wood glue on the touching ends of each divider to secure them together, ensuring they are snugly fit. If you choose to use screws or nails, pre-drill holes to prevent the wood from splitting. This will hold the dividers firmly in place and prevent any shifting.
Ensuring a Perfect Fit
Once all the dividers are secured, place the entire setup into the drawer to check the fit. If there is any movement, adjust by adding small rubber bumpers or foam pads on the sides or the bottom of the dividers. This creates tension against the drawer walls, securing the organizer in place without slipping. Check again to ensure each section fits your utensils appropriately, making adjustments where necessary.
Finalizing the installation of your DIY utensil drawer organizer is crucial to its functionality. Making sure that everything fits perfectly ensures that your drawer will remain neatly organized and efficient in daily use.
Additional Tips for Maximizing Drawer Space
Beyond building a DIY utensil drawer organizer, there are other ways to maximize drawer space. Here are additional tips:
- Use Vertical Space: Stand items like chopping boards and baking sheets on end.
- Compartmentalize: Group similar items together to find what you need quickly.
- Declutter Regularly: Remove items you don’t use to free up space.
- Adjustable Dividers: Consider expandable or sliding dividers for flexibility.
- Stackable Containers: Use them for small items to keep them from getting lost.
Be sure to apply these strategies to keep your drawers tidy and make the most of your space.
Maintaining Your DIY Drawer Organizer
Maintaining your DIY utensil drawer organizer ensures it stays functional and attractive. Here are some tips for keeping it in top condition:
Regular Cleaning
Dust and cooking residues can build up in drawer organizers. Clean it routinely. Remove all utensils, and wipe down the organizer with a damp cloth. If necessary, use a mild soap.
Check for Wear and Tear
Inspect your drawer organizer periodically for any signs of wear or damage. Wood can warp or crack over time. Repair small issues promptly to avoid bigger problems.
Refresh the Finish
If your organizer starts to look dull or worn, consider reapplying finish or sealant. This not only improves appearance but also extends the wood’s life.
Tighten Any Loose Components
If you used screws or nails, check them occasionally to ensure they’re tight. Loose dividers can lead to disorganization, making the drawer messy again.
Reorganize as Needed
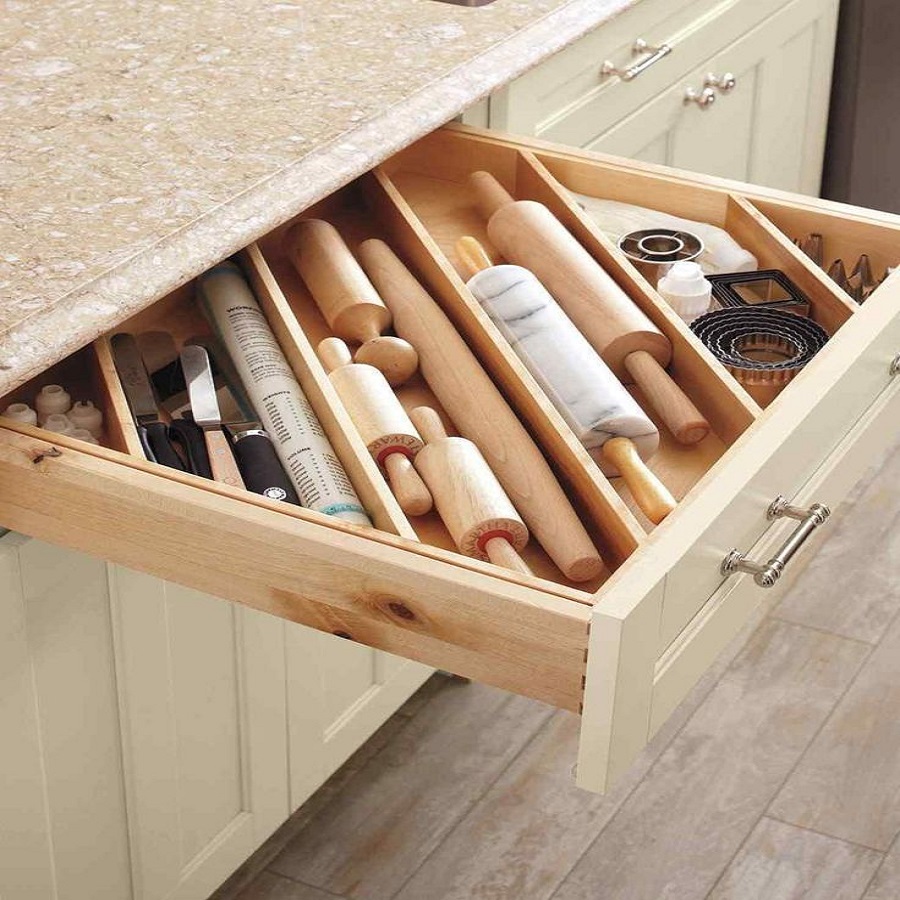
Your kitchen needs may change over time. Adjust the dividers or add new ones as needed to fit new utensils or tools.
By following these maintenance tips, your DIY utensil drawer organizer will continue to function beautifully. This keeps your kitchen efficient and your utensils within easy reach.
Conclusion
Congratulations on completing your DIY utensil drawer organizer! By following this guide, you have successfully transformed a chaotic drawer into an organized, functional space tailored to fit your home. This project not only enhances efficiency in your kitchen but also brings a personalized touch that makes every cooking experience more enjoyable. Remember, this organizer is adaptable and can evolve with your needs, ensuring it remains useful for years to come. Keep it in great condition by following the maintenance tips provided. Enjoy the satisfaction of a job well done every time you open your newly organized drawer!
