Benefits of Having an Organized Bathroom Drawer
An organized bathroom drawer saves you time and reduces stress. You can quickly find what you need without rummaging. It enhances the appearance of your bathroom, making it look tidy and well-kept. Moreover, it helps in preventing clutter buildup. This is especially useful in small spaces where every inch counts. Additionally, keeping your items neatly stacked and visible can prolong their life by preventing damage caused by improper storage. Lastly, an organized drawer promotes hygiene. It keeps your grooming and beauty products clean and free from contamination, contributing to better personal care.
Essential Materials for DIY Drawer Organizer
To start your DIY bathroom drawer organizer project, you will need several materials. Here’s a straightforward list to help you gather what you need:
- Measuring Tape: Accurately measure drawer dimensions to customize your organizer.
- Pencil and Paper: Sketch your layout plan before construction.
- Wood or Acrylic Sheets: These will form the dividers. Choose based on durability, aesthetics, and ease of cutting.
- Saw or Cutting Tool: Cut the sheets into divider pieces.
- Sandpaper: Smooth the edges of the dividers after cutting, ensuring they are safe to handle.
- Wood Glue or Strong Adhesive: Assemble the divider pieces inside the drawer.
- Ruler or Straight Edge: Ensure your cuts are straight.
- Paint or Wood Stain (optional): Add a finish to your dividers for a polished look.
- Velvet Liner or Non-Slip Pads (optional): Keep items in place and add a touch of luxury.
Select materials that match your bathroom’s style and your functionality needs. Remember, the diy bathroom drawer organizer should be both practical and visually appealing. With the right materials, you’ll be one step closer to a clutter-free, personalized bathroom space.

Measuring and Planning Your Drawer Layout
When crafting your diy bathroom drawer organizer, precise measuring and planning are key. Start by emptying your drawer and cleaning it out. This gives you a clear space to work with. Take your measuring tape and record the drawer’s length, width, and height.
Next, consider what you wish to store in your drawer. Sort your items by type and size. This helps in deciding how many dividers you’ll need and their dimensions. Use a pencil and paper to sketch a rough layout. Factor in the size of the items and how often you use them. Position frequently used items at the front of the drawer for easy access.
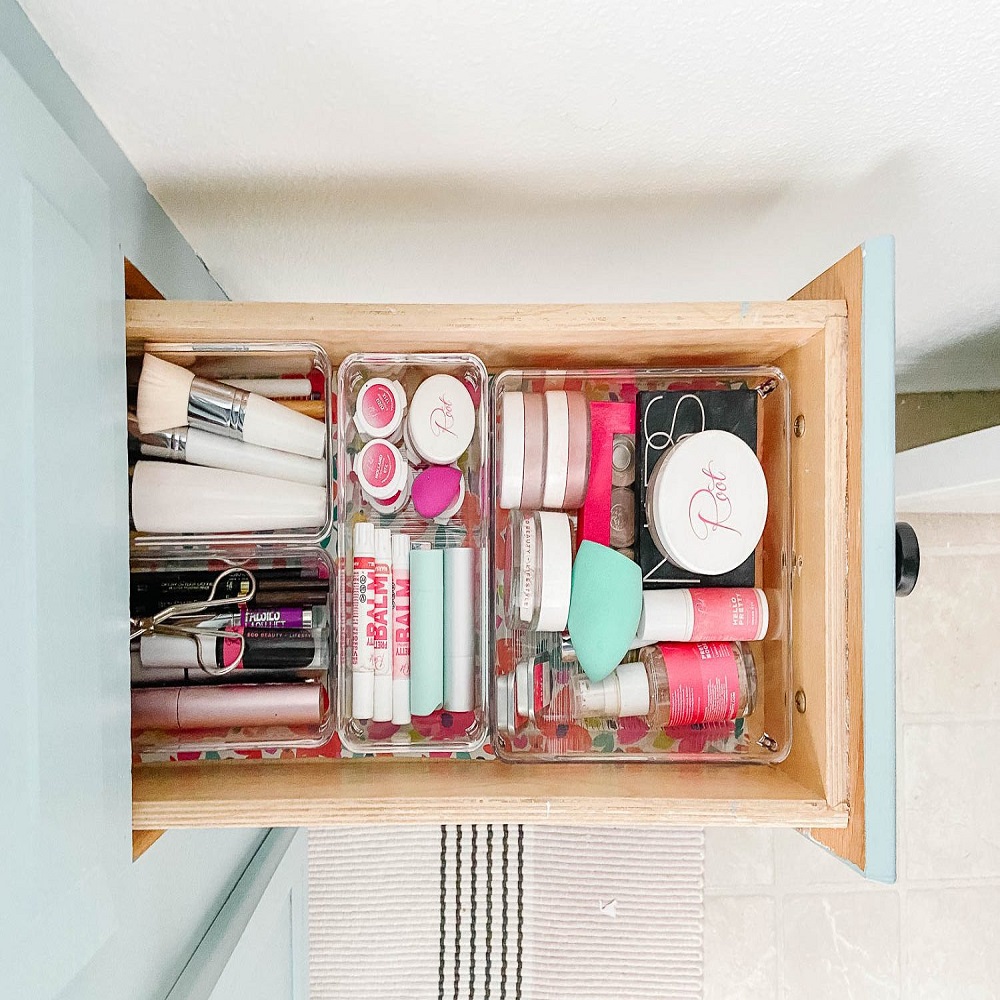
Ensure your plan uses the drawer space effectively. Think about creating different sections for various categories like makeup, grooming tools, or skincare products. If you plan on storing bottles, make sure they can stand upright without obstruction.
Once your layout is clear on paper, double-check your measurements. Correct measurements prevent wasted materials and time. They also ensure your organizer fits perfectly into your drawer.
Preparing and planning form the foundation of a successful diy bathroom drawer organizer. With careful measuring and thoughtful layout, your bathroom drawer will transform into a well-organized space that serves your needs.
Step-by-Step Guide to Creating Your Drawer Organizer
Creating a DIY bathroom drawer organizer is a simple project if you follow these steps:
- Gather all materials: Before starting, make sure you have all the essential materials listed in the previous section.
- Measure your drawer: Use a measuring tape to get the exact dimensions of your drawer.
- Sketch the layout: On a piece of paper, draw the layout of your dividers based on the items you will store.
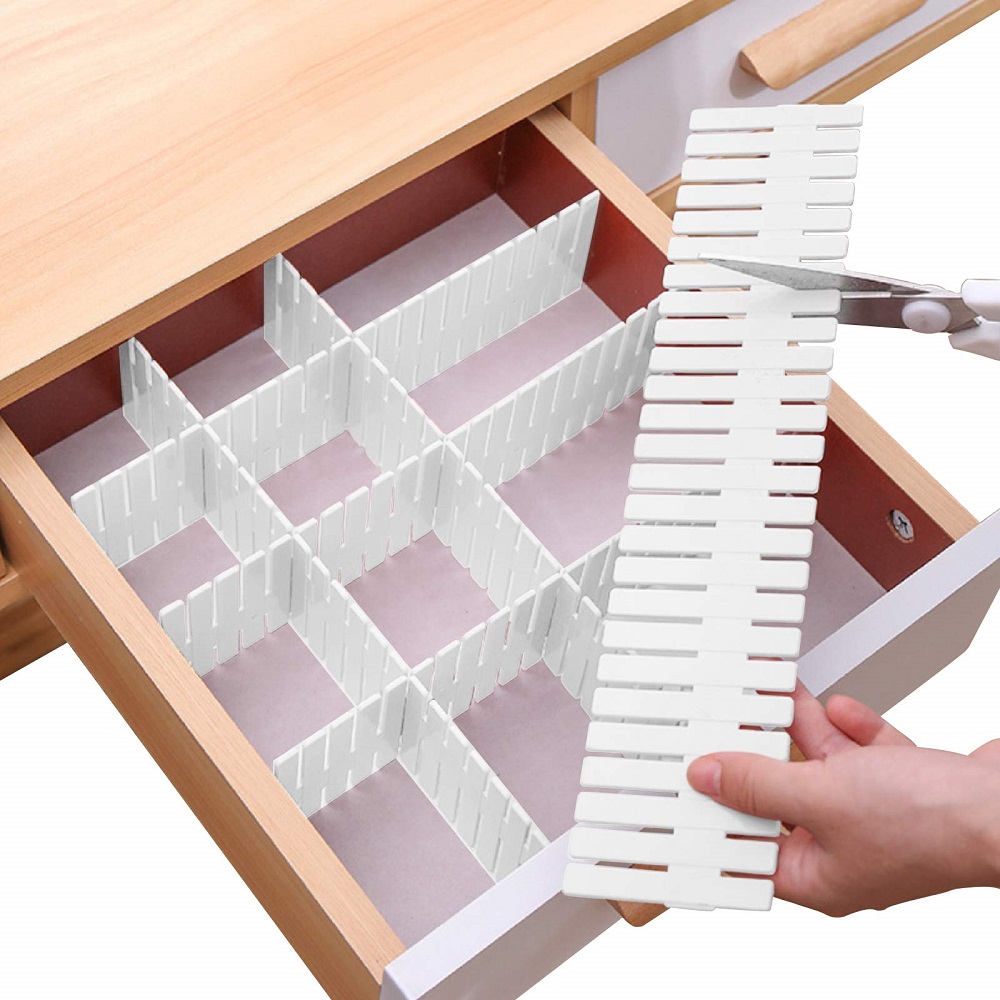
- Cut the dividers: With your saw or cutting tool, cut the wood or acrylic sheets according to your plan.
- Smooth edges: Use sandpaper to smooth out any rough edges on your dividers, ensuring they are safe to handle.
- Dry fit: Place the dividers into your drawer without glue to test the fit and arrangement.
- Glue the dividers: Once satisfied with the fit, use wood glue or strong adhesive to secure the dividers in place.
- Add finishes: If desired, paint or stain the dividers for a custom look.
- Line the drawer: Use a velvet liner or non-slip pads on the bottom of the drawer for added luxury and stability.
- Organize your items: Once the glue is dry, organize your items into the sections created by your dividers.
Repeat these steps for any additional drawers you wish to organize. Remember to allow adequate time for any paint or adhesive to dry before placing items back into the drawer. This step-by-step guide can transform a cluttered space into a streamlined, efficient storage area in your bathroom, thus completing your diy bathroom drawer organizer project.

Customization Tips for Drawer Dividers
Customizing your DIY bathroom drawer organizer can enhance functionality and aesthetic appeal. Here are some tips to help you personalize your dividers:
- Adjustable Dividers: Consider making or purchasing adjustable dividers. This allows you to change the compartment sizes as your storage needs evolve.
- Material Choices: Mix different materials like wood and acrylic to create a unique look. Each material can be chosen based on its durability and appearance.
- Color Coding: Paint your dividers in different colors. This not only adds to the visual appeal but also helps in quickly identifying drawer contents.
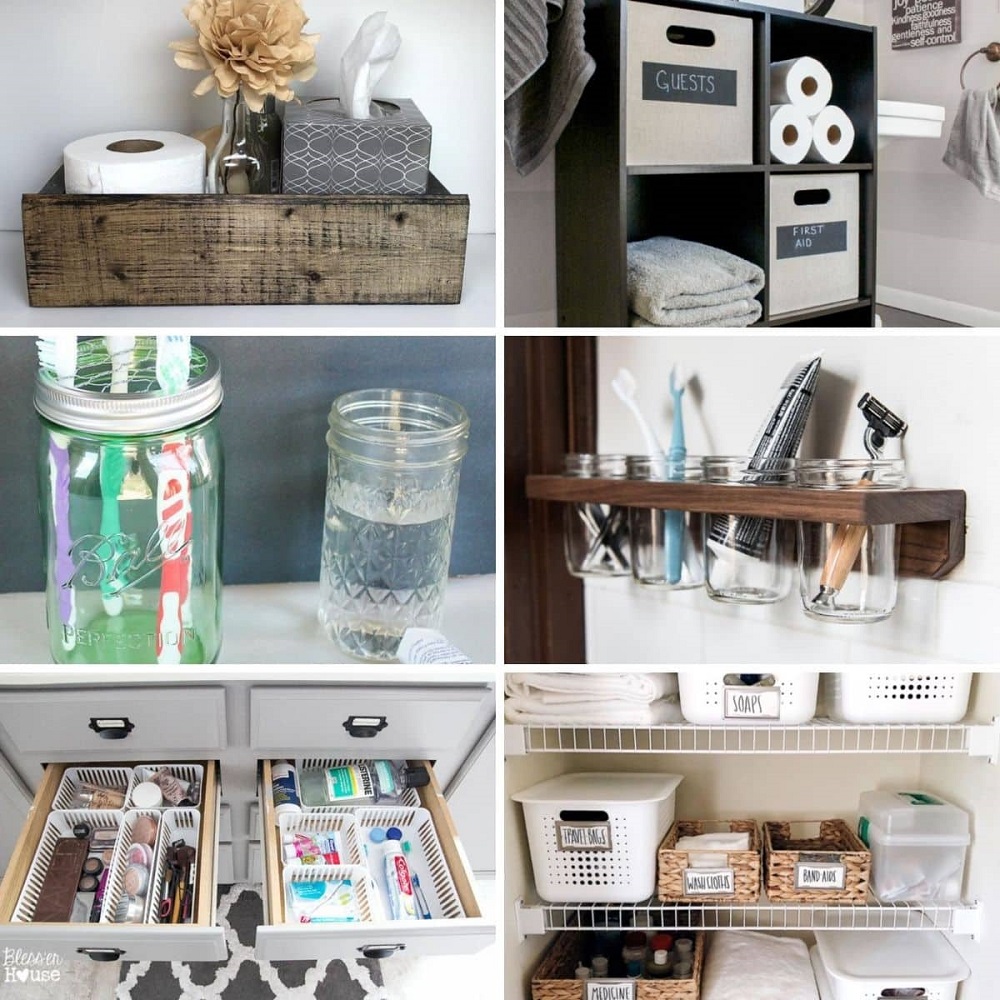
- Labeling: Attach labels to each section. It makes finding items easier and keeps everyone who uses the drawer organized.
- Decorative Linings: Use decorative paper or fabric to line the bottoms of your dividers. This adds a touch of personality and can also protect the items stored.
- Utility Hooks: Install small hooks on the sides or undersides of compartments. They are great for hanging jewelry, hair ties, or other small items.
By implementing these customization tips, your DIY bathroom drawer organizer will not only meet your functional needs but also reflect your personal style. This makes daily routines more enjoyable and efficient.
Maintaining and Organizing Your New Drawer Space
Once you have created your DIY bathroom drawer organizer, maintaining its neatness is crucial. Here are simple yet effective strategies to keep your drawer organized:
- Regular Cleaning: Clean your drawer at least once a month. Remove everything, wipe down the surfaces, and organize the items back.
- Daily Habits: Make it a habit to put items back in their designated spots after use. This prevents clutter from accumulating.
- Item Review: Periodically review the items in your drawer. Discard or relocate items that you no longer use or need.
- Space Maximization: Utilize all available space efficiently. Consider using vertical space by adding stacking compartments if necessary.
- Consistency: Keep the layout consistent. This helps in memorizing where each item is, saving you time.
By following these simple steps, your DIY bathroom drawer organizer will serve its purpose effectively, keeping your bathroom tidy and your items easily accessible.

Eco-Friendly Options for DIY Bathroom Drawer Organizers
Choosing eco-friendly options for your DIY bathroom drawer organizer not only benefits the environment but also ensures a healthier space for you and your family. Here are a few sustainable materials and practices you can adopt:
- Bamboo Dividers: Use bamboo, a highly sustainable material, to create your drawer dividers. Bamboo grows rapidly and has a smaller environmental footprint compared to wood.
- Recycled Plastic: For those who prefer the durability of plastic, opt for dividers made from recycled plastic. This reduces landfill waste and the demand for new plastic production.
- Reclaimed Wood: Utilize reclaimed wood as an alternative to new lumber. This wood comes from old furniture, buildings, and other structures, giving your organizer a unique look while conserving resources.
- Non-Toxic Paints: If you decide to paint your dividers, choose non-toxic and low-VOC (Volatile Organic Compounds) paints. These are better for indoor air quality and less harmful to the environment.
- DIY Natural Wood Polishes: Make your own wood polish using olive oil and lemon juice for a natural, chemical-free way to protect and enhance your wooden dividers.
- Minimalist Design: Design your organizer to use less material without compromising functionality. A minimalist approach can help reduce waste and maintain efficiency.
By integrating these eco-friendly materials and practices into your project, your DIY bathroom drawer organizer not only becomes a testament to your craft but also a step towards sustainable living. This aligns your DIY project with environmentally friendly goals, making it a win-win for both you and the planet.


