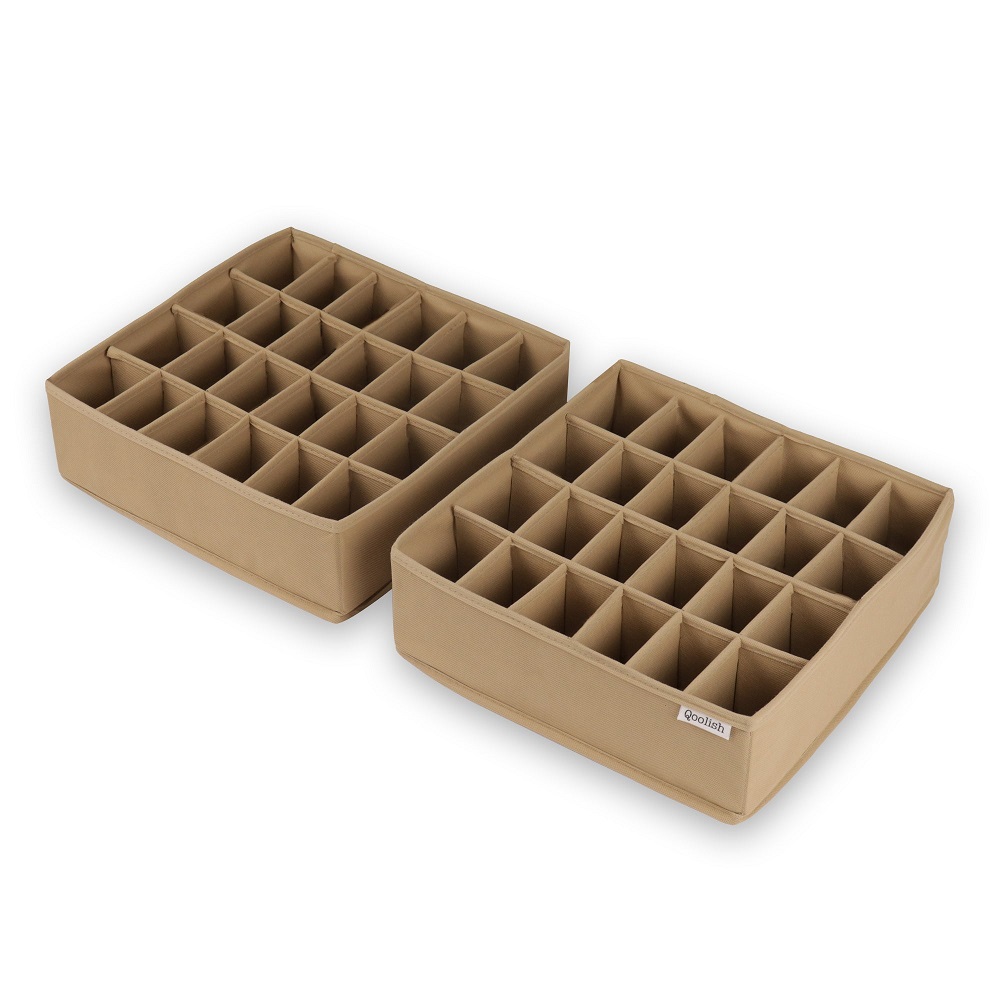
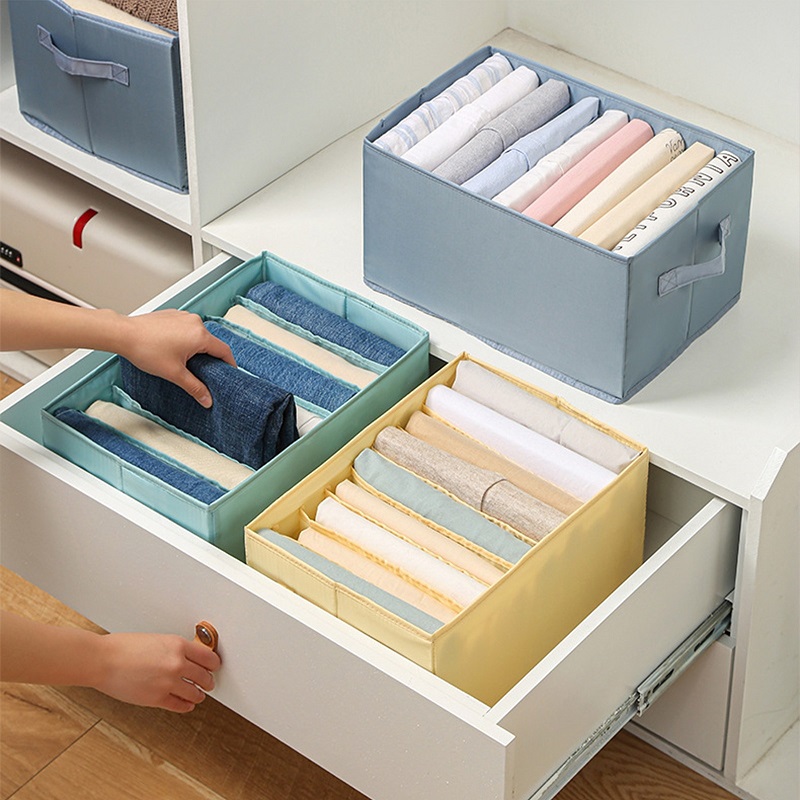
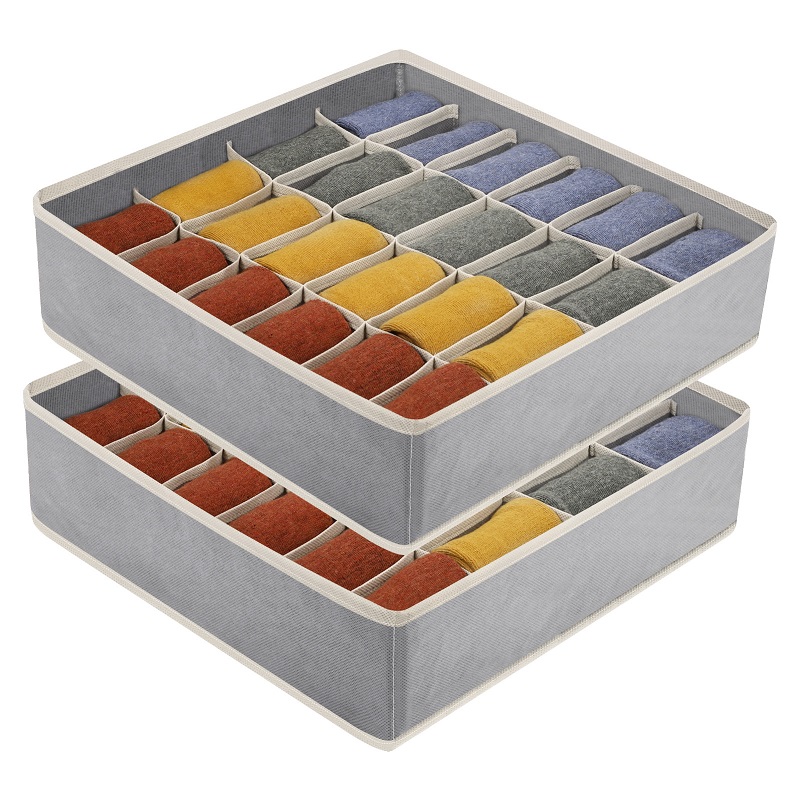
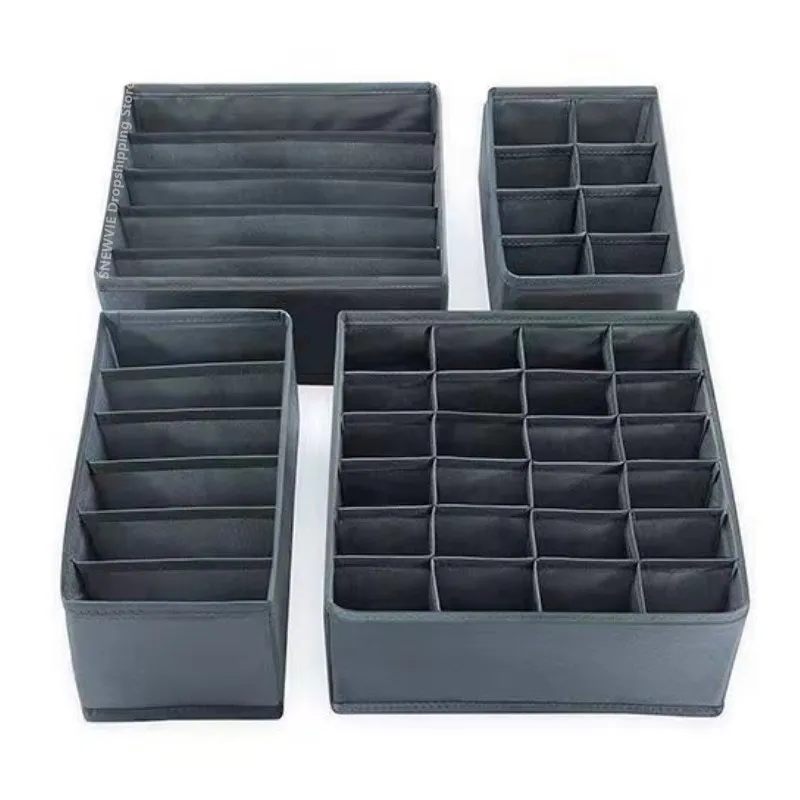
Creating a DIY cardboard drawer organizer is not only a practical endeavor but also an enjoyable crafting experience. This article aims to provide an in-depth guide on crafting an effective cardboard drawer organizer that can help you declutter your space while giving you creative satisfaction.
Why a Drawer Organizer?
The Importance of Organization in Daily Life
Maintaining an organized space can significantly impact our productivity and mental clarity. Ongoing chaos from a cluttered drawer can lead to stress and frustration, potentially hindering your ability to find what you need quickly. An organizer helps categorize items, streamlining access and management. Moreover, a well-organized environment fosters creativity and increases focus. When you can easily locate your materials, your workflow becomes smoother, and you can devote more energy to tackling your tasks.
Environmentally Friendly Crafting
In today’s age of environmental awareness, crafting with repurposed materials is not only trendy but also responsible. Using cardboard means you’re utilizing resources that might otherwise end up in a landfill. By crafting your drawer organizer, you are making a statement against wastefulness. Not only do you simplify your space, but you also contribute positively to the environment. Understandably, the choice to craft an organizer goes beyond mere utility; it serves as a reminder of our duty to be conscious of our environmental footprint.
Gathering Your Materials
Essential Supplies for Your Organizer
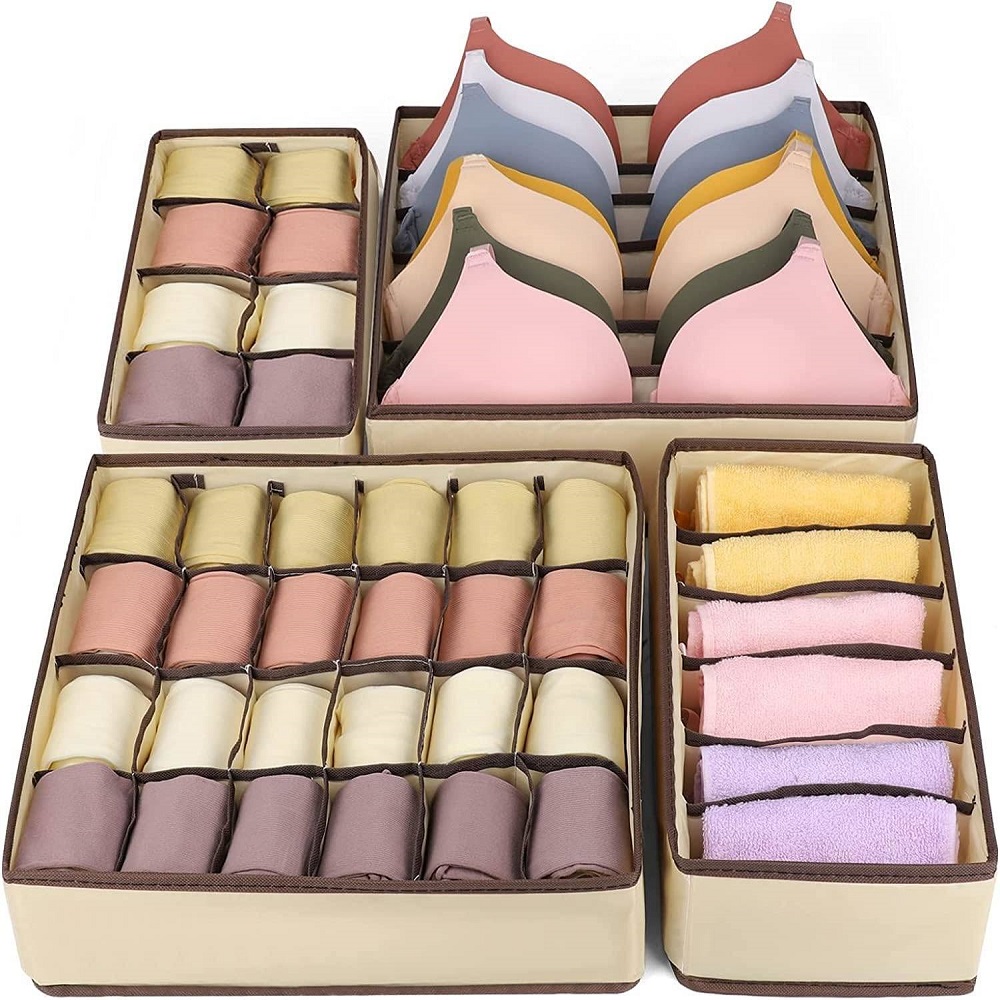
Before diving into the crafting frenzy, it’s crucial to gather all necessary materials. For your cardboard drawer organizer, you will require some basic items: cardboard boxes (old shoeboxes are an excellent choice), a utility knife or scissors, a ruler, glue (or double-sided tape), a pencil, and a cutting mat for safety.
You might also want to incorporate decorative items like wrapping paper, fabric, or contact paper to give your organizer a personal touch. A fun and colorful design can make your drawer not only functional but aesthetically pleasing, brightening up your space. Having all supplies ready allows for a smooth workflow, so take your time to ensure you don’t miss anything.
Where to Source Materials
Finding cardboard isn’t a challenge, as it can be sourced from several places around your home or local community. Old shipping boxes, packaging from new electronics, and even scrap materials from local businesses can often be acquired for free. Talk to local retailers; many may have spare boxes they’re willing to give away. Recycling and reusing materials not only supports the planet but can also inspire creativity as you consider how to use various sizes and shapes in your final design.
Measuring and Planning Your Organizer
The Importance of Accurate Measurements
Before you start cutting your cardboard, it’s essential to know the dimensions of the drawer you plan to organize. Measure the width, depth, and height of the drawer to determine how much cardboard you’ll need. Consider the items you intend to store, as different sections may require various heights and widths based on differing objects. Accurate measurements allow for a nice fit, helping to maximize the space and ensuring that items are secure and organized.
Designing Your Layout
Once you have measured your drawer, it’s time to sketch a design. This can be as simple or as intricate as you desire. Basic grids work for most organizing needs, but if you have specific items to arrange, consider customizing the layout to accommodate them. Drafting a blueprint on paper allows you to visualize what sections will hold various items, making it easier to move forward with the planning process.
Try to categorize items into small, medium, and large sections depending on their size. For example, have a section dedicated to smaller tools or utensils, while larger items can have more significant compartments. This design process promotes a sense of order and minimizes the risk of future clutter.
Constructing the Base of Your Organizer
Cutting and Shaping Cardboard
Once your measurements and design are finalized, you can start cutting your pieces. Use a ruler and pencil to mark your cuts clearly on the cardboard. A utility knife generally provides cleaner cuts than scissors, especially for rigid materials. If crafting with children or inexperienced hands, supervise the cutting process to ensure safety.
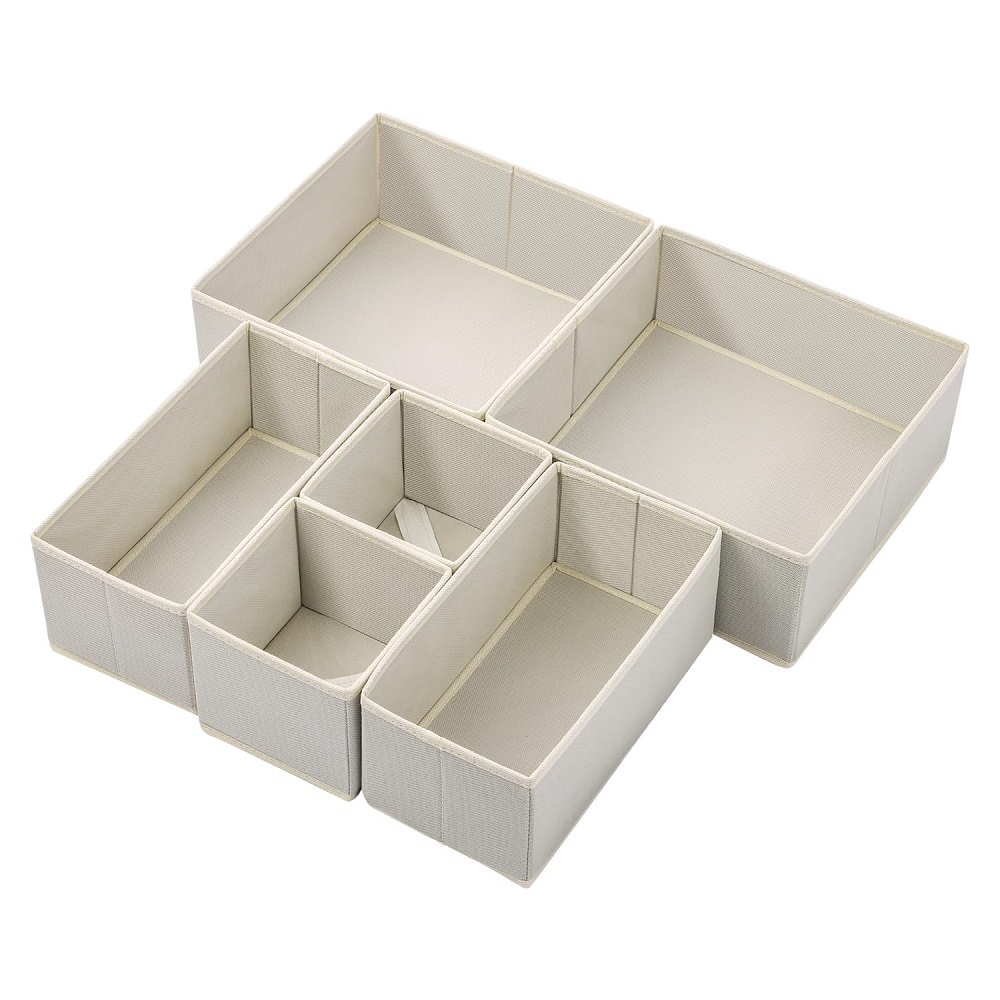
Cut out the main base of the organizer first. You might want to create a divided base that has different sections protruding upwards. Carefully make your cuts to ensure symmetric compartments that match your design. The goal is to allow the organizer to fit snugly within your drawer while providing enough structure to hold various items securely.
Assembling the Base
After cutting out all pieces, including the base and the dividers, it’s time to assemble them. Begin by gluing or taping the base to the bottom of the drawer. Ensure that it’s secured well, as this will provide stability for the organizer. Next, begin to attach the dividers according to your layout. Ensure each divider is straight and well-supported to avoid collapsing during use.
Utilizing heavy-duty glue can also provide an added layer of support while ensuring your items do not fall out of place once they are stored. For additional durability, you may consider covering the bottom with tape for added reinforcement. Allow the organizer to dry completely before adding any items.
Personalizing Your Organizer
Decorating Your Cardboard Organizer
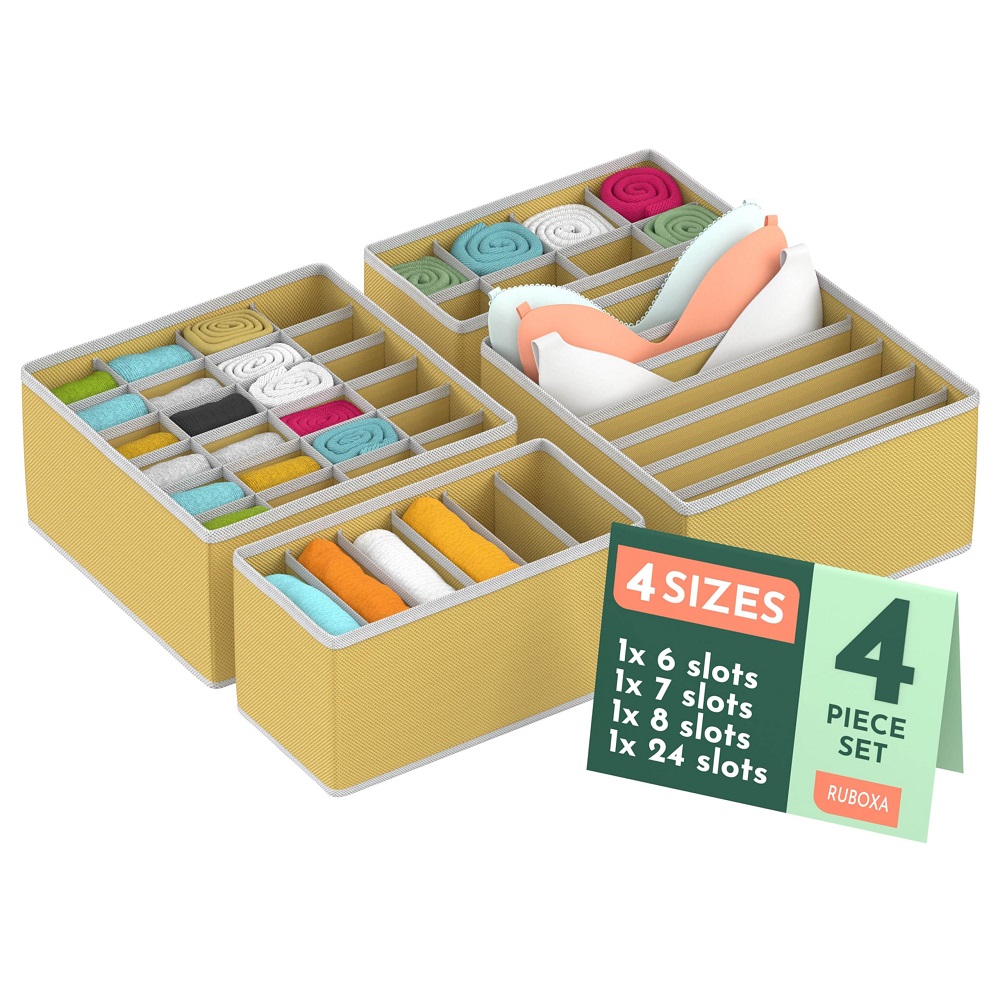
While function is paramount, aesthetics can also enhance the overall experience of using your cardboard drawer organizer. Consider painting or wrapping your cardboard in contact paper, fabric, or decorative wrapping paper. This personalization can make the organizer a delightful feature in your space rather than just a hidden away accessory.
Feel free to let your creativity shine! You can use patterns, colors that align with your home décor, or even different finishes. A little effort can transform an ordinary cardboard piece into something visually appealing that reflects your personality and style. Consider decoupage or embellishments like stickers and washi tape to add fun, unique details.
Labeling Sections for Ease of Use
Another effective way to enhance your organizer’s functionality is through labeling. Clearly label each section based on the items that will reside there. Use stickers, printed labels, or create your own with paper and tape. This will allow you to find what you need at a glance, cutting down on time spent rummaging through drawers.
Proper labeling not only emphasizes organization but also promotes accountability when returning items, encouraging you to maintain the order you’ve created. Consider using a consistent format or themed style for the labels for a polished look.
Maintenance Tips for Your Organizer
Regularly Assessing Your Drawer Organization
Once implemented, the drawer organizer will require minimal effort to maintain dysfunction. However, it is important to routinely assess how well it meets your needs. Regular check-ins can help you understand which sections might need adjusting or which items aren’t getting used.
Take a moment to open the drawer once a month, evaluate its state, and see if any items are misplaced or should be removed. If you notice certain categories need more space, take this as a cue to adjust your original layout. Flexibility will allow your organizer to adapt to your evolving needs.
Cleaning Out Clutter and Reorganizing
Over time, items may accumulate in your drawer that no longer serve a purpose. Thus, practicing a “spring cleaning” mindset can eliminate unnecessary clutter. Once every few months, take the time to remove everything, wipe down the surface of the drawer, and reorganize as necessary.
Additionally, be vigilant about putting things back in their designated places to maintain the integrity of your organization system. By staying proactive about keeping your organizer in check, it will continue to function perfectly for your needs.
Conclusion: Enjoying Your Custom DIY Drawer Organizer
Creating a DIY cardboard drawer organizer is a rewarding project that combines creativity with functionality. Not only does it provide an excellent way to keep your space organized, but it also gives you a craft project that you can be proud of.
In the end, the satisfaction that comes from a well-organized and personalized drawer can significantly enhance your home or office experience. A well-thought-out organizer reduces chaos and brings joy as you efficiently engage in your activities. So why wait? Gather your materials, let your creativity soar, and create a custom drawer organizer uniquely tailored to your needs. Your organized space awaits!
