Introduction to DIY Spice Drawer Solutions
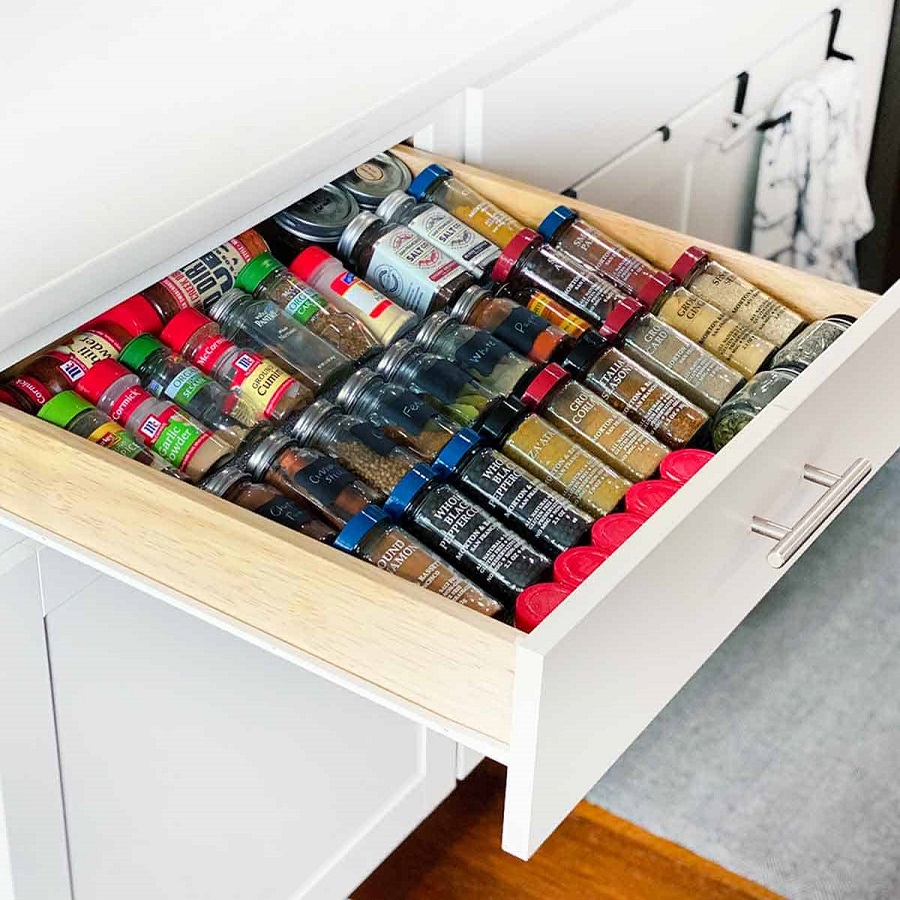
Are you tired of rummaging through a cluttered spice drawer? A DIY spice drawer organizer can turn chaos into order. Building your own spice drawer solution doesn’t only improve accessibility; it also adds a personal touch to your kitchen. Whether you’re a cooking enthusiast or a home organization addict, this DIY project is for everyone.
Creating a customized spice drawer is straightforward and rewarding. With a few tools, materials, and some creativity, you can craft an organizer that caters to your needs and fits perfectly into your drawer. This introduction will guide you through the essentials of making your own DIY spice drawer organizer, from planning to execution.
Embrace the satisfaction of DIY and the efficiency it brings to your cooking routine. Let’s dive into how to create a spice drawer organizer that fits your kitchen’s unique style and organization needs.
Essential Tools and Materials Needed
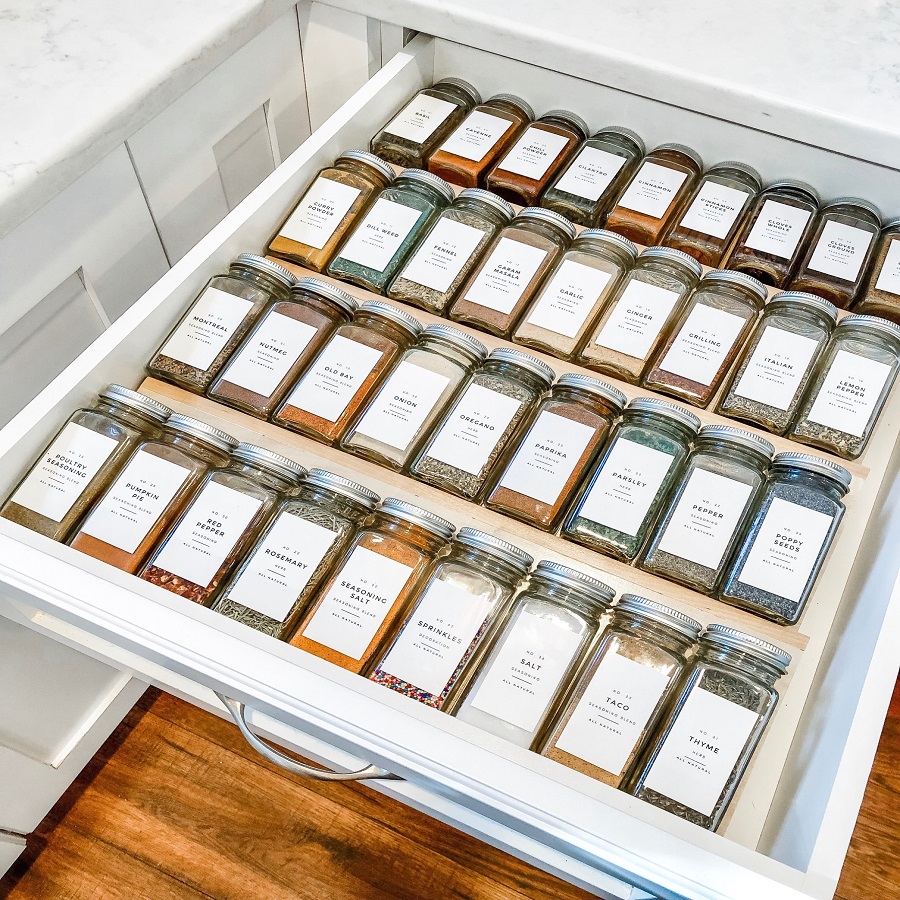
To start your DIY spice drawer organizer project, you will need a few key tools and materials. Here’s what you should have on hand:
- Plywood or Foam Board: Choose a sturdy base like plywood for a wooden organizer or foam board for a lightweight option.
- Measuring Tape: Essential for obtaining precise dimensions of your drawer and spice jars.
- Saw or Exacto Knife: A saw will cut through wood, while an exacto knife can shape foam board.
- Glue: Wood glue for wooden shelves, or hot glue for foam board construction.
- Brad Nailer or Scissors: For joining wooden pieces together or cutting non-slip liner.
- Non-Slip Liner: This will keep your spice jars from sliding around.
- Pencil: To mark measurements before cutting.
- Clamps or Ruler: Helps to keep things steady while cutting or measuring.
- Spice Jars (optional): If you desire uniformity, new jars can be a crisp addition.
Before you begin, ensure all your tools are in working condition. This step saves time and improves the efficiency of your DIY project. Choose materials that best fit your budget and the aesthetic of your kitchen. Remember, safety comes first, so wear protective gear when cutting materials.
Measuring Your Space: Best Practices
Success in crafting a DIY spice drawer organizer begins with precise measuring. Following best practices when measuring your space will ensure that your organizer fits perfectly and maximizes efficiency. Here are the steps to take for accurate measurements:
- Clear and Clean: Empty your drawer completely and give it a good clean. This provides you with a clear space to work with and accurate measurements.
- Measure Drawer Dimensions: Use a measuring tape to gauge the width, depth, and height of your spice drawer. Note down these dimensions as they will be crucial for your project.
- Account for Space: Remember to leave a bit of leeway for easy access and to prevent spices from getting stuck. Typically, an extra half inch to an inch will do.
- Count Your Spices: Determine how many spice jars you need to accommodate, as this will affect the number of shelves or tiers required.
- Consider Jar Heights: Measure the tallest jar you have to ensure that your organizer will still allow the drawer to close seamlessly.
- Drawer Extension: Pull out the drawer to its full extent to measure how far it comes out; this impacts how deep you can make your shelves.
Adhering to these measurement best practices is essential for creating a spice drawer organizer that is both functional and catered to your kitchen’s specifics. With the right preparation, you’ll be set for the subsequent steps of crafting your custom organizer.
Choosing Your Spice Jars: Size and Design Considerations
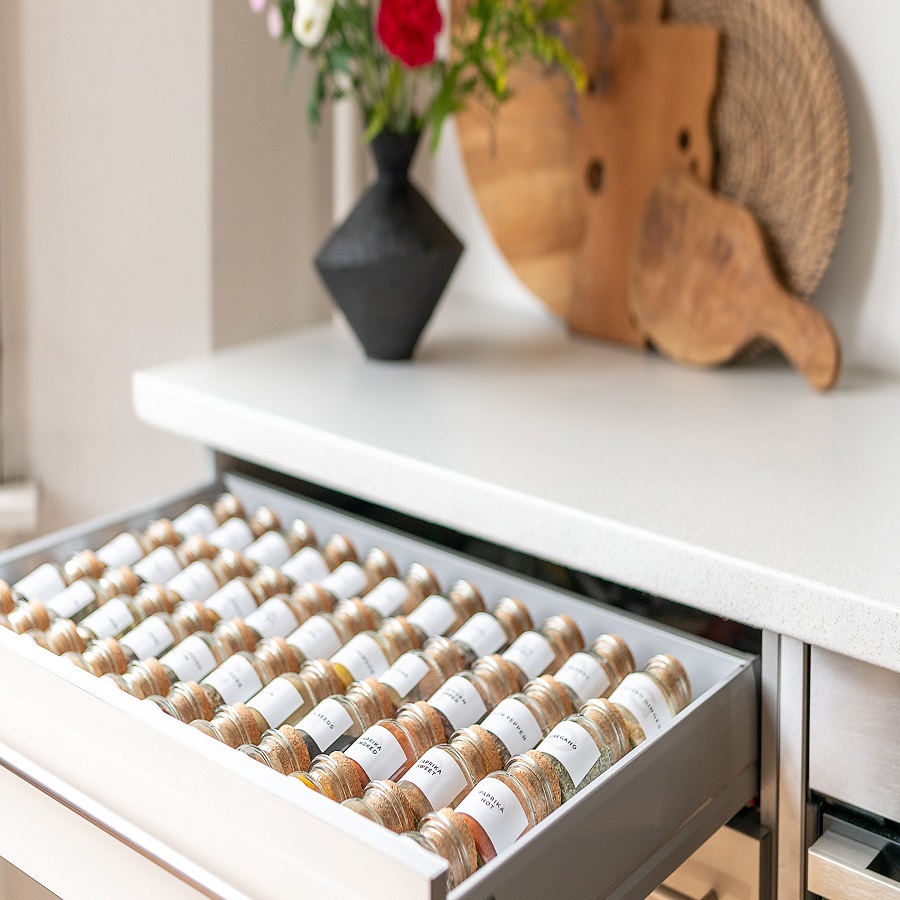
Choosing the right spice jars is a key step in creating an effective DIY spice drawer organizer. Consider the size and design of the jars to maximize space and harmony in your drawer. Here’s how to pick the best ones for your needs:
- Jar Size: Larger jars work well for spices you use often. Smaller jars are better for less-used spices. Measure them to fit your shelf design.
- Design and Style: Pick jars that match your kitchen’s look. Uniform jars create a tidy appearance. Various shapes add visual interest.
- Lid Type: Select jars with easy-to-open lids. Screw tops are common and secure. Flip tops offer quicker access.
- Material: Glass jars allow you to see contents at a glance. Plastic jars are lightweight and durable.
- Labeling Surface: Choose jars with flat sides for easy labeling. Clear labels help in finding spices quickly.
- Seal Quality: Ensure jars have airtight seals. This keeps spices fresh longer. Good seals also prevent spills.
- Availability: Pick jars you can easily find or replace. This makes it simple to maintain your organizer.
Remember that consistency in your jar selection will contribute to a neat and organized look. Take your time to find jars that not only fit your drawer but also suit your aesthetic and practical preferences. With the right jars in place, your DIY spice drawer organizer will not only be functional but also visually pleasing.
Cutting and Assembling Your Spice Shelves
Once you have your materials and measurements, it’s time to cut and assemble your spice shelves. This step turns your vision into a tangible organizer. Here’s how to do it:
- Cut to Size: Using your saw or exacto knife, cut the plywood or foam board based on your precise measurements.
- Smooth Edges: Sand down any rough edges on wood to prevent injuries and snagging. For foam board, trim any uneven areas with scissors.
- Assemble Shelves: Line up the cut pieces to form your shelves. Make sure each tier is level.
- Glue Together: Apply wood glue or hot glue to join the pieces. Be generous for a strong hold.
- Secure with Nails or Clamps: If using wood, reinforce with brad nails. For foam, use clamps or weights to hold pieces together while the glue dries.
- Test Fit: Before the glue fully sets, place the shelves in the drawer to ensure they fit properly.
- Adjust if Necessary: If shelves don’t fit, trim them down or adjust the angles to better fit the drawer.
Creating your own spice shelves gives you control over the organization and appearance of your drawer. With the right tools and careful construction, you will have a custom DIY spice drawer organizer that enhances your kitchen efficiency.
Attaching and Securing Shelves within the Drawer
After cutting and assembling your spice shelves, it’s time to fix them inside the drawer. This is where your project comes together. Here’s a step-by-step guide to ensure your shelves are well secured:
- Dry Fit Everything First: Before gluing, place all pieces into the drawer. Check for a precise fit.
- Mark Shelf Positions: Use a pencil to lightly mark where each shelf will sit in the drawer. This helps with accurate placement.
- Apply Glue:
- For wood, spread a thin layer of wood glue on the contact points. This ensures a strong bond.
- For foam board, dots of hot glue will suffice to hold the shelves in place.
- Place Shelves:
- Carefully set each shelf onto its marked spot.
- Press firmly to secure while the glue takes hold.
- Add Nails or Weights if Needed: If you’re using plywood:
- Tap in a few brad nails for extra security.
- Avoid splitting the wood by being gentle.
For foam board, place a heavy object on top until the glue dries.
- Let it Dry: Allow ample time for the glue to set completely.
- This could take a few hours for wood glue.
- Hot glue sets much faster.
- Check Stability: Once dry, tug on shelves to ensure they’re solidly attached.
- Adjust As Needed:
- If a shelf is loose, apply more glue.
- Ensure it’s aligned properly before the glue sets.
Securing your shelves properly is crucial for a durable and functional spice drawer organizer. With these steps, you’ll have a custom, sturdy setup ready for your spices.
Labeling Your Spices for Easy Identification
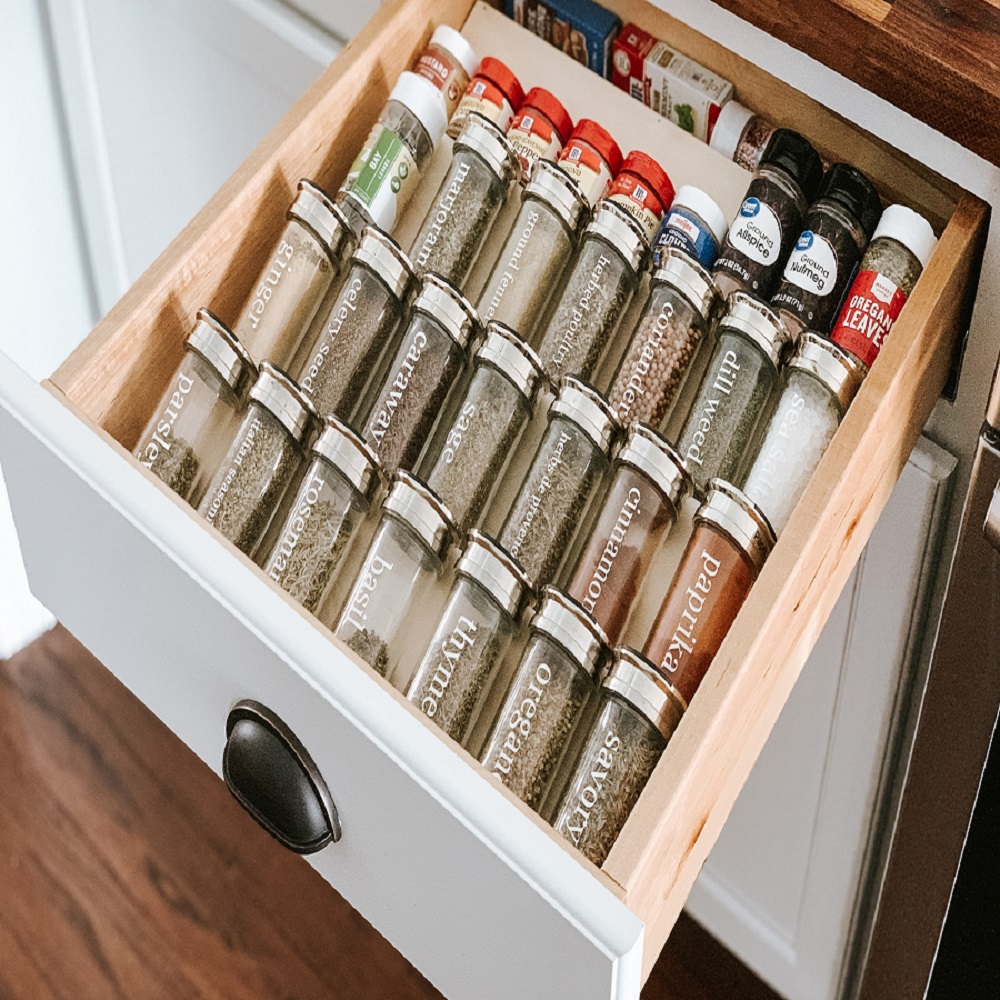
Labeling is a crucial step in completing your DIY spice drawer organizer. Proper labeling not only helps you quickly find the spices you need but also adds a polished look. Here’s how to label your jars effectively:
- Choose the Right Labels: Opt for labels that are clear and easy to read. They should withstand kitchen conditions like moisture.
- Consistent Style: Stick to one label style for a cohesive aesthetic. You might use printed or handwritten labels.
- Positioning: Place labels on the front of each jar. Make sure they are at the same height for uniformity.
- Font Size: Ensure the text is large enough to read at a glance. Don’t make it too small or too large.
- Include Details: Write down not just spice names but also expiration dates if you wish. It’s helpful for spice management.
- Update when Needed: If you switch out spices, update the labels accordingly to avoid confusion.
- Alignment: Line up labels neatly. A ruler can help get them straight on each jar.
- Seal Them: If using paper labels, cover them with a protective seal. This keeps them from peeling or smudging.
Follow these labeling tips to enhance your kitchen’s functionality and design. With every spice clearly identified, your cooking efficiency will soar.
Final Touches and Maintenance Tips
With your DIY spice drawer organizer built and installed, it’s time for the final steps to keep it looking great and functioning well.
- Inspect Regularly: Check shelves for any loose parts or wear. Repair as needed.
- Clean Spices: Wipe down spice jars to avoid buildup. Clean them every few months.
- Tighten Shelves: If you notice any movement, reapply glue or add more nails.
- Clear Clutter: Remove any spices you no longer use. Keep your drawer tidy.
- Refresh Labels: Update labels if they fade or need changes. Keep them legible.
- Dust Drawer: Use a soft cloth to dust your spice drawer. Do this often.
- Avoid Overloading: Don’t put too much weight on shelves. It can cause sagging.
- Rotate Spices: Move less-used spices to the back. Keep favorites within reach.
Regular upkeep will ensure that your DIY spice drawer organizer remains an efficient and attractive part of your kitchen. A little bit of maintenance goes a long way in keeping your kitchen organized and your spices in prime condition for use.


