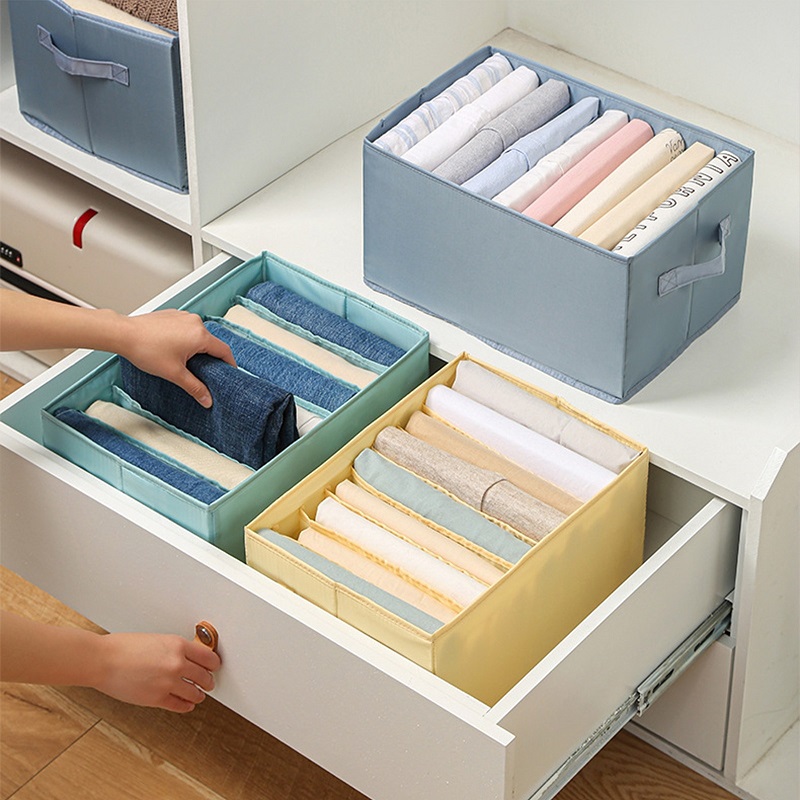
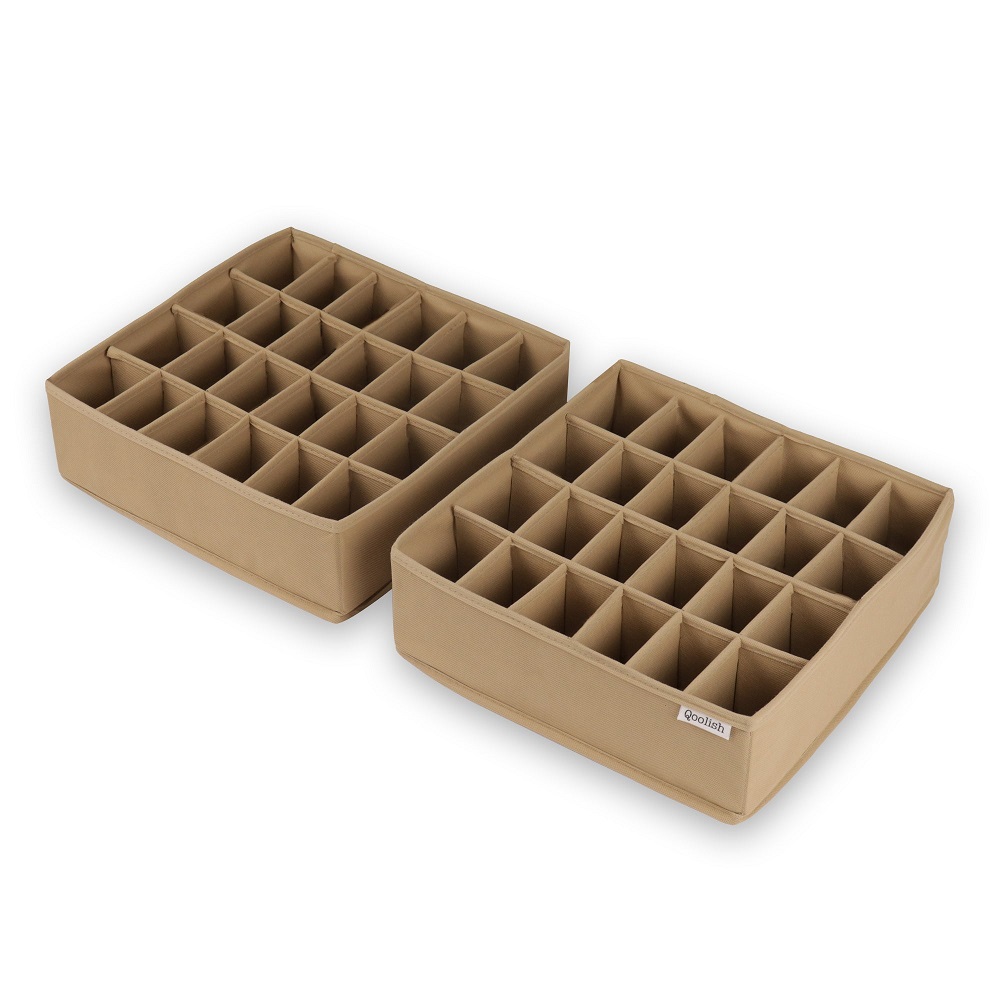
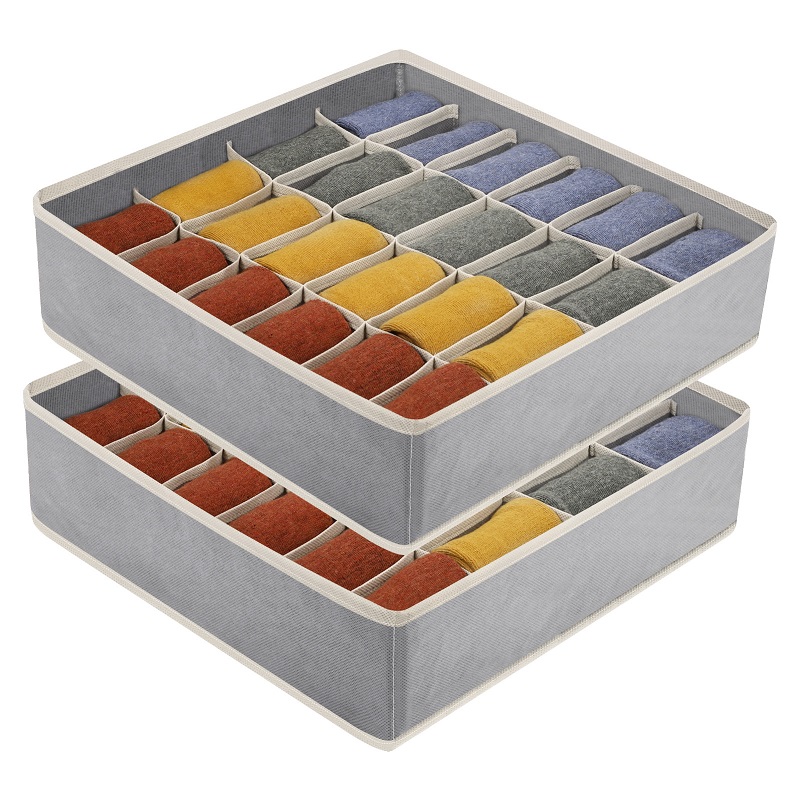
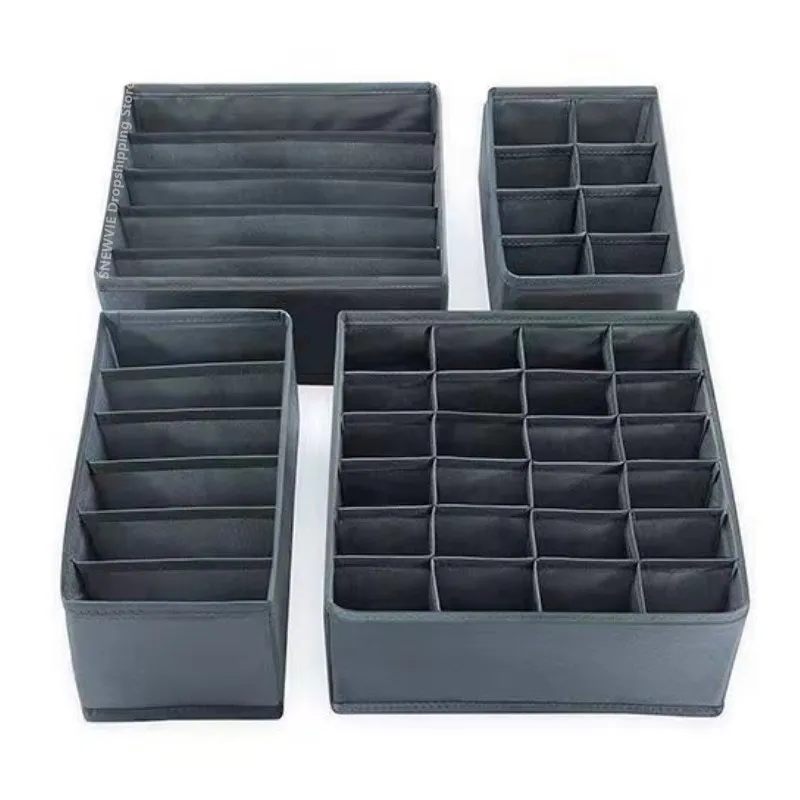
Organizing your living space is essential for creating a comfortable and functional environment. One of the most common areas that tend to get cluttered is drawers. Whether it’s in your kitchen, office, or bedroom, disorganized drawers can lead to frustration and wasted time. A simple solution to this problem is a DIY cardboard drawer organizer. This article will guide you through the process of creating an effective and customizable organizer using materials you likely already have at home.
Understanding the Benefits of a Drawer Organizer
Why Organizing is Important
Clutter can significantly impact your productivity and mental clarity. Disorganized spaces often lead to stress and anxiety as you search for items you need. A tidy environment, on the other hand, promotes focus and efficiency. By implementing a drawer organizer, you can streamline your belongings, making it easier to locate items quickly. Studies show that an organized space can enhance creativity and improve overall well-being.
Cost-Effective Solutions
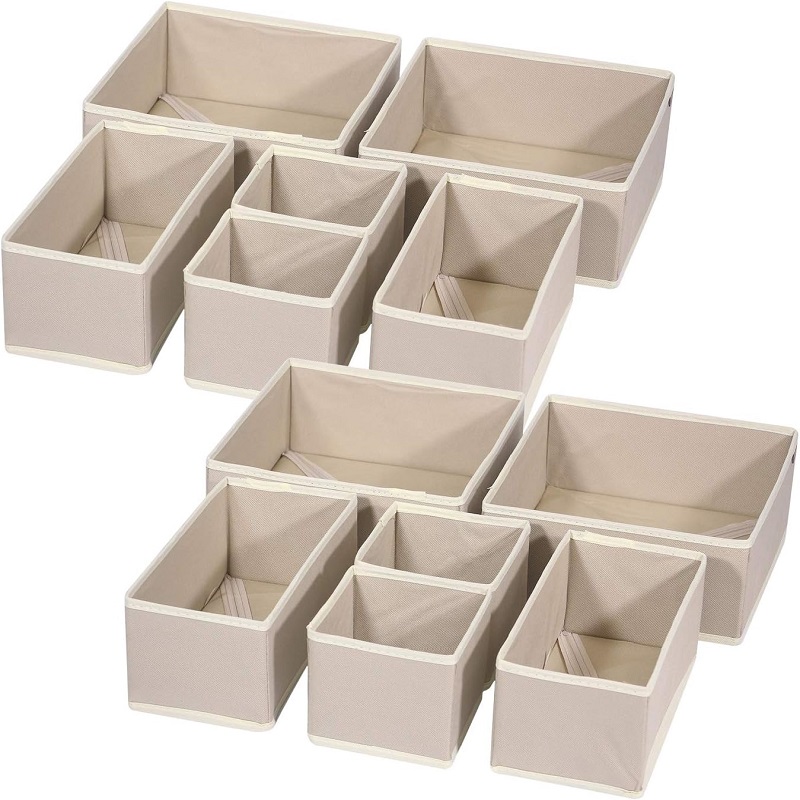
Investing in store-bought organizers can be expensive, especially if you need several for different drawers. DIY solutions allow you to customize your organizers according to your specific needs without breaking the bank. Cardboard is an inexpensive material that’s easy to work with and widely available. By repurposing old boxes, you’re not only saving money but also contributing to a more sustainable lifestyle by recycling materials that would otherwise go to waste.
Materials You’ll Need
Gathering Cardboard and Tools
To create your DIY cardboard drawer organizer, you’ll first need to gather some basic materials. The primary component will be cardboard, which you can source from old shipping boxes, cereal boxes, or any other sturdy cardboard packaging. Make sure to select cardboard that is strong enough to hold the weight of your items without bending or collapsing.
In addition to cardboard, you will need a few tools to assist in cutting and assembling your organizer. A sharp utility knife or scissors will work for cutting the cardboard, while a ruler or measuring tape will help ensure you get precise measurements. A pencil is also essential for marking where you’ll cut. If you want to add some flair to your organizer, consider incorporating decorative wrapping paper or paint to make it aesthetically pleasing.
Optional Decorative Elements
Beyond the basic materials, you might choose to include optional decorative elements. Adhesive labels can help you identify the contents of each section, making it easier to find what you need. Washi tape or colored markers are great for adding color and personality to your organizer. If you wish to reinforce the structure, consider using glue or clear tape. Personalizing your organizer can make the decluttering process more enjoyable and visually appealing.
Measuring Your Drawer Space
Assessing Your Drawer Dimensions
Before diving into the construction of your organizer, it’s crucial to measure your drawer space accurately. Start by removing everything from your drawer and giving it a good clean. Use a measuring tape to determine the width, depth, and height of the drawer. Note these measurements down, as they will guide you in cutting the cardboard to fit perfectly within the space.
Planning Your Layout
Once you have the measurements, plan how you want to organize the items within the drawer. Consider grouping similar items together, such as utensils in the kitchen or office supplies in your desk drawer. Visualize the layout of your organizer—decide how many compartments you’ll need and their sizes. Sketching a rough design can help clarify your vision, ensuring you utilize the drawer space efficiently.
Cutting the Cardboard
Preparing to Cut
After planning your layout, it’s time to cut the cardboard. Begin by marking the dimensions of each compartment onto the cardboard pieces using a pencil. Ensure you double-check your measurements before cutting to avoid wasting materials. It’s often helpful to label each piece based on its intended position within the organizer.
Making Precise Cuts
Using your utility knife or scissors, carefully cut along the marked lines. Take your time to ensure that the cuts are straight and clean to facilitate easier assembly later. If you’re using thicker cardboard, a utility knife may yield better results than scissors. Always cut on a stable surface and keep safety in mind by using a cutting mat to protect your workspace and blades.
Assembling the Organizer
Creating the Base and Dividers
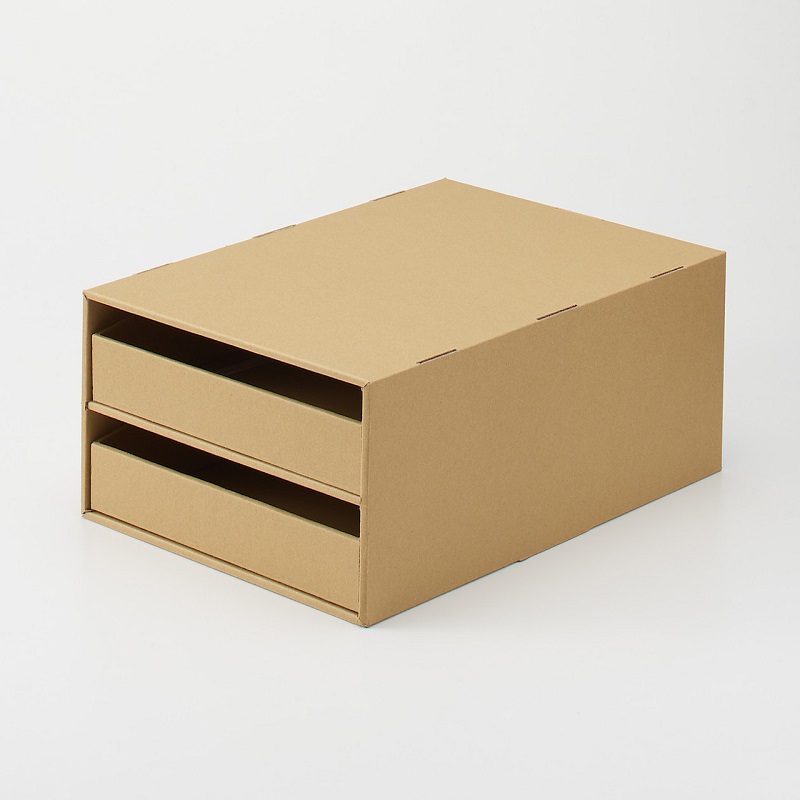
Now that you have all the pieces cut out, it’s time to assemble your organizer. Start with the base, which will be the bottom piece of cardboard that fits snugly into the drawer. Next, place the dividers in accordance with your planned layout. Use glue or tape to secure each divider in place. Hold each piece firmly until the adhesive sets, ensuring a sturdy structure.
Reinforcing the Structure
To make your organizer more durable, consider reinforcing the joints where the dividers meet the base. Adding extra strips of cardboard along the edges can provide additional support and prevent the dividers from wobbling. If you’re concerned about stability, you can also create corner supports using small triangular pieces of cardboard at each intersection. These reinforcements will help your organizer withstand daily use without falling apart.
Customizing Your Organizer
Adding Personal Touches
Once your organizer is assembled and secure, it’s time to personalize it. This step is where you can get creative! If you want a more polished look, consider wrapping the exterior of your organizer in decorative paper or fabric. This not only enhances the visual appeal but also adds a layer of protection to the cardboard.
Labeling Compartments
Labeling is crucial for maintaining organization. Use adhesive labels or washi tape to clearly mark each compartment, indicating what items belong where. This not only helps you quickly find what you need but also encourages others to return items to their designated places. If you prefer a more aesthetic approach, you can create custom labels using a label maker or decorative paper.
Organizing Specific Drawers
Kitchen Drawer Organization
The kitchen is one area where a cardboard drawer organizer can prove invaluable. Use smaller compartments for utensils, measuring spoons, or gadgets. Larger sections can accommodate cutting boards or baking sheets. By grouping items by function, you’ll make cooking and food preparation much more efficient. Consider creating a dedicated section for spices or condiments to keep your drawer tidy and accessible.
Office Drawer Organization
In an office setting, a drawer organizer can help you manage pens, sticky notes, paper clips, and other supplies. Create separate sections for writing instruments, documents, and miscellaneous items. Having a well-organized office drawer can enhance productivity and minimize distractions, allowing you to focus on your tasks. Additionally, consider adding a compartment for important documents or files that you frequently access.
Maintaining Your Organized Drawers
Regularly Assessing and Decluttering
Once you’ve successfully created your DIY cardboard drawer organizer, the next step is maintaining it. Set aside time every few months to assess the contents of your drawers. Remove items that no longer serve a purpose and reorganize compartments as necessary. This regular maintenance will help prevent clutter from building up again and keep your organizer functioning optimally.
Adapting to Changing Needs
As your life changes, so too may your organizational needs. Be open to modifying your cardboard organizer to accommodate new items or adjust to shifting priorities. If you find certain sections aren’t being used effectively, consider repurposing them for other items. The beauty of a DIY solution is that it can evolve along with you, adapting to your lifestyle and preferences.
Expanding Your Cardboard Organizer Skills
Exploring Other DIY Projects
Creating a cardboard drawer organizer can open the door to exploring other DIY projects. Use your newfound skills to tackle additional organizing tasks around your home. Consider making magazine holders, storage boxes, or even decorative wall art using cardboard. The possibilities are endless, and engaging in more DIY projects can foster creativity and resourcefulness.
Sharing Your Skills with Others
Sharing your knowledge of DIY crafting can inspire friends and family to take on their organizing projects. Host a crafting party where everyone can create their own drawer organizers using cardboard. Not only will this strengthen relationships, but it will also promote a culture of organization and sustainability among your loved ones. Encourage them to customize their organizers and share tips for maintaining a clutter-free environment.
Conclusion: Enjoying Your Organized Space
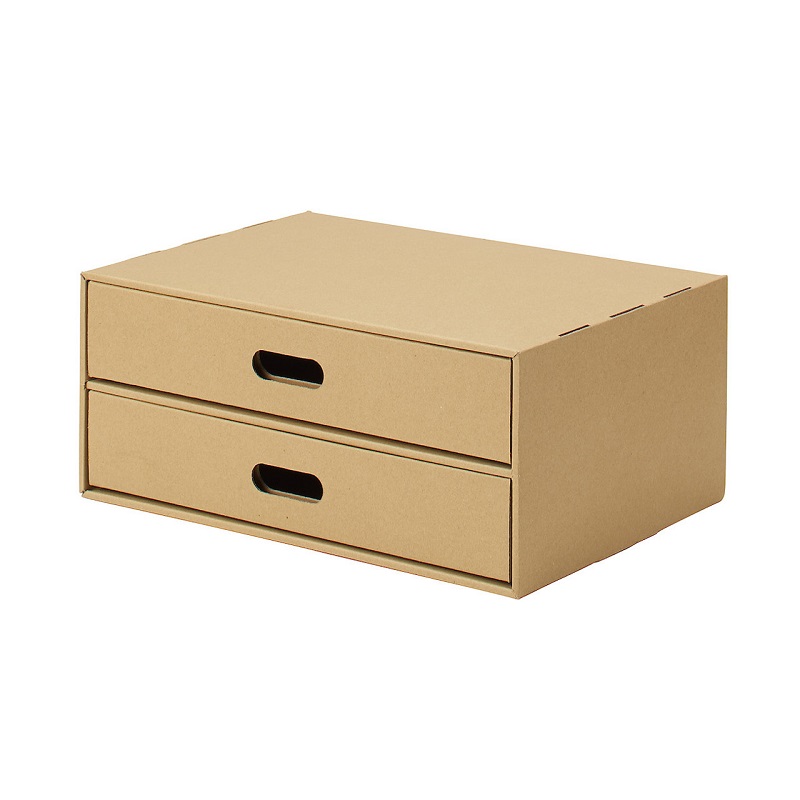
A DIY cardboard drawer organizer is a practical and eco-friendly solution for keeping your drawers tidy. With minimal effort and cost, you can create a versatile system that enhances the functionality of any drawer in your home. The satisfaction of seeing your organized drawers will not only bring peace of mind but also inspire you to maintain order in other areas of your life.
By regularly assessing your organizational needs and adapting your DIY skills, you can create an inviting and efficient living space. Embrace the simplicity of cardboard and enjoy the benefits of a well-organized environment. Your journey towards a clutter-free home begins with just a few simple steps and a little creativity. Happy organizing!


