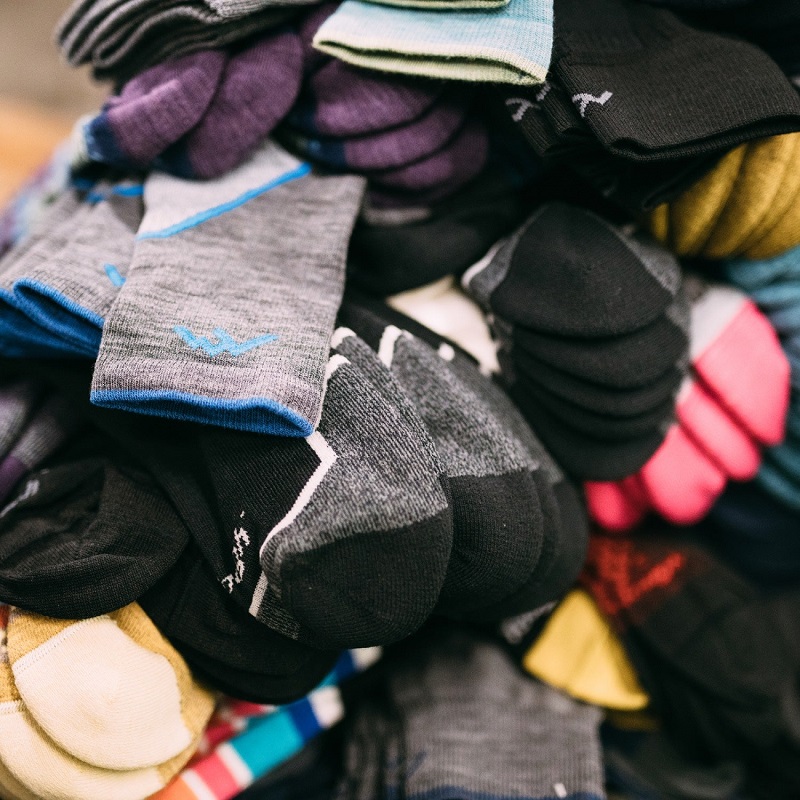
Organizing your sock drawer can be a game-changer for maintaining a tidy and functional closet. A well-organized drawer not only saves time but also helps extend the lifespan of your socks. Creating your own DIY sock drawer organizer is a cost-effective and personalized solution. This article will guide you through the steps to craft your own organizer, ensuring that every sock has its place.
Why You Need a Sock Drawer Organizer
Benefits of an Organized Drawer
An organized sock drawer offers numerous advantages. First and foremost, it simplifies your daily routine. No more rummaging through piles of socks to find a matching pair. An organized drawer also helps maintain the condition of your socks by preventing them from getting stretched or tangled. Furthermore, it makes it easier to keep track of your sock inventory, helping you avoid duplicates and ensuring you know when it’s time to replace worn-out pairs.
The Cost-Effectiveness of DIY
Opting for a DIY sock drawer organizer can save you money compared to purchasing pre-made organizers. Many commercial options can be expensive, and their size and design might not fit your drawer perfectly. By making your own organizer, you can tailor it to your specific needs and preferences, ensuring a perfect fit for your space. Plus, using materials you already have at home or inexpensive supplies can make this project a budget-friendly endeavor.
Materials You’ll Need
Basic Supplies
To start, gather the basic materials needed for your DIY sock drawer organizer. You’ll need:
- Cardboard or foam board: These materials are sturdy and can be easily cut to size.
- Scissors or a utility knife: For cutting the cardboard or foam board.
- Ruler and pencil: To measure and mark where you’ll cut.
- Adhesive or glue: To assemble the pieces of your organizer.
- Fabric or decorative paper (optional): To cover the organizer for a more polished look.
These materials are generally inexpensive and can often be found around the house, making this project both economical and accessible.
Additional Tools for a Polished Finish
For those who want a more refined look, additional tools and materials can enhance your organizer. Consider using:
- Fabric tape or contact paper: For covering the cardboard or foam board to add a touch of style.
- Dividers or small containers: If you prefer a more modular approach, you can incorporate small containers or dividers to separate different types of socks.
These extra touches can make your organizer not only functional but also aesthetically pleasing, adding a personal flair to your drawer.
Measuring Your Drawer
Accurate Measurements
Before you begin cutting and assembling your organizer, accurate measurements of your sock drawer are crucial. Measure the length, width, and depth of the drawer to ensure that your organizer will fit perfectly. It’s helpful to measure multiple points, as drawers can sometimes be uneven.
Planning the Layout
Once you have your measurements, plan the layout of your organizer. Decide how many compartments you want and their sizes. Consider grouping socks by type or color, and think about how much space each section will need. Sketching a simple diagram can be a useful way to visualize how everything will fit together.
Cutting and Assembling Your Organizer
Preparing the Base
Start by cutting the cardboard or foam board to match the dimensions of your drawer. You’ll need a base piece that fits the bottom of the drawer and additional pieces for the sides and dividers. Use a ruler to measure and mark where you’ll cut, and then carefully cut the pieces using scissors or a utility knife.
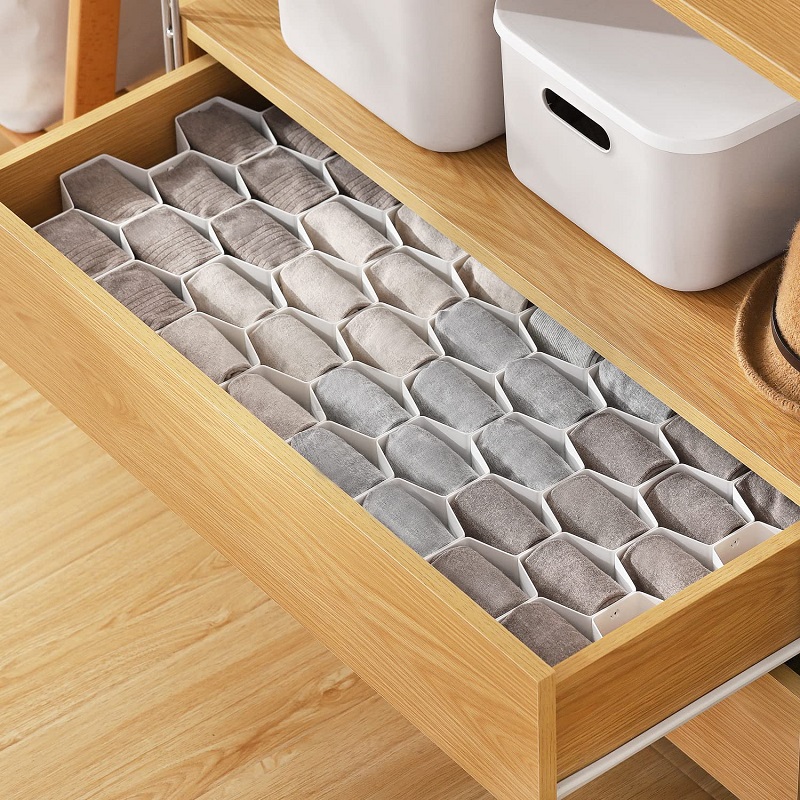
Creating Compartments
Assemble the base and sides first, using glue or adhesive to secure the pieces together. Once the base is in place, add dividers to create compartments. You can adjust the sizes of the compartments based on your preferences. Ensure that all pieces are firmly glued and allow the glue to dry completely before placing the organizer in your drawer.
Adding a Finishing Touch
Covering Your Organizer
To give your organizer a polished look, consider covering it with fabric or decorative paper. Cut the material to size, leaving a little extra to wrap around the edges. Apply glue to the surface of the organizer and press the fabric or paper into place. Smooth out any wrinkles and trim any excess material.
Optional Enhancements
For an extra touch, you might want to add labels to each compartment or use decorative tape along the edges. These enhancements can make it easier to find and sort your socks, and they add a bit of personal style to your organizer.
Organizing Your Socks
Sorting Your Socks
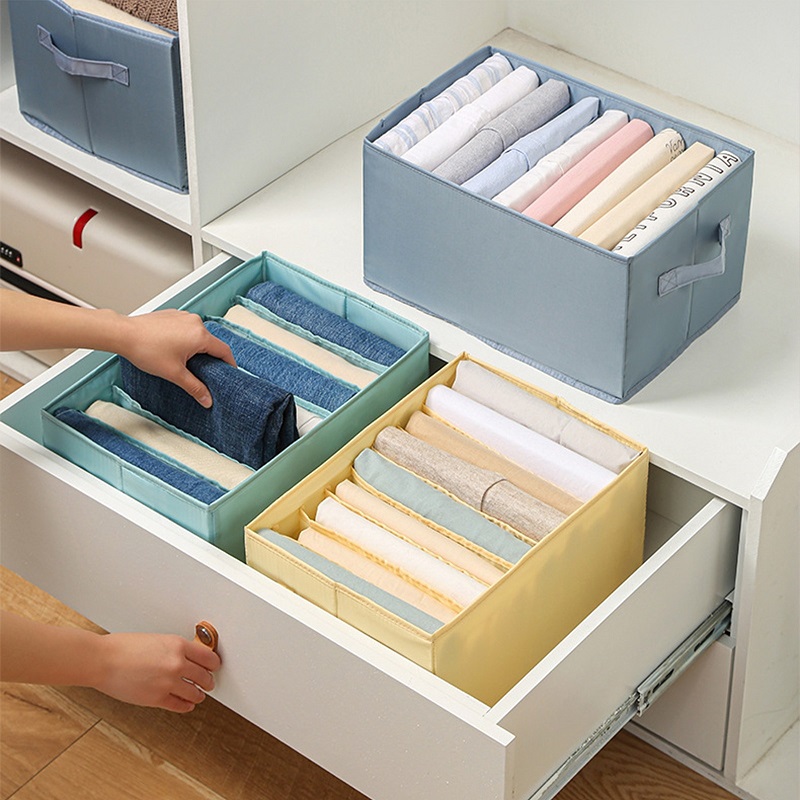
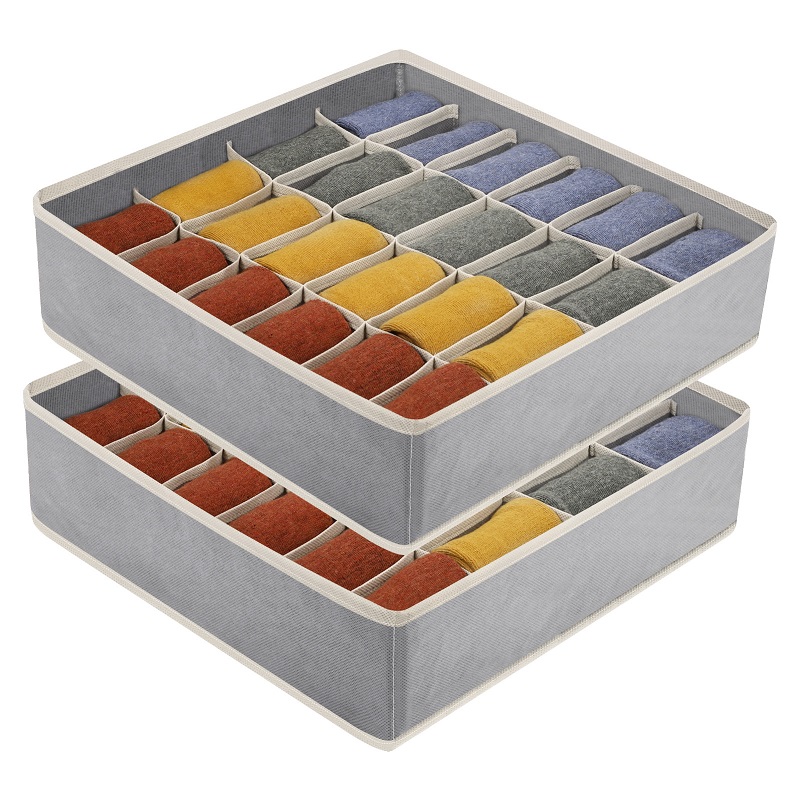
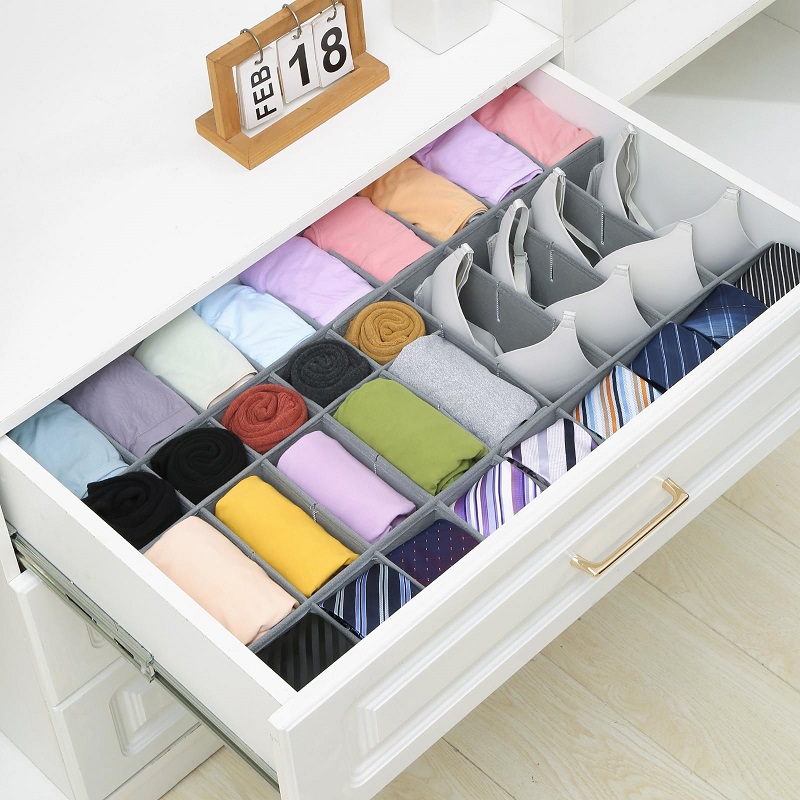
With your new organizer in place, it’s time to sort your socks. Start by grouping them into categories, such as athletic socks, dress socks, and casual socks. Fold each pair neatly and place them into the corresponding compartments. If you have different colors or patterns, you can further divide them to keep everything organized.
Maintenance Tips
To maintain your sock drawer’s organization, regularly check and adjust the contents. Make it a habit to sort and fold new socks as they enter the drawer and discard any pairs that are worn out or no longer needed. This will help keep your drawer neat and ensure that your organizer remains effective.
Troubleshooting Common Issues
Issues with Fit
If your organizer doesn’t fit perfectly, consider adjusting the dimensions or layout. Sometimes, minor tweaks can resolve fitting issues. If necessary, you can disassemble and reassemble parts of the organizer to better fit your drawer.
Durability Concerns
If you find that your organizer is not holding up well, check the glue or adhesive used. Reinforce any weak areas with additional glue or consider using stronger adhesive. Regular maintenance and careful handling can also extend the life of your organizer.
Advanced Customization Ideas
Adding Adjustable Dividers
For added flexibility, consider incorporating adjustable dividers into your organizer. Using small, movable partitions allows you to reconfigure compartments as needed. This is especially useful if your sock collection changes over time or if you want to store other small items in the same drawer.
Creating a Modular Design
A modular design can enhance your organizer’s versatility. By creating separate, removable units that fit together, you can adapt the layout based on your current needs. This approach is beneficial if you frequently change the types of items stored or if you want to use the organizer in different drawers or locations.
Using Recycled Materials
Repurposing Old Cardboard Boxes
If you want to be eco-friendly, repurpose old cardboard boxes into your sock drawer organizer. Simply cut the boxes to size and assemble them as described. This method not only saves money but also helps reduce waste.
Incorporating Plastic Containers
Plastic containers from other household items can also be used to create compartments. Cut or modify these containers to fit within your organizer, and use them to separate different types of socks or accessories.
Conclusion
Creating a DIY sock drawer organizer is a satisfying project that brings both functionality and style to your home. By following the steps outlined, you can craft a customized solution that fits your needs and enhances your daily routine. With careful planning, measurement, and a bit of creativity, you can enjoy a well-organized drawer and a more efficient way to manage your sock collection.