Jewelry is often a cherished collection, but keeping it organized can be a challenge. A DIY jewelry drawer organizer is a perfect solution for this problem, offering both functionality and customization. In this comprehensive guide, we’ll delve into the steps and materials needed to craft your own jewelry organizer, ensuring that your precious pieces are well-protected and easily accessible.
Why a DIY Jewelry Drawer Organizer?
Benefits of Customization
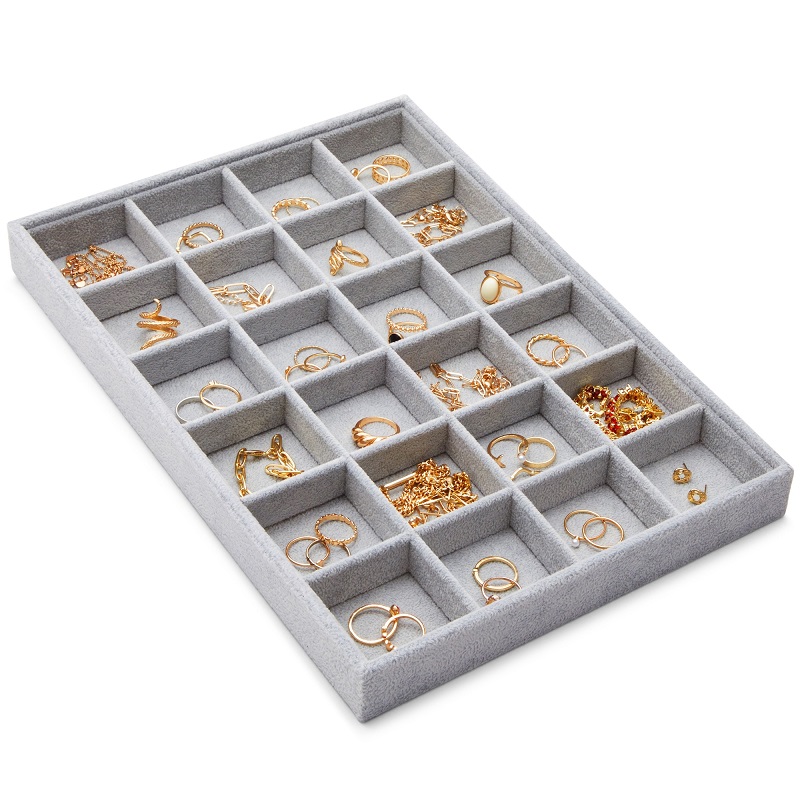
Creating a DIY jewelry drawer organizer allows you to tailor the organizer to fit your specific collection. Unlike store-bought organizers that may not perfectly suit your needs, a custom DIY solution can accommodate various types of jewelry, from rings and earrings to necklaces and bracelets. By designing your organizer, you ensure that each piece has its designated space, reducing clutter and preventing tangles.
Cost-Effectiveness and Personal Touch
A DIY jewelry organizer can be significantly more affordable than high-end commercial options. By using materials you might already have at home or purchasing inexpensive supplies, you can create a personalized organizer without breaking the bank. Additionally, crafting your own organizer adds a personal touch that store-bought items can’t match. It becomes a unique piece of home decor that reflects your style and creativity.
Materials and Tools for Your Jewelry Organizer
Essential Materials
When embarking on your DIY jewelry drawer organizer project, selecting the right materials is crucial. Common materials include foam board, fabric, felt, and wood. Foam board is a popular choice for its ease of cutting and lightweight nature, making it suitable for intricate designs. Fabric and felt can be used to line compartments, providing a soft surface that prevents scratches on your jewelry. For a more durable option, consider using wood or MDF.
Tools You’ll Need
To create your DIY jewelry organizer, you’ll need a few essential tools. A ruler and pencil will help you measure and mark your materials accurately. A craft knife or box cutter is necessary for cutting foam board or wood. Hot glue guns or strong adhesive are used to assemble the compartments and secure fabric linings. Additionally, having a cutting mat or protective surface will help you work safely and precisely.
Designing Your Jewelry Drawer Organizer
Planning Your Layout
Before you start cutting and assembling materials, it’s important to plan the layout of your organizer. Take an inventory of your jewelry collection and decide how you want to categorize it. For example, you might choose to have separate sections for rings, bracelets, earrings, and necklaces. Sketching a layout on paper can help visualize the final design and ensure that all your jewelry will fit comfortably.
Measuring and Cutting Materials
Once you have a clear design in mind, measure and cut your materials according to your plan. If you’re using foam board, measure the dimensions of the drawer and cut the board into the appropriate sizes for each compartment. For wooden organizers, precise measurements and cuts are essential to ensure a snug fit in your drawer. Be sure to leave space for the drawer’s mechanism to operate smoothly.
Assembling the Organizer
Creating Compartments
To assemble your organizer, start by creating individual compartments. For foam board organizers, cut and glue together pieces to form small boxes or dividers. If you’re using wood, assemble the pieces using nails, screws, or strong adhesive. Ensure that each compartment is securely attached and that the organizer is sturdy enough to hold your jewelry without collapsing.
Adding Linings and Finishing Touches
Once the main structure of your organizer is complete, add linings to protect your jewelry. Cut fabric or felt to fit the inside of each compartment and glue it in place. This will prevent scratches and provide a soft surface for your jewelry. You can also add decorative touches, such as paint, labels, or decorative trim, to enhance the appearance of your organizer and match it with your drawer’s interior.
Organizing Your Jewelry Collection
Sorting and Storing Pieces
With your DIY jewelry drawer organizer in place, it’s time to sort and store your jewelry. Group similar items together, such as placing all rings in one section and all earrings in another. Arrange each piece in a way that makes it easy to find and access. For example, you might want to store frequently worn items in the top compartments and less-used pieces in the lower sections.
Maintaining Your Organizer
To keep your DIY jewelry drawer organizer in top condition, perform regular maintenance. Periodically clean the organizer to remove dust and dirt. Check for any signs of wear or damage, and make repairs as needed. Keeping your jewelry organized and the organizer clean will help prolong its lifespan and ensure that your collection remains in excellent condition.
Benefits of a Well-Organized Jewelry Drawer
Easier Access and Visibility
One of the major advantages of having a well-organized jewelry drawer is the ease of access and visibility. With each piece in its designated compartment, you can quickly find what you’re looking for without having to rummage through a tangled mess. This organization not only saves time but also helps prevent damage to your jewelry, as items are less likely to become scratched or tangled.
Enhanced Jewelry Longevity
Properly organizing your jewelry helps extend its lifespan. By keeping each piece in a separate compartment, you reduce the risk of scratches, tarnishing, and other forms of damage. An organized drawer also makes it easier to keep track of your jewelry’s condition, allowing you to address any issues, such as cleaning or repairs, before they become more serious problems.
Tips for Customizing Your Organizer
Incorporating Special Features
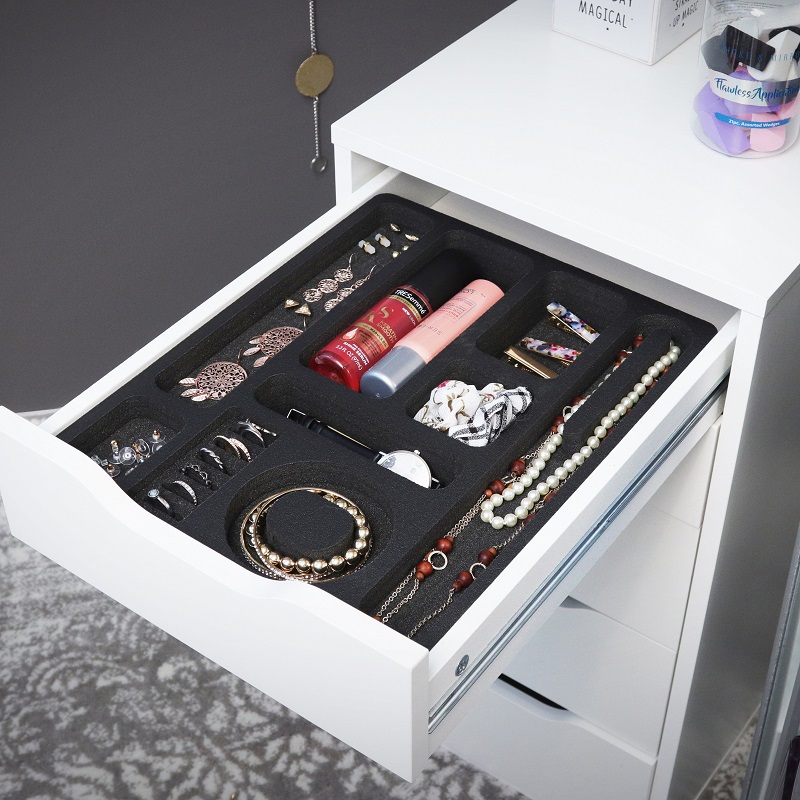
To make your DIY jewelry drawer organizer even more functional, consider incorporating special features. For example, you might add a section with padded slots for watches or a small drawer for loose items like pins or brooches. Including adjustable dividers can also provide flexibility, allowing you to modify the compartments as your jewelry collection evolves.
Personalizing with Design Elements
Adding personal design elements can make your jewelry organizer unique to you. Consider painting or staining wooden components to match your decor, or use patterned fabric for a stylish touch. You can also add labels to each compartment for easy identification or include decorative elements like beads or ribbons for a more personalized appearance.
Creative Uses for Leftover Materials
Upcycled Projects
If you have leftover materials from your jewelry organizer project, consider using them for upcycled craft projects. For example, leftover foam board can be repurposed into decorative coasters or small storage boxes. Fabric scraps can be used to create matching fabric pouches or liners for other storage solutions. This not only helps reduce waste but also gives new life to materials that might otherwise be discarded.
Personalized Gifts
Your DIY skills can be extended to create personalized gifts for friends and family. Consider making custom jewelry organizers as gifts, tailored to the recipient’s style and needs. You can personalize each organizer with unique colors, patterns, or engravings, adding a thoughtful touch to your presents. This approach allows you to share your crafting passion while providing functional and meaningful gifts.
Conclusion
Crafting your own DIY jewelry drawer organizer is a rewarding project that combines creativity with practicality. By carefully selecting materials, designing a customized layout, and assembling the organizer, you create a functional and attractive solution for storing your jewelry collection. The benefits of a well-organized drawer are numerous, from easier access to enhanced longevity of your jewelry. With these tips and steps, you can craft a jewelry organizer that not only meets your needs but also adds a personal touch to your home.