Organizing jewelry can often feel like an overwhelming task, especially if you own a diverse collection. Many people find themselves tangled in a mess of necklaces, bracelets, and rings, leading to frustration and wasted time. If you’re ready to take control of your jewelry clutter and add a personal touch to your storage solution, creating a DIY jewelry organizer drawer is a fantastic project. This guide will walk you through each step, from planning and materials to construction and customization.
Understanding the Need for a Jewelry Organizer Drawer
The Problem with Traditional Jewelry Storage Solutions
Traditional jewelry storage solutions, such as boxes or trays, often fall short in terms of both organization and aesthetics. These items can lead to tangled necklaces, misplaced earrings, and general chaos. Additionally, many off-the-shelf organizers are designed to fit specific types of jewelry and may not accommodate a diverse collection well. As a result, you may end up with jewelry that is difficult to find and even harder to access.
The Benefits of a DIY Approach
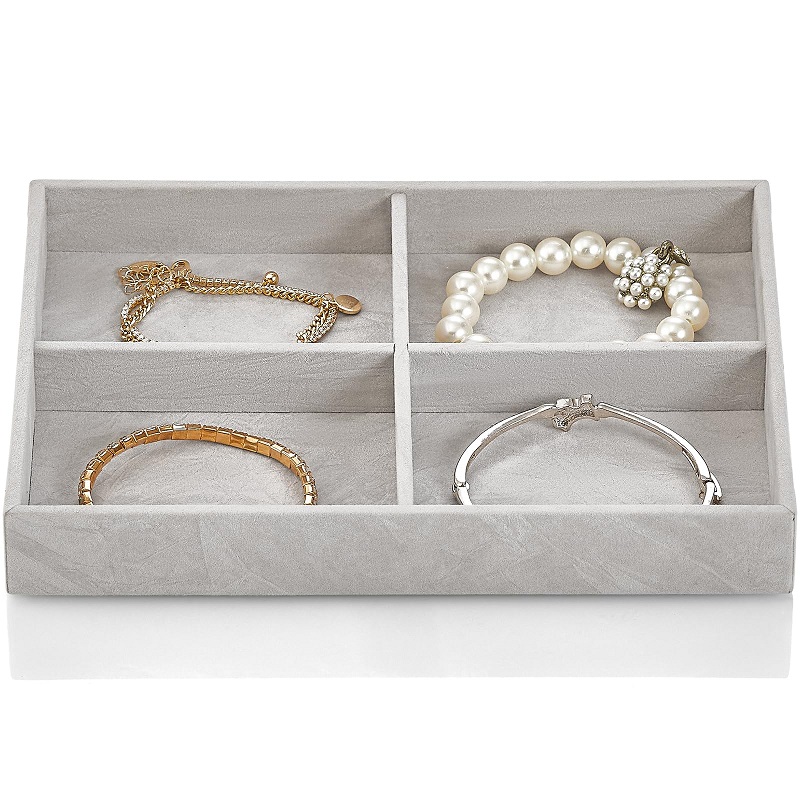
A DIY jewelry organizer drawer offers a personalized solution that can be tailored to fit your specific needs. Not only can you design an organizer that perfectly fits your drawer space, but you can also choose materials and colors that match your home decor. This project allows you to incorporate various compartments and features, such as velvet-lined sections for delicate pieces or adjustable dividers for flexible storage. Furthermore, crafting your own organizer can be a rewarding and creative endeavor, giving you a sense of accomplishment.
Planning Your Jewelry Organizer Drawer
Measuring Your Drawer Space
Before diving into the construction of your DIY jewelry organizer drawer, it’s essential to measure the available space in your drawer accurately. This will help ensure that your organizer fits perfectly and makes the most of the space. Use a tape measure to record the width, depth, and height of the drawer. It’s also a good idea to measure the height of any existing items that might affect the organizer’s design.
Designing the Layout
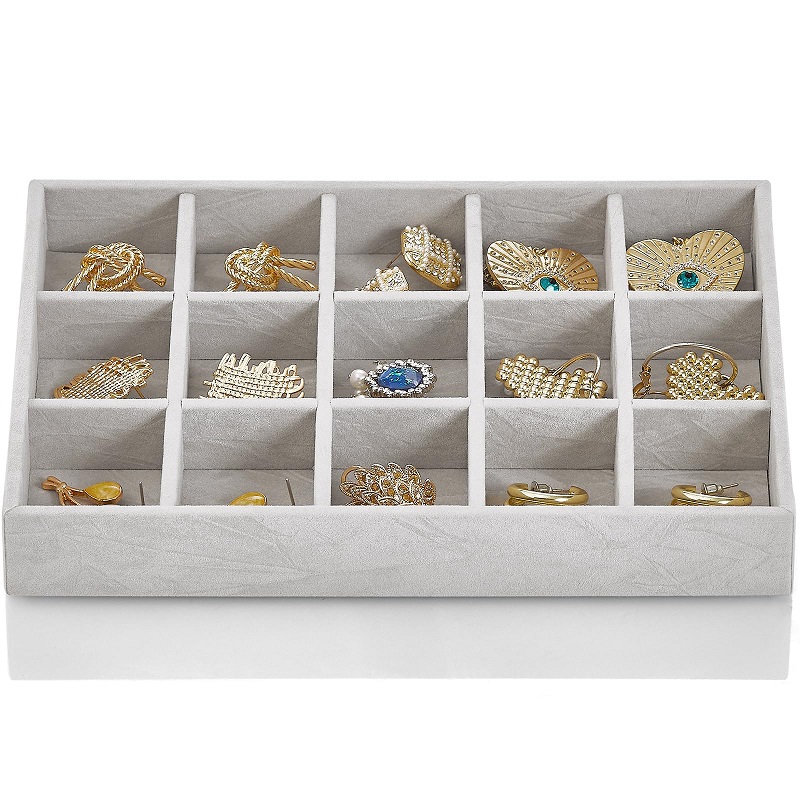
Once you have your measurements, you can start designing the layout of your organizer. Consider the types of jewelry you have and how you want to store them. For example, you might want separate compartments for necklaces, bracelets, rings, and earrings. Sketch out a design that includes various sections and features, keeping in mind the dimensions of each piece of jewelry. You can use graph paper to create a scaled drawing of your organizer, which will help you visualize how everything will fit together.
Gathering Materials and Tools
Choosing the Right Materials
Selecting the right materials is crucial for creating a functional and stylish jewelry organizer. Common materials for DIY organizers include wood, acrylic, and fabric. Wood is a durable option that can be stained or painted to match your decor. Acrylic offers a modern and transparent look, allowing you to see your jewelry at a glance. Fabric-covered organizers, such as those made from felt or velvet, can protect delicate pieces from scratches and tangles.
Tools You’ll Need
To build your jewelry organizer, you’ll need a few basic tools. For a wooden organizer, you’ll require a saw, drill, sandpaper, and wood glue. If you’re working with acrylic or other materials, you might need a cutting tool suitable for the material and an adhesive specifically designed for acrylic. Additionally, you may need measuring tools, such as a ruler or square, and a utility knife for precision cutting.
Constructing the Organizer Drawer
Building the Frame
The first step in constructing your organizer is to build the frame. For a wooden organizer, cut the wood pieces according to your design measurements and assemble them using wood glue and nails or screws. Make sure the frame is sturdy and square, as this will ensure that your compartments align correctly. If you’re using acrylic, follow the manufacturer’s instructions for cutting and assembling the pieces. Sand the edges of the wood or acrylic to create a smooth finish.
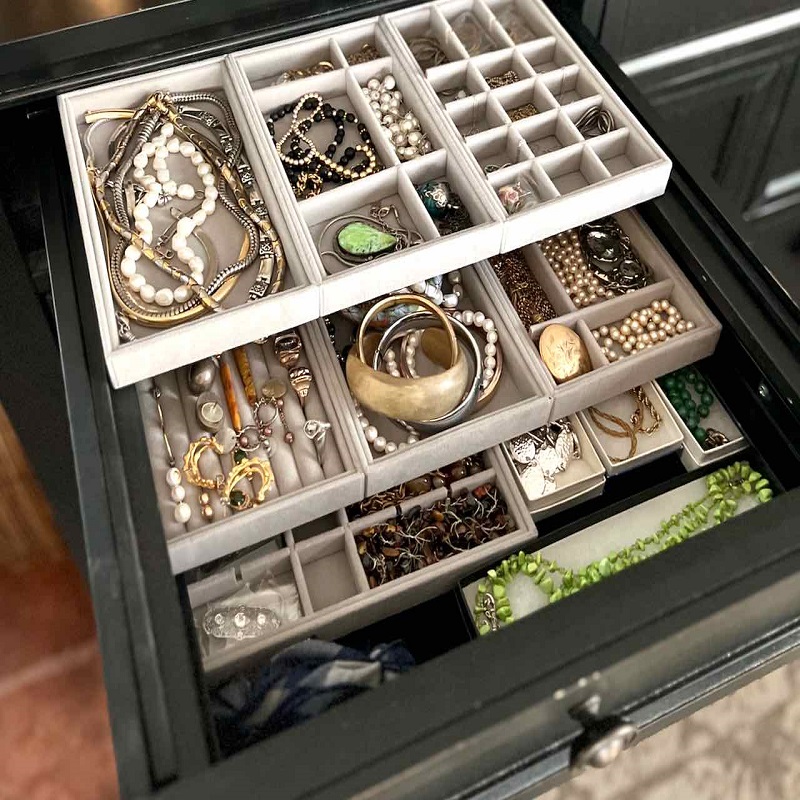
Adding Dividers and Compartments
With the frame in place, you can now add dividers and compartments. For wooden organizers, cut additional wood pieces to create sections within the drawer. Secure these dividers with wood glue and nails or screws. If you’re using fabric, you can create padded dividers by attaching fabric-covered foam or felt to the sides of the compartments. Make sure each section is appropriately sized for the type of jewelry it will hold.
Customizing Your Jewelry Organizer
Adding Decorative Touches
Once the basic structure of your organizer is complete, you can add decorative touches to enhance its appearance. Paint or stain wooden organizers to match your room’s decor, or use acrylic paint to create custom designs. For fabric-covered organizers, consider using patterned or colored fabrics that complement your space. You can also add trim or decorative hardware, such as knobs or handles, to give your organizer a polished look.
Incorporating Functional Features
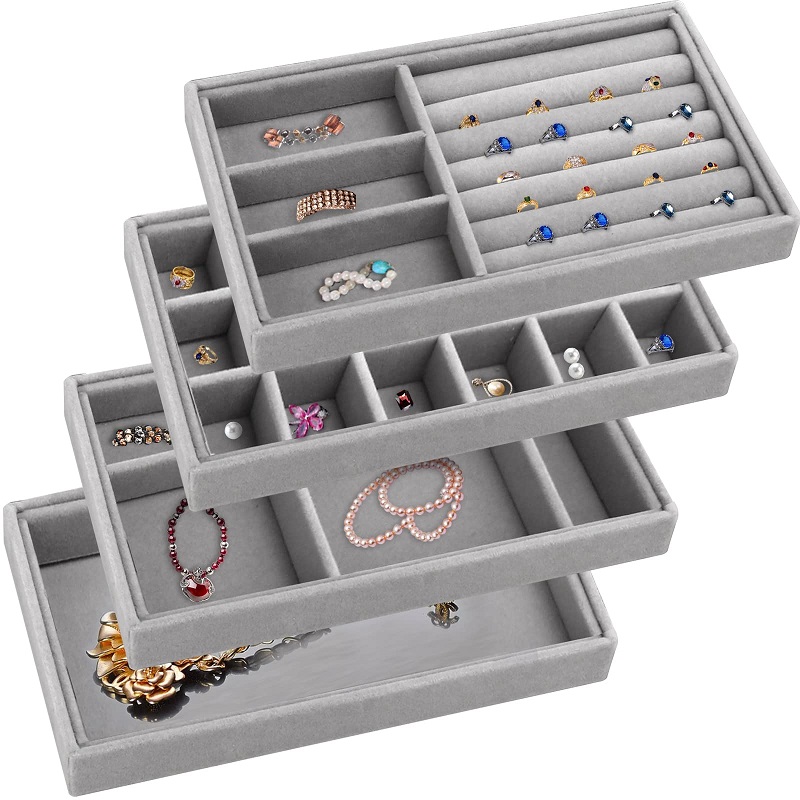
Customization doesn’t end with aesthetics; you should also consider adding functional features to your organizer. For instance, you might include padded sections for fragile items, removable trays for easy access, or adjustable dividers to accommodate different jewelry sizes. Incorporating small hooks or elastic bands can help keep necklaces untangled, while velvet or foam lining can protect delicate pieces from scratches.
Organizing Your Jewelry Collection
Sorting and Categorizing
With your DIY jewelry organizer drawer complete, it’s time to sort and categorize your jewelry collection. Begin by grouping similar items together, such as all necklaces, bracelets, and rings. Within each group, consider further categorizing by style or occasion. For example, you might separate everyday pieces from special occasion jewelry. This will make it easier to find and access your jewelry when you need it.
Implementing a Maintenance Routine
To keep your jewelry organized and in good condition, establish a regular maintenance routine. Periodically check your organizer to ensure that all items are in their designated compartments and that no pieces are missing or tangled. Clean the organizer as needed, and make adjustments to the layout if your collection grows or changes. Regular maintenance will help keep your jewelry looking its best and make your organizer a long-lasting solution.
Tips for Successful DIY Jewelry Organizer Projects
Prioritize Functionality
While aesthetics are important, functionality should be your top priority. Ensure that your organizer provides easy access to all your jewelry pieces without causing tangles or damage. Consider incorporating features like clear compartments for visibility and removable trays for added flexibility.
Test Before Finalizing
Before finalizing your organizer, do a test run with some of your jewelry pieces. Place them in the compartments to ensure that everything fits as planned and that the dividers are properly aligned. This can help you identify any adjustments needed before completing the project.
Creative Ideas for DIY Jewelry Organizers
Multi-Layered Designs
Consider designing a multi-layered organizer with stackable trays or tiers. This approach allows you to maximize vertical space and keep different types of jewelry separated. Multi-layered designs are particularly useful for drawers with limited depth but ample height.
Modular Organizers
Modular organizers offer flexibility and can be customized as your collection grows. Create separate, interlocking modules that can be rearranged or expanded over time. This way, you can adapt the organizer to fit new pieces or changing storage needs.
Conclusion
Creating a DIY jewelry organizer drawer is a rewarding project that combines practicality with creativity. By designing and building your own organizer, you can ensure that your jewelry is stored efficiently and stylishly. With careful planning, the right materials, and attention to detail, you can craft an organizer that meets your specific needs and enhances your home decor. Embrace the challenge and enjoy the satisfaction of a well-organized and beautiful jewelry storage solution.