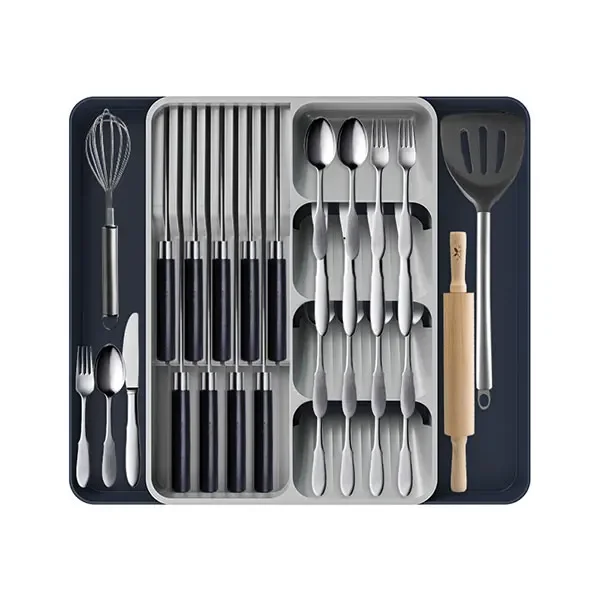
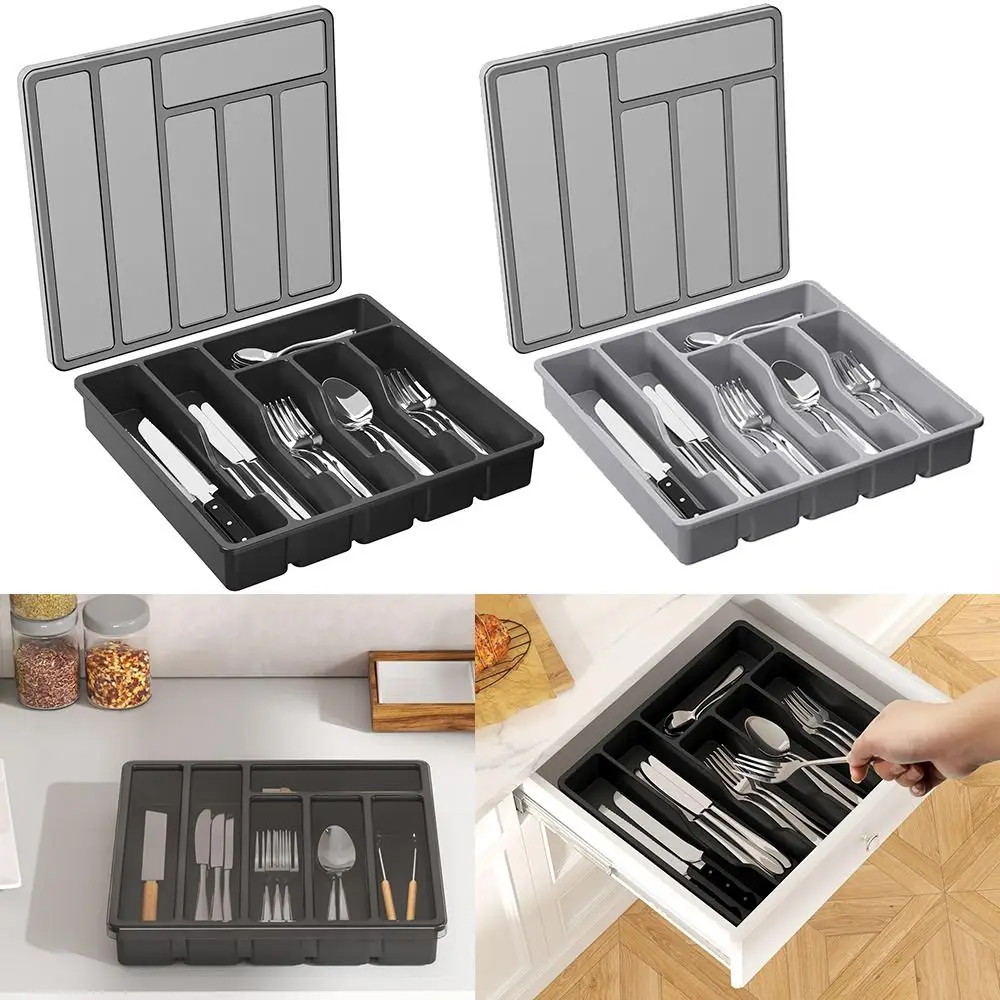
A silverware drawer organizer is a must-have for keeping your kitchen tidy and efficient. Instead of buying a pre-made organizer, consider creating your own DIY solution. This approach allows you to customize the organizer to fit your specific needs and design preferences, all while saving money. In this article, we’ll explore various DIY methods for creating a silverware drawer organizer that is both functional and budget-friendly.
Understanding the Basics of Silverware Drawer Organizers
Why DIY?
Creating a DIY silverware drawer organizer offers several benefits. First, it provides a personalized solution tailored to the size and layout of your drawer. Second, it allows for creativity and customization, enabling you to match the organizer with your kitchen décor. Lastly, a DIY project can be significantly more affordable than purchasing a pre-made organizer, especially if you use materials you already have at home.
Measuring Your Drawer
Before starting your DIY project, it’s crucial to measure your drawer accurately. Measure the length, width, and depth of the drawer to ensure your organizer will fit perfectly. Also, consider the types of silverware and utensils you need to store. This information will guide you in designing compartments of appropriate sizes to accommodate everything neatly.
Materials for Your DIY Organizer
Recycled Materials
One of the most cost-effective ways to create a DIY silverware drawer organizer is by using recycled materials. For instance, old cardboard boxes, wooden crates, or even plastic containers can be repurposed. To use cardboard, cut it to size and assemble compartments using glue or tape. For a more durable solution, wooden crates can be sanded and painted to match your kitchen.
Budget-Friendly Supplies
If you prefer a more polished look, consider using inexpensive supplies from a craft store. Foam sheets, felt, or plastic containers can be used to create dividers and compartments. These materials are affordable and easy to work with, making them ideal for a DIY project. Additionally, you can find these supplies in various colors and textures, allowing for further customization.
Designing Your Organizer
Custom Layouts
Designing a custom layout is one of the most exciting aspects of a DIY silverware drawer organizer. Start by sketching a layout that includes sections for different types of silverware, such as forks, knives, spoons, and serving utensils. You can also include compartments for items like measuring spoons or chopsticks if needed. Make sure to allocate enough space for each item to avoid overcrowding.
Using Dividers
Dividers are essential for creating a well-organized silverware drawer. Depending on your design, you can use various materials for dividers. Wooden dividers can be glued or nailed into place, while plastic or foam dividers can be cut to size and fitted into the drawer. Ensure that the dividers are securely attached and do not shift during use.
Building the Organizer
Step-by-Step Construction
Building the organizer involves several steps, starting with cutting the materials to size. For a wooden organizer, measure and cut the wood pieces according to your design, then assemble them using wood glue or nails. If you’re using cardboard, cut and fold it to create compartments, then secure the edges with tape or glue. For plastic or foam, measure and cut the pieces, then fit them into the drawer.
Finishing Touches
Once the organizer is assembled, add finishing touches to enhance its appearance and functionality. For wooden organizers, you might want to sand the edges and apply a coat of paint or varnish. For cardboard or foam organizers, consider adding decorative elements like stickers or labels. Ensure that all compartments are smooth and free of sharp edges to prevent damage to your silverware.
Tips for Maintaining Your DIY Organizer
Regular Cleaning
Maintaining cleanliness is crucial for the longevity of your DIY silverware drawer organizer. Regularly clean the compartments to remove crumbs, spills, or grime. For wooden organizers, use a dry cloth or a mild cleaner. For plastic or foam organizers, a damp cloth and mild soap should suffice. Avoid using harsh chemicals that could damage the material.
Checking for Wear and Tear
Periodically check your organizer for signs of wear and tear. Wooden organizers may develop cracks or loose joints over time, while cardboard or foam organizers might become worn out or damaged. Repair or replace any damaged parts promptly to ensure the organizer continues to function effectively.
Creative Variations
Modular Designs
Modular designs offer flexibility and adaptability for your silverware drawer organizer. By creating separate modules or sections, you can rearrange them according to your needs. For example, you could design interchangeable compartments that can be moved or adjusted as your storage needs change. This approach allows for a dynamic and evolving organization system.
Decorative Options
Add a personal touch to your DIY silverware drawer organizer by incorporating decorative elements. Use paint, fabric, or washi tape to customize the appearance of your organizer. You can also add small accessories like decorative knobs or handles to enhance the aesthetic appeal. A well-designed organizer not only improves functionality but also adds a stylish element to your kitchen.
Customizing for Unique Needs
Accommodating Special Utensils
If you have special utensils or kitchen tools that don’t fit standard compartments, customize your organizer to accommodate them. For instance, create larger or uniquely shaped sections for items like cheese knives, corkscrews, or specialty cooking tools. Tailoring the organizer to fit these unique items ensures that everything has its place and helps maintain an organized drawer.
Multi-Functionality
Consider designing your organizer to serve multiple functions. For example, you could incorporate a small section for storing measuring spoons, or even a compartment for frequently used kitchen gadgets like peelers or whisks. By making your organizer multi-functional, you can maximize the use of your drawer space and keep more items within easy reach.

Troubleshooting Common Issues
Dealing with Drawer Fit
One common issue with DIY organizers is ensuring a snug fit within the drawer. If your organizer is too tight or too loose, it can affect its functionality. To address this, double-check your measurements and make any necessary adjustments. You may need to trim or expand certain sections to achieve a perfect fit. Additionally, using adjustable dividers can help accommodate slight variations in drawer size.
Managing Wear and Tear
Over time, even the most durable DIY organizers may show signs of wear and tear. If you notice issues like fraying edges or loose compartments, address them promptly. For wooden organizers, reinforce joints with additional glue or nails. For cardboard or foam organizers, consider using reinforcing tape or patches to extend their lifespan. Regular maintenance can help keep your organizer in good condition.
Final Touches for a Professional Look
Smooth Edges and Finishes
Ensure that all edges of your organizer are smooth and well-finished. Sand down any rough spots on wooden organizers and trim any excess material from cardboard or foam. A smooth finish not only improves the appearance but also prevents damage to your silverware and hands. Taking the time to perfect these details will give your DIY project a polished and professional look.
Matching with Kitchen Décor
To make your DIY organizer blend seamlessly with your kitchen décor, consider painting or staining it in a color that complements your kitchen’s theme. You can also use decorative elements like fabric liners or custom paint designs to enhance its visual appeal. Matching the organizer to your kitchen décor adds a touch of elegance and cohesion to your overall kitchen design.
Conclusion
Creating a DIY silverware drawer organizer is a rewarding project that combines practicality with creativity. By using affordable materials and personalizing the design, you can achieve a functional and stylish solution for keeping your silverware neatly organized. Whether you opt for recycled materials or budget-friendly supplies, the key to a successful DIY project is careful planning, precise construction, and regular maintenance. Enjoy the process of building your organizer and the satisfaction of having a clutter-free, well-organized kitchen.