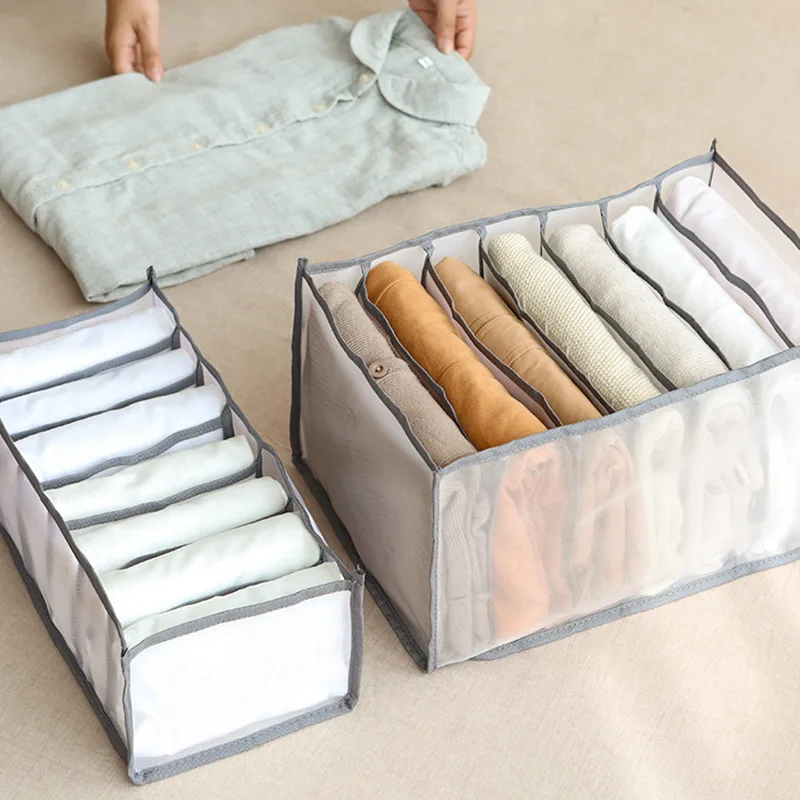
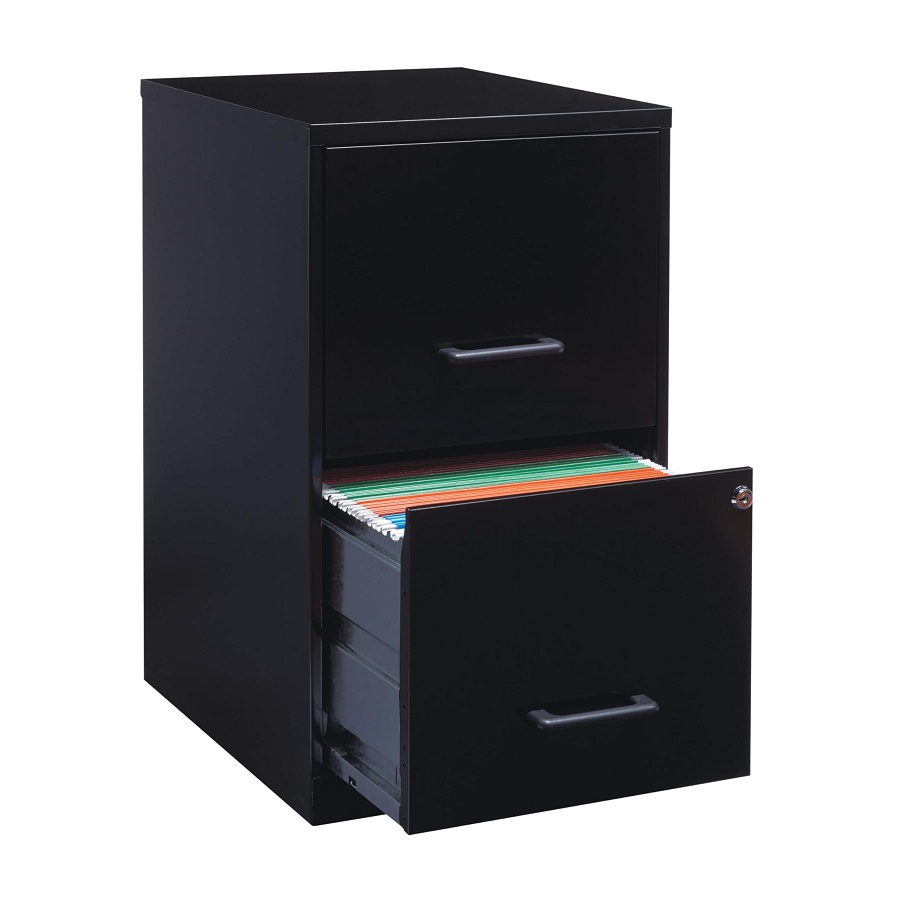
Organizing drawers can seem like a daunting task, but with a bit of creativity and effort, you can create a customized drawer organizer that meets your needs perfectly. This DIY guide will walk you through the process of making your own drawer organizer, from planning and gathering materials to assembling and customizing your organizer. Follow these steps to transform your cluttered drawers into neatly arranged spaces that enhance both functionality and aesthetics.
Why You Need a Drawer Organizer
Drawer organizers are more than just neat-freak accessories—they can dramatically improve your efficiency and productivity. When your items are organized, you save time by not having to search for misplaced items, reduce stress associated with clutter, and enhance the usability of your drawers. Whether it’s for your kitchen, office, bathroom, or bedroom, an organized drawer simplifies access to the things you use most often, making daily tasks smoother and more enjoyable.
Functionality and Aesthetics
Beyond functionality, a well-organized drawer can also enhance the overall look of your space. A neatly organized drawer often makes the entire room feel tidier and more polished. For example, a kitchen drawer with neatly arranged utensils and gadgets can make cooking more enjoyable and efficient, while an office drawer with sorted stationery can help you stay focused and productive.
Customization for Personal Needs
One of the biggest advantages of a DIY drawer organizer is customization. Store-bought organizers often come in fixed sizes and configurations, which may not fit your specific needs. By creating your own organizer, you can tailor it precisely to your items’ dimensions and your drawer’s layout. This ensures that every item has its own place, minimizing clutter and maximizing space efficiency.
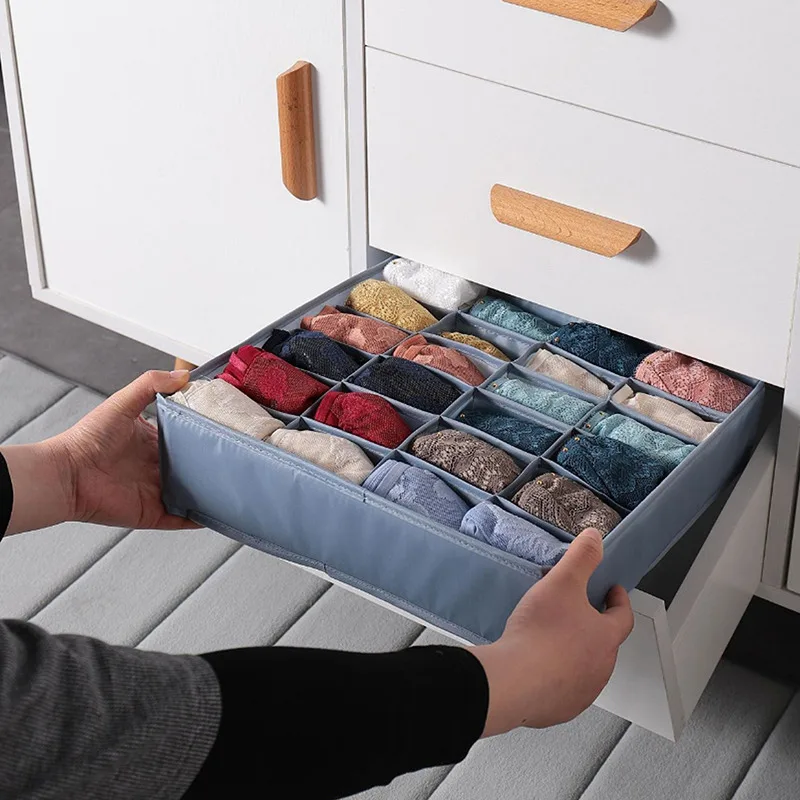
Planning Your DIY Drawer Organizer
Before diving into the project, spend some time planning. This involves measuring your drawer, deciding what items you want to organize, and sketching out a rough design. Effective planning is crucial to ensure that your organizer fits well and functions as intended.
Measure Your Drawer
Start by measuring the interior dimensions of your drawer. Use a tape measure to record the width, depth, and height. If your drawer has any obstructions such as hinges or dividers, measure around these as well. Accurate measurements are essential to ensure that your organizer fits snugly without any gaps or misalignment.
Identify What Needs Organizing
Next, gather all the items you plan to store in the drawer and categorize them. For instance, in a kitchen drawer, you might have utensils, measuring spoons, and kitchen gadgets. In an office drawer, you could have pens, paper clips, and sticky notes. Understanding what needs to be organized will help you design compartments of appropriate sizes and shapes.
Sketch Your Design
With measurements and categories in hand, sketch a rough design of your organizer. Decide how many compartments you need and their dimensions. Consider the layout of your items and how you can best utilize the drawer’s space. This design will serve as a blueprint for your project, guiding you through the assembly process.
Gathering Materials and Tools
With your design in place, it’s time to gather materials and tools. The type of materials you choose can vary based on your design, budget, and personal preference. Common materials include cardboard, foam, wood, and plastic, while tools may include a ruler, scissors, glue, or a saw.
Choosing Materials
Select materials that are sturdy enough to hold your items but also easy to work with. For a basic organizer, cardboard or foam board might be sufficient and cost-effective. If you prefer a more durable solution, consider using wood or acrylic. Each material has its benefits—cardboard is lightweight and easy to cut, while wood offers a more robust and polished finish.
Gathering Tools
Ensure you have the necessary tools for your project. For cardboard or foam board, you’ll need a ruler, utility knife, and glue. If you’re working with wood, you might need a saw, sandpaper, and wood glue. Having all your tools ready before you start will help streamline the process and avoid interruptions.
Optional Supplies
Depending on your design, you might also consider additional supplies such as drawer liners, decorative paper, or paint. Drawer liners can add a touch of style and protect the drawer’s interior, while decorative paper or paint can give your organizer a custom look.
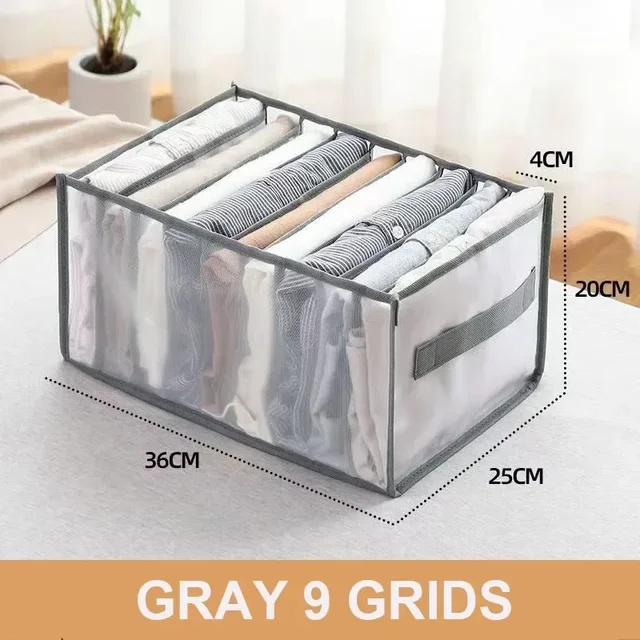
Constructing Your Drawer Organizer
With materials and tools ready, you can begin constructing your organizer. This step involves cutting, assembling, and securing the pieces according to your design. Take your time to ensure each piece fits well and the final product meets your expectations.
Cutting the Materials
Start by cutting your materials to the required dimensions. For cardboard or foam board, use a ruler to measure and a utility knife to make precise cuts. If you’re working with wood, a saw may be needed. Ensure all cuts are straight and clean for a professional finish.
Assembling the Organizer
Once all pieces are cut, begin assembling your organizer. For cardboard or foam board, use glue to attach the pieces together. Make sure to hold each piece in place until the glue sets. If you’re using wood, you may need to glue and nail or screw the pieces together, depending on your design.
Securing and Finishing Touches
After assembly, ensure that all joints are secure and the organizer fits properly in your drawer. For a polished look, you can sand any rough edges or apply a finish. If desired, add decorative elements such as paint or contact paper to match your drawer’s decor.
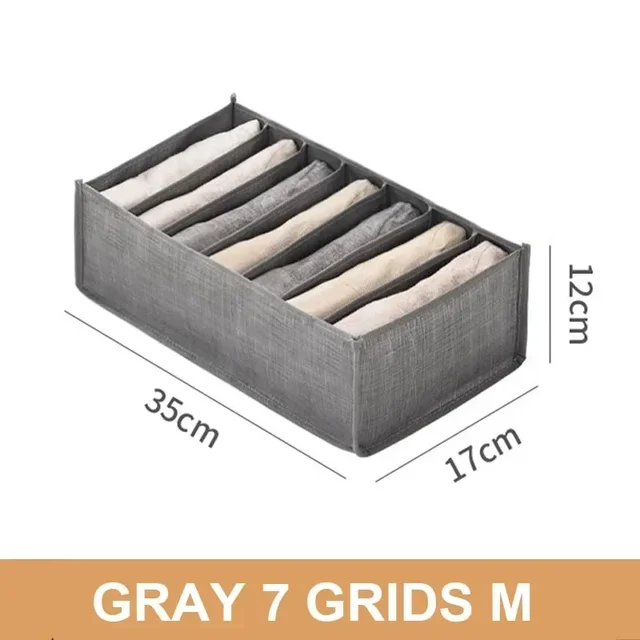
Customizing and Personalizing Your Organizer
Once your organizer is constructed, consider adding personal touches to enhance its functionality and aesthetics. Customization can involve adding labels, adjusting compartments, or incorporating additional features.
Adding Labels
Labels can help keep items organized and make it easier to find what you need. Use label makers, stickers, or even a simple marker to add labels to each compartment. This is especially useful for drawers with small or similar items, such as office supplies or craft materials.
Adjusting Compartments
If you find that some compartments are too small or too large, you can modify the organizer to better fit your items. For cardboard or foam board organizers, you can easily adjust the size of compartments by cutting and reassembling. For wooden organizers, you may need to use additional pieces or adjust the layout.
Incorporating Additional Features
Consider adding extra features such as dividers for smaller items, trays for easy access, or even a small drawer within a drawer for additional storage. These enhancements can make your organizer even more functional and tailored to your needs.
Maintaining and Upgrading Your Organizer
A DIY drawer organizer is an investment in tidiness and efficiency, but it requires regular maintenance to keep it in top shape. Periodically check the organizer for wear and tear, and make upgrades as needed to accommodate changes in your storage needs.
Regular Maintenance
Keep your organizer clean and free from dust or spills. For materials like cardboard or foam, this may involve wiping with a damp cloth. For wood or acrylic, you can use appropriate cleaners to maintain its appearance. Regular maintenance will ensure your organizer remains functional and visually appealing.
Making Upgrades
As your needs change, you might need to modify or upgrade your organizer. For example, if you acquire new tools or office supplies, you might need additional compartments or a reconfigured layout. Don’t hesitate to update your organizer to reflect your current needs and preferences.
Replacing Worn-Out Components
Over time, some parts of your organizer may become worn or damaged. If you notice any issues, such as loose compartments or frayed edges, address them promptly. Repair or replace damaged components to extend the life of your organizer and maintain its functionality.
Conclusion: Enjoying Your Customized Organizer
Creating your own drawer organizer is a rewarding DIY project that combines practicality with personal creativity. By following these steps, you can design and build an organizer that fits perfectly into your space and meets your specific needs. Enjoy the benefits of a well-organized drawer—less clutter, easier access to your items, and a more efficient, stress-free environment.
Remember, the process of making a DIY drawer organizer allows for creativity and personal expression. Don’t be afraid to experiment with different designs, materials, and features to create an organizer that truly enhances your daily life. With your customized drawer organizer, you’ll experience a new level of organization and efficiency in your home or office.


