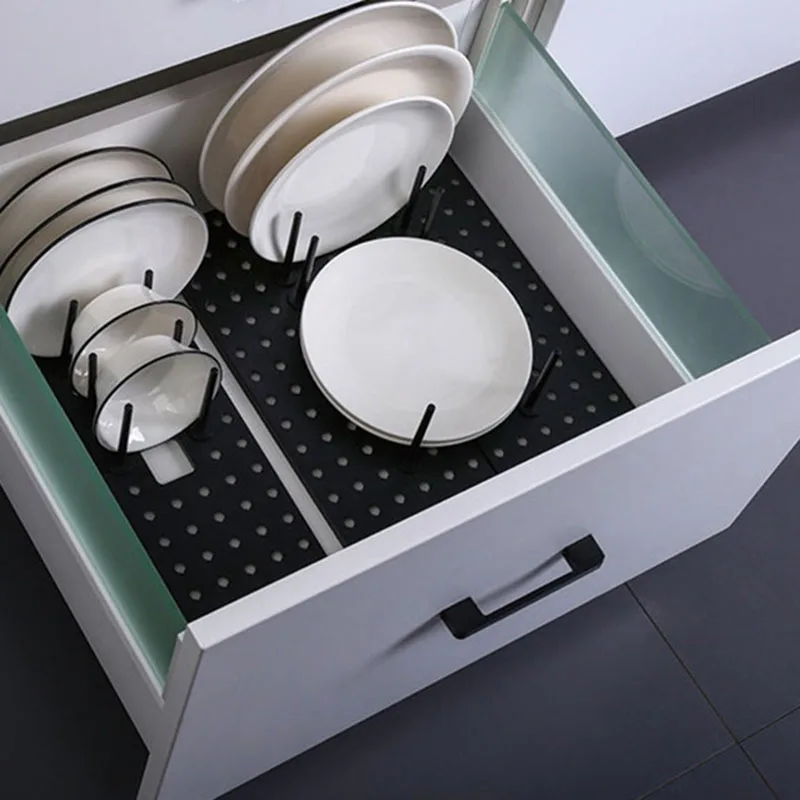
If you’re tired of rummaging through cluttered drawers in search of that one elusive item, it might be time to take matters into your own hands. A DIY pegboard drawer organizer can be a game-changer, allowing you to tailor your storage solutions to fit your specific needs. Not only can you create a neat and orderly space, but you can also showcase your creativity while engaging in a fulfilling project. This guide will walk you through everything you need to know about creating your own pegboard drawer organizer, along with additional tips for a clutter-free space.
Understanding the Benefits of a Pegboard Organizer
Before diving into the DIY process, let’s first discuss why a pegboard organizer is a smart choice for any drawer. Pegboards are versatile, allowing for various uses depending on what you need to store. With its grid-like structure, pegboard enables easy customization; you can reposition hooks, baskets, and other accessories at any time to suit your changing storage requirements. It’s also an economical solution, as you can build it from relatively inexpensive materials that are easy to source.
In addition to practical aspects, pegboards also offer aesthetic value. You can paint them in different colors or even add patterns to match your home’s décor. The ability to see everything at a single glance helps reduce the time you spend searching through your drawers, ultimately saving you both time and frustration. Plus, the organized layout can lead to better inventory management, as you’re more likely to know what you have on hand, decreasing the likelihood of buying duplicates.
Tools and Materials You Will Need
Before getting started, it’s essential to gather all the tools and materials you’ll need for this project. Here’s a simple list to guide you in your preparations.
Tools Required:
- Measuring tape
- Pencil
- Level
- Drill or screwdriver
- Paintbrush (if you plan to paint the pegboard)
- Safety goggles and gloves
Materials Needed:
- Pegboard (you can choose different sizes based on your drawer dimensions)
- Pegboard hooks, bins, and shelves
- Wood or MDF board (for backing, if needed)
- Wood screws or brackets (for securing the pegboard, if necessary)
- Paint (optional)
Having everything prepared beforehand will streamline the process and keep frustration at bay. Take your time to gather everything; it might take a little patience but will be worth it in the end.
Measuring and Planning Your Organizer
The first step in creating your DIY pegboard drawer organizer is taking accurate measurements of your drawer. Use the measuring tape to determine the width, height, and depth of the drawer where you plan to install the pegboard. Make sure to jot these dimensions down clearly to avoid confusion later.
Next, think about what you want to store in this organizer. Make a list of items you wish to keep inside the drawer, like office supplies, tools, or kitchen utensils. This planning stage is crucial as it helps you visualize how the organizer will be structured. Are there specific items that need designated spaces? Will you need hooks, small bins, or compartments? The way you structure your organizer can significantly influence its efficiency.
Once you have a clear idea, sketch a rough layout on paper, indicating where each item will go. This visualization will serve as your guide throughout the project, ensuring that you maximize the use of your drawer space effectively.
Preparing the Pegboard
With measurements and layout settled, it’s time to start preparing the pegboard itself. Depending on the size you need, you might require cutting a larger sheet into more manageable sizes. If you haven’t purchased a pre-cut board, utilize a saw to cut down your pegboard into dimensions that fit your drawer perfectly. Always prioritize safety; wearing safety goggles and gloves is crucial during this process.
Once cut to size, it’s a good idea to sand the edges for a smoother finish. After sanding, you may want to paint the pegboard. Use a paint suitable for wood and apply an even coat. This not only adds a splash of color but also protects the surface. Allow ample drying time as per the instructions on the paint can.
If you plan to add any backing board, cut it to fit the drawer and secure it in place using screws or brackets. The pegboard will eventually be mounted onto this backing for added stability and support.
Installing the Pegboard
After your pegboard is prepared, it’s time to jump into installation. Start by placing the pegboard inside the drawer to see how it fits. Hold it in position and use a level to ensure the board is straight. Mark the locations where you’ll insert screws or brackets to secure the pegboard.
Once you’ve marked the positions, drill pilot holes for easier screw insertion. This minimizes the risk of splitting your wood and makes the process smoother. After you’ve finished drilling, attach the pegboard using wood screws or brackets. Ensure that it is secure and feels stable. It should not wobble when you pull on it.
At this stage, you’re almost done! Take a moment to appreciate the progress you’ve made. Having the pegboard installed is an exciting step, marking the initial victory in your quest for a clutter-free space.
Choosing and Arranging Hooks and Accessories
The real fun begins as you choose the hooks and accessories to complete your organizer! Pegboard accessories come in various sizes and shapes, so you’ll need to consider what best fits the functions you have in mind. For example, large hooks can be used for hanging tools, while smaller ones are perfect for office supplies like scissors or tape.
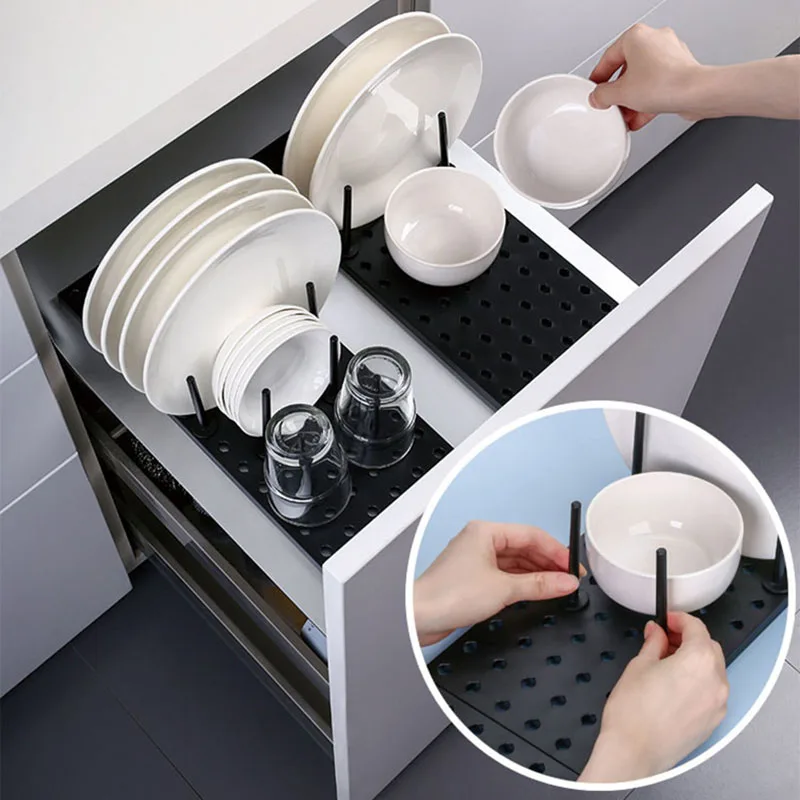
Arrange the hooks and bins according to your earlier layout plan. Once you have an idea, start positioning them on the pegboard to see how they fit. One of the best features of a pegboard is that everything is adjustable, so feel free to experiment with different configurations.
After finding a layout that works, secure your hooks and bins in place. If using bins, make sure they are appropriate for the items you’re storing; consider the weight and size to ensure functionality. The goal is to create a functional and easy-to-navigate system that allows you to find what you need in seconds.
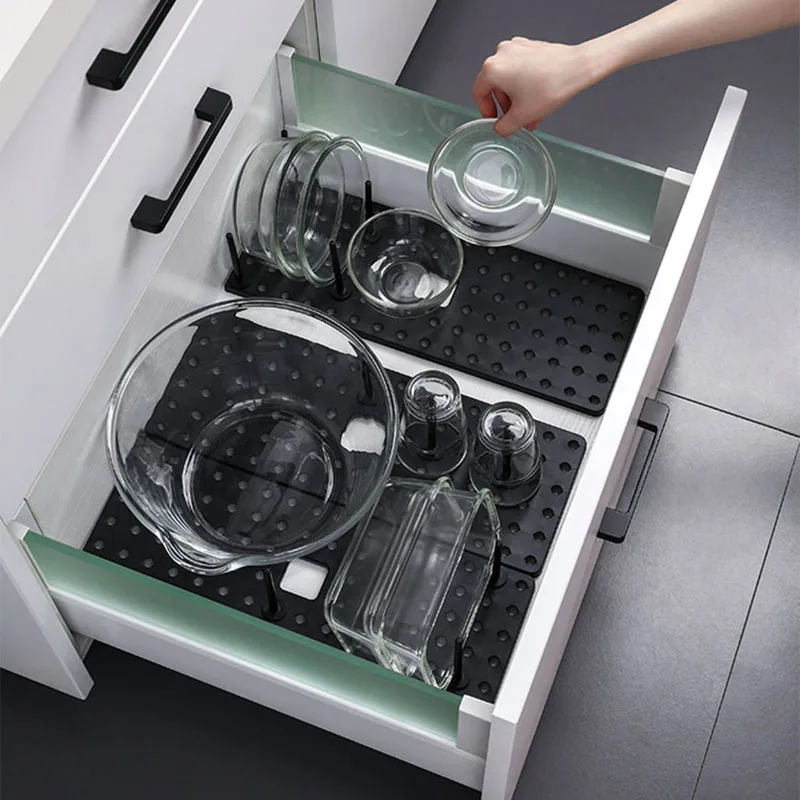
Personalizing Your Pegboard Organizer
Now that your pegboard drawer organizer is functional, it’s time to personalize it! This step can add character and turn a simple pegboard into a fun design feature. You can customize by adding labels to each bin or section, making it easy for you and others to identify where everything belongs.
Consider using removable labels so you can update them as your storage needs change. You can even get creative with colors—some might prefer a monochromatic scheme for a sleek look, while others could choose to mix and match vibrant colors for a fun aesthetic.
Wall art mounted above the pegboard or small plants arranged in front can also bring life to your drawer. Personalization transforms the pegboard from a storage solution into a stylish element of your home or workspace.
Maintaining Your Clutter-Free Space
Creating a DIY pegboard drawer organizer is just the start—maintaining a clutter-free space requires ongoing effort. Regularly check the arrangement of items within your organizer to ensure everything still belongs there. As your needs change, don’t hesitate to rearrange or add new hooks and bins. Clean the drawer periodically, removing items that no longer serve a purpose and donating or recycling them, if possible.
Routine decluttering is crucial in this process. Set a reminder every few months to assess how cluttered your space might be becoming again. This practice can prevent overwhelm and keep the organized system in place long-term.
Sustainability and Innovation
Finally, consider ways to make your pegboard organizer more sustainable. Choose eco-friendly materials where possible, or repurpose old items to add character to your organizer. Dedicating a drawer solely to office supplies can be an excellent opportunity to use materials you already have instead of buying new ones.
Innovative designs are also worth exploring; consider incorporating cork for some sections, which can serve dual purposes as bulletin board areas. Your DIY pegboard organizer can continue to evolve as your needs and styles change, making it a true reflection of you as well as a practical solution.
Conclusion
A DIY pegboard drawer organizer doesn’t just declutter your space; it serves as a creative outlet that adds personal flair to your home or workspace. From planning and preparation to installation and personalization, every step of the process is satisfying and fulfilling. By investing time and energy into creating a functional pegboard organizer, you also invest in a stress-free living area that enhances your daily life.
