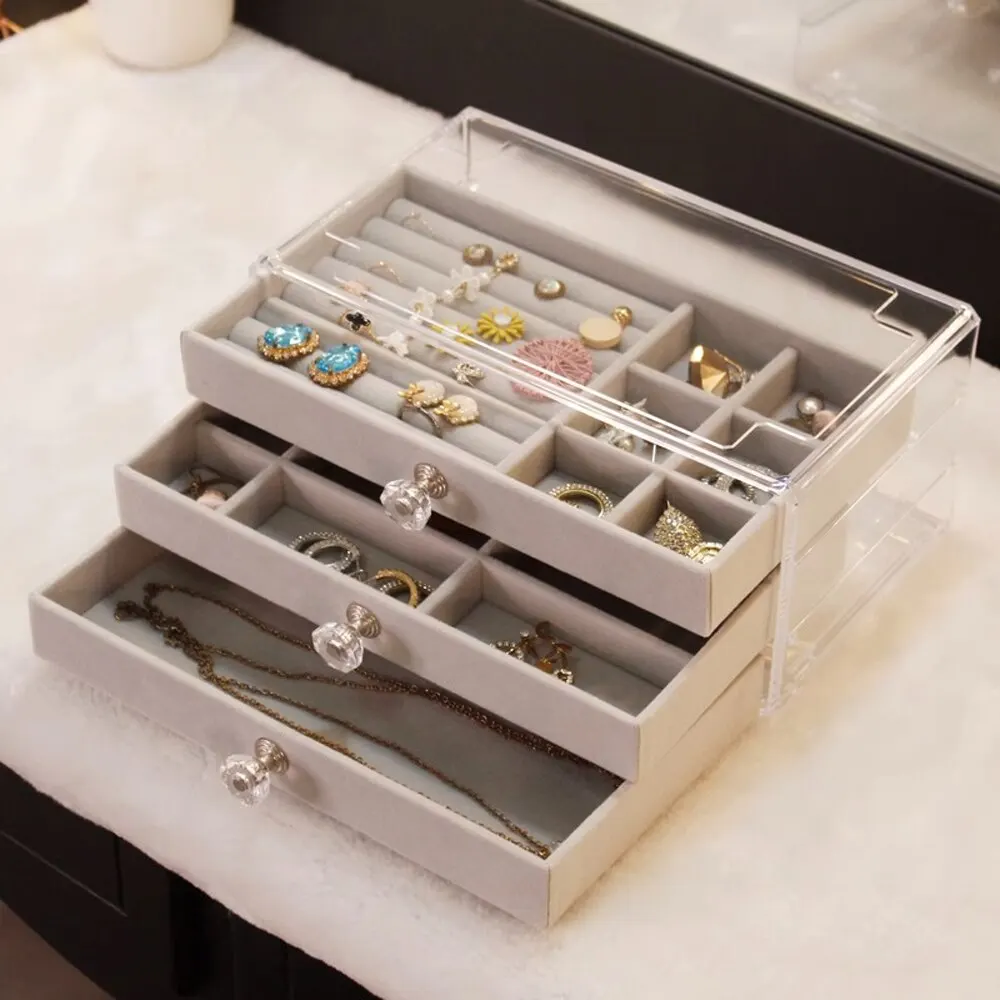
Jewelry isn’t merely an accessory; it’s an expression of personality, style, and memories. Keeping your jewelry organized, however, can be a daunting task, especially when it comes to necklaces, which can easily get tangled and misplaced. A well-crafted DIY necklace drawer organizer can solve these problems while adding a personal touch to your storage solution. In this article, we guide you through creating a stylish and functional necklace drawer organizer that fits your collection perfectly.
The Benefits of a Necklace Drawer Organizer
Before diving into the DIY process, it’s essential to understand why a necklace drawer organizer is a valuable addition to your jewelry storage. Unlike open jewelry boxes or stands, a drawer organizer offers several advantages. Firstly, it protects delicate pieces from dust and potential damage. Necklaces, especially those made from fine materials, can tarnish or become scratched if left exposed. Keeping them in a drawer mitigates these risks.
Secondly, a drawer organizer helps prevent tangling and knotting. Necklaces, particularly fine chains, can easily become entangled, making them difficult to separate without breaking. A designated organizer with individual compartments ensures each piece has its own space, reducing the likelihood of tangles.
Lastly, a well-organized drawer makes it easier to find the necklace you want to wear. By arranging your jewelry neatly, you save time and frustration each morning. A necklace drawer organizer not only keeps your collection tidy but also adds a touch of elegance to your storage solution, making it a joy to use.
Planning Your DIY Necklace Drawer Organizer
The first step in creating a DIY necklace drawer organizer is to plan the design. Consider the size and shape of the drawer where you intend to place the organizer. Measure the dimensions carefully, including depth, width, and length. This will ensure that the organizer fits perfectly in your drawer without wasting space.
Next, assess your jewelry collection. Take note of how many necklaces you need to store and their varying lengths. This information will help you design compartments that accommodate different necklace sizes. Having a mix of small sections for shorter necklaces and longer ones for chains and pendants ensures all your pieces are stored efficiently.
Sketch a rough layout of your organizer based on your measurements and inventory. Include sections for different types of jewelry if needed, such as rings or bracelets, to make the most of your drawer space. By planning your organizer in detail, you can ensure it meets your needs and fits seamlessly into your storage space.
Choosing the Right Materials
Selecting the appropriate materials is crucial for a successful DIY project. You want materials that are both durable and aesthetically pleasing. For the base structure of the organizer, consider using lightweight wood, plywood, or even sturdy cardboard. These materials are easy to work with and provide a solid foundation.
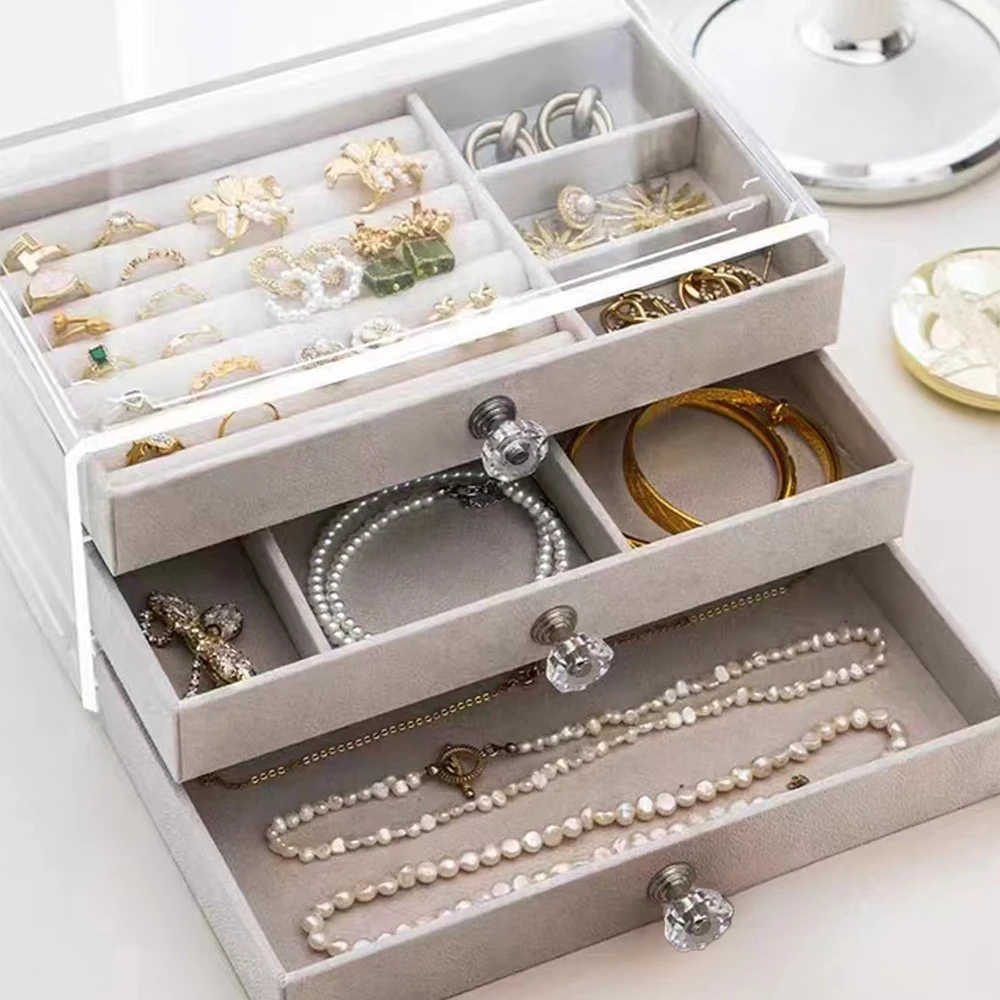
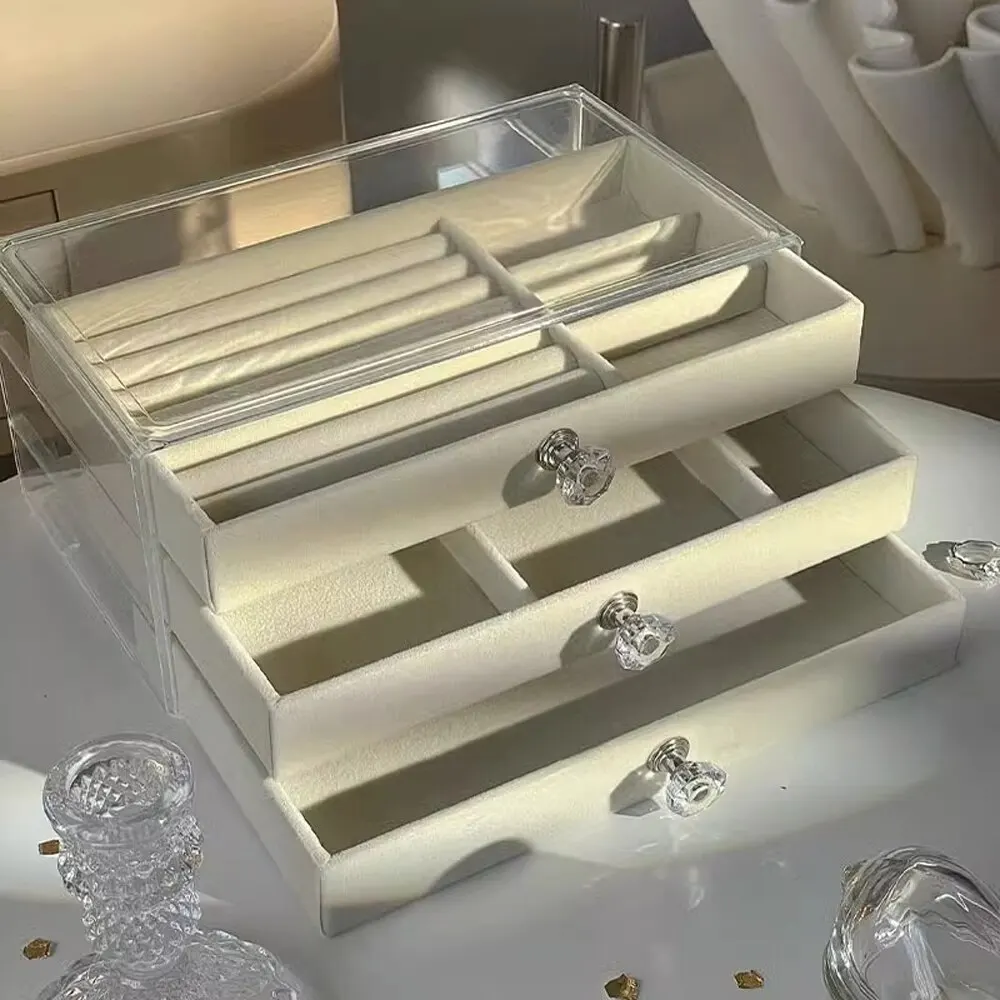
For the dividers, soft but firm materials like felt, foam board, or velvet-covered cardboard work well. Felt and velvet are particularly good choices as they are gentle on jewelry and add a luxurious feel to the organizer. Foam board is another excellent option because it’s easy to cut and customize.
Step-by-Step Guide to Building Your Organizer
With your plan and materials ready, it’s time to start building your DIY necklace drawer organizer. Follow these steps to create a functional and stylish storage solution:
- Create the Base: Begin by cutting your chosen base material to fit the dimensions of your drawer. Ensure the base fits snugly, as this will support the entire structure.
- Design the Layout: Refer to your initial sketch and outline where the dividers will go. Use a pencil or chalk to mark these lines on the base.
- Cut the Dividers: Measure and cut your divider materials (felt, foam board, or velvet-covered cardboard) according to your layout. Make sure the dividers are of the right height to prevent necklaces from overlapping.
- Assemble the Sections: Start gluing the dividers to the base. Apply glue to the edges of the dividers and press them firmly into place. If using a hot glue gun, be cautious to avoid burns. Allow the glue to dry completely to ensure the dividers are secure.
- Add Finishing Touches: Once the main structure is complete, consider adding additional features like hooks, loops, or clips for hanging longer necklaces. You can also line the bottom of each section with felt or velvet for an added touch of luxury.
Personalizing Your Organizer
One of the joys of a DIY project is the ability to personalize your creation. Your necklace drawer organizer doesn’t have to be purely functional—it can also reflect your personal style and complement your décor. There are several ways to add a personal touch to your organizer.
Firstly, consider the color scheme. Choose materials in colors that match your room’s aesthetic or your favorite hues. Velvet in rich colors like burgundy, emerald, or navy can add a luxurious feel, while bright pastels can inject a pop of personality.
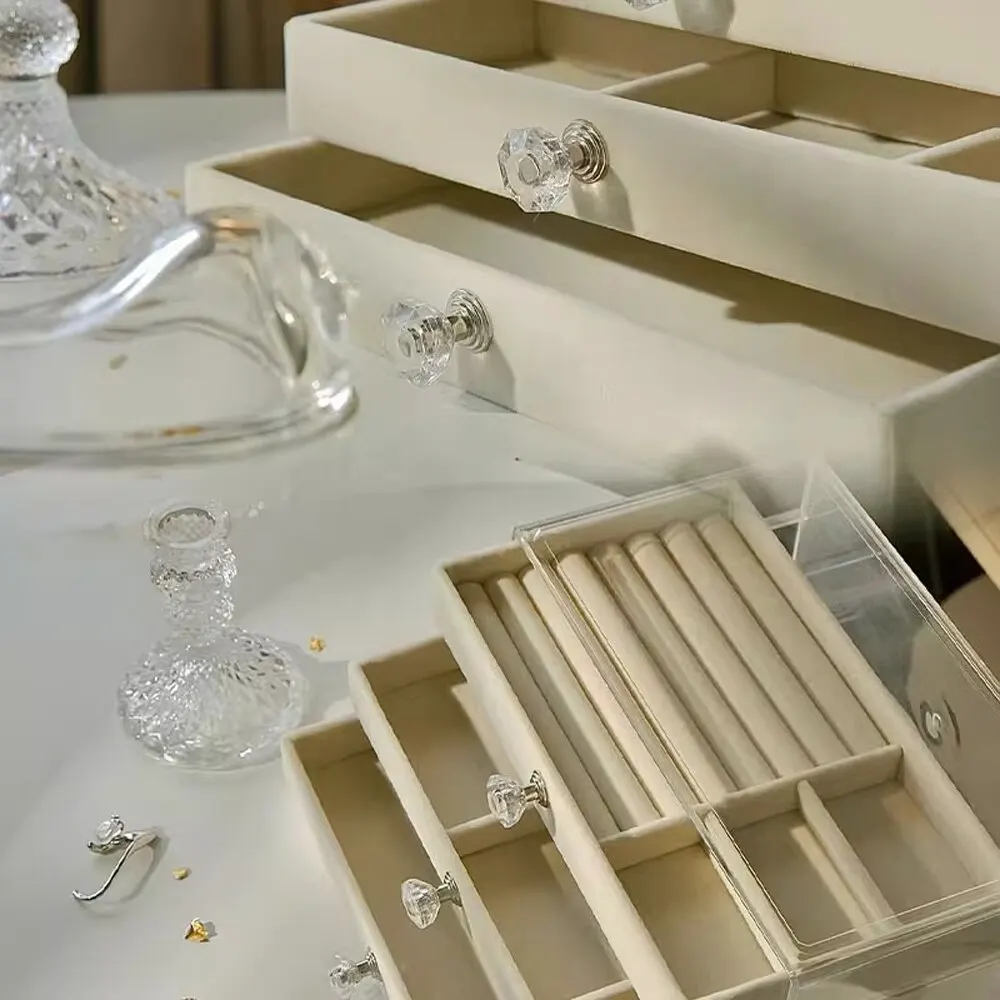
Secondly, think about adding embellishments. Decorative knobs or handles on the dividers can make your organizer unique. You can even incorporate elements like miniature picture frames or small compartments for keepsakes.
Maintenance Tips for Your Necklace Drawer Organizer
Creating a beautiful organizer is only part of the equation—maintaining it is equally important to ensure it remains functional and stylish. Here are some tips to keep your DIY necklace drawer organizer in top condition:
- Regular Cleaning: Dust and dirt can accumulate over time, even inside a drawer. Periodically remove your jewelry and gently clean the organizer with a soft brush or cloth. If you used fabric like velvet or felt, consider using a lint roller to remove any debris.
- Inspecting for Damage: Check your organizer regularly for any loose dividers or signs of wear and tear. Reinforce any weak spots with additional glue or replace damaged sections as needed to maintain the organizer’s integrity.
- Rotating Jewelry: If you have a large collection, consider rotating your necklaces periodically. This not only gives your jewelry equal wear but also allows you to inspect and clean each piece.
- Avoid Overcrowding: Ensure that each compartment has enough space for its intended pieces. Overcrowding can lead to tangling and make it difficult to find specific items. If your collection grows, ensure to expand your organizer to accommodate new pieces properly.
By following these maintenance tips, you can keep your necklace drawer organizer in pristine condition, ensuring your jewelry remains organized and protected.
Benefits of Keeping Jewelry Organized
Organizing your jewelry comes with numerous benefits beyond just aesthetics. Firstly, it preserves the quality and longevity of your pieces. Necklaces, especially those made with delicate chains, can easily become damaged when tangled or improperly stored. An organized system ensures that each item is stored safely, reducing the risk of breakage.
Secondly, a well-organized jewelry collection saves you time. Mornings can be hectic, and the last thing you need is to spend valuable time untangling necklaces or searching for a specific piece. With an organized system, you can quickly locate and access your jewelry, making your daily routine smoother.
Moreover, organizing your jewelry can reignite your love for pieces you may have forgotten. When items are stored haphazardly, it’s easy to overlook certain pieces. By displaying your collection neatly, you’re more likely to wear a variety of jewelry, ensuring you make the most of your collection.
Conclusion: Showcase Your Craftsmanship
In conclusion, creating a DIY necklace drawer organizer is an excellent way to keep your jewelry collection both stylishly and efficiently organized. By understanding the benefits, carefully planning, selecting the right materials, and following a step-by-step guide, you can create an organizer tailored to your needs. Adding personal touches and maintaining the organizer ensures it remains a cherished part of your daily routine.
This project not only provides a practical solution to jewelry storage but also allows you to showcase your craftsmanship and creativity. Each time you open your drawer to see your beautifully arranged necklaces, you’ll experience a sense of satisfaction and pride in your work. Organize your jewelry in style with a DIY necklace drawer organizer and enjoy a clutter-free, elegant collection that stands the test of time.