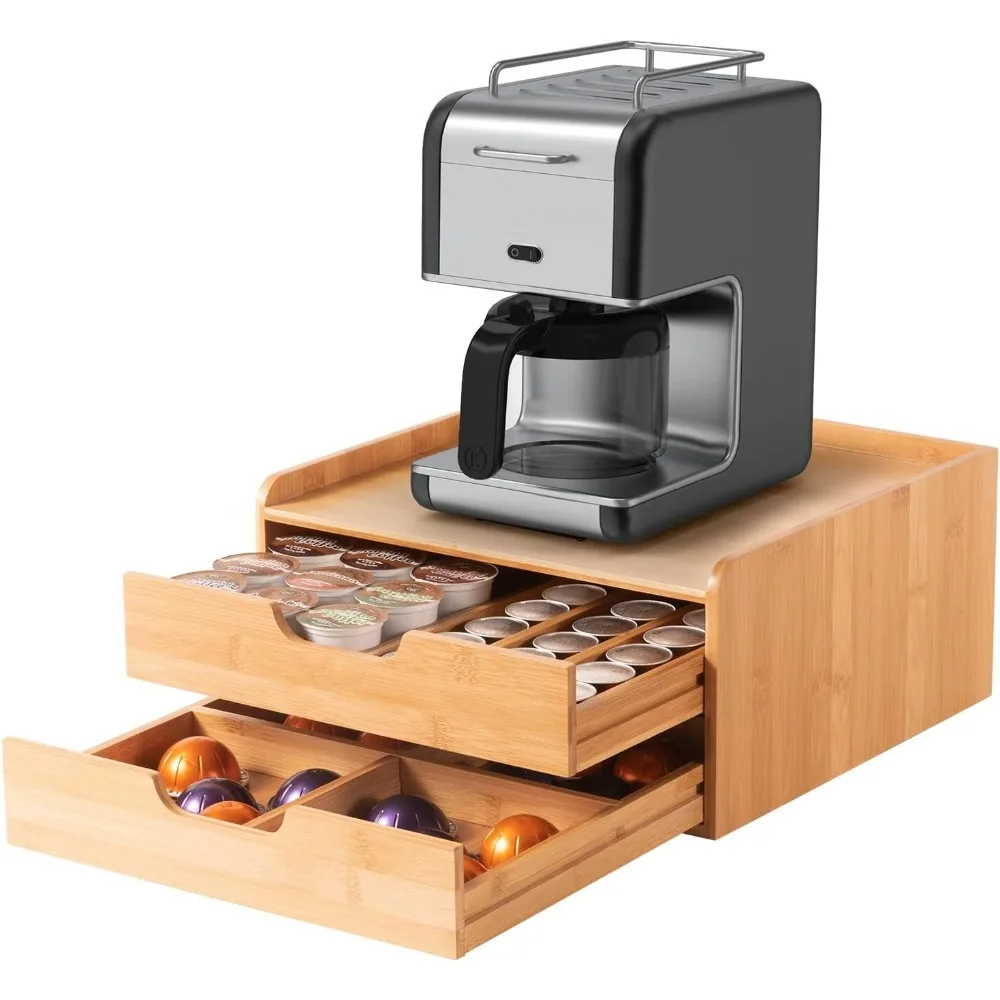
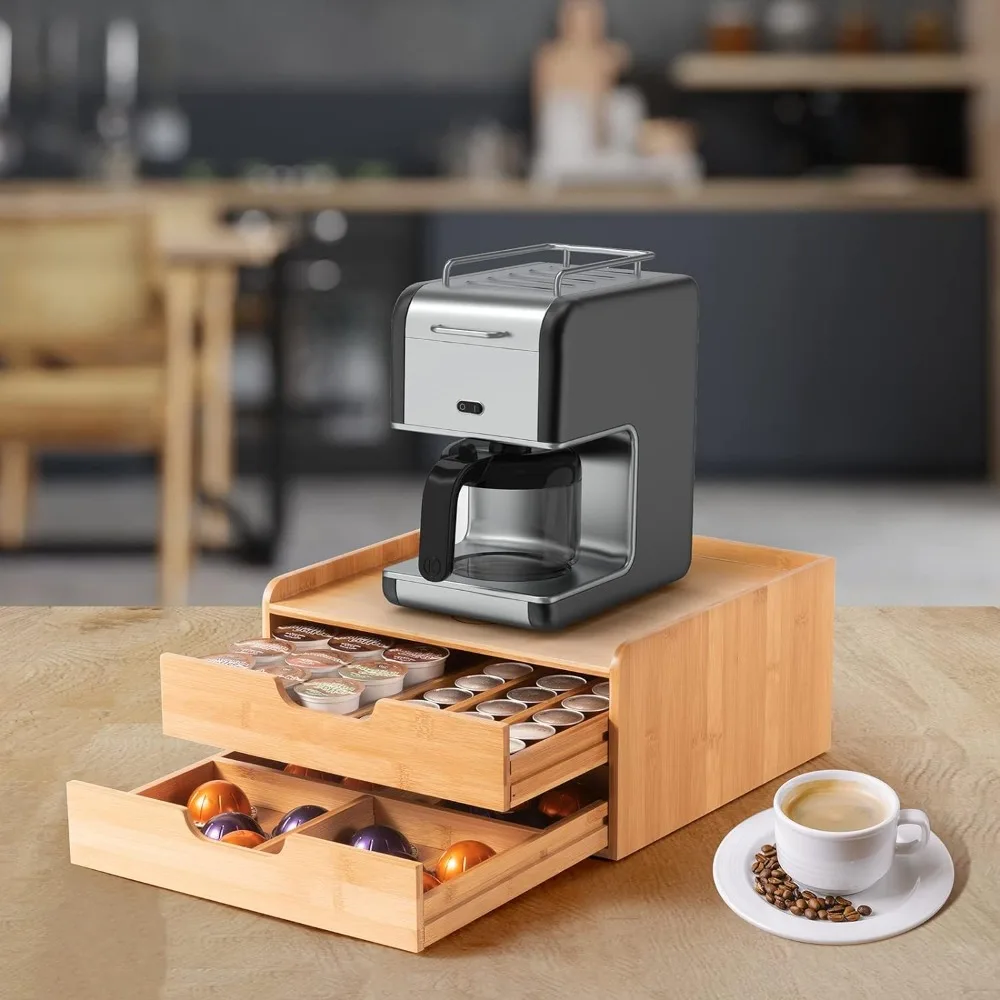
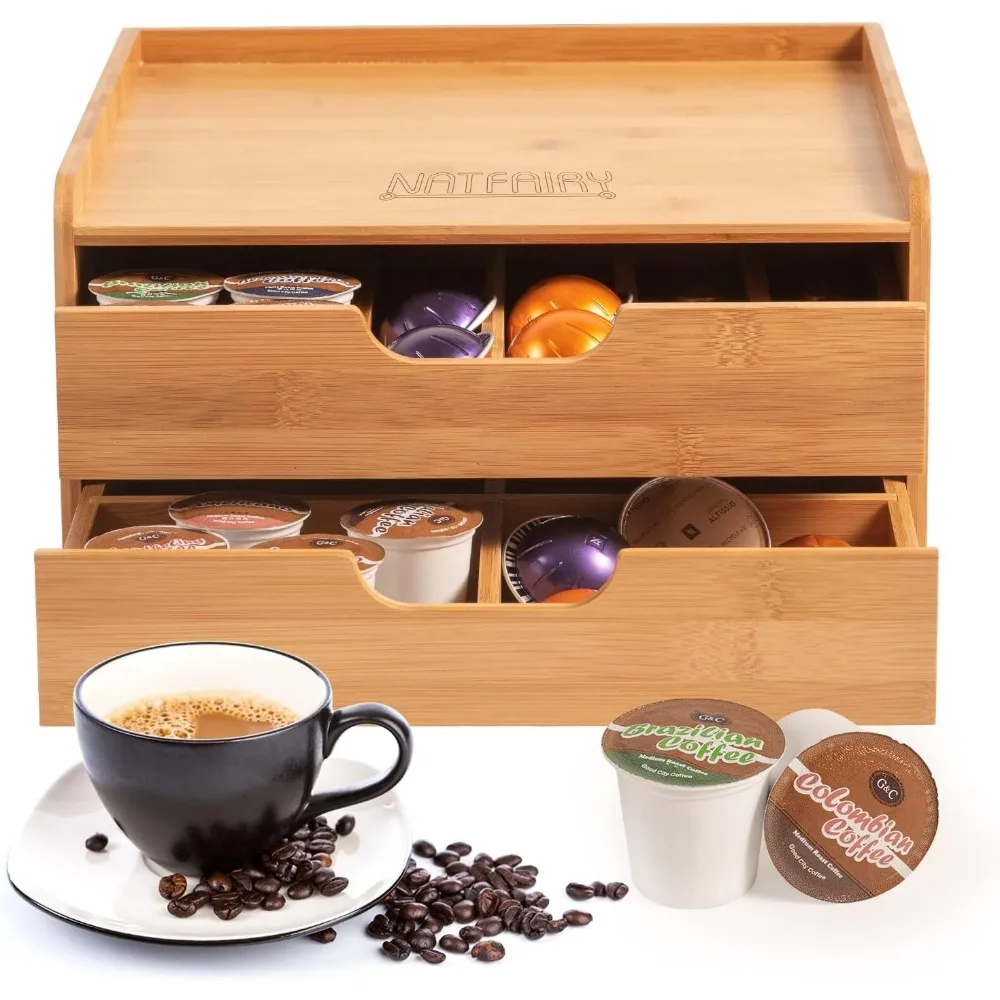
If you’re an avid coffee lover who enjoys the convenience of using K-Cups, you know that storing these little pods can be a bit of a challenge. Your kitchen counter might be cluttered with boxes, and finding the right flavor can turn into a scavenger hunt. The good news is, you can create your own K-Cup drawer organizer to keep your coffee station neat and organized. This step-by-step DIY guide will walk you through the entire process, ensuring you have a personalized, efficient, and aesthetically pleasing solution to your K-Cup storage woes.
Planning and Preparation
Before you dive into the DIY project, some planning and preparation are essential to ensure the success of your K-Cup drawer organizer. Start by measuring the drawer where you plan to place the organizer. This will help you determine the size and dimensions of your organizer, ensuring it fits perfectly.
Measurements and Materials: Measure the length, width, and height of the drawer. Note these down as accurate measurements will be crucial as you build your organizer. Next, decide on the materials you’ll be using. Plywood, MDF (Medium Density Fiberboard), and acrylic are popular choices due to their durability and ease of handling. You’ll also need a saw for cutting, sandpaper for smoothing edges, a ruler, a pencil, wood glue, finishing nails, and paint or varnish for a polished look.
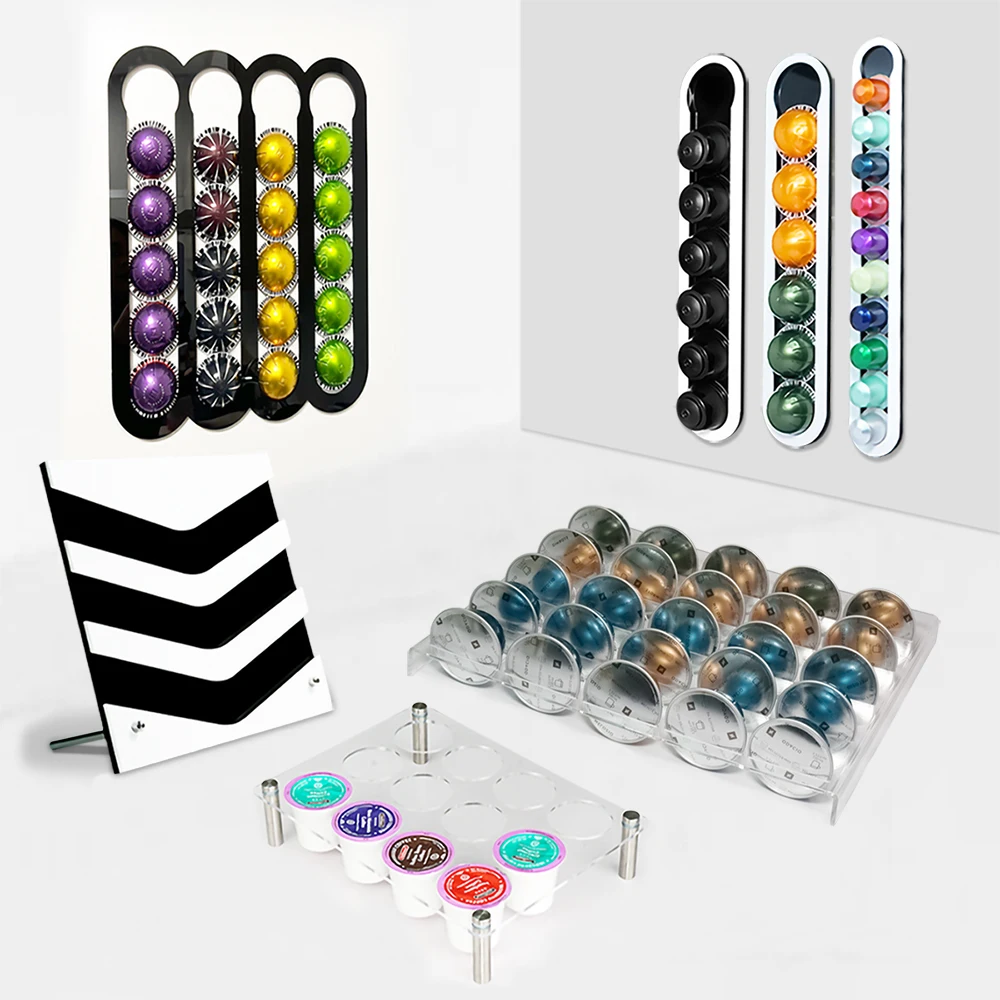
Design Your Organizer: Sketch a rough design of how you want your organizer to look. Consider how many K-Cups you need to store and how you want them arranged. Compartments can be arranged in rows, columns, or a grid pattern based on your preference.
Gather Tools and Supplies: Once you have your design and materials ready, gather the necessary tools. Having everything on hand before you start will make the process smoother and more enjoyable.
Proper planning and preparation set the foundation for a successful DIY project and ensure your K-Cup drawer organizer meets your specific needs.
Cutting and Preparing the Pieces
With your measurements and materials ready, it’s time to start cutting the pieces for your K-Cup drawer organizer. Precision is key here, as accurately cut pieces will ensure a snug fit and a professional-looking finish.
Cutting the Main Pieces: Use a saw to cut the base, dividers, and sides of your organizer. If you’re using plywood or MDF, a table saw or circular saw can make clean and precise cuts. If you’re using acrylic, a fine-toothed saw blade will work best to prevent chipping.
Smooth the Edges: After cutting, use sandpaper to smooth down any rough or jagged edges. This not only improves the appearance but also makes the pieces safer to handle during assembly.
Check the Fit: Before proceeding to assembly, do a dry fit of all the pieces in the drawer to ensure everything fits as planned. This allows you to make any necessary adjustments before gluing and nailing.
Customize Compartments: If you want to add a personal touch, now is the time to customize the compartments. You can round the edges, add labels, or even use a router to create decorative edges.
Cutting and preparing the pieces accurately ensures that the subsequent assembly will be straightforward and hassle-free.
Assembling the Organizer
The next step in creating your K-Cup drawer organizer is assembling the cut pieces. This is where your project starts to take shape and transform from individual pieces into a functional organizer.
Assemble the Frame: Start by assembling the main frame of the organizer—the base and sides. Apply wood glue to the edges of the base and attach the side pieces. Use clamps to hold everything in place while the glue dries. For added stability, attach finishing nails along the glued edges.
Add Dividers: Once the frame is secure, position the internal dividers based on your design. Apply wood glue to the bottom and side edges of each divider before placing them in the frame. Again, use finishing nails for added security.
Ensure Alignment: As you add each piece, ensure they are aligned correctly and square. Use a ruler and a carpenter’s square to check the alignment. This step is crucial for the overall look and functionality of your organizer.
Leave to Dry: After assembling the frame and dividers, leave the organizer to dry completely. Follow the wood glue manufacturer’s recommendations for drying time to ensure a strong bond.
Proper assembly is vital for the durability and usability of your K-Cup drawer organizer. Ensuring each piece is securely attached and correctly aligned will result in a sturdy and reliable organizer.
Sanding and Finishing
With the assembly complete, it’s time to give your K-Cup drawer organizer a polished look. Sanding and finishing will enhance its appearance and protect the materials, ensuring it lasts for years to come.
Sanding: Start with coarse-grit sandpaper to remove any excess glue and smooth out any rough spots. Gradually move to finer grits for a smoother finish. Sand all surfaces, including corners and edges, until they are smooth to the touch. This step is essential not only for aesthetics but also for safety, as it eliminates sharp edges.
Dust Removal: After sanding, thoroughly dust off the entire organizer. Use a soft cloth or a vacuum to remove all sanding dust, ensuring a clean surface for painting or staining.
Painting or Staining: Choose a finish that complements your kitchen decor. If you prefer a natural look, consider staining the wood. For a more colorful or modern appearance, opt for paint. Apply your chosen finish in thin, even coats, allowing each coat to dry completely before applying the next. This will prevent drips and ensure an even finish.
Sealant: After painting or staining, apply a clear sealant to protect the surface. This is especially important in a kitchen environment, where the organizer will be exposed to moisture and potential spills.
Final Touches: Add any final touches you desire, such as non-slip pads on the bottom to prevent the organizer from shifting in the drawer or labels to make it easier to find specific K-Cup flavors.
Sanding and finishing give your DIY project a professional touch, making your K-Cup drawer organizer both functional and visually appealing.
Customization Ideas
One of the joys of a DIY project is the ability to customize it to your exact preferences and needs. Personalize your K-Cup drawer organizer to reflect your style and enhance its functionality.
Labels: Adding labels to each compartment can help you easily find your desired K-Cup flavor. You can use adhesive labels, chalkboard paint, or even a label maker for a clean, professional look.
Decorative Elements: Incorporate decorative elements such as stenciling, decoupage, or even hand-painted designs to make your organizer uniquely yours. These personal touches can turn a functional item into a beautiful addition to your kitchen.
Additional Storage: Consider adding extra storage options, such as small compartments for sugar packets, stirrers, or tea bags. This will make your coffee station even more organized and convenient.
Handles or Pulls: For easy access, especially if the organizer is tightly fitted in the drawer, consider adding small handles or pulls. These can be both functional and decorative.
Non-Slip Mat: Line the bottom of the compartments with a non-slip mat to keep the K-Cups from shifting when you open the drawer. This ensures that every pod stays in place and makes your organizer even more practical.
The customization possibilities are endless, allowing you to create a K-Cup drawer organizer that is tailored to your specific needs and preferences.
Conclusion
Creating your own K-Cup drawer organizer is a rewarding project that combines functionality, creativity, and sustainability. By following this step-by-step DIY guide, you can design and build an organizer that fits your drawer perfectly, keeps your K-Cups neatly arranged, and adds a touch of personalization to your kitchen.
From planning and preparation to cutting, assembling, sanding, and finishing, each step offers an opportunity to create something uniquely yours. Customization options allow you to adapt the organizer to your needs, while maintenance tips ensure it stays in excellent condition.
Moreover, making environmentally conscious choices in your materials and methods adds another layer of satisfaction to this DIY venture. Whether you’re a seasoned DIY enthusiast or a beginner looking for a new project, building a K-Cup drawer organizer is a practical and enjoyable endeavor.
So, gather your tools, plan your design, and get ready to transform your coffee station. With a little effort and creativity, you’ll have a beautiful, efficient, and environmentally friendly solution to your K-Cup storage needs. Happy crafting!