


Introduction: Elevating Your Precious Moments
Jewelry, especially rings, holds a significant place in our hearts, symbolizing love, commitment, and cherished memories. Crafting a personalized jewelry ring box adds an extra layer of elegance and sentimentality to these precious treasures. In this guide, we’ll explore how to create a stunning DIY jewelry ring box that not only showcases your rings beautifully but also becomes a cherished keepsake in its own right.
Gathering Inspiration: Designing Your Vision
Before diving into the crafting process, take some time to gather inspiration and envision the design of your jewelry ring box. Browse through magazines, websites, and social media platforms for ideas on styles, materials, and embellishments that resonate with your personal taste and the occasion for which the box is intended. Whether you prefer a classic, minimalist design or something more ornate and whimsical, let your imagination guide you in shaping your vision.
Selecting Materials: Quality and Durability
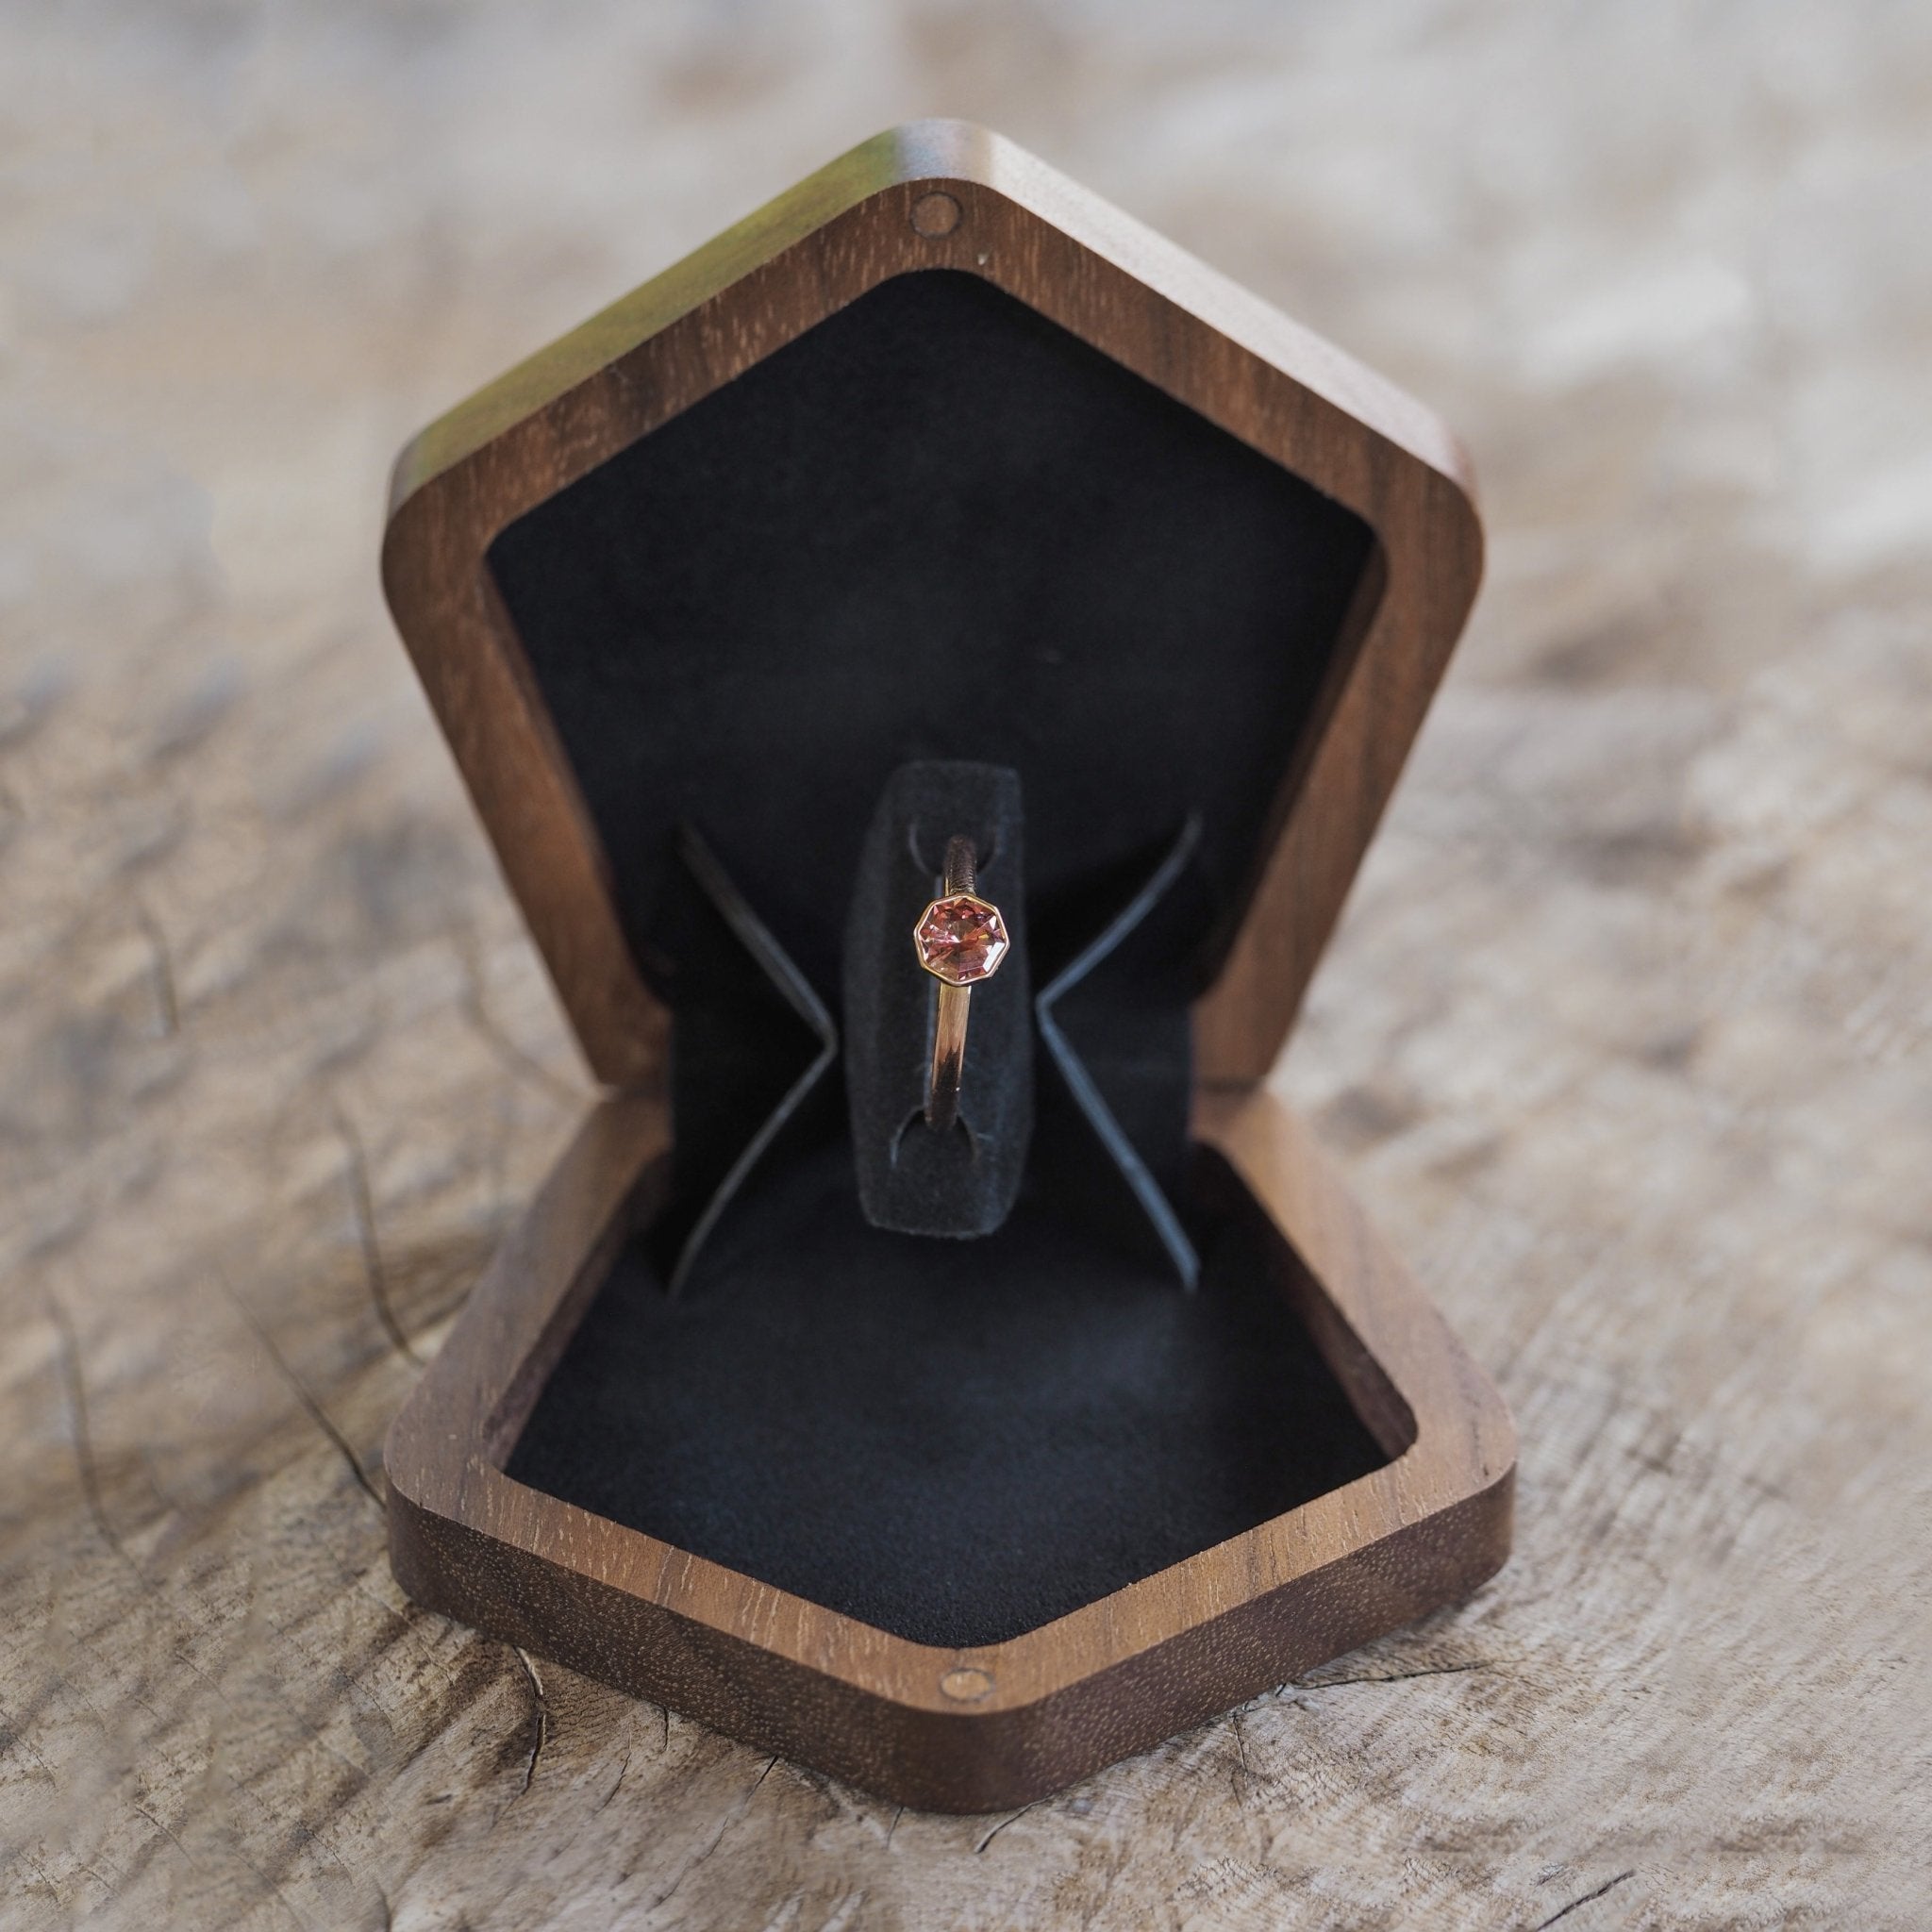
Once you’ve settled on a design concept, it’s time to gather the materials needed to bring your vision to life. Opt for high-quality materials that not only enhance the aesthetics of your jewelry ring box but also ensure its durability and longevity. Consider using hardwoods such as oak, cherry, or walnut for the box itself, as they offer both strength and beauty. For lining the interior, soft fabrics like velvet or satin provide a luxurious backdrop for showcasing your precious rings.
Preparing the Workspace: Organized and Functional
Before you begin crafting, set up a dedicated workspace that is organized, well-lit, and equipped with the necessary tools and supplies. Clear away any clutter and lay out your materials in an orderly fashion to streamline the crafting process. Ensure that your workspace is free from distractions, allowing you to focus fully on bringing your jewelry ring box to fruition with precision and care.
Measuring and Cutting: Precision is Key
With your materials and workspace ready, it’s time to start crafting! Begin by measuring and marking the dimensions of your jewelry ring box on the chosen hardwood. Use a ruler, pencil, and straightedge to ensure accuracy, as precision is key to achieving a professional-looking result. Once you’ve marked the measurements, carefully cut the wood using a saw or a precision cutting tool, following your guidelines closely to create clean, straight edges.
Assembling the Box: Attention to Detail
With the individual pieces of your jewelry ring box cut to size, it’s time to assemble them into the final structure. Apply a thin layer of wood glue to the edges of each piece, then carefully fit them together, ensuring that the corners are aligned perfectly. Use clamps or rubber bands to hold the pieces in place while the glue dries, taking care to wipe away any excess glue with a damp cloth to prevent unsightly drips or smudges. Attention to detail during this step will result in a beautifully crafted box that exudes elegance and sophistication.
Adding Finishing Touches: Personalization and Charm
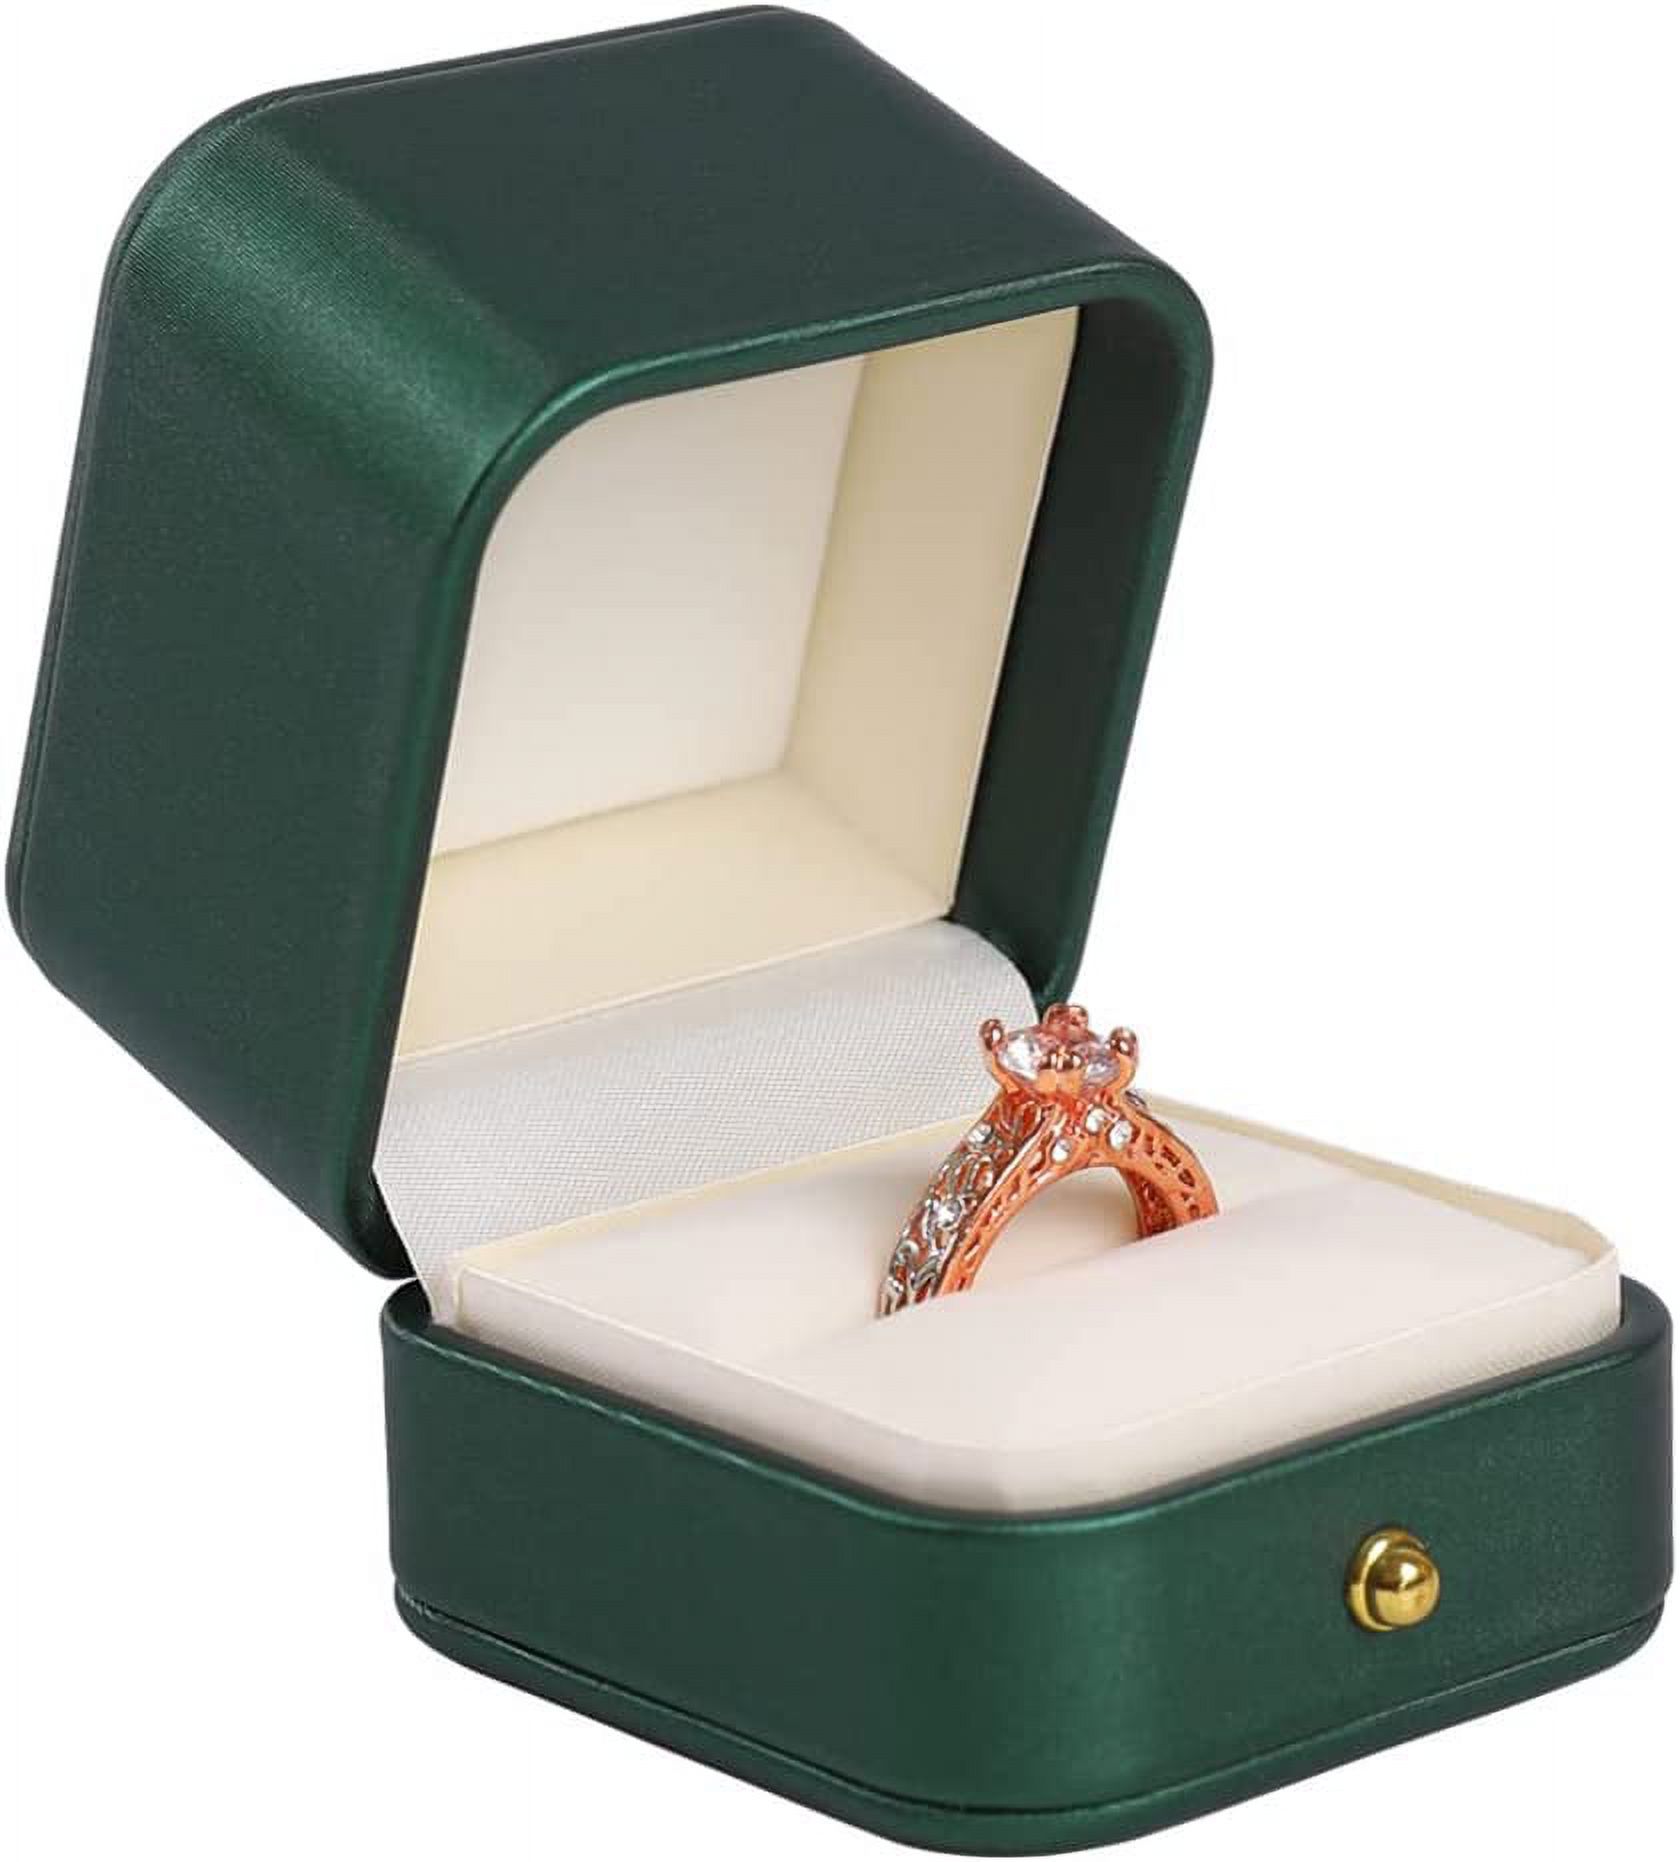
Once the basic structure of your jewelry ring box is assembled, it’s time to add the finishing touches that will elevate its appearance and imbue it with personalized charm. Consider embellishing the exterior of the box with decorative elements such as carved designs, inlaid patterns, or ornamental hardware like brass hinges or clasps. You can also personalize the box further by engraving initials, dates, or meaningful messages onto the surface, creating a one-of-a-kind keepsake that is truly unique.
Lining the Interior: Luxurious and Protective
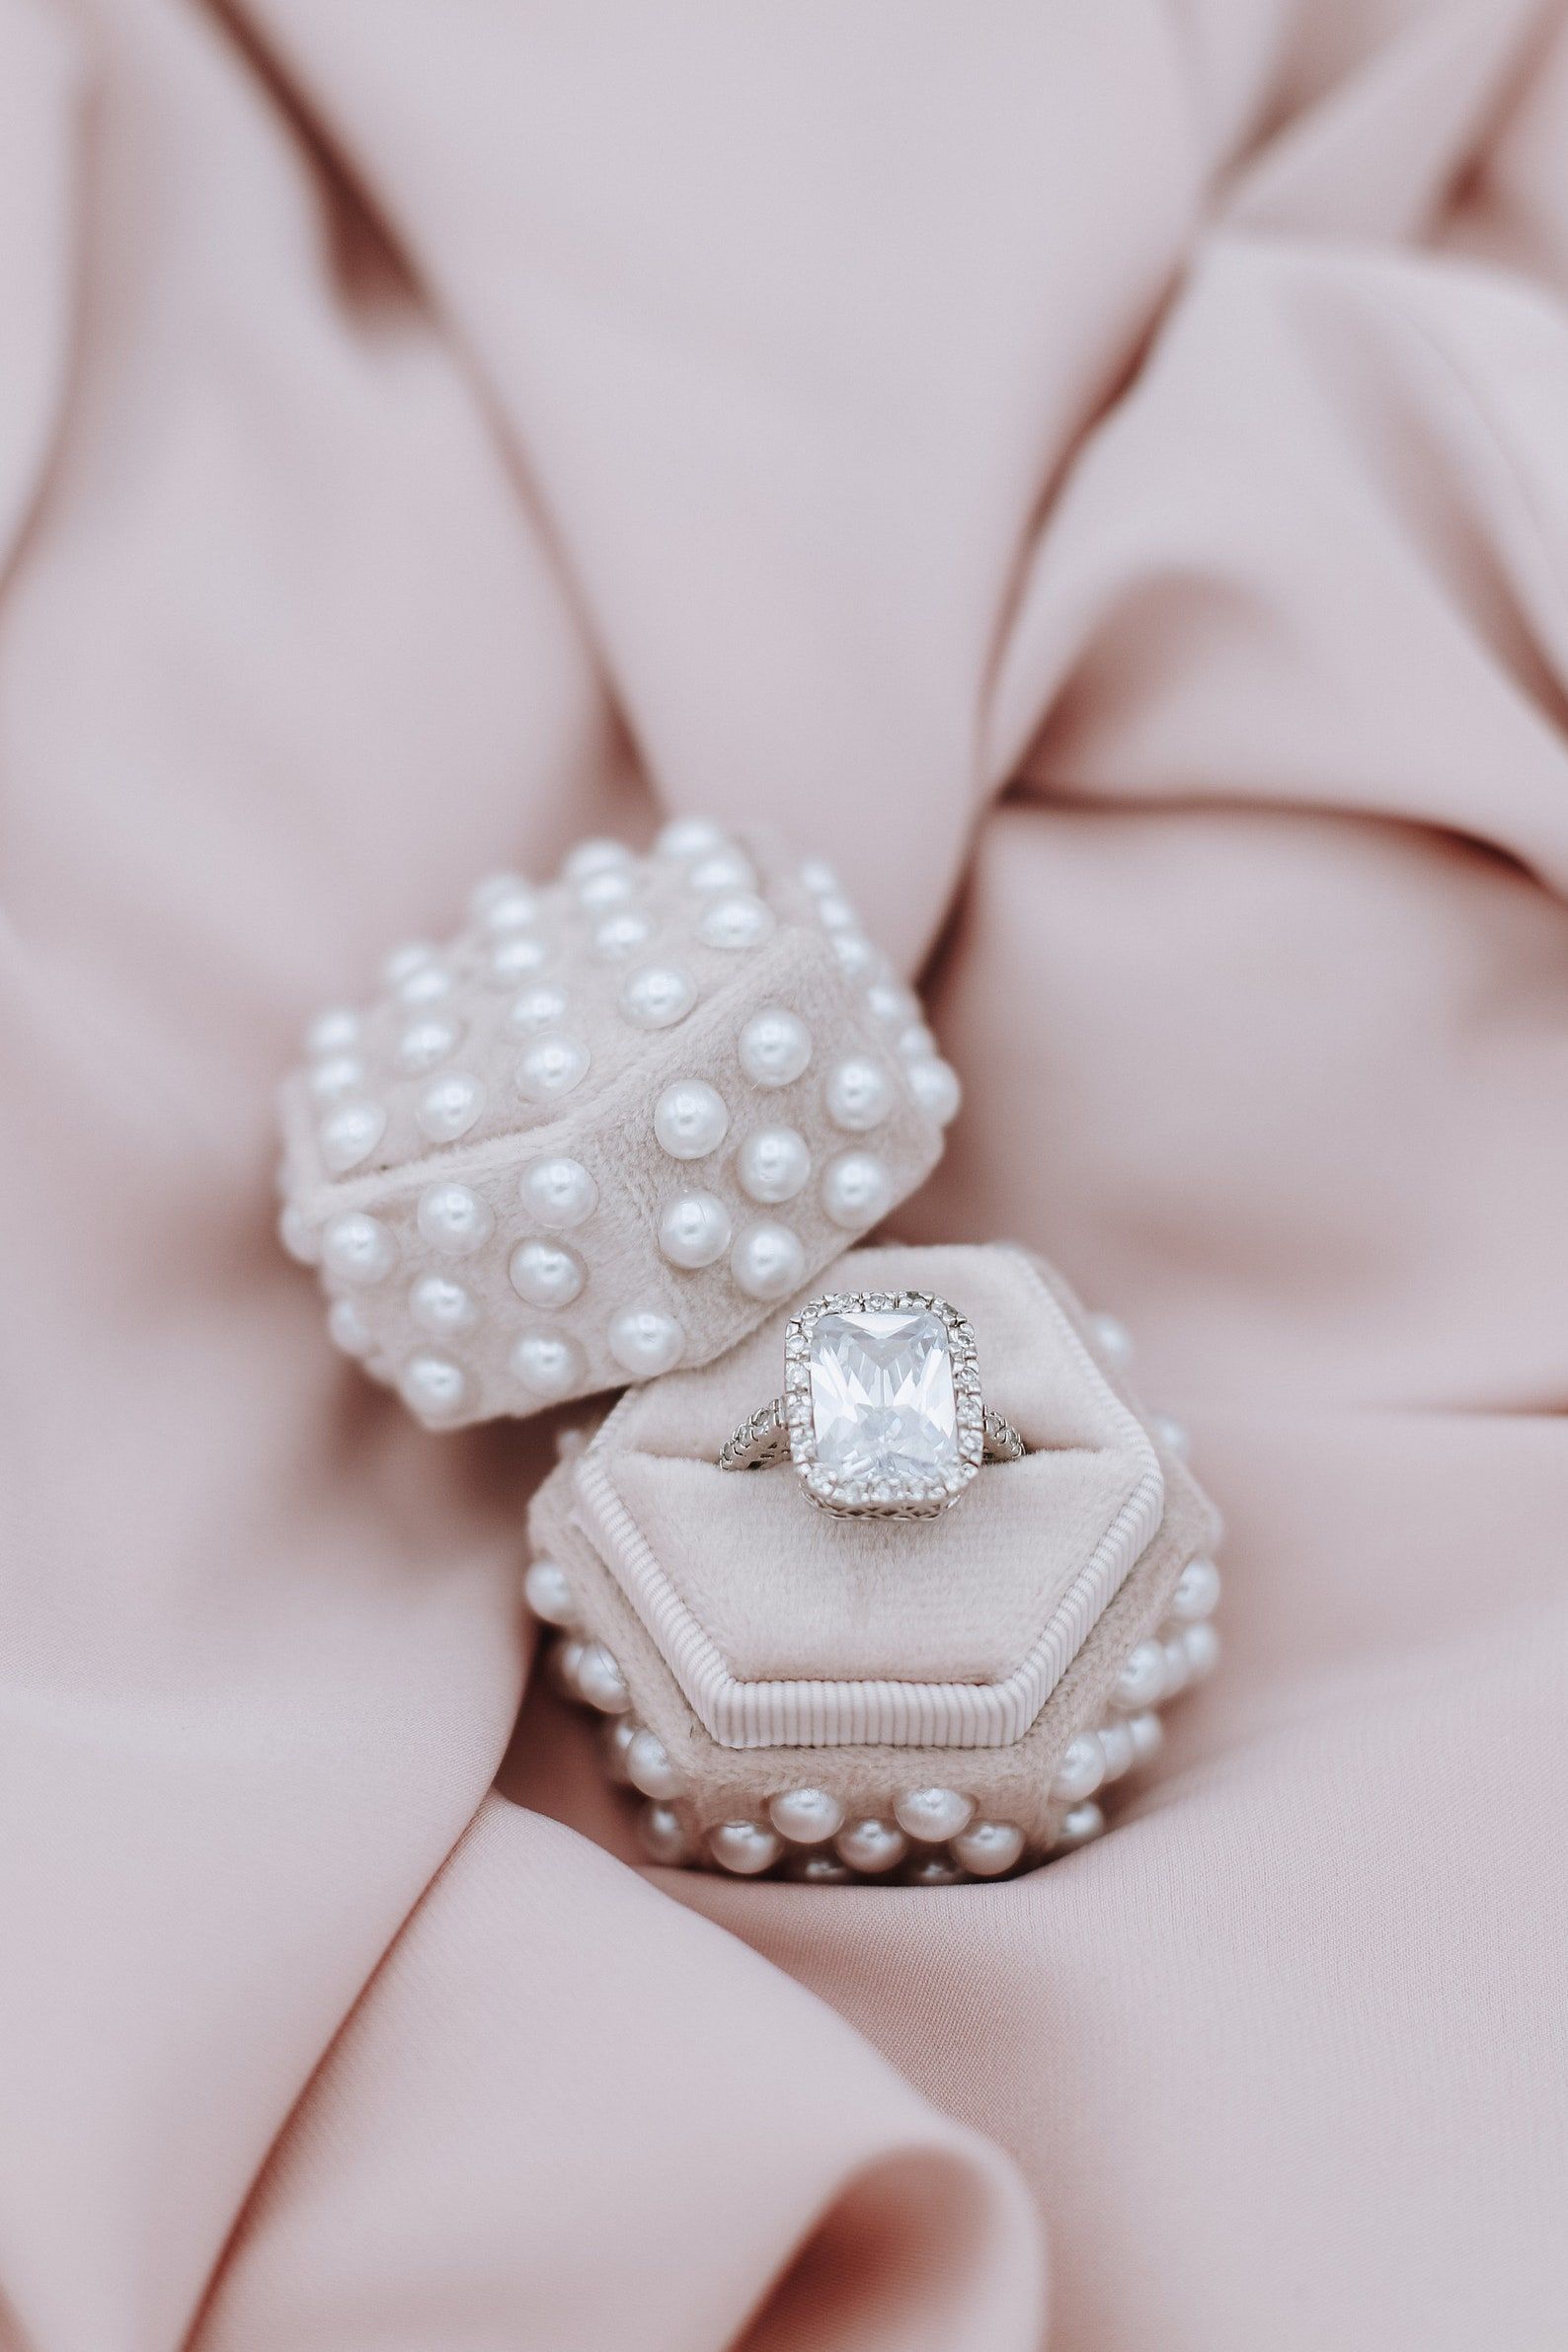
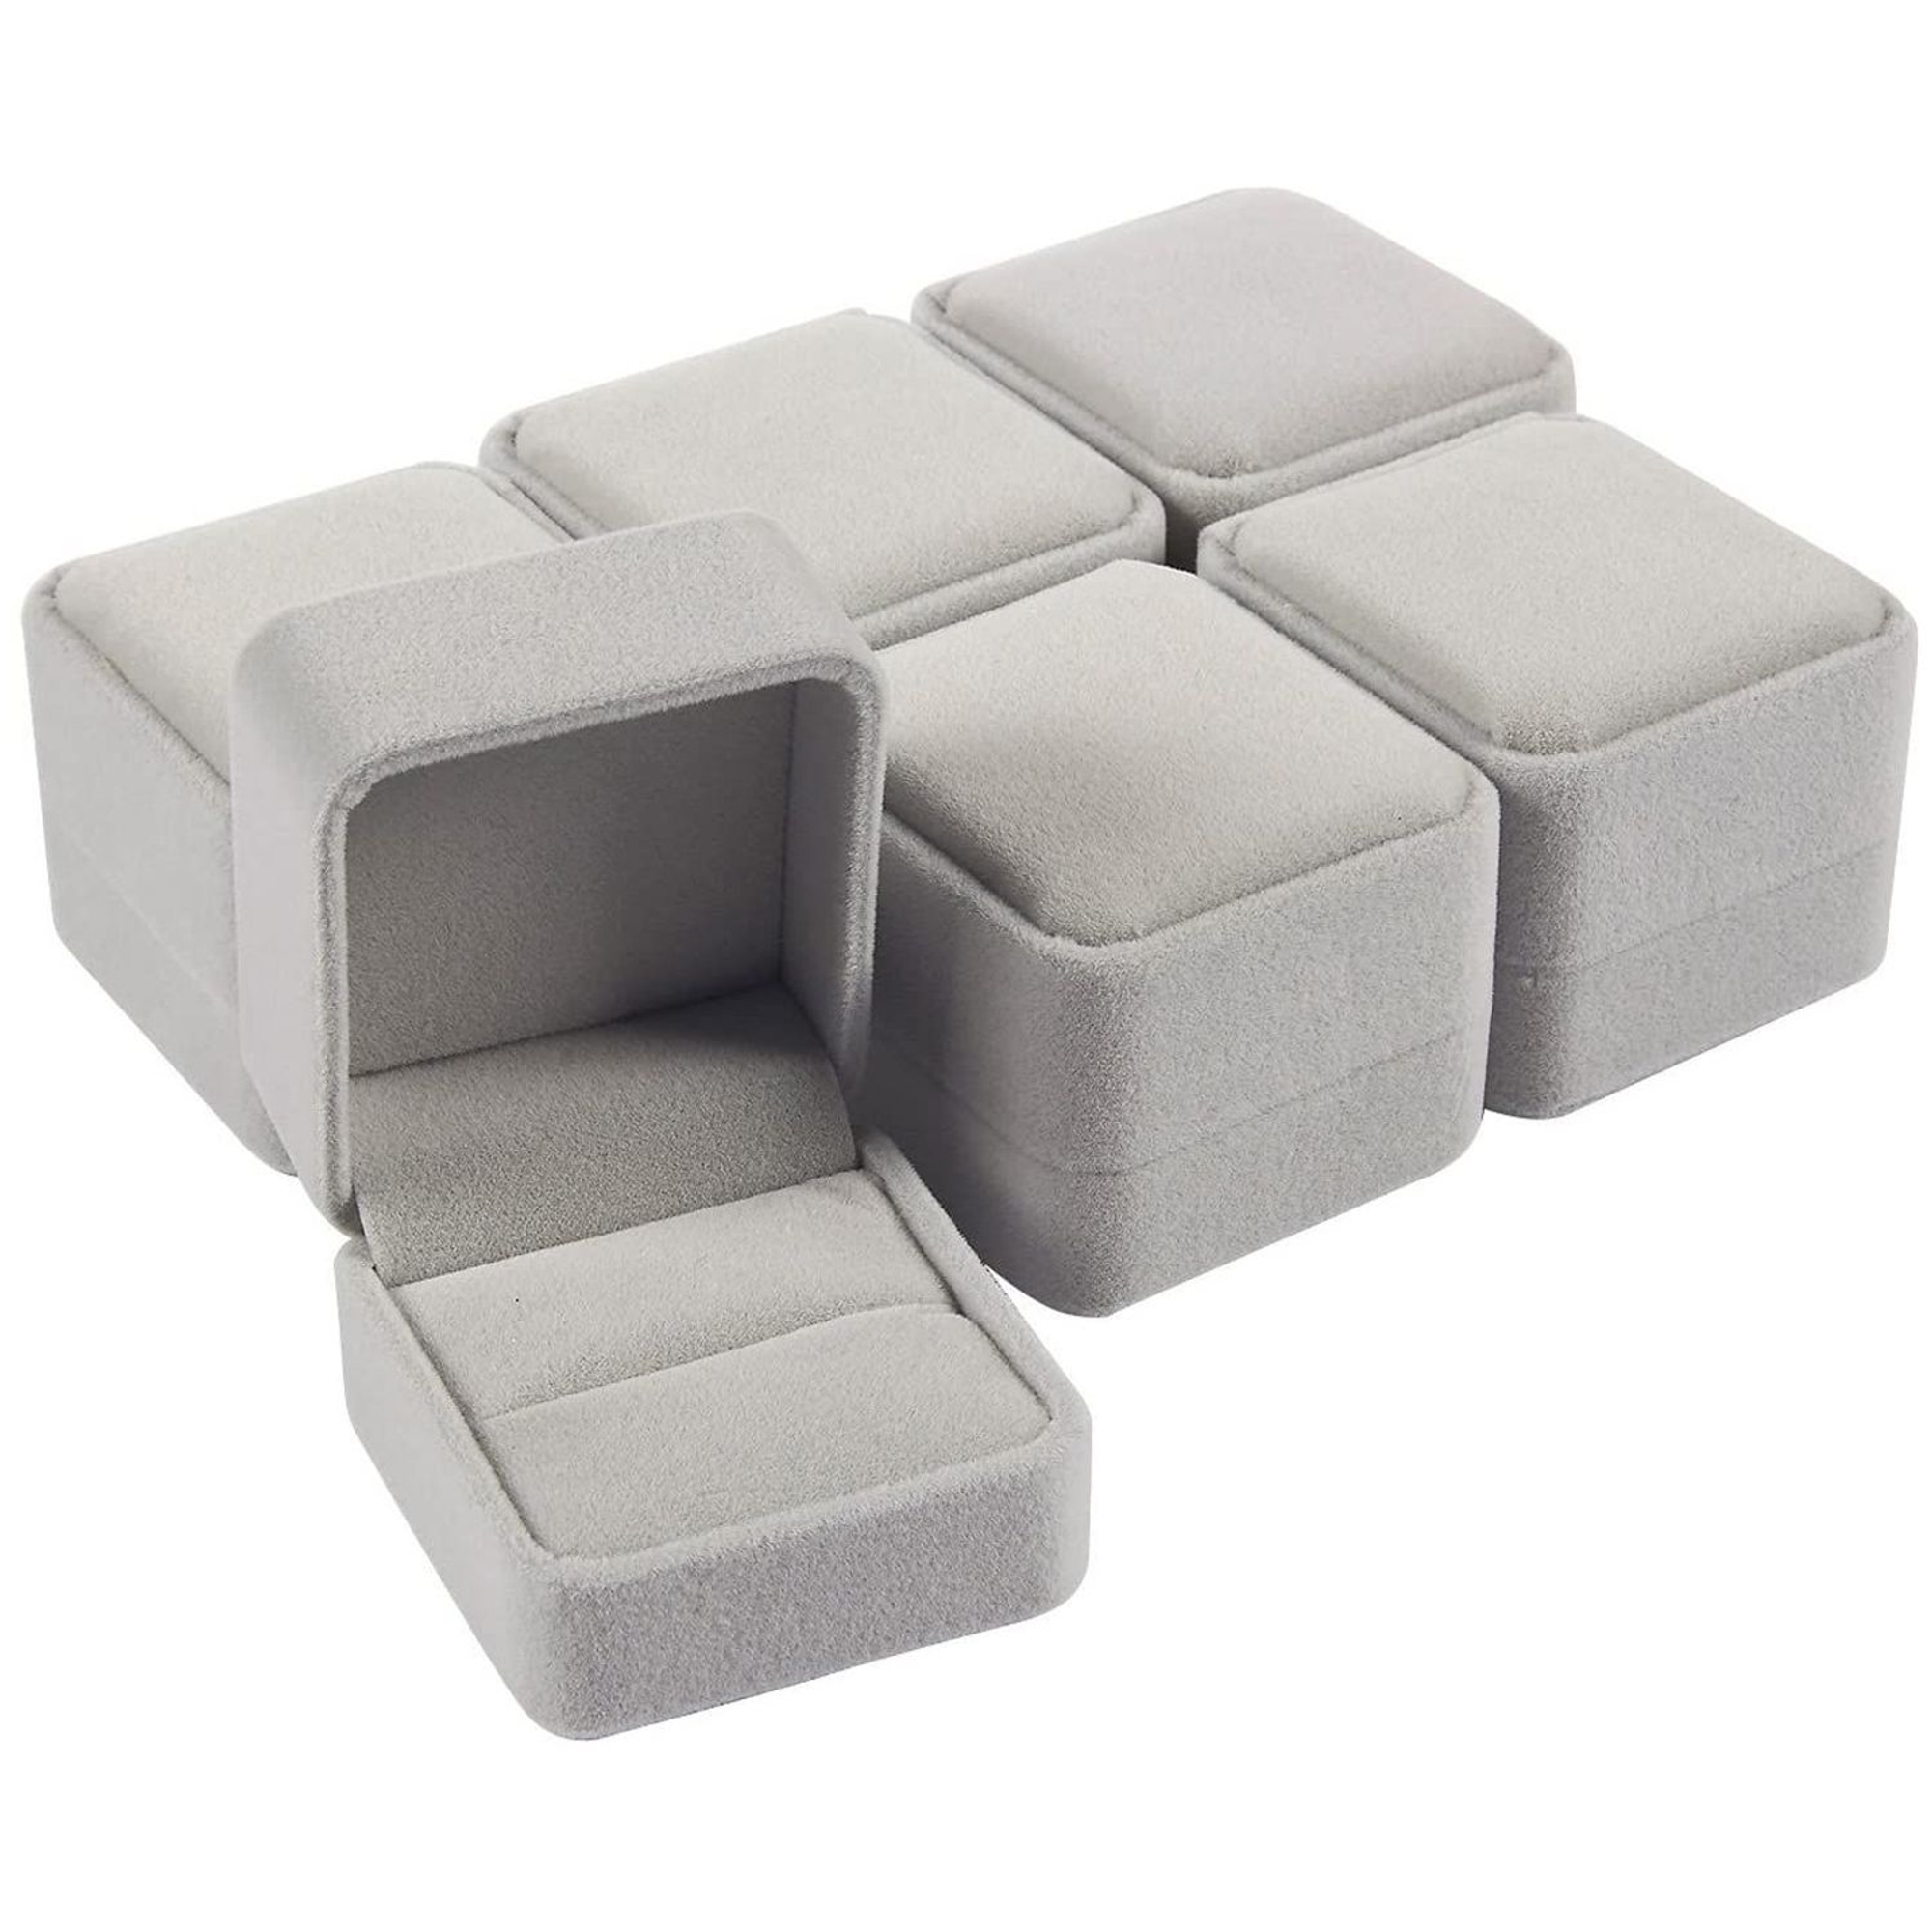
With the exterior of your jewelry ring box complete, turn your attention to lining the interior with soft, luxurious fabric to protect your precious rings from scratches and damage. Measure and cut the fabric to fit snugly inside the box, then secure it in place using adhesive or a staple gun. Velvet is a popular choice for lining jewelry boxes due to its plush texture and gentle cushioning properties, but you can also experiment with other fabrics and colors to achieve the desired look and feel.
Final Inspection: Ensuring Quality and Craftsmanship
Before declaring your DIY jewelry ring box complete, take a moment to inspect it thoroughly and make any necessary adjustments or refinements. Check for any gaps, rough edges, or imperfections that may detract from the overall appearance or functionality of the box, and address them accordingly with sandpaper, wood filler, or additional coats of finish. Paying attention to these final details will ensure that your jewelry ring box is a true testament to your craftsmanship and dedication to quality.
Maintaining Longevity: Care and Preservation
Once your DIY jewelry ring box is complete, it’s essential to care for it properly to ensure its longevity and preserve its beauty for years to come. Avoid exposing the box to direct sunlight or extreme temperatures, as this can cause the wood to warp or the fabric lining to fade. Instead, store the box in a cool, dry place away from moisture and humidity, using a soft cloth to gently dust it periodically and remove any fingerprints or smudges.
Celebrating Special Moments: Versatility and Adaptability
While your DIY jewelry ring box may have been crafted with a specific occasion or purpose in mind, don’t hesitate to adapt and repurpose it for other special moments and celebrations. Whether you’re presenting a cherished heirloom ring to a loved one, commemorating an anniversary or milestone, or simply organizing and displaying your jewelry collection, your handmade ring box can serve as a versatile and adaptable companion that enhances any meaningful experience.
Sharing Your Craftsmanship: Gifts from the Heart
Consider sharing your craftsmanship and creativity with loved ones by gifting them with handmade jewelry ring boxes crafted with care and attention to detail. Whether it’s a wedding gift for a newly married couple, a birthday present for a close friend, or a token of appreciation for a family member, a personalized ring box made with love is sure to be treasured and appreciated for years to come, serving as a tangible reminder of your thoughtfulness and generosity.
Conclusion: A Labor of Love
In conclusion, crafting a DIY jewelry ring box is a labor of love that yields both practical and aesthetic rewards. By selecting high-quality materials, paying attention to detail, and infusing your personal touch into the design, you can create a stunning keepsake that not only showcases your precious rings but also serves as a cherished memento of special moments and milestones. So gather your tools, unleash your creativity, and embark on the journey of crafting elegance with a DIY jewelry ring box that is as unique and beautiful as the rings it holds.


