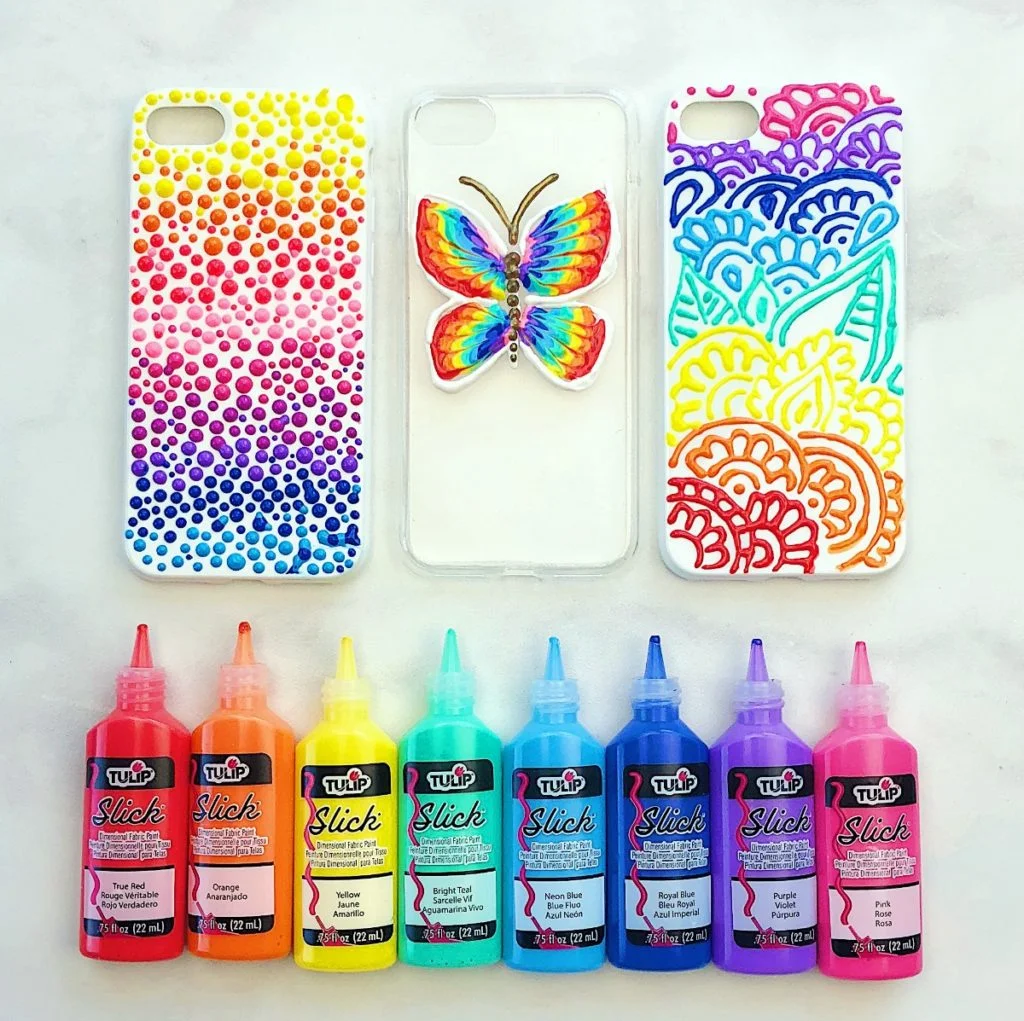
In the age of personalized accessories, painting your phone case can be a delightful way to express your creativity and individuality. Transforming a plain phone case into a piece of art not only adds a personal touch but also showcases your artistic flair. In this comprehensive guide, we’ll walk you through the steps to master the artistry of painting a phone case, ensuring that your creation stands out with flair.
Gathering Your Materials
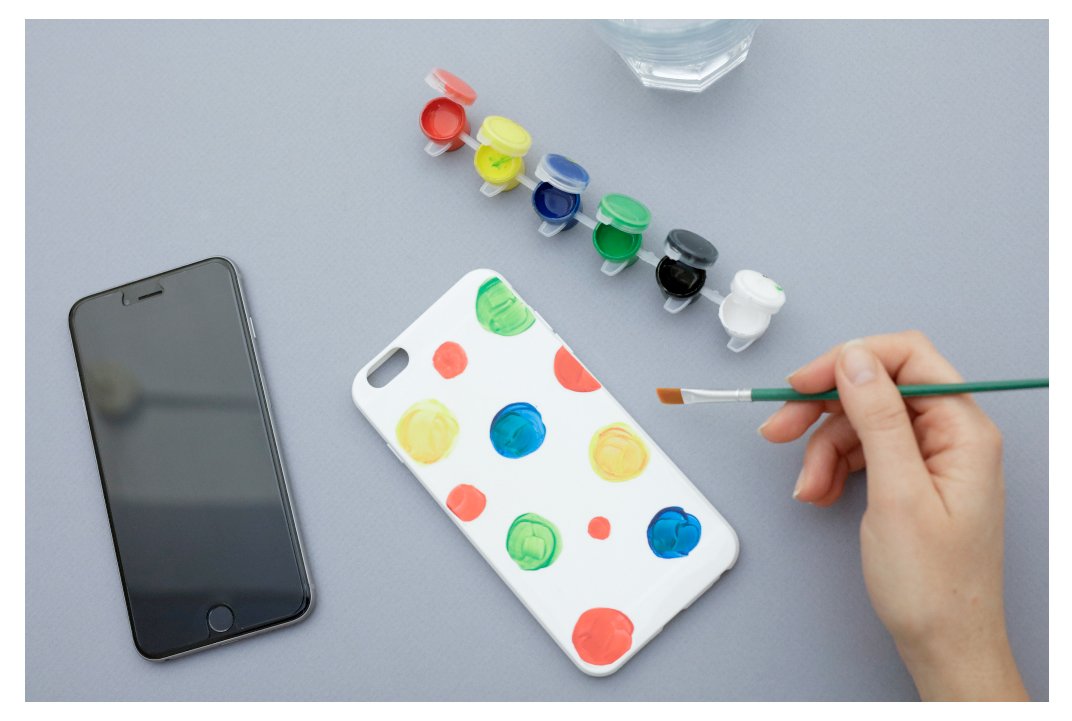
Before diving into the creative process, it’s essential to gather all the necessary materials. Here’s a list of items you’ll need to embark on your phone case painting journey:
- Phone Case: Choose a phone case made of a suitable material for painting, such as plastic or silicone. Ensure it’s clean and free from any dirt or residues.
- Acrylic Paints: Opt for high-quality acrylic paints in a variety of colors to bring your design to life. These paints offer vibrant hues and excellent durability.
- Paintbrushes: Invest in a set of fine-tip paintbrushes for intricate details and broad brushes for larger areas. Quality brushes can significantly enhance your painting experience.
- Palette: Use a palette to mix and blend colors efficiently. You can use a traditional palette or improvise with a disposable plate or piece of wax paper.
- Painter’s Tape: Painter’s tape helps create clean lines and protect areas you don’t want to paint. It’s particularly useful for designing geometric patterns or sections.
- Sealant: Once your artwork is complete, seal it with a clear sealant spray to protect the paint from chipping and fading over time.
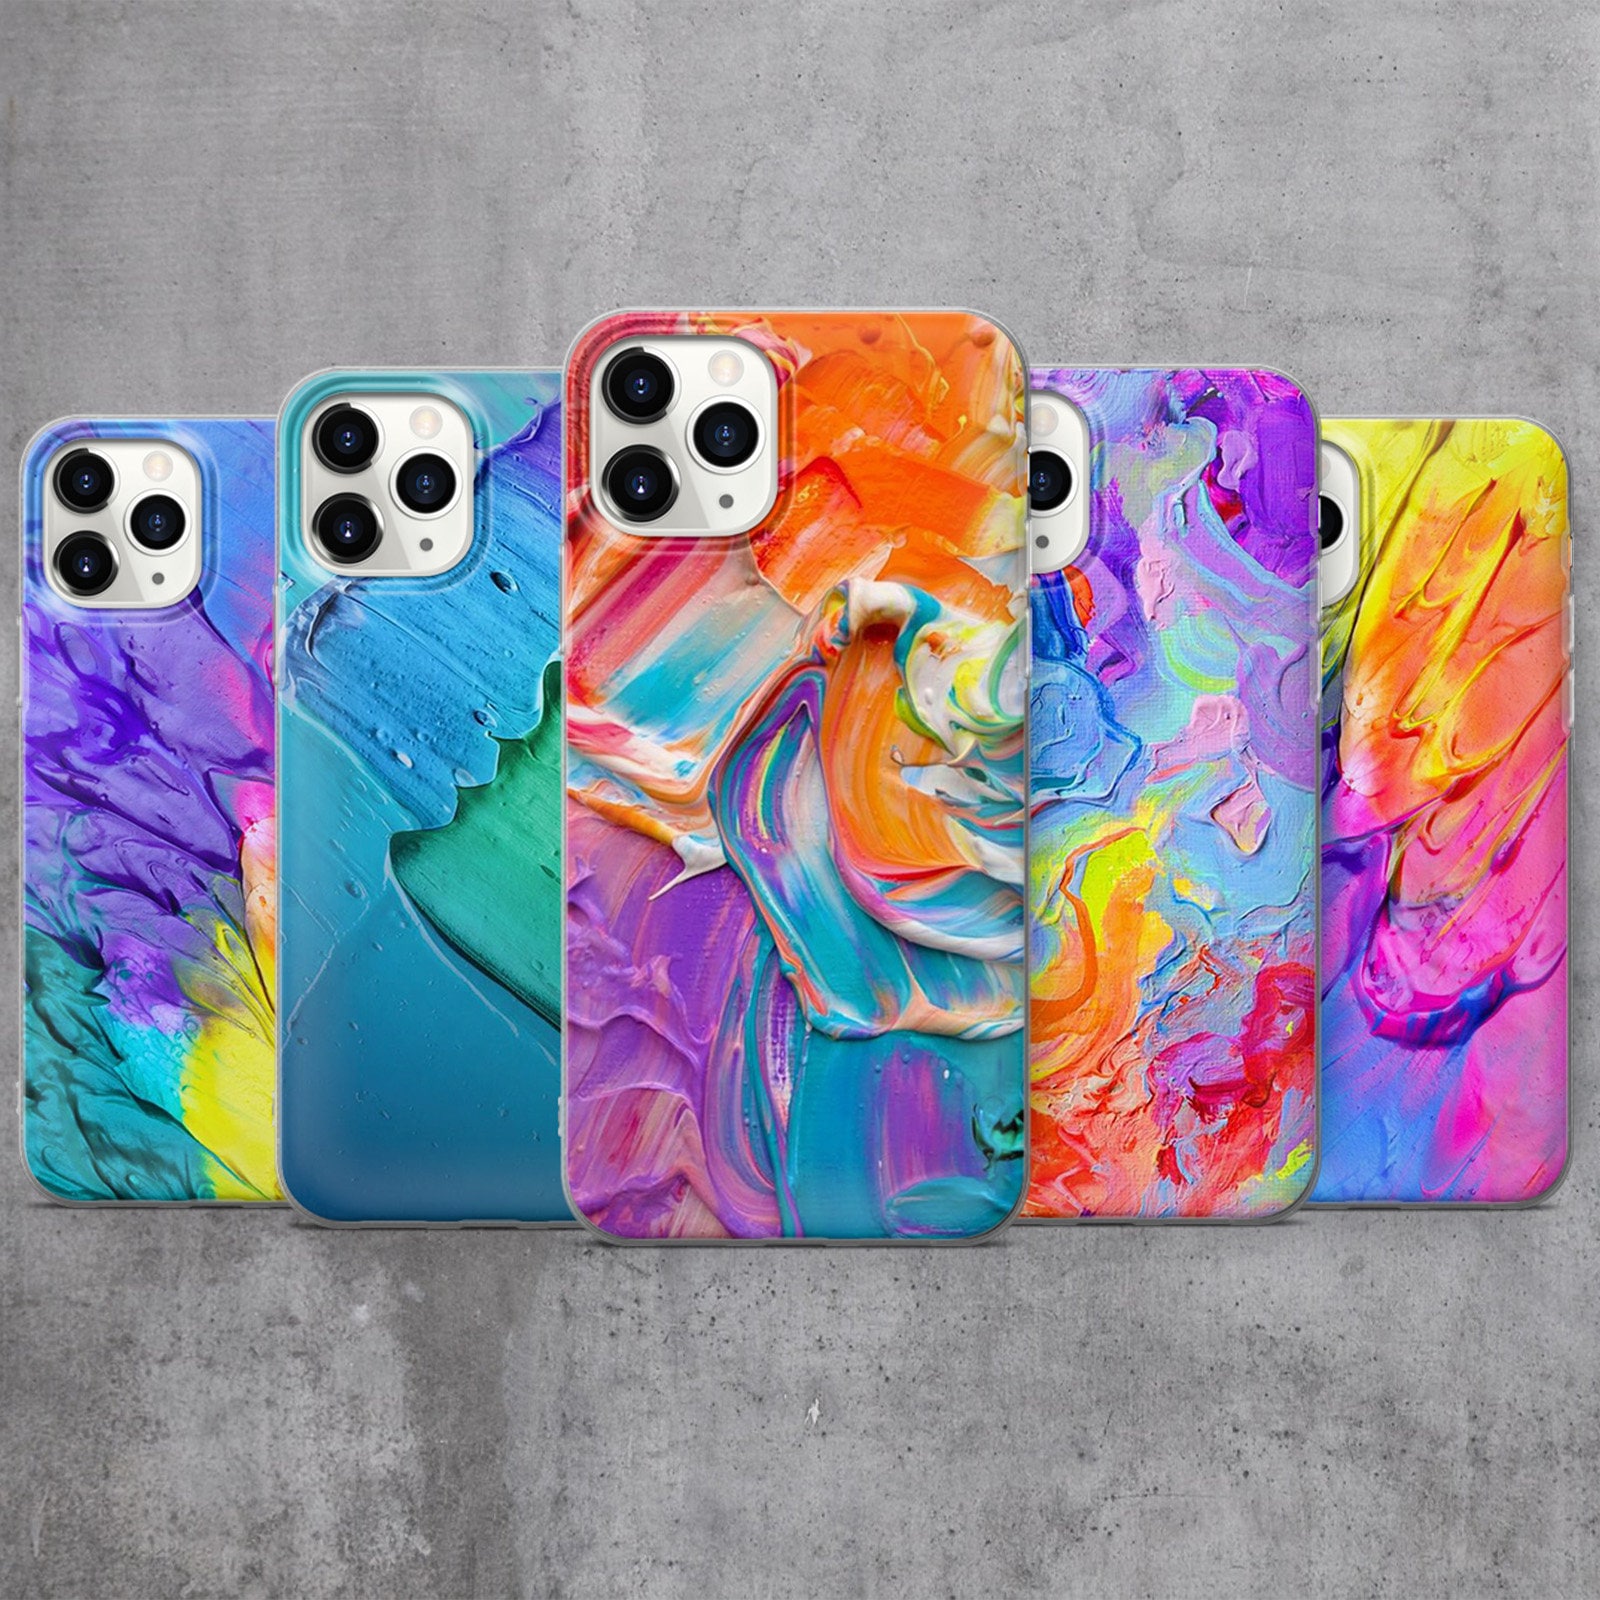
By ensuring you have all these materials on hand, you’ll be well-equipped to start your phone case painting project with confidence.
Preparing Your Workspace
Creating a conducive workspace is crucial for an enjoyable painting experience. Follow these steps to set up your workspace effectively:
- Choose a Well-Ventilated Area: Select a well-ventilated space, preferably outdoors or in a room with windows that can be opened. Adequate ventilation prevents inhalation of paint fumes and ensures quick drying of your artwork.
- Cover Your Surface: Lay down a protective covering, such as a plastic sheet or old newspaper, to shield your work surface from paint spills and splatters.
- Organize Your Materials: Arrange your painting materials within easy reach to streamline the creative process. A tidy workspace promotes focus and efficiency.
- Keep Cleaning Supplies Handy: Have a container of water and a rag or paper towels nearby for cleaning your brushes between color changes and wiping any accidental spills.
A well-prepared workspace sets the stage for a smooth and enjoyable painting session, allowing you to fully immerse yourself in the creative process.
Sketching Your Design
Before applying paint to your phone case, it’s helpful to sketch out your design lightly. This preliminary sketch serves as a roadmap for your painting and helps prevent errors. Follow these steps to sketch your design:
- Visualize Your Design: Take some time to visualize the design you want to create on your phone case. Consider elements such as patterns, motifs, and color schemes.
- Use Light Pencil Strokes: With a pencil, lightly sketch the outlines of your design directly onto the phone case. Start with basic shapes and gradually add details to refine your design.
- Adjust as Needed: Don’t hesitate to erase and refine your sketch until you’re satisfied with the overall composition. This stage allows for experimentation and fine-tuning of your ideas.
Sketching provides a solid foundation for your painting, guiding you through the process with clarity and precision.
Painting Your Phone Case
With your design sketched out, it’s time to bring it to life with paint. Follow these steps to paint your phone case with flair:
- Start with Base Colors: Begin by applying base colors to the different sections of your design. Use broad brushes for larger areas and switch to finer brushes for intricate details.
- Layering and Blending: Experiment with layering and blending colors to add depth and dimension to your artwork. Acrylic paints are versatile and allow for easy blending when applied wet-on-wet.
- Add Details and Highlights: Once the base colors are dry, add details such as fine lines, textures, and highlights to enhance your design. Pay attention to contrast and shading to make your artwork pop.
- Incorporate Mixed Media (Optional): Get creative by incorporating mixed media elements such as metallic accents, glitter, or decoupage. These additions can elevate your phone case design and add visual interest.
- Allow for Drying Time: Patience is key when painting your phone case. Allow each layer of paint to dry completely before applying additional layers or details to prevent smudging and ensure a professional finish.
By following these steps and allowing your creativity to flow, you’ll paint a phone case that reflects your unique style and personality.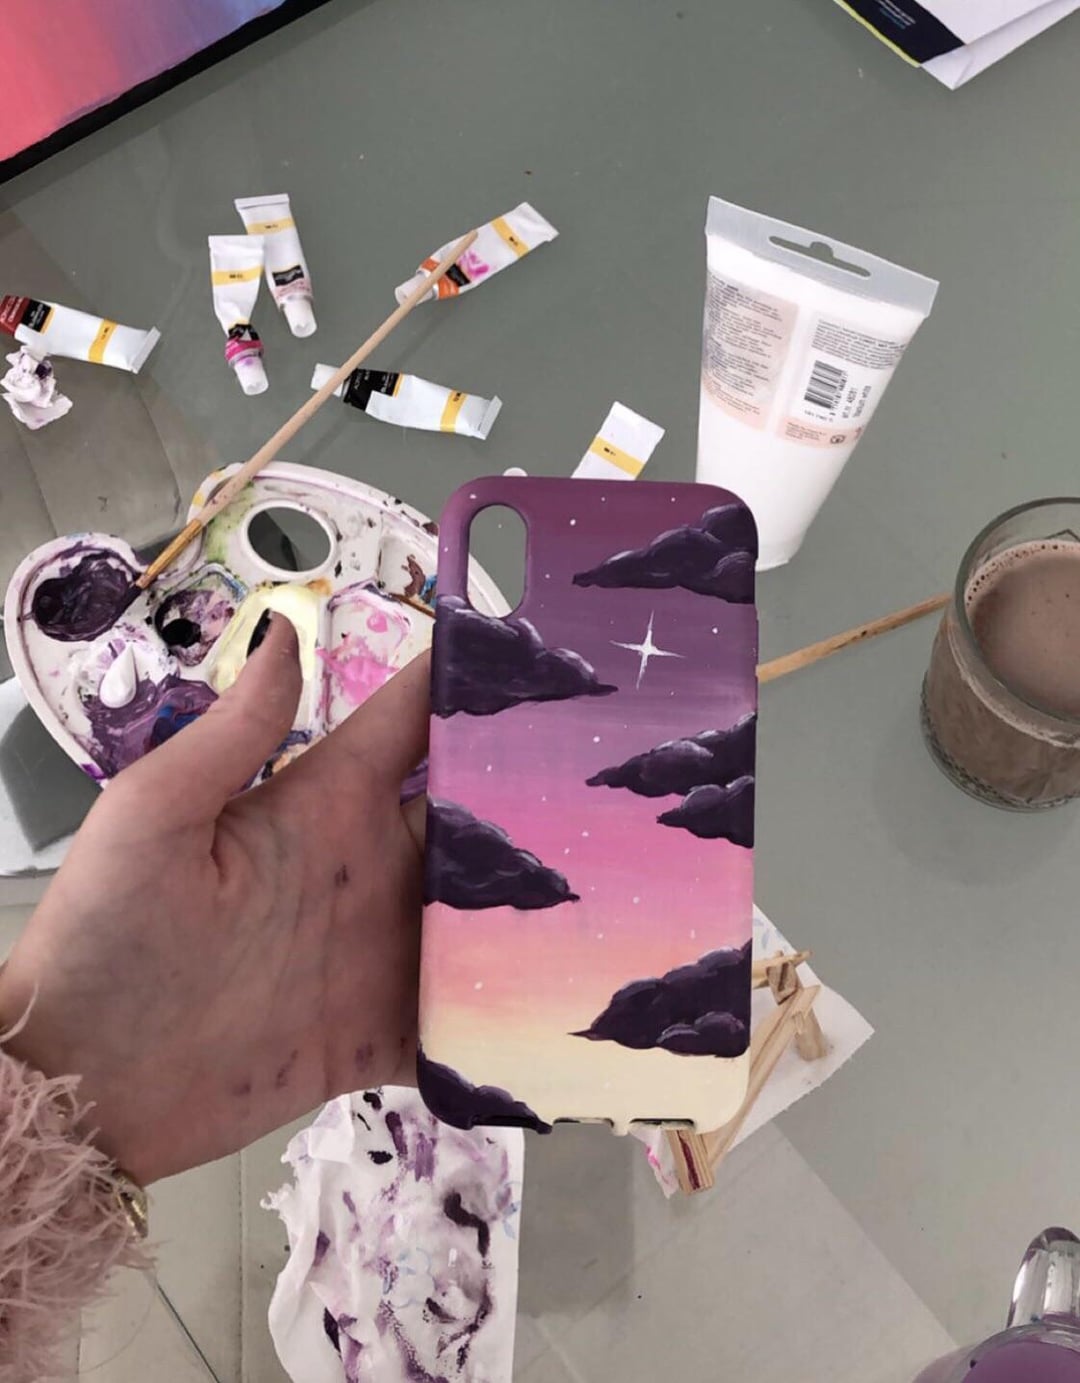
Finishing Touches and Sealant
Once you’re satisfied with your painted phone case, it’s time to add the finishing touches and protect your artwork with a sealant. Here’s how to complete the process:
- Remove Painter’s Tape (If Used): Carefully peel off any painter’s tape used to create clean lines or mask off areas. Take your time to avoid damaging the painted surface.
- Inspect for Touch-Ups: Examine your phone case for any areas that may require touch-ups or corrections. Use fine-tip brushes to fix any imperfections and ensure a polished look.
- Apply Sealant: In a well-ventilated area, apply a thin, even coat of clear sealant spray over your painted phone case. Hold the spray can at a distance to prevent drips or pooling. Allow the sealant to dry completely according to the manufacturer’s instructions.
- Reattach Your Phone Case: Once the sealant is dry, reattach your phone case to your device. Admire your handiwork and enjoy your personalized phone accessory!
With the application of a sealant, your painted phone case is now protected against wear and tear, allowing you to showcase your artwork with confidence.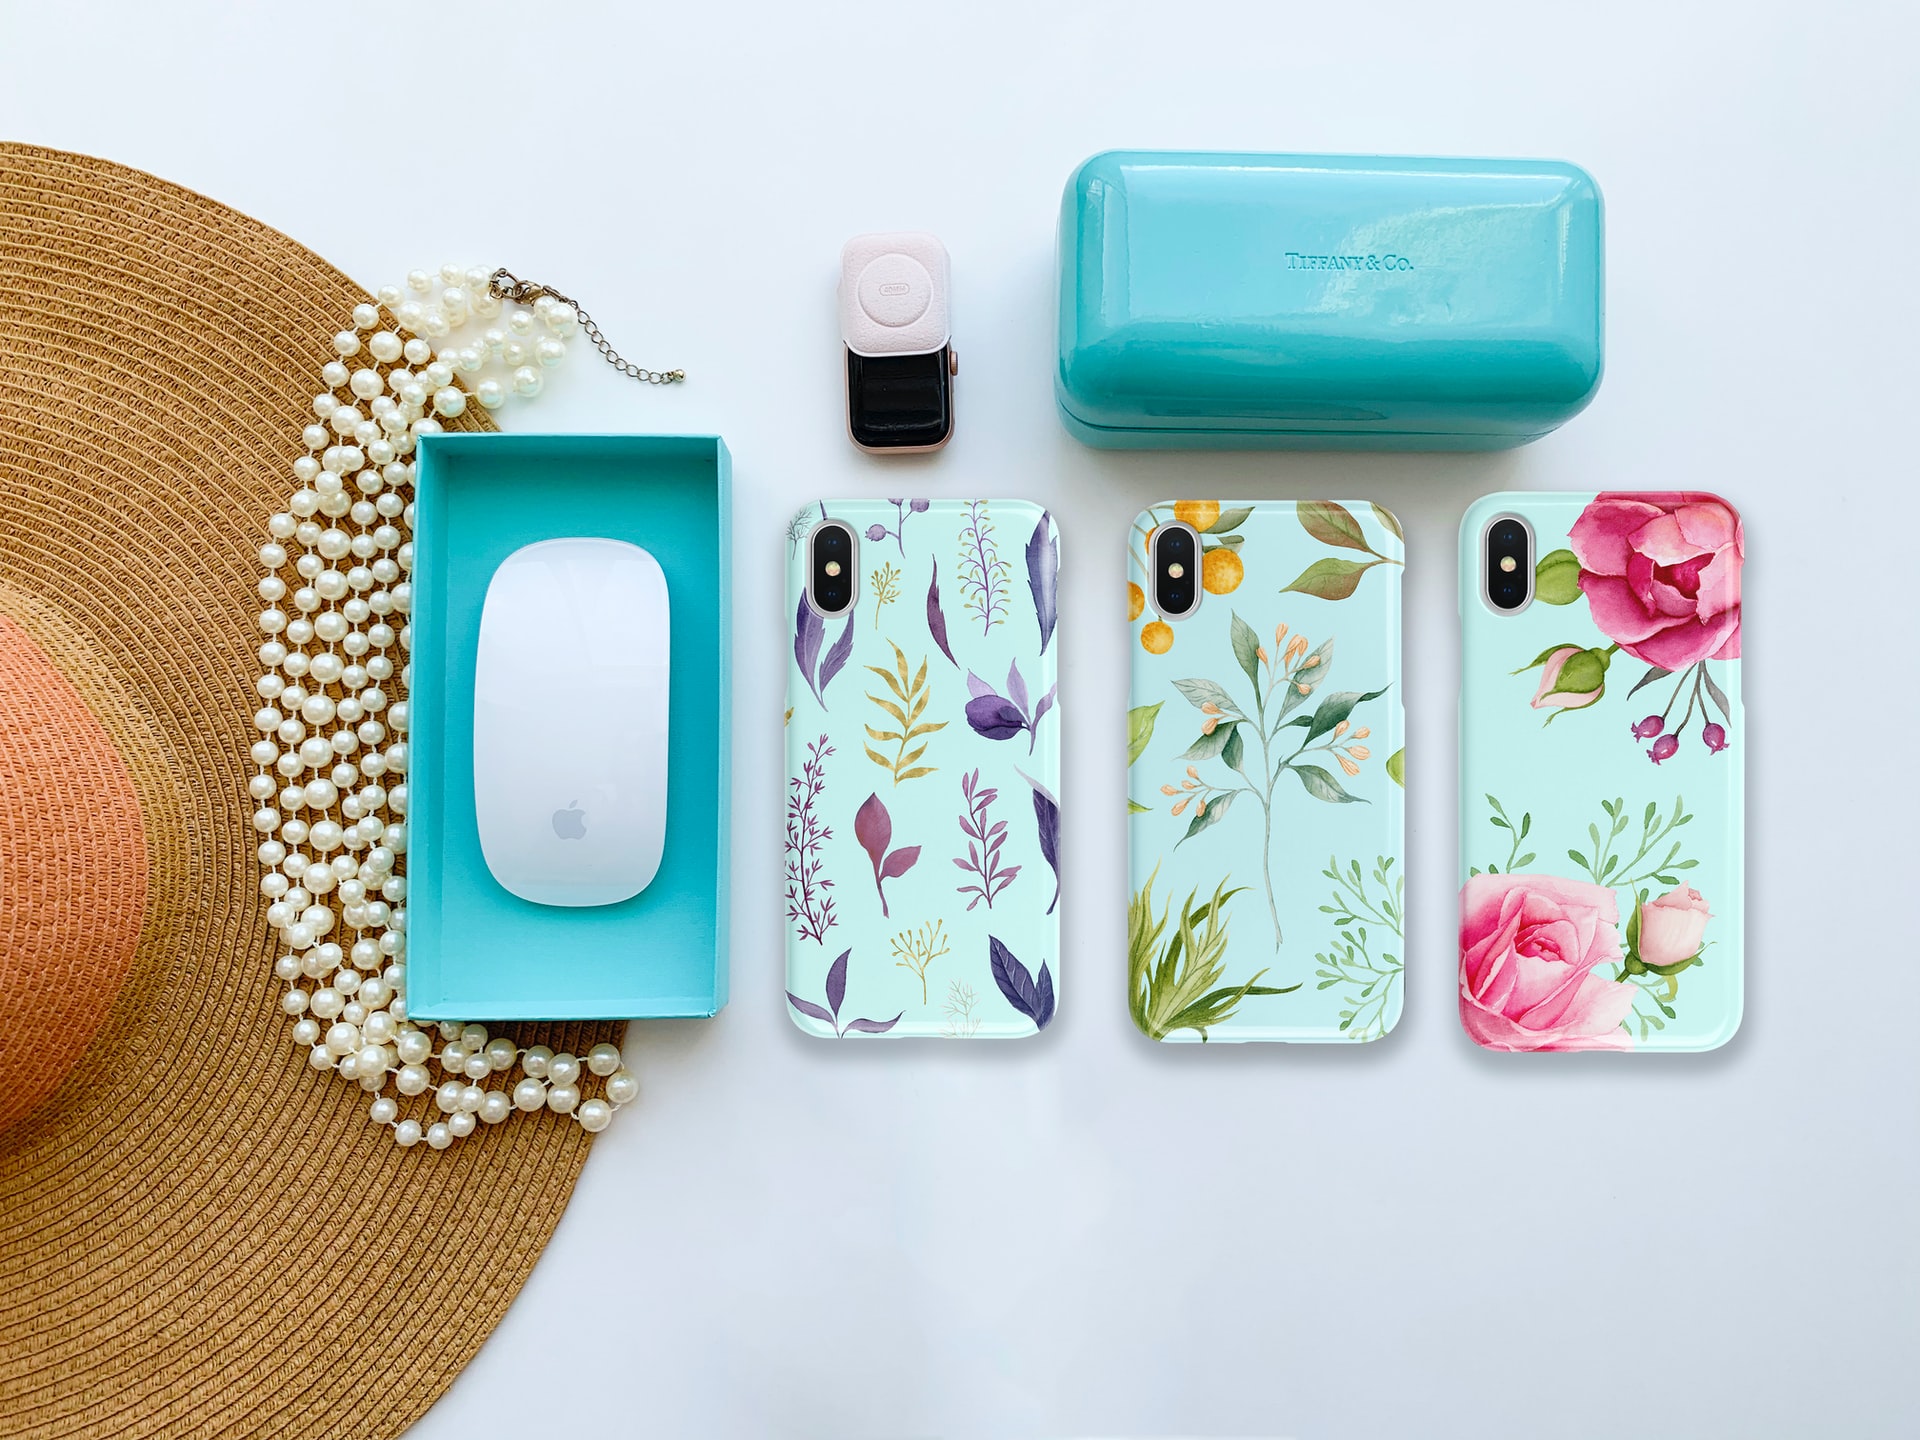
Conclusion
Painting a phone case is a rewarding creative endeavor that allows you to infuse your personal style into a practical everyday item. By following this guide and unleashing your artistic flair, you’ll master the artistry of phone case painting and enjoy a one-of-a-kind accessory that reflects your creativity and individuality. So, gather your materials, set up your workspace, and let your imagination soar as you embark on this colorful journey of self-expression.


